Introduction
In this guide, we're going to explore the Chainbase testnet and learn how to complete tasks to earn Zircons.
What is Chainbase?
Chainbase is the largest omnichain data network, unifying blockchain data into a seamless ecosystem. It serves as an open, transparent interoperability layer tailored for the AI-driven era.
Key Features:
- Dual-Chain Technology: Combines programmability and composability of crypto data while ensuring high throughput, low latency, and eventual determinism.
- Enhanced Security: Utilizes a dual-staking model for stronger cybersecurity.
Mission:
To make blockchain data accessible and useful, enabling users to fully experience the advantages of the open internet era.
Step 1
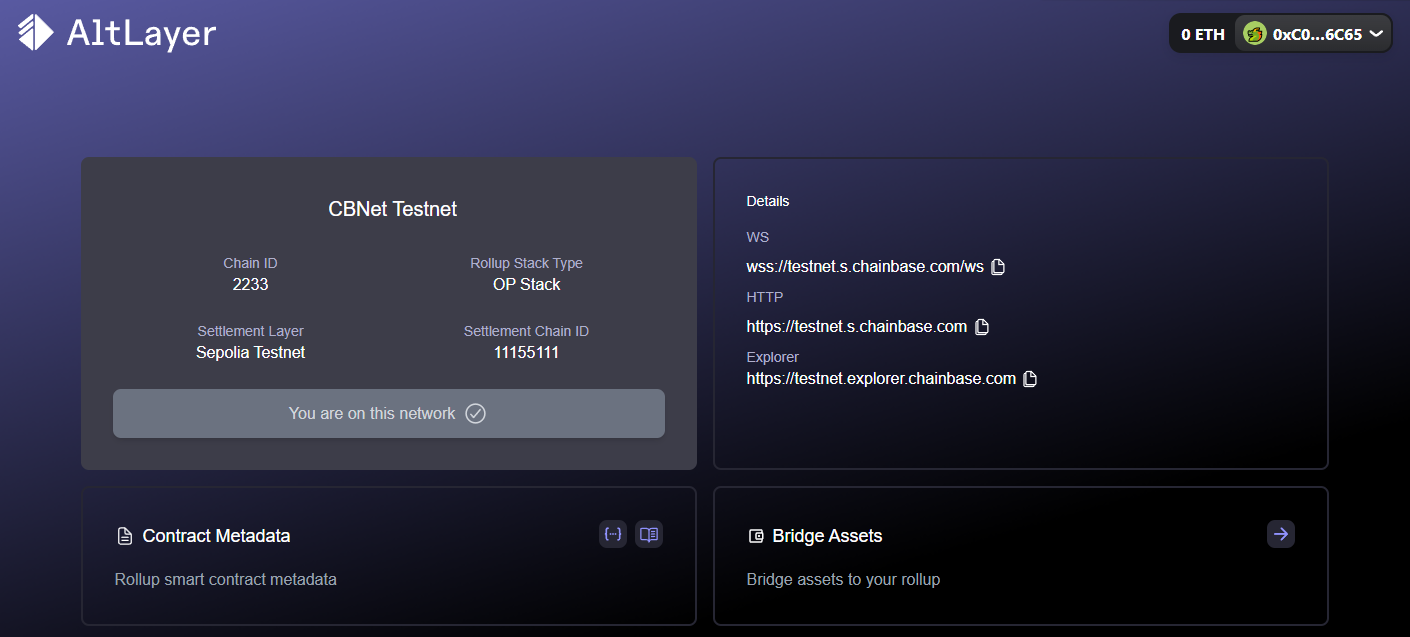
First, head over to: rollup-info.altlayer.io & connect your wallet to add the test network to your wallet.
Step 2
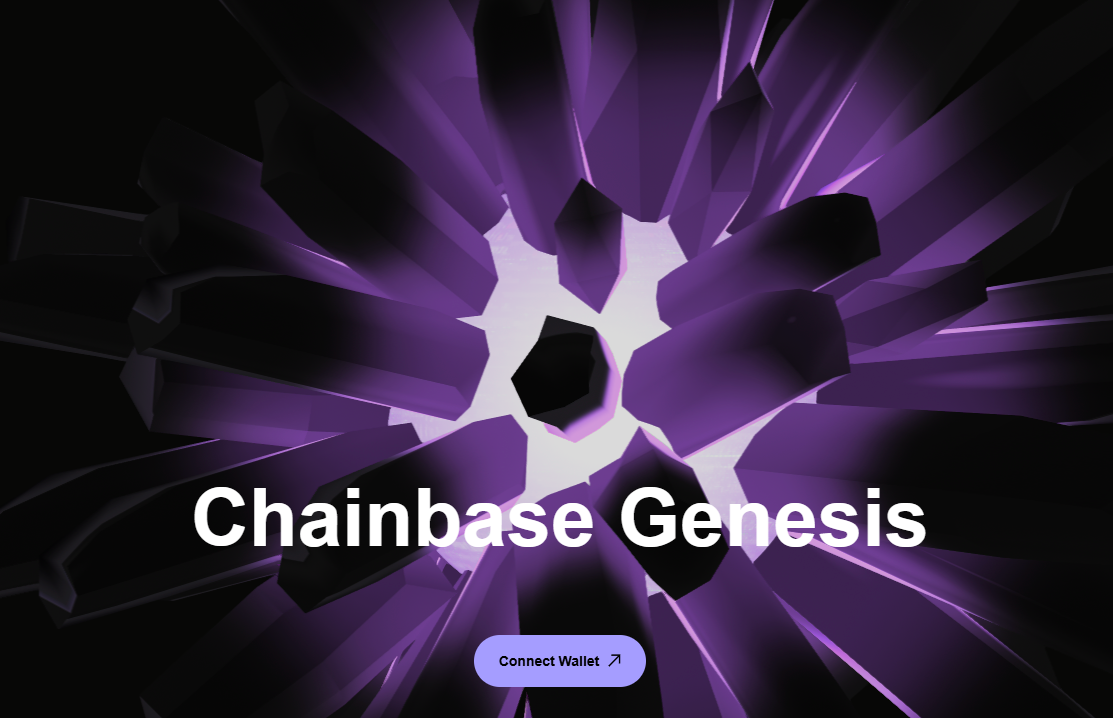
Then head over to: genesis.chainbase.com/landing & connect your wallet.
Step 3
Once you're in, you will see we currently have 0 Zircons.
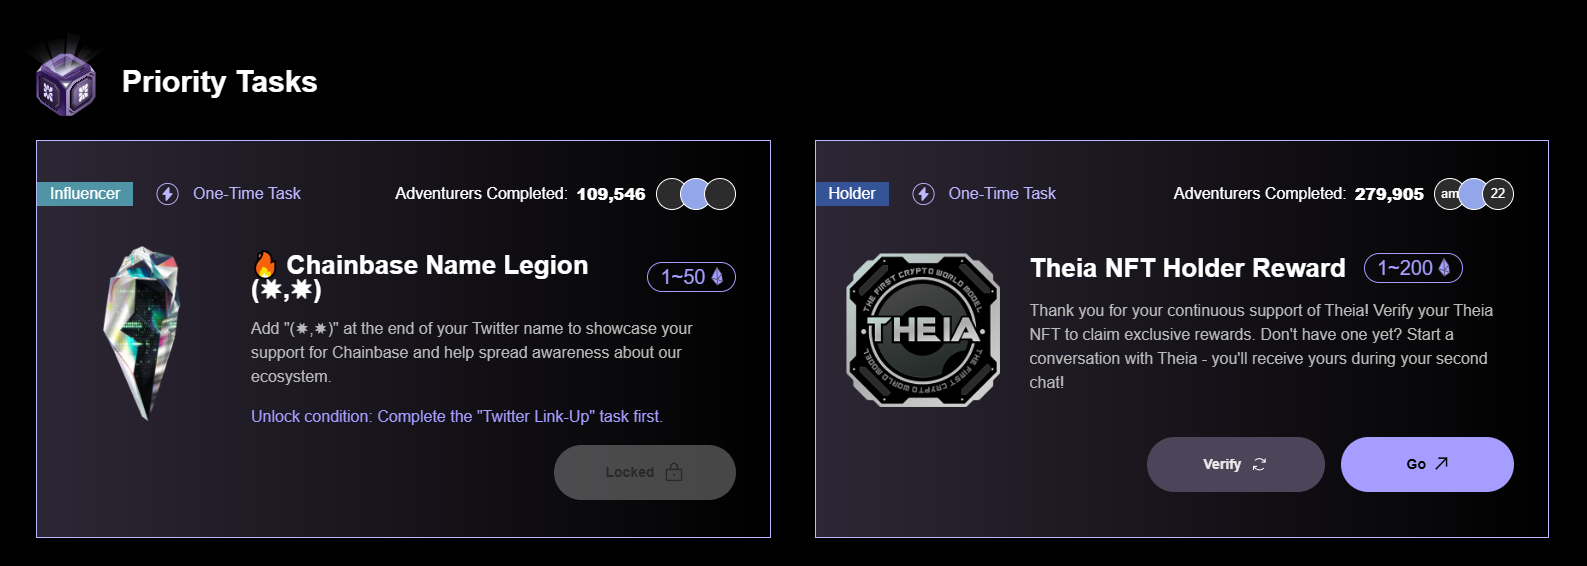
If you scroll down, you can find some tasks to earn some Zircons.
Press "Go" for the Theia NFT Holder Reward task.
Step 4
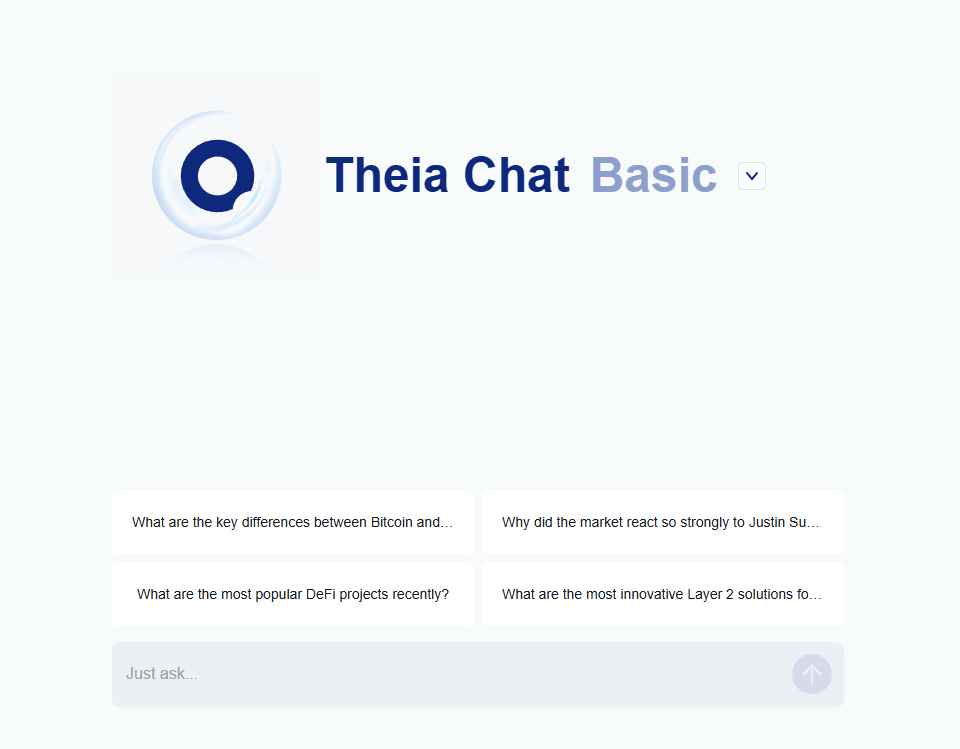
When you begin the task, it should bring you to Theia Chat (AI).
Select one of the suggested questions, or type a question to start a chat with the A.I bot.
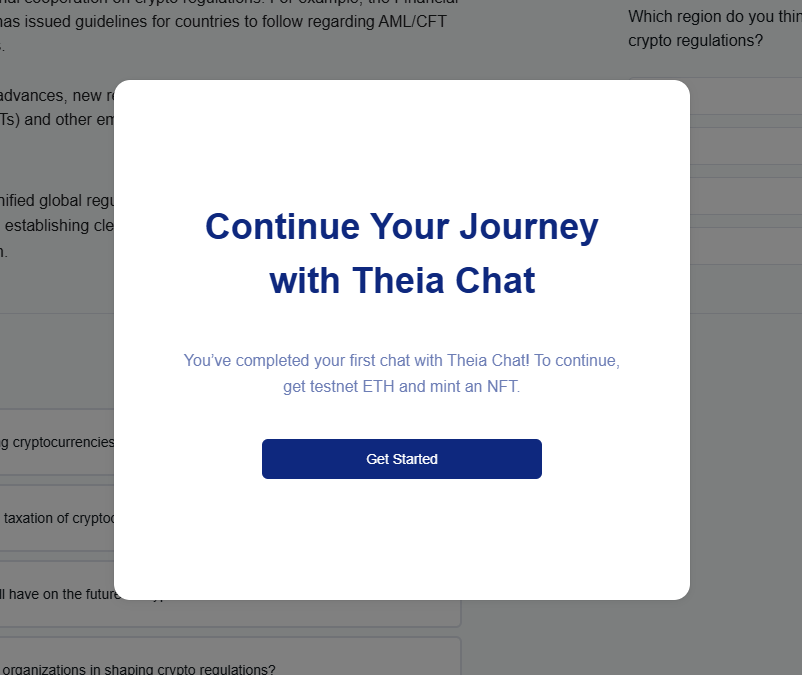
Now just select a second question and you should receive a pop-up about the testnet NFT.
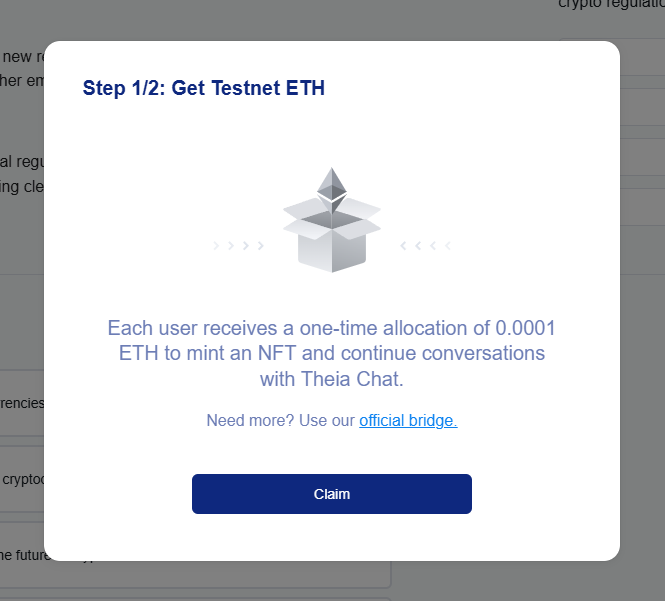
Press "Get Started", then press "Claim".
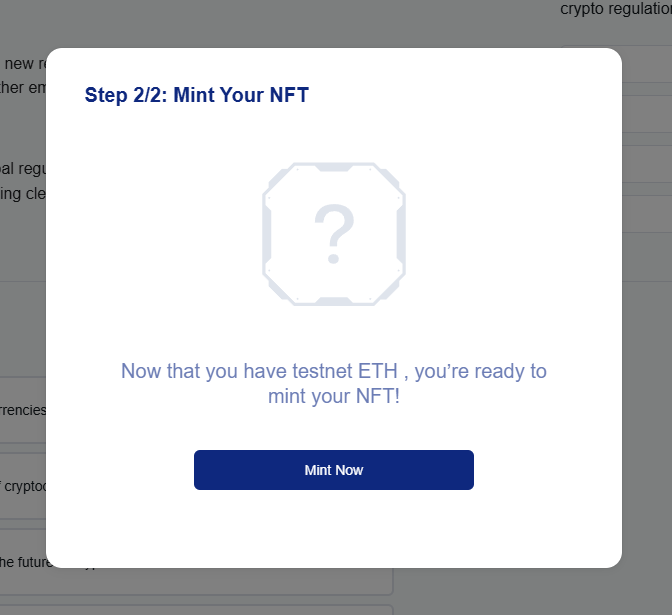
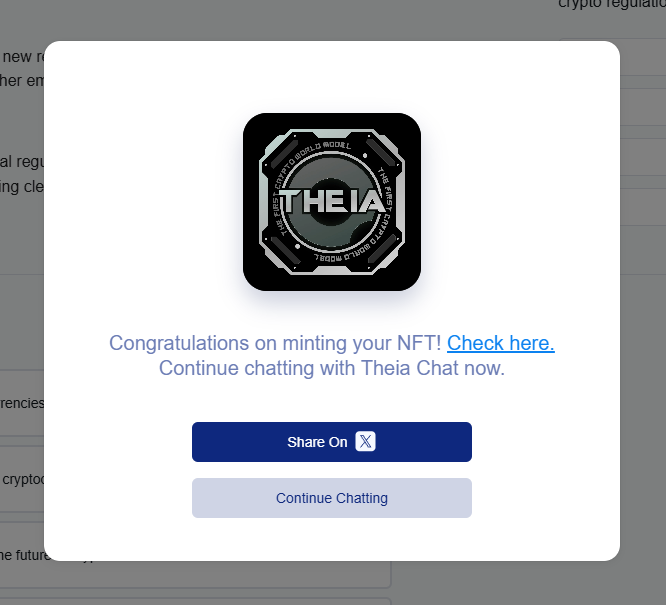
Finally, press "Mint Now" to mint your NFT.
Step 5
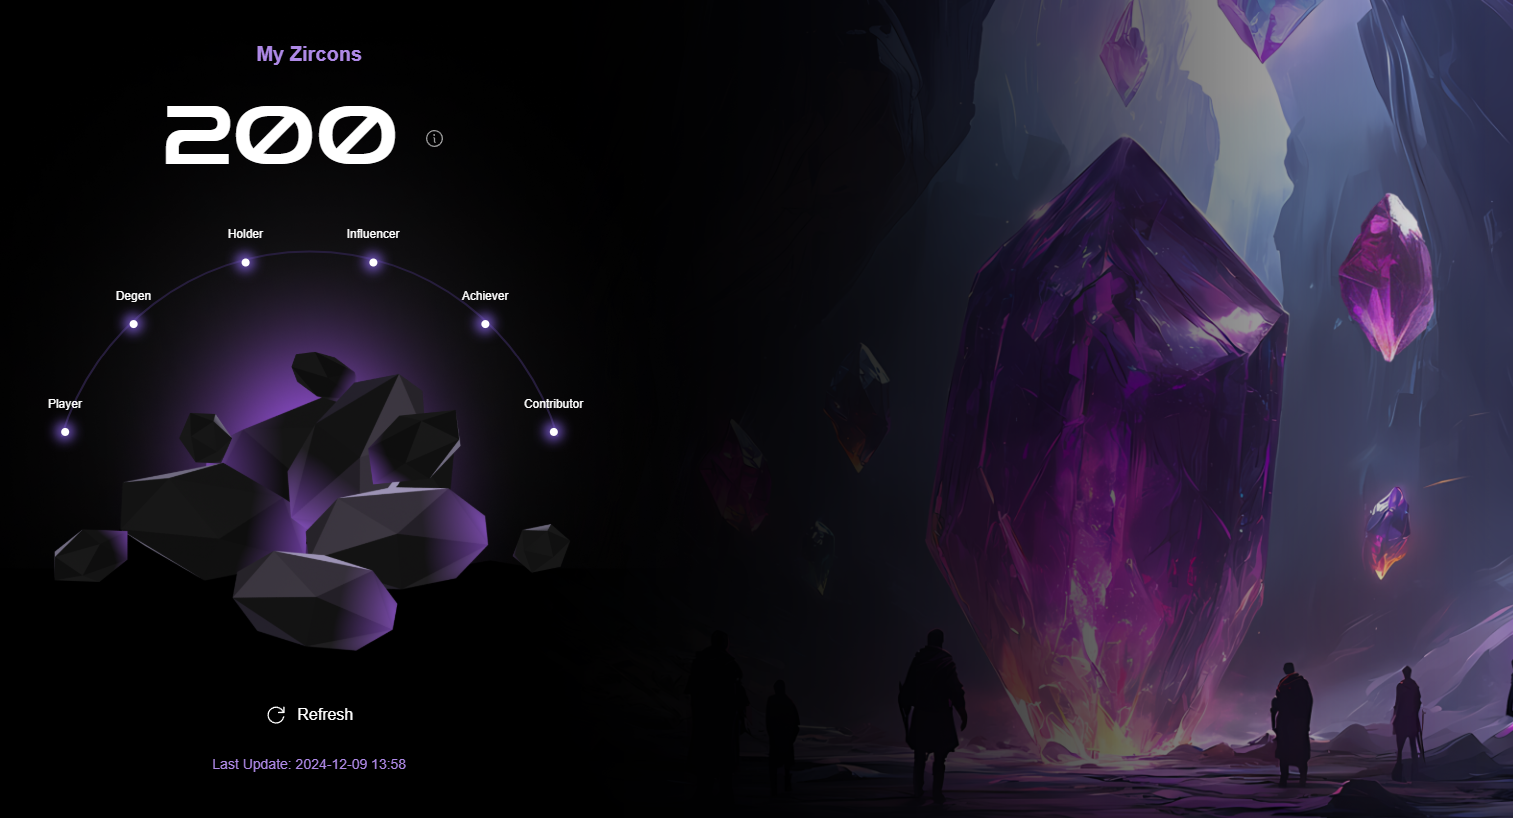
Now if you head back to: genesis.chainbase.com you can verify the task and claim 200 Zircons!
You can also claim 120 Zircons by connecting your Discord account in the settings, joining the Chainbase Discord and verifying yourself.
You can also complete the "Persona Craft" task by simply adding a username to your profile. This will earn you another 50 Zircons.
Step 6
Next, we should interact with the Chainbase bridge to increase our on-chain activity.
To do this, head over to: testnet.bridge.chainbase.com & connect your wallet.
Input any amount of available ETH and press "Review Bridge".
If you don't have any test ETH available on Sepolia, you can claim some from one of the following faucets:
1. Google Cloud Web3 Sepolia Faucet
2. Chainlink Faucets - Sepolia
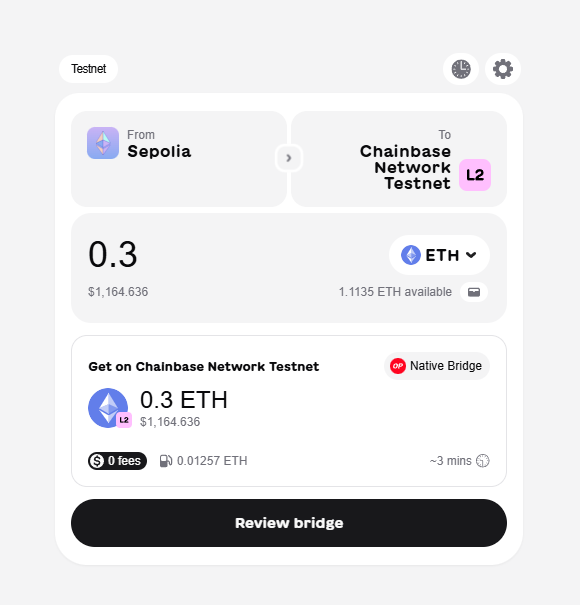
Then press "Start".
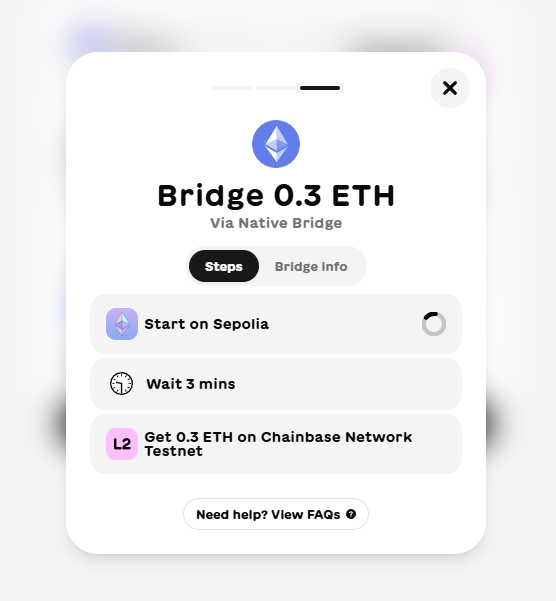
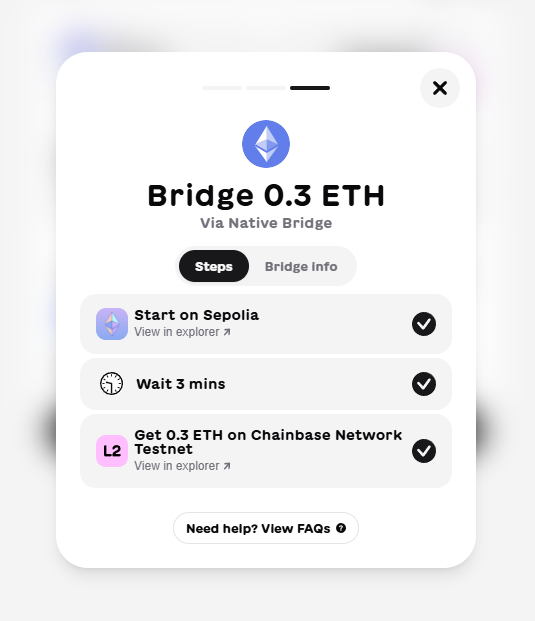
Wait for transaction to complete.
Outro
That's all for this guide!
If you found this tutorial helpful and informative, consider sharing it on social media. You can also stay updated on the latest content and discussions by following us on X (formely Twitter): @BitBlogxyz
Disclaimer: This guide is provided strictly for educational purposes and should not be considered financial advice. The content is designed to offer insights into various web3 topics & projects.
We do not recommend putting real money into random projects without conducting plenty of your own research first. It is crucial to make informed decisions based on your own understanding and risk tolerance.