Introduction
In this guide, I will show you how to interact with the LayerZero Testnet!
LayerZero stands as a User Application (UA), offering configurable on-chain endpoints powered by ULN (Universal Layer Network). This innovative framework leverages two integral entities for message transfers between on-chain endpoints: the Oracle and the Relayer. Additionally, LayerZero empowers seamless communication between different blockchains, serving as an omnichain interoperability protocol. By providing a foundational communication layer, LayerZero facilitates the development of cross-chain applications with unparalleled efficiency.
Step 1
The first thing we need to do is claim some AVAX testnet tokens, if your not sure how to do this, we have a simple setup guide here: How To Add AVAX Testnet To MetaMask
Step 2
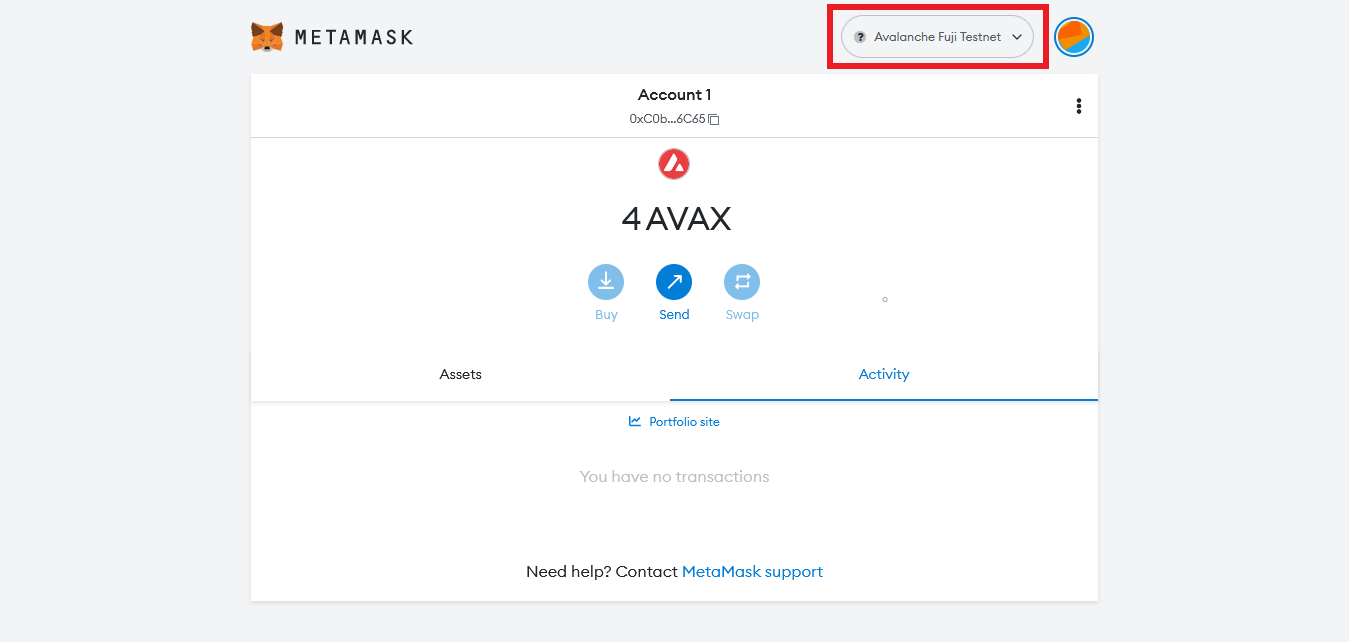
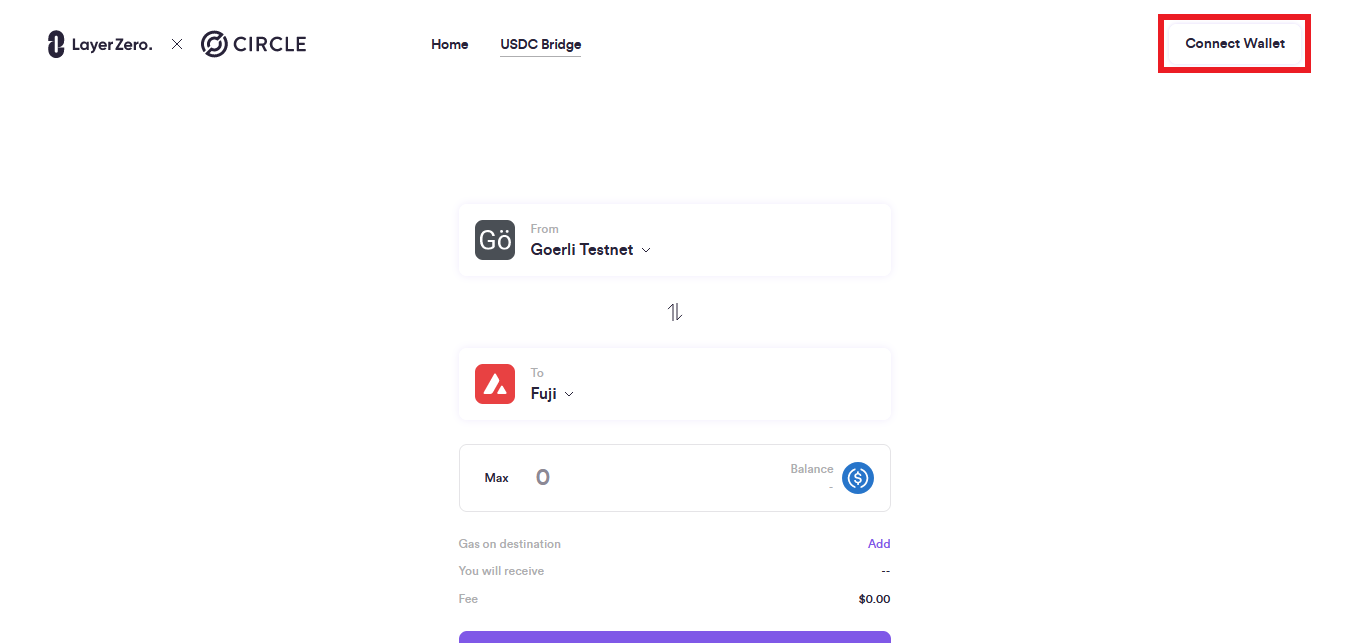
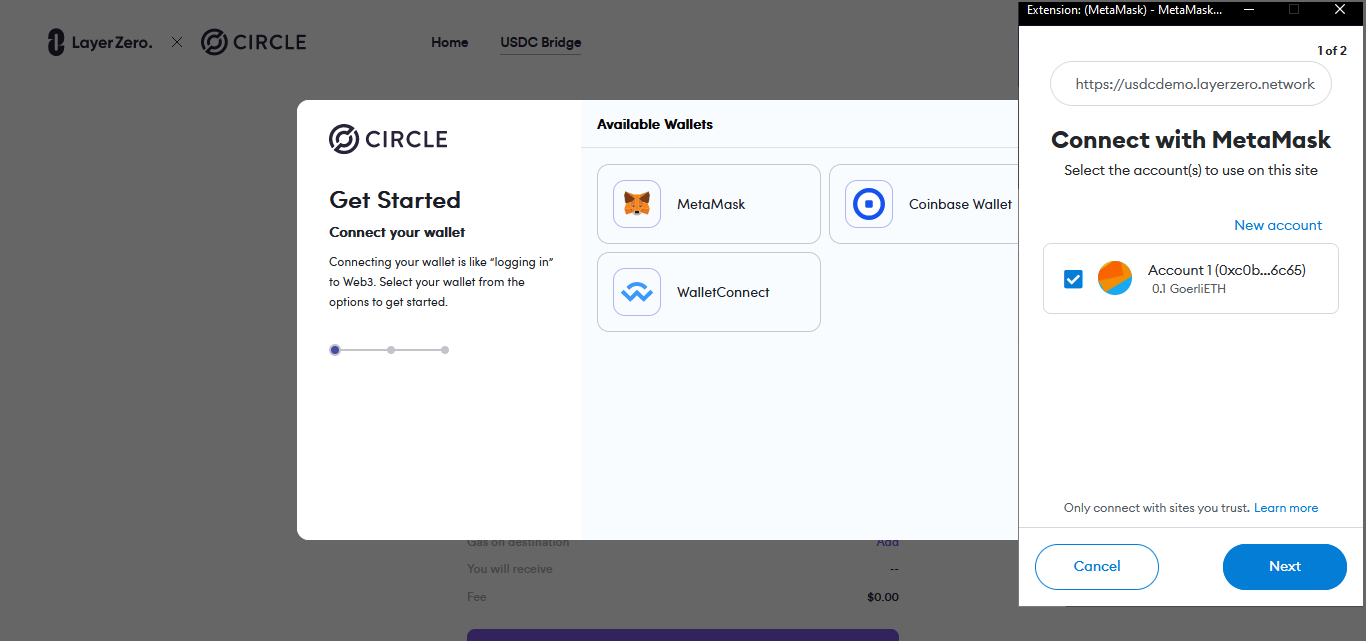
Once you have the "Avalanche (AVAX) Fuji Testnet" in MetaMask, make sure you have selected it, then go to USDC.Demo.LayerZero.Network/bridge & connect your MetaMask wallet.
Step 3
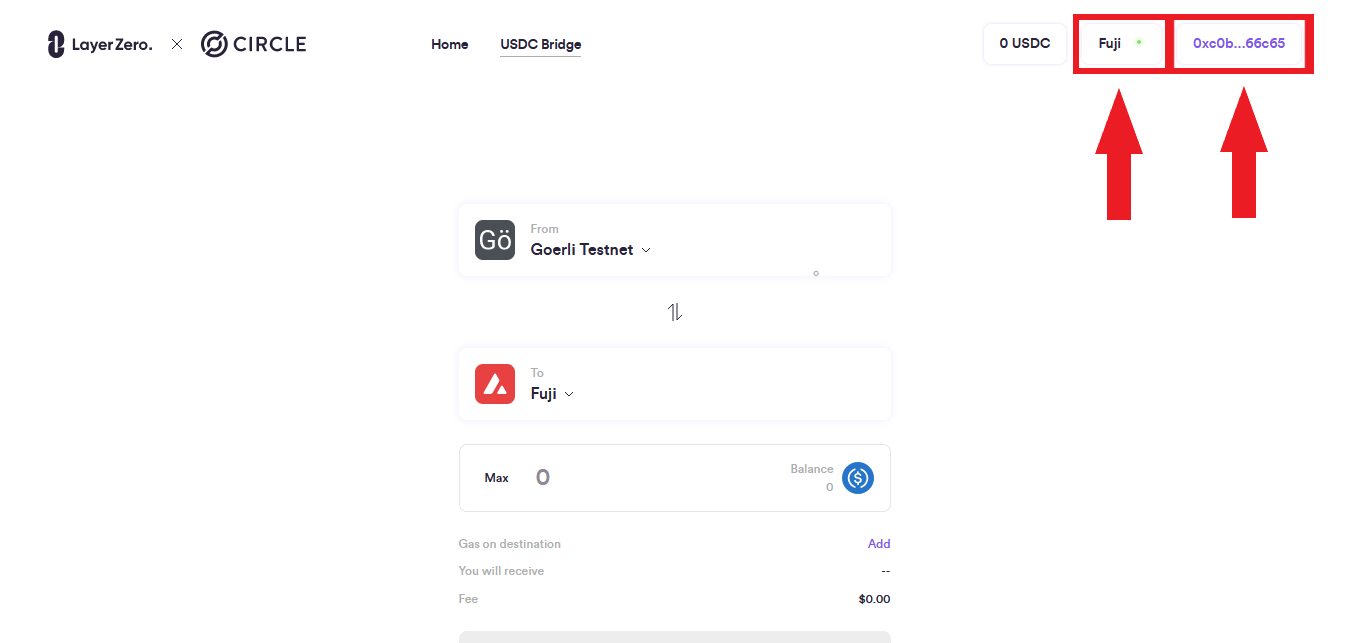
Now you should be connected & should see your wallet address & "Fuji" at the top.
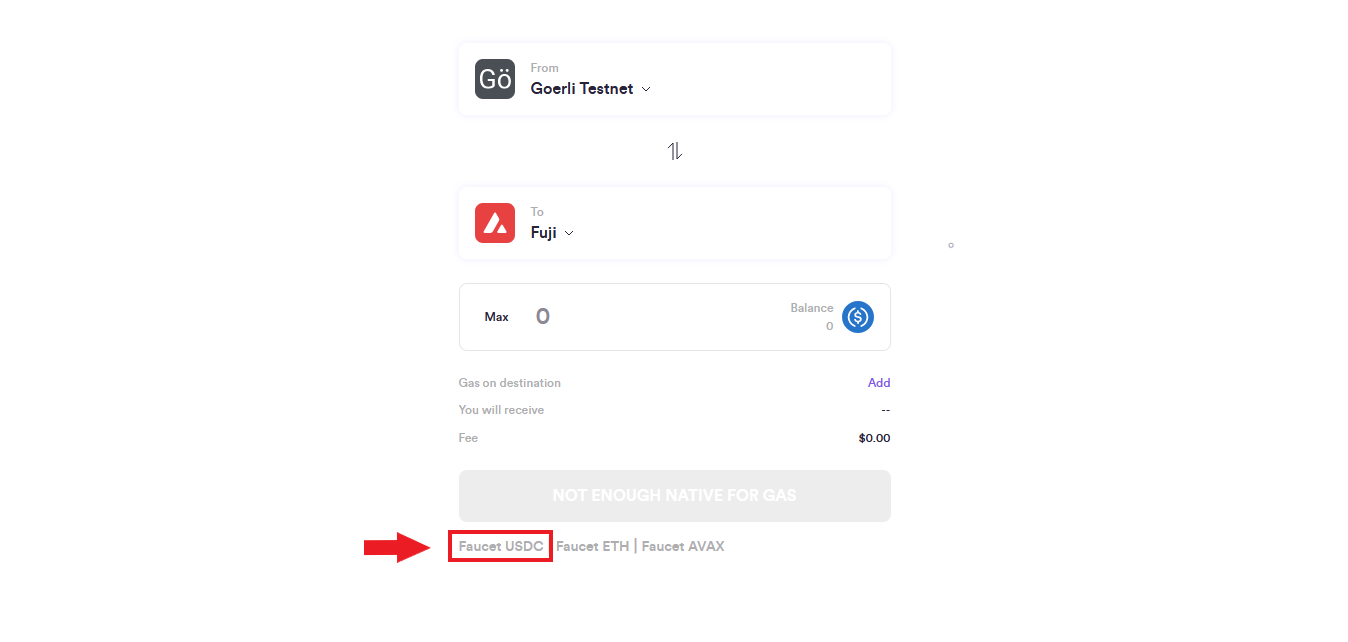
Scroll down & select "Faucet USDC", it will load the USDC faucet where we will claim some USDC testnet tokens.
Step 4
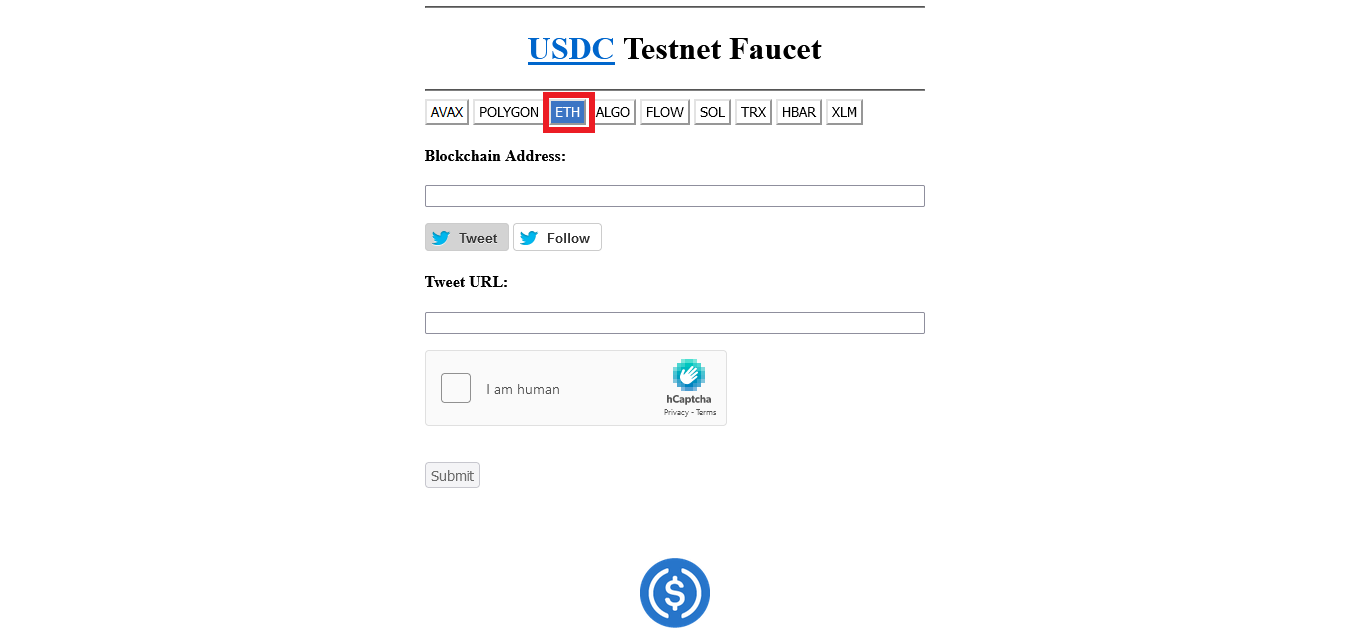
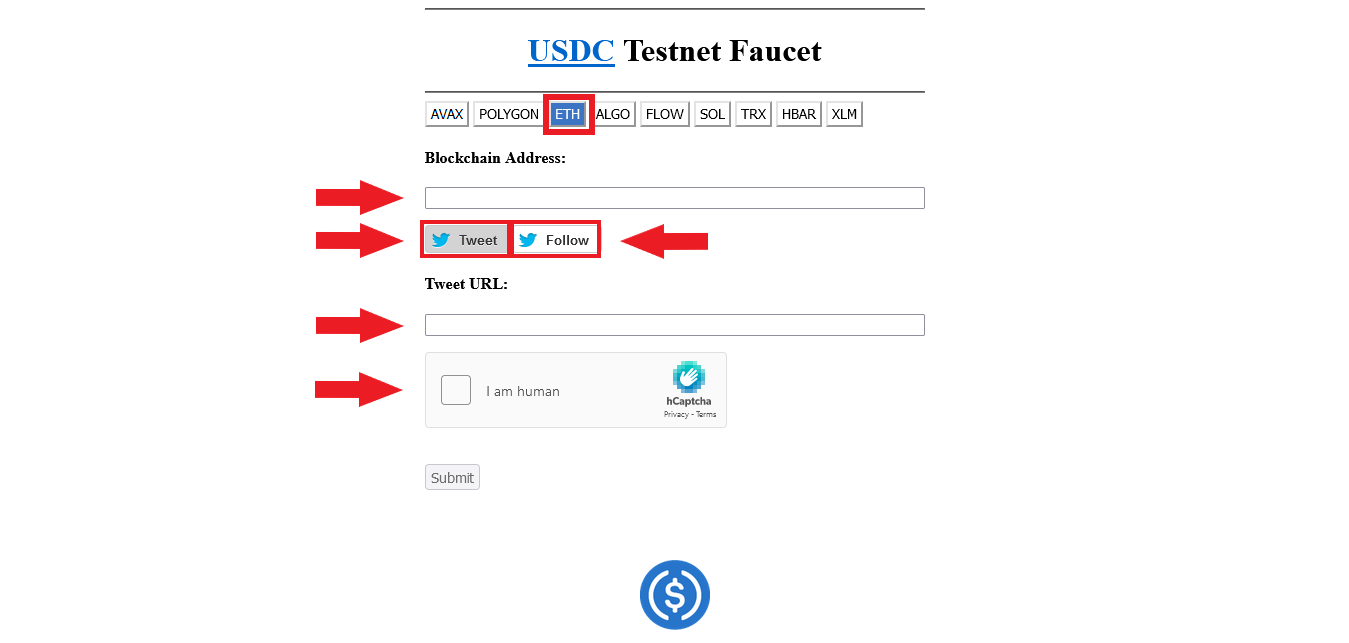
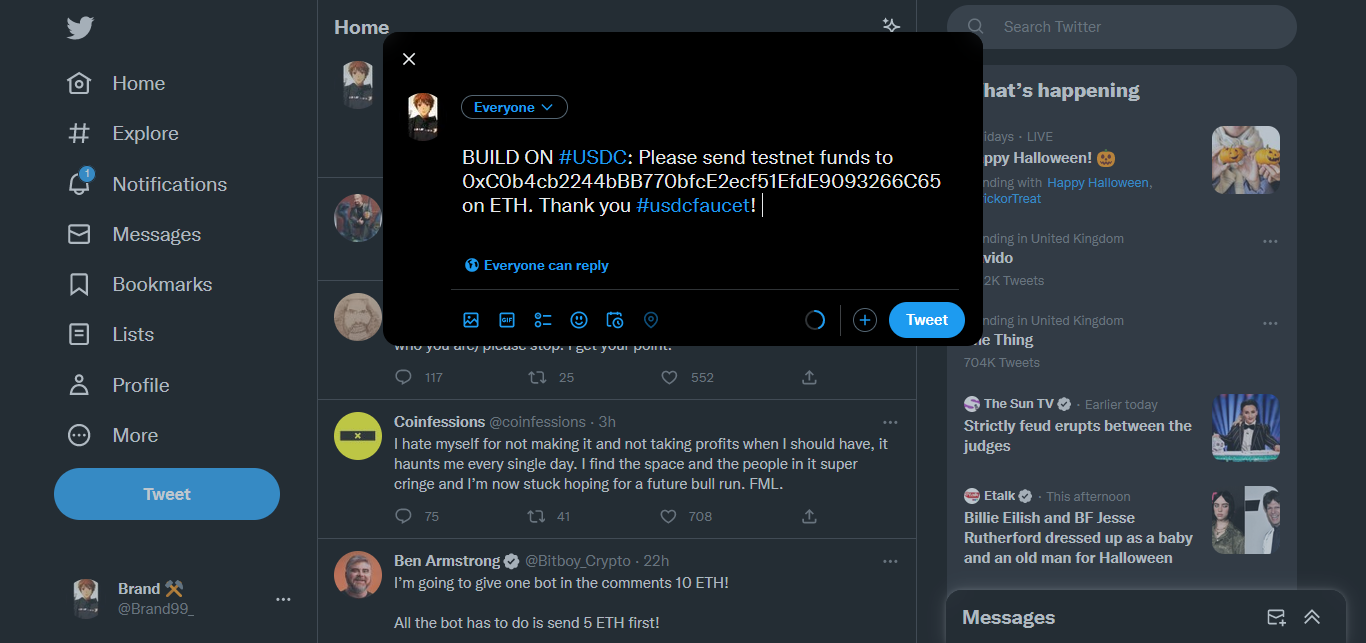
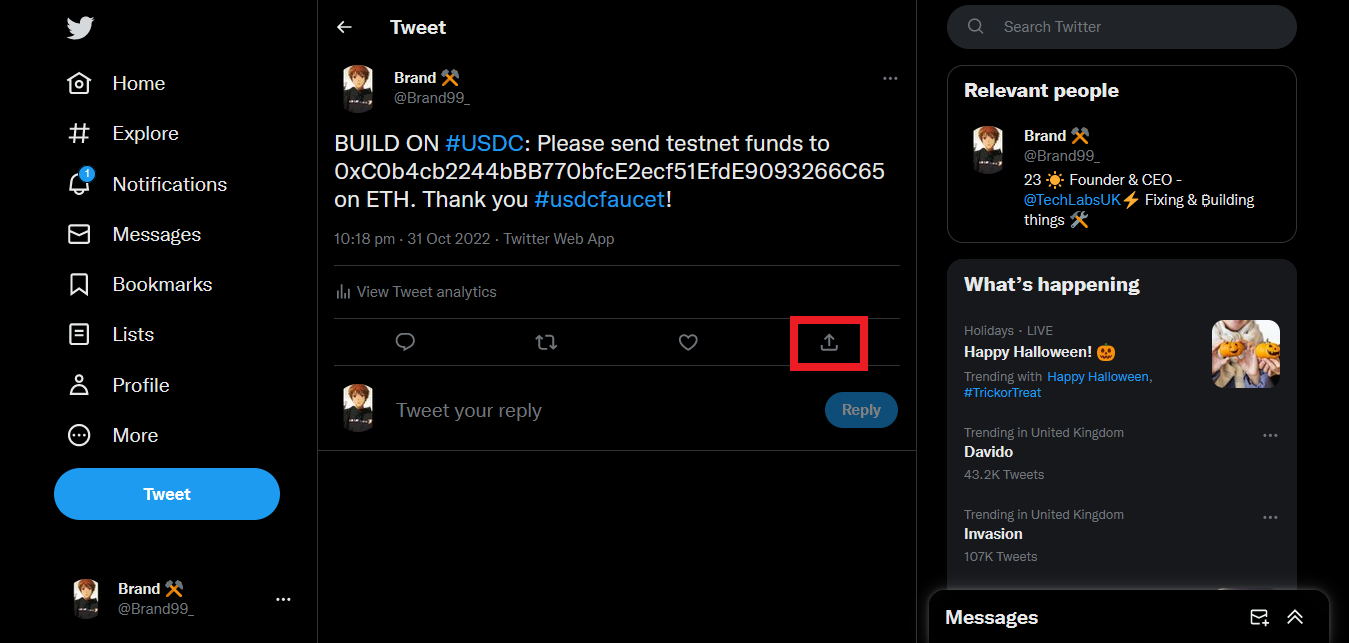
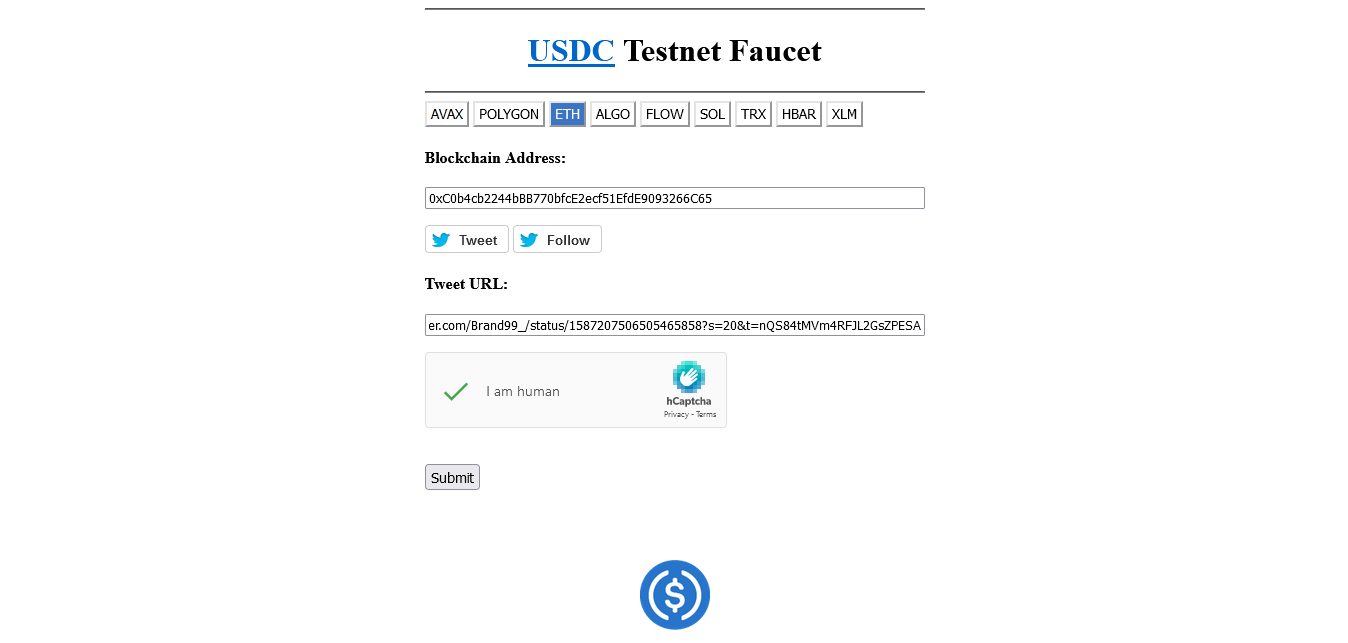
Now we need to do a few things here, first, select "ETH", then input your ETH wallet address where it says "Blockchain Address" & select "Tweet", this will load Twitter & generate a tweet including your ETH address.
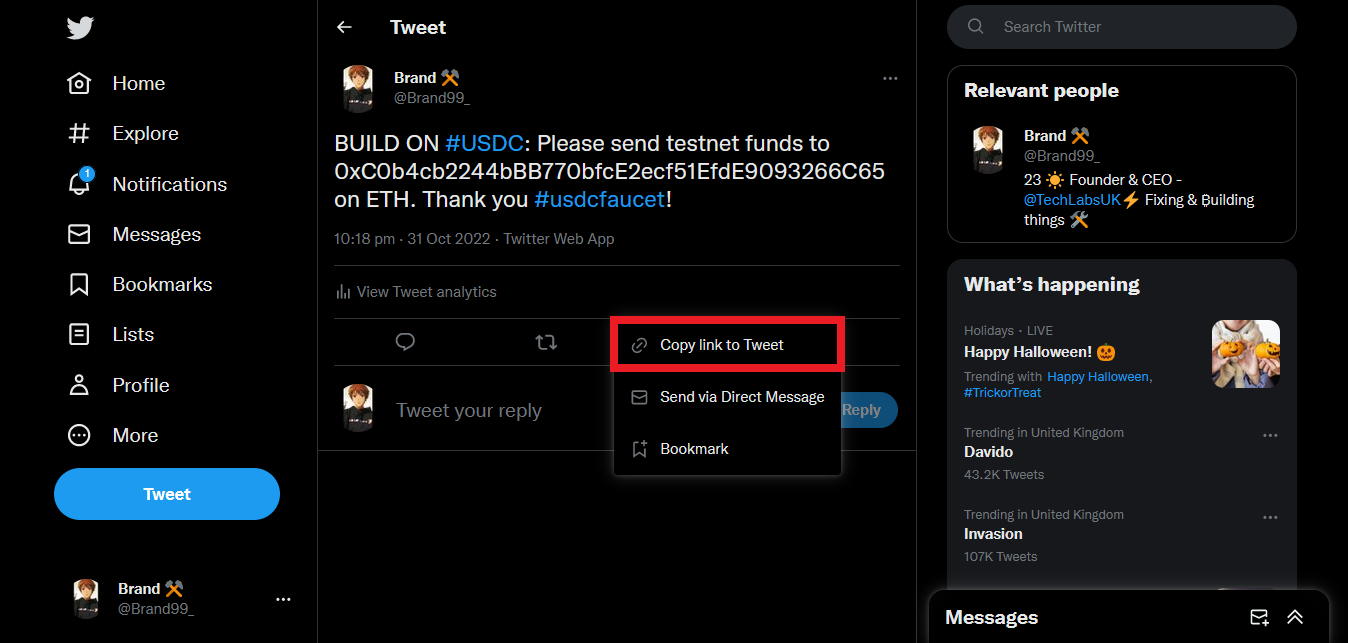
Post the tweet, then select the Share button & "Copy link to Tweet" OR you can simply copy the tweet URL from the top of your browser.
Now paste the link/URL into the UDSC faucet website where it says "Tweet URL".
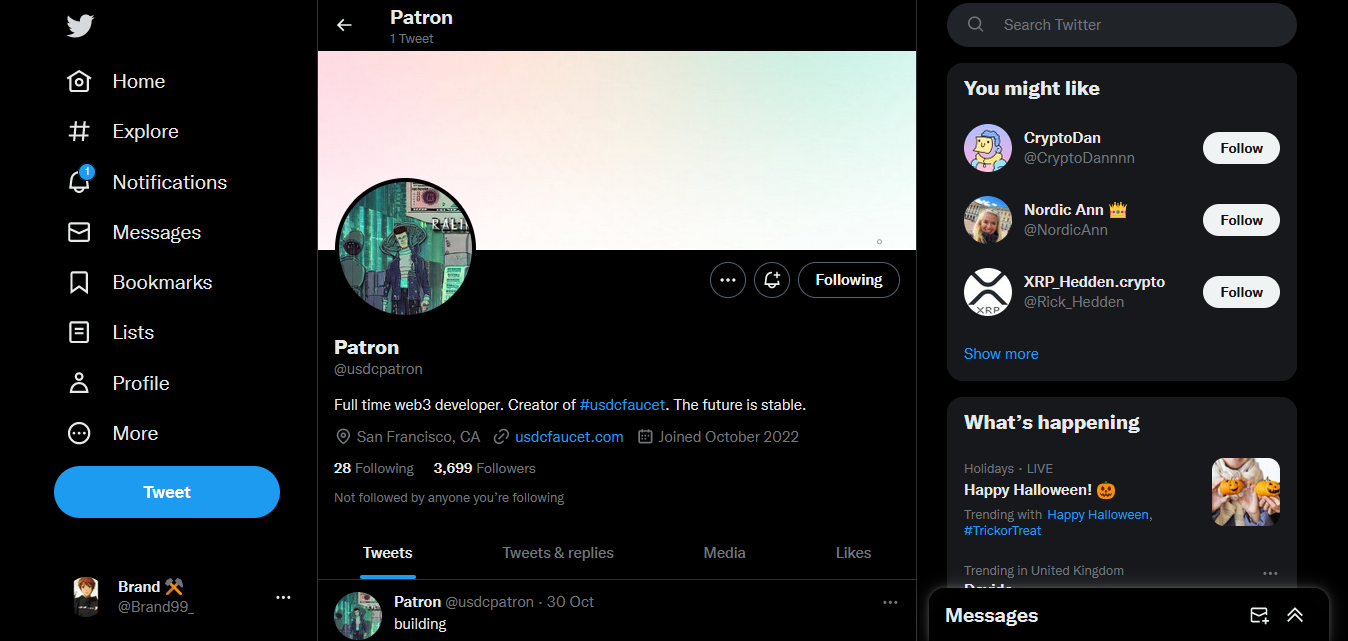
Now go back to Twitter & follow @usdcpatron, this is necessary to use the faucet.
Once you have done all that, select "Submit" & you should receive your USDC testnet tokens.
Step 5
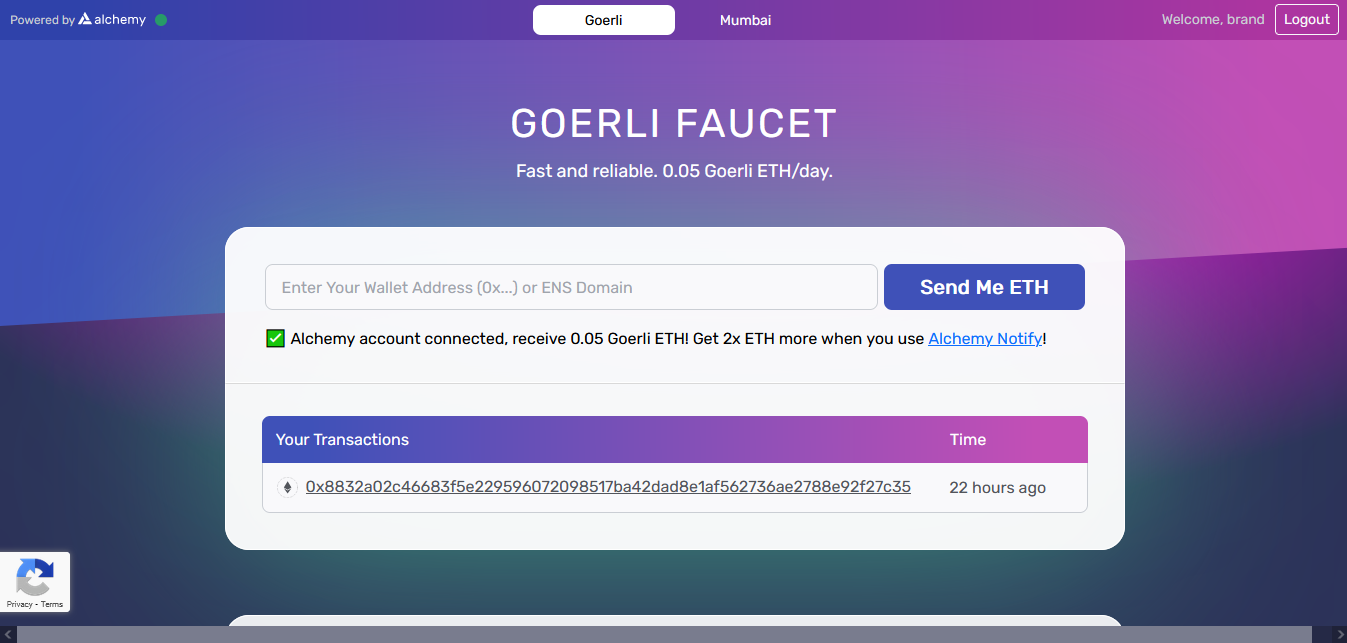
Now go to Goerli Faucet, Login & enter your ETH address then select "Send Me ETH".
Step 6
Now let's bridge some USDC.
Go back to USDC.Demo.LayerZero.Network/bridge & make sure your wallet is still connected.
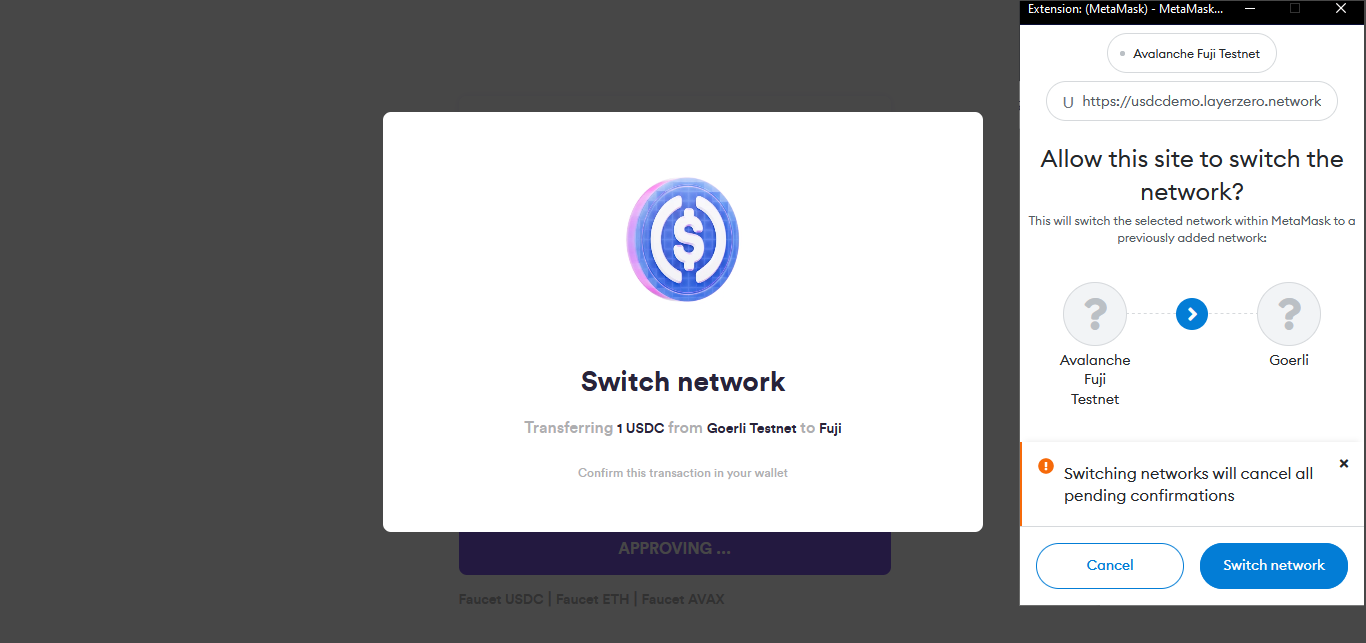
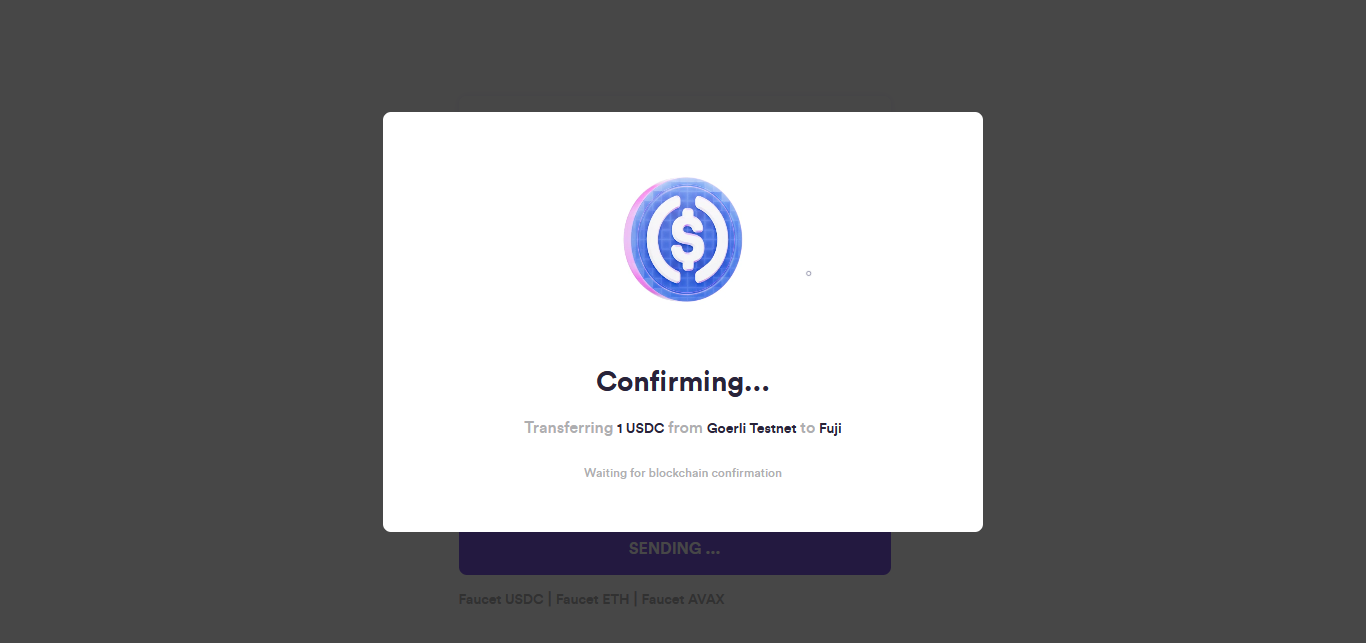
Now set the "From" to "Goerli Testnet" & set the "To" as "Fuji".
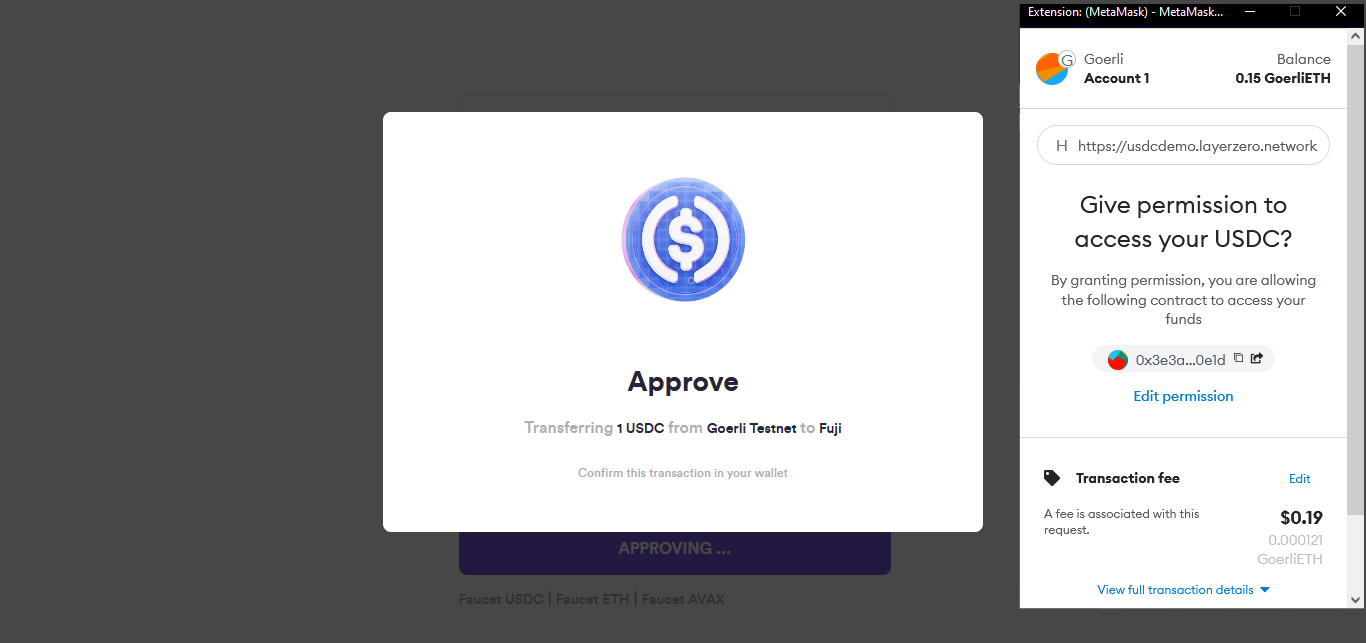
Input 1 USDC & select "Transfer".
You may need to claim some more Goerli from the Goerli Faucet to cover the Gas Fee's.
Step 7
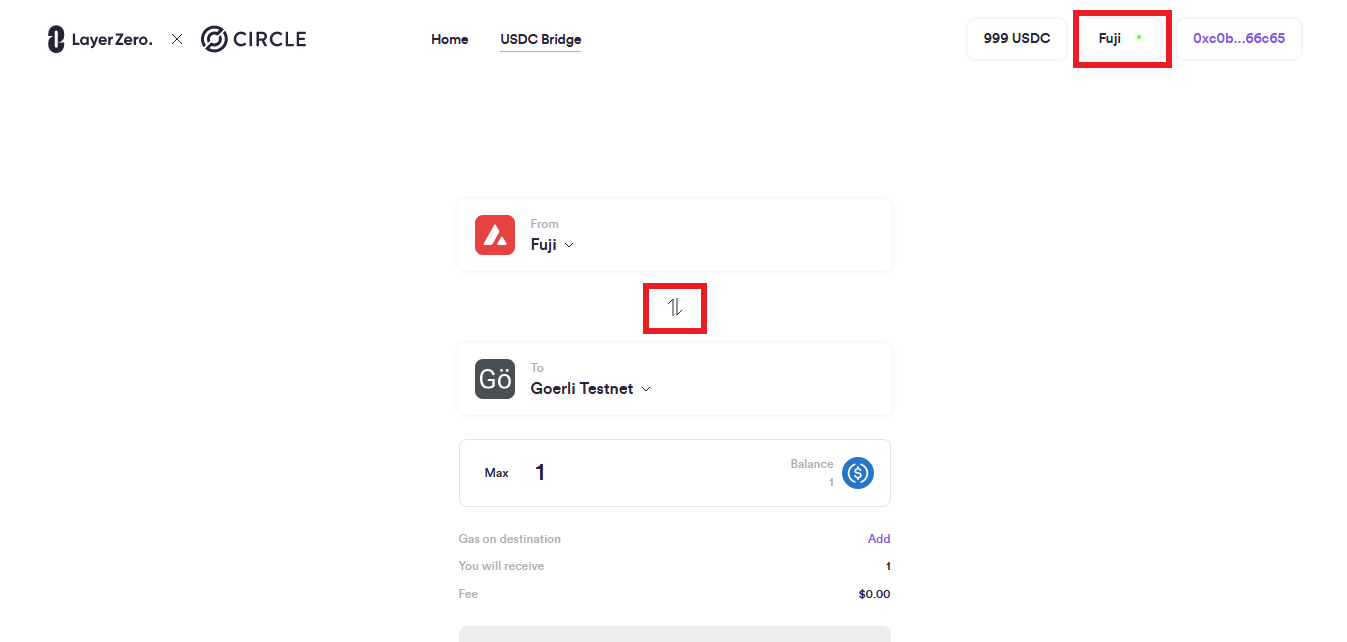
Now we will do the same step but in reverse, so this time set the "From" as "Fuji" & set the "To" as "Goerli Testnet".
Also, make sure "Fuji" is selected in the top corner.
Input 1 USDC again & select "Transfer".
You may need to claim some more Goerli from the Goerli Faucet to cover the Gas Fee's.
You've successfully claimed testnet tokens & interacted with the LayerZero protocol! You may also be eligible for a future airdrop!

Outro
If you found this guide helpful and informative, consider sharing it on social media. You can also stay updated on the latest content and discussions by following us on X (formely Twitter): @BitBlogxyz
Disclaimer: This guide is provided strictly for educational purposes and should not be considered financial advice. The content is designed to offer insights into various web3 topics & projects.
We do not recommend putting real money into random projects without conducting plenty of your own research first. It is crucial to make informed decisions based on your own understanding and risk tolerance.