Introduction
In this guide, we're going to dive into the Cashmere testnet and look at how to perform swaps, as well as how to provide liquidity.
What is Cashmere?
CashmereLabs stands out with its distinctive design focused on protecting users from front-running and MEV attacks while also suggesting the most lucrative swap paths. Unlike alternative cross-chain swap protocols, CashmereLabs reliably delivers the most profitable swap results. This is achieved by simulating and neutralizing MEV bot attack patterns, guaranteeing users an optimal trading journey.
Step 1
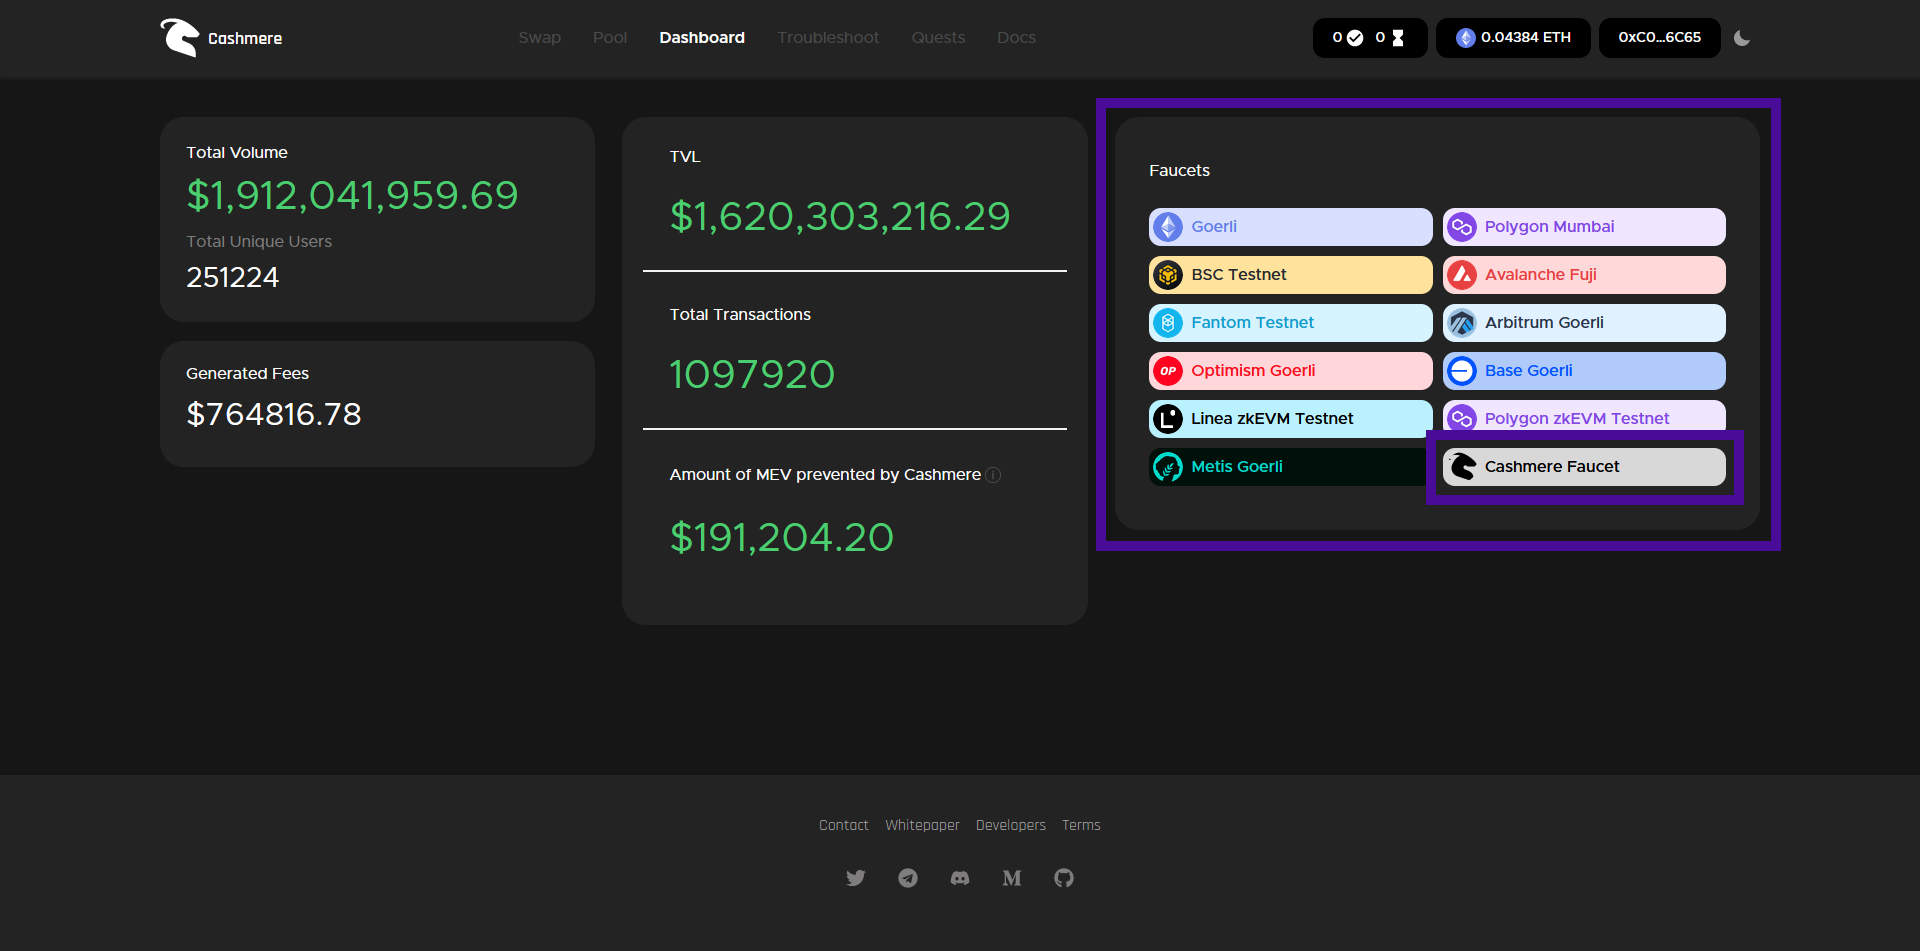
First, head over to the Cashmere dashboard: testnet.cashmere.exchange/dashboard & connect your wallet.
Step 2
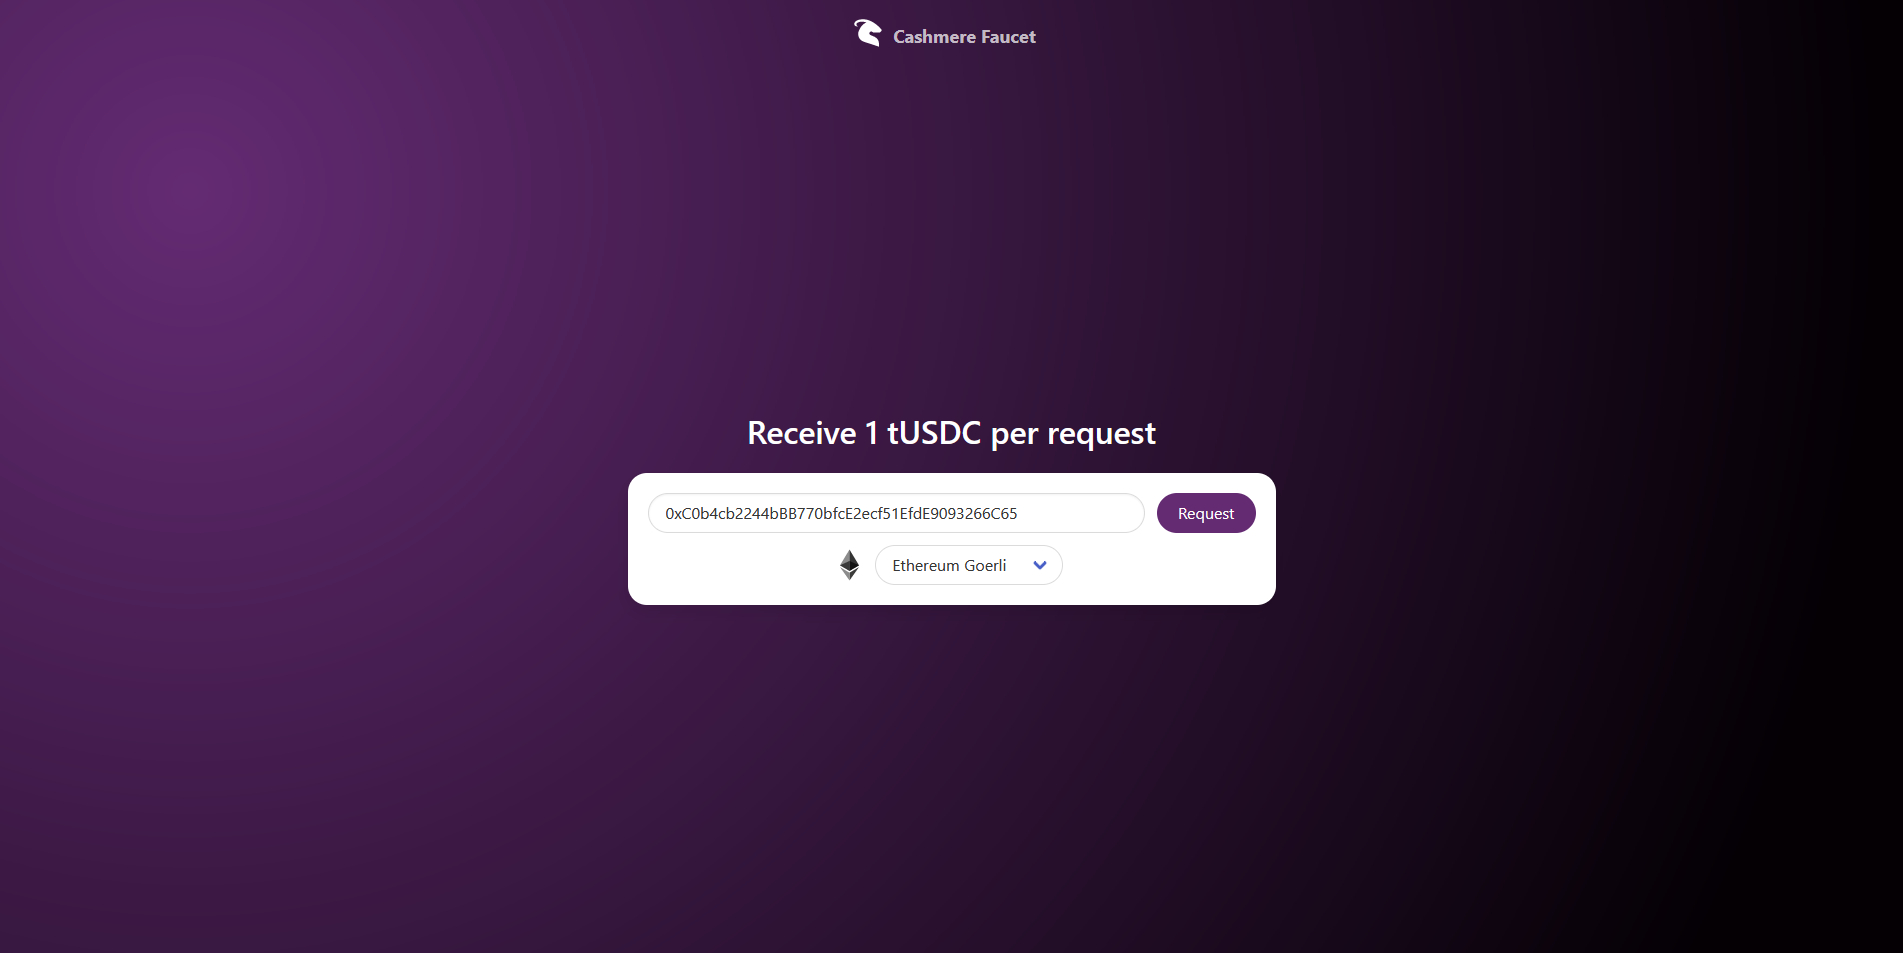
Next, we need to claim some test tokens, choose the "Cashmere Faucet" and request some Ethereum Goerli Now let's perform some swaps.
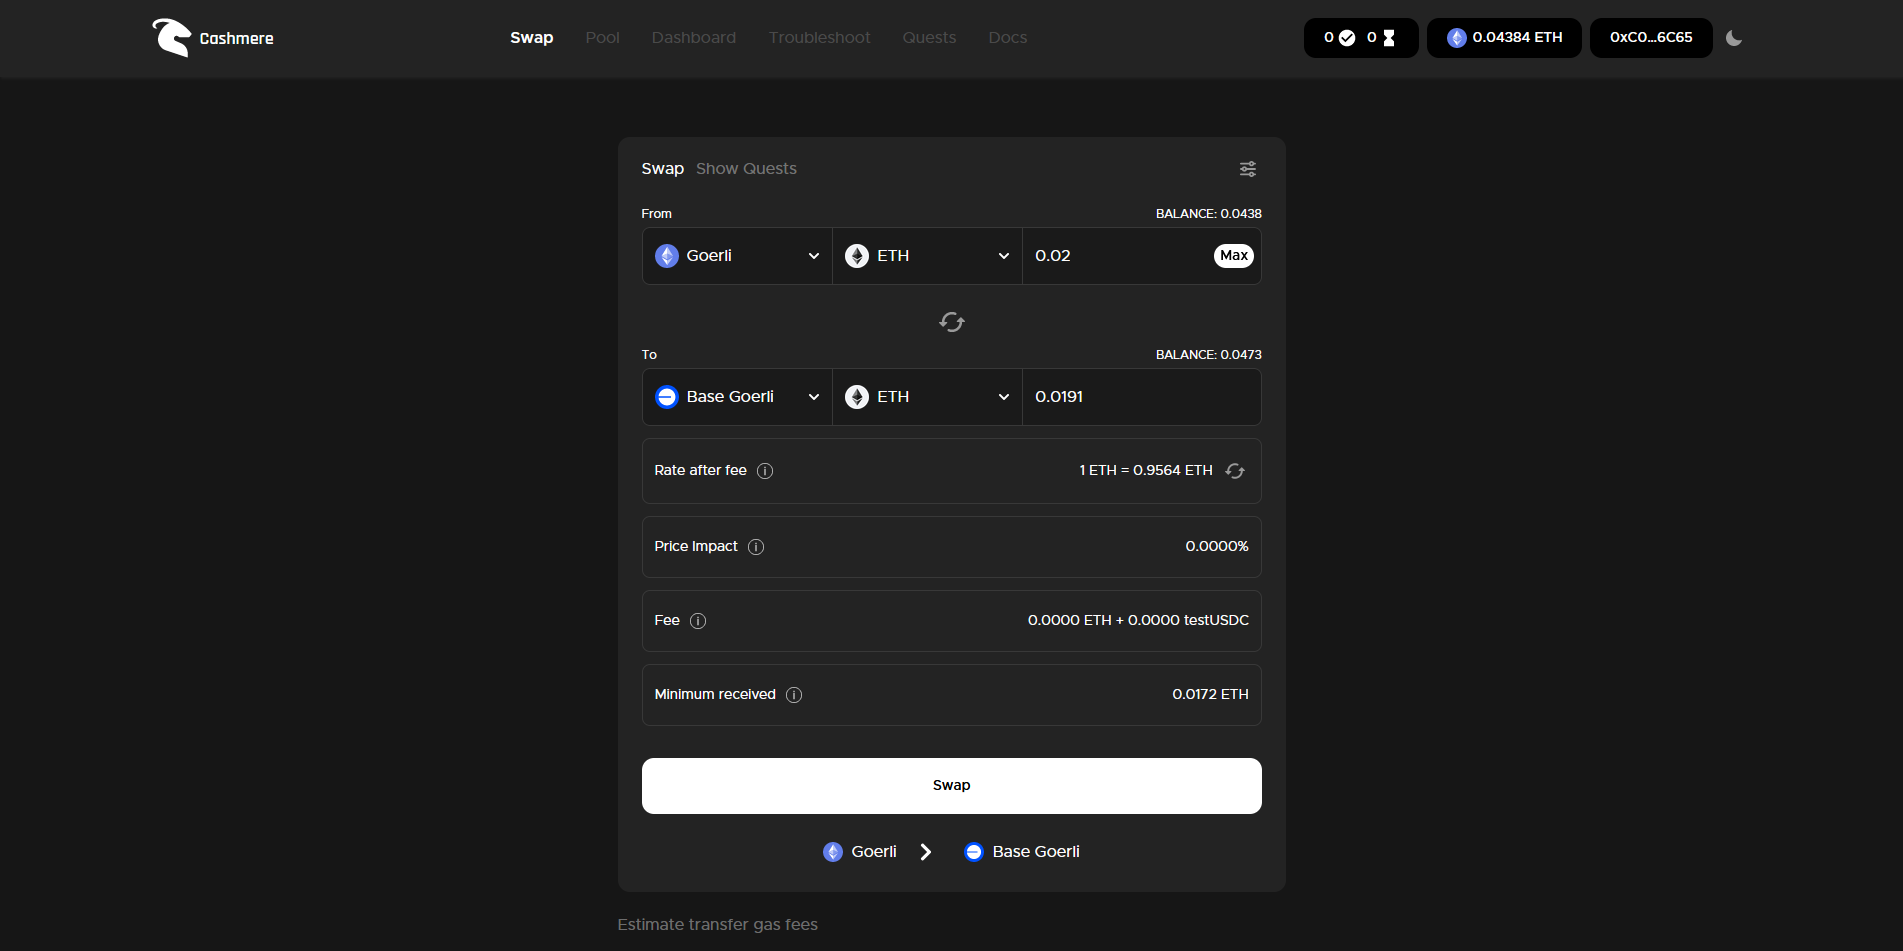
To do this, go to testnet.cashmere.exchange/swap and connect your wallet.
Select the tokens: From "Goerli" to "Base Goerli".
Insert an amount and hit "Swap".
Step 3
Now let's explore Pools.
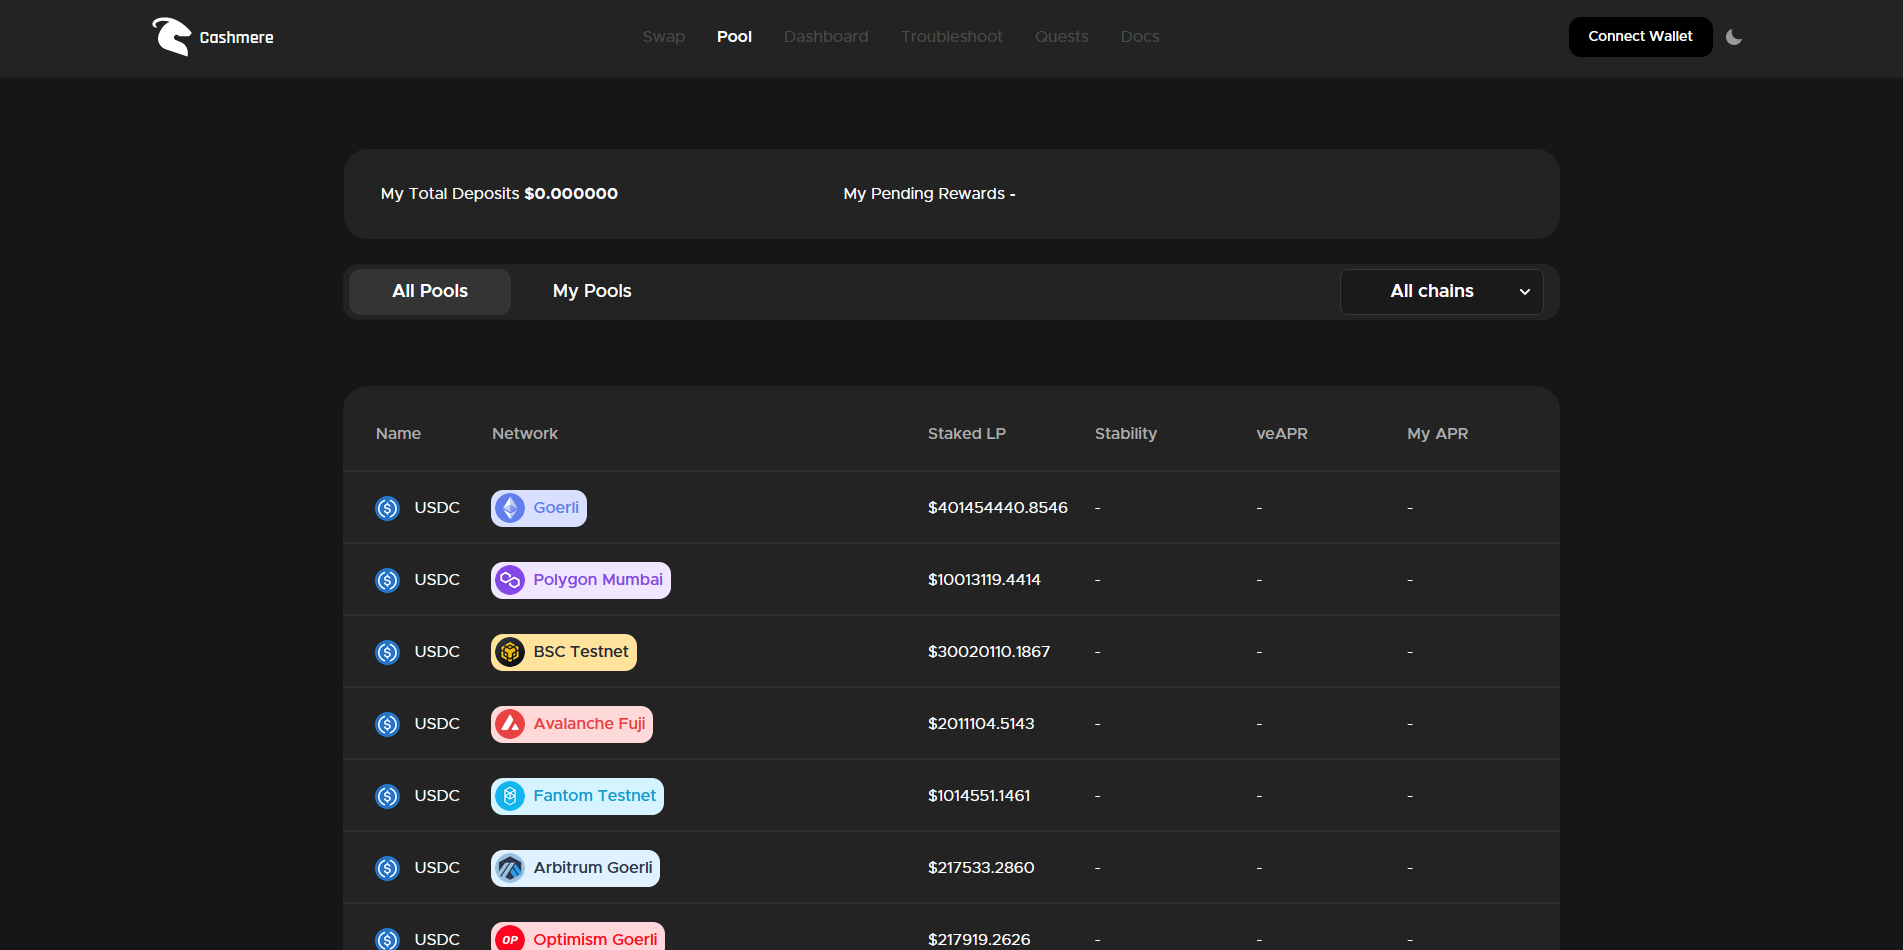
Head over to testnet.cashmere.exchange/pool and connect your wallet.
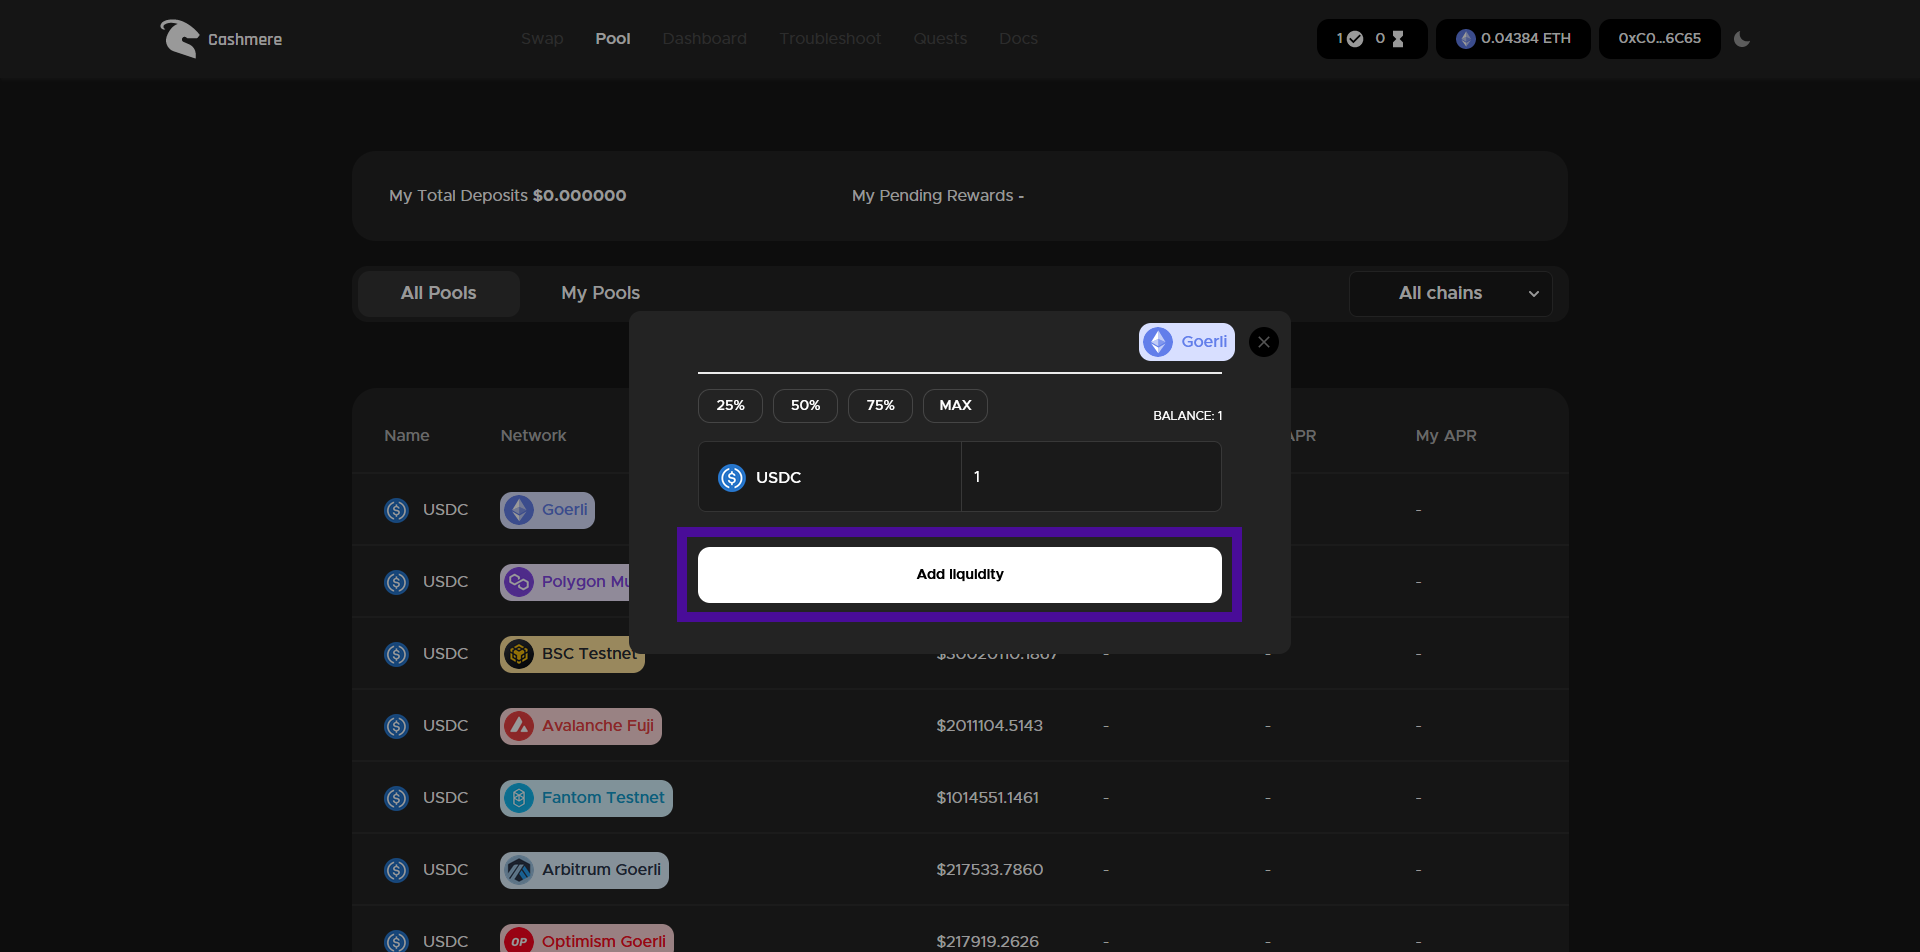
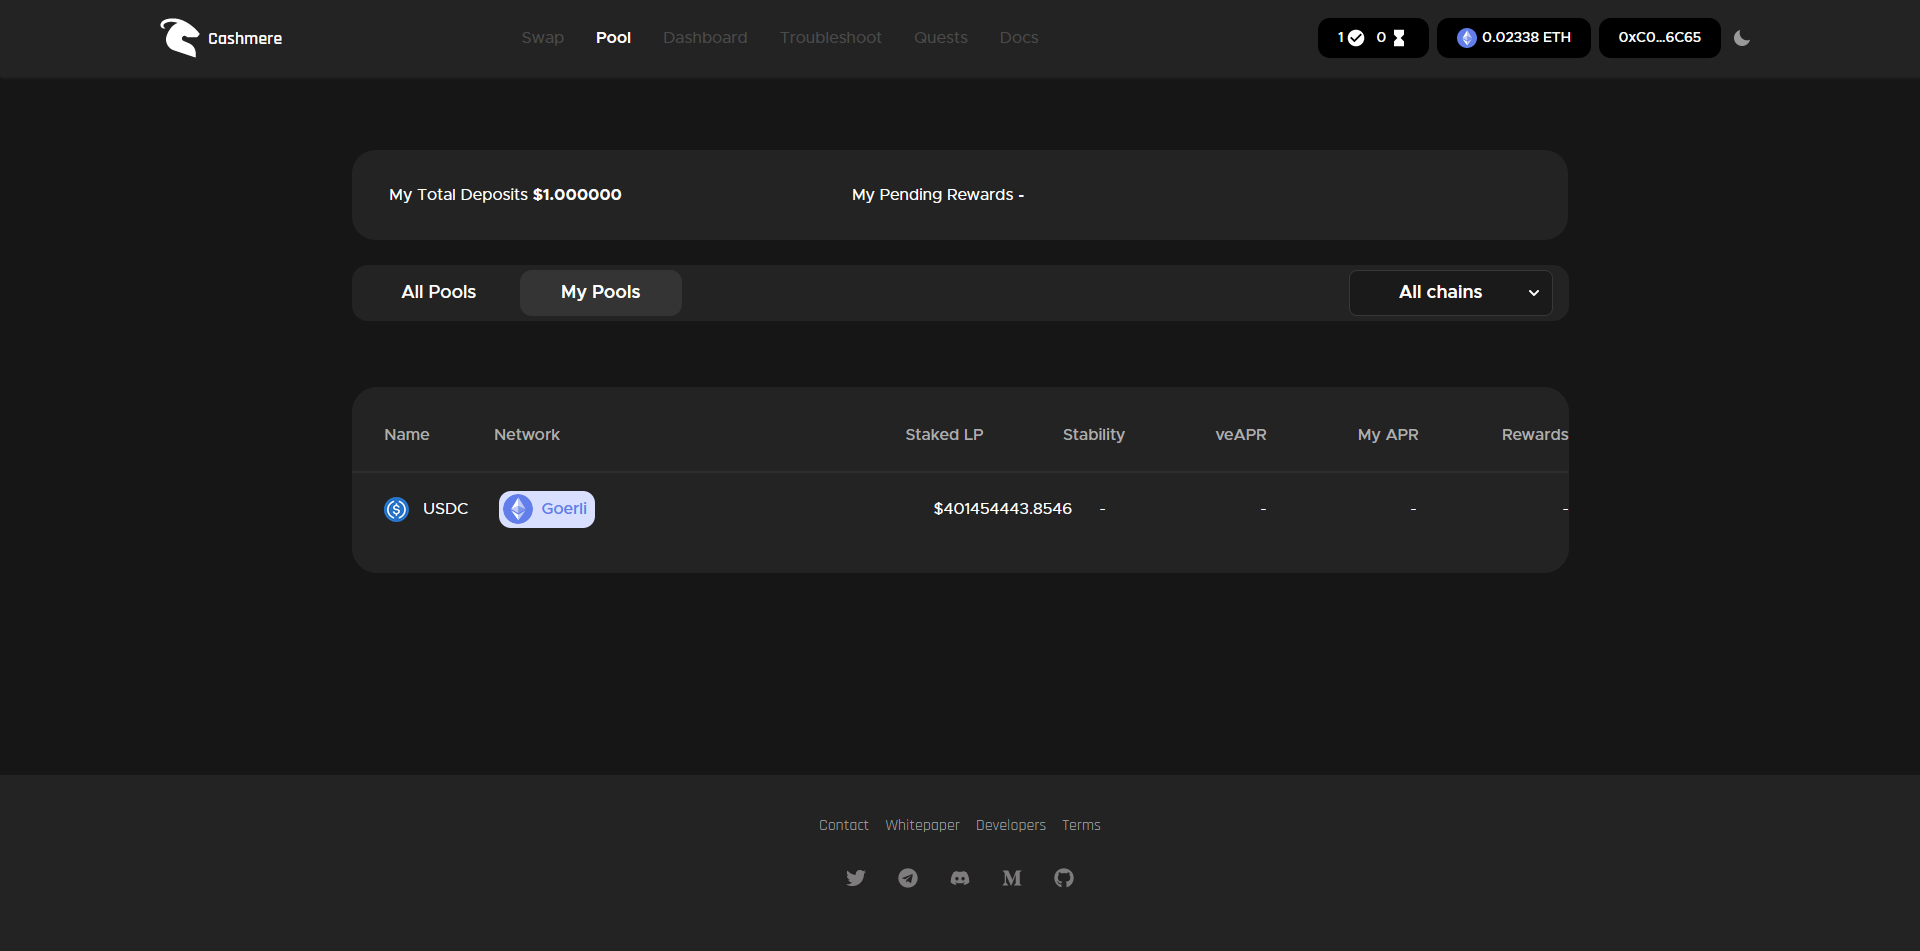
Select the "Goerli" pool, insert available amount of USDC and hit "Add liquidity".
Step 4
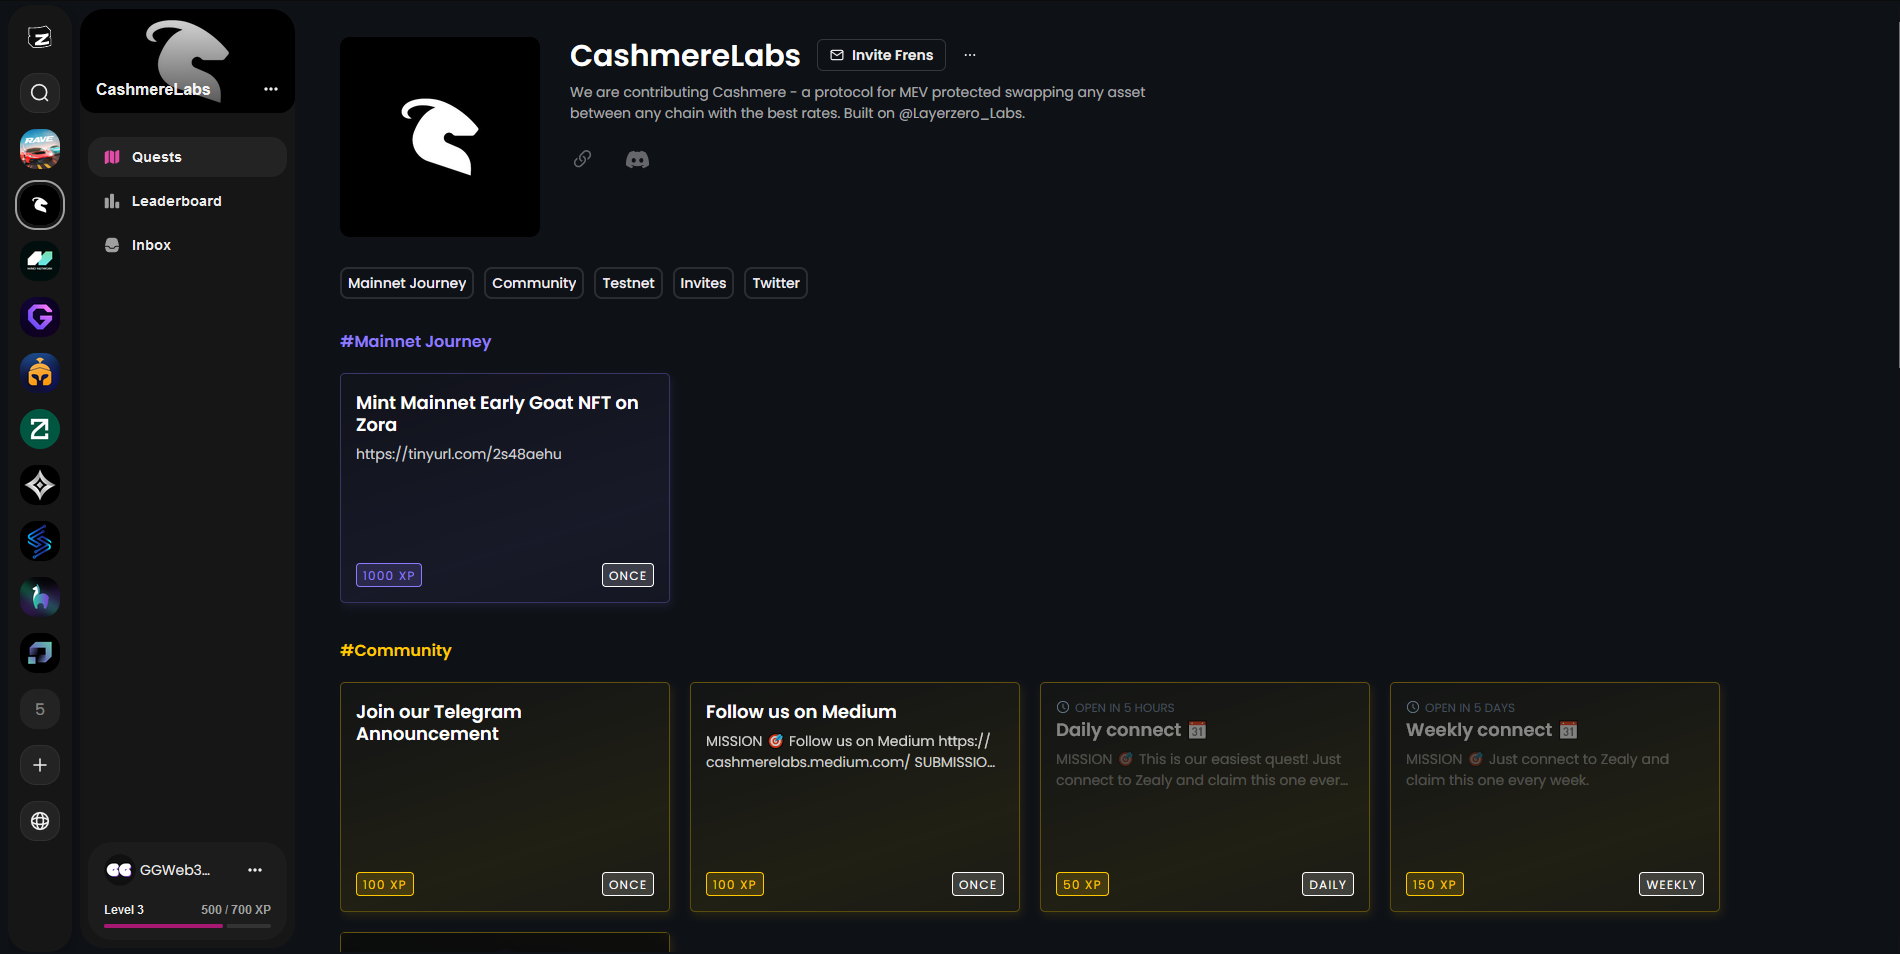
Now let's head over to the Zealy tasks: zealy.io/c/cashmerelabs
Step 5
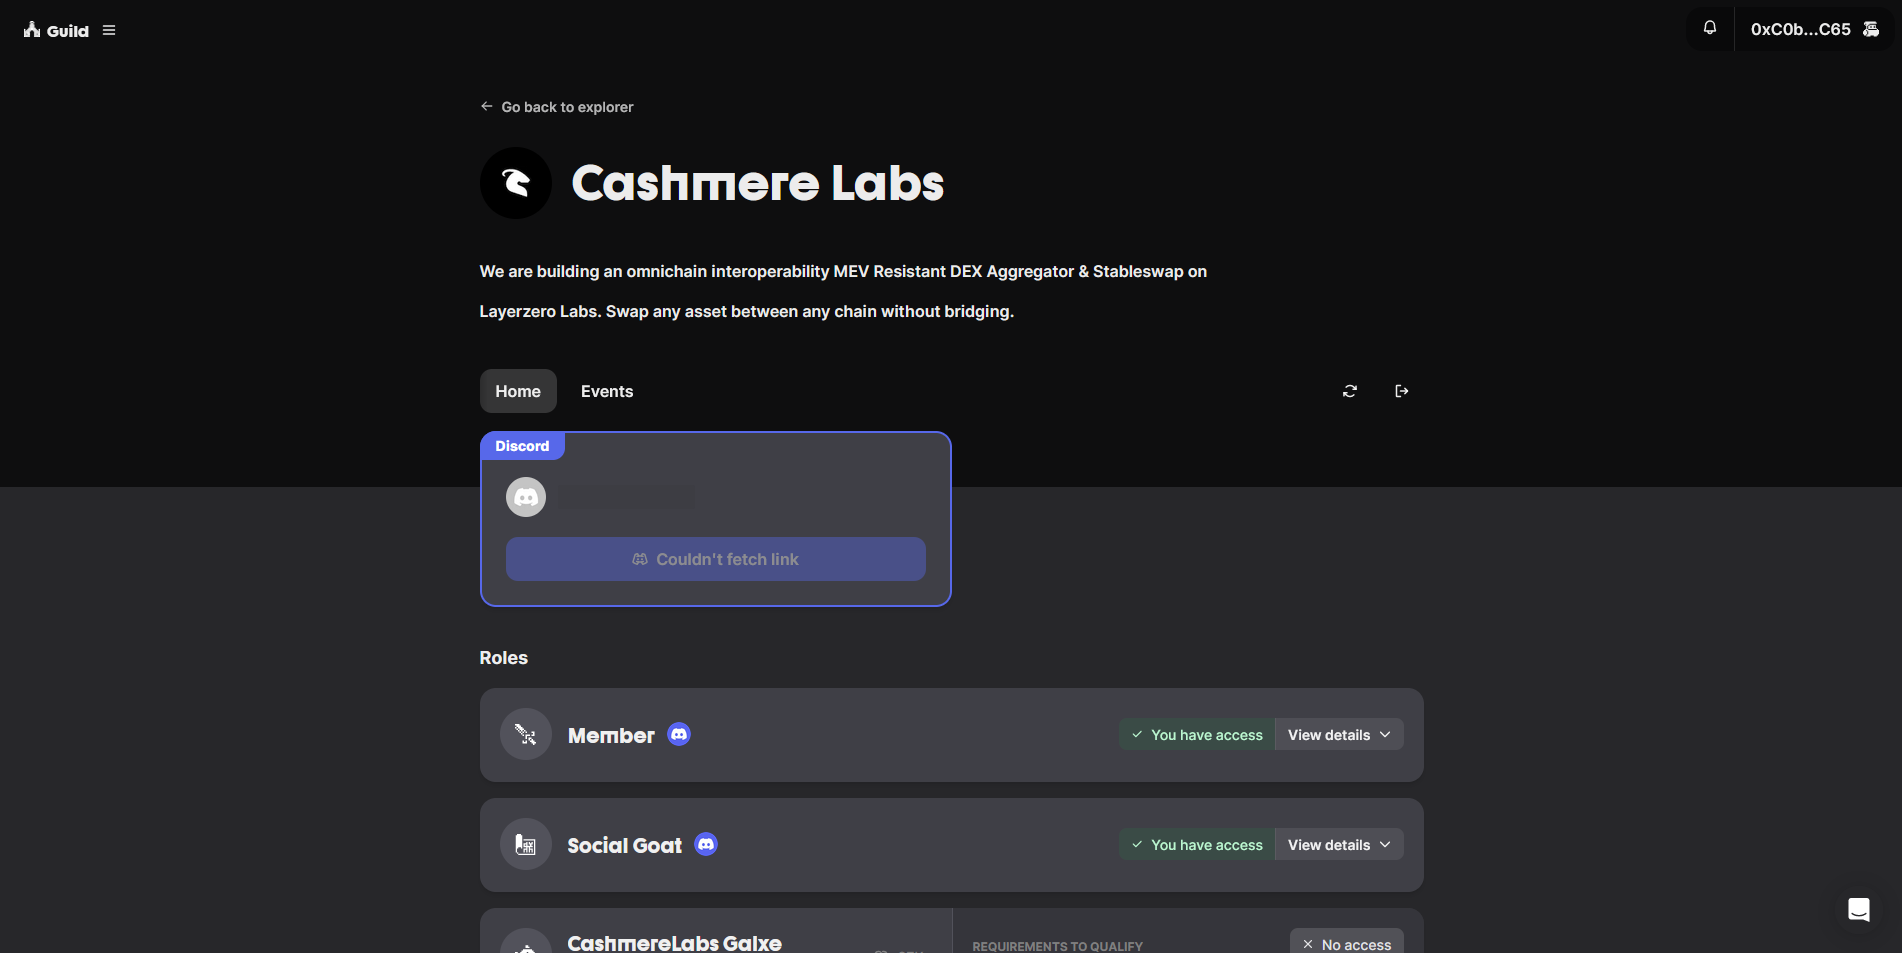
Finally, let's go to the Guild and complete some more quick tasks.
Outro
If you found this guide helpful and informative, consider sharing it on social media. You can also stay updated on the latest content and discussions by following us on X (formely Twitter): @BitBlogxyz
Disclaimer: This guide is provided strictly for educational purposes and should not be considered financial advice. The content is designed to offer insights into various web3 topics & projects.
We do not recommend putting real money into random projects without conducting plenty of your own research first. It is crucial to make informed decisions based on your own understanding and risk tolerance.