How To Interact With The Layer Zero Mainnet
 BitBlog
Published: Apr 10th, 2023
Introduction
In this guide I will show you how to interact with the LayerZero mainnet which could position you for a potential airdrop!
LayerZero serves as a configurable on-chain endpoint within the User Application (UA) framework, functioning through a ULN (User-Level Network). Its operation relies on the collaborative efforts of two key participants: the Oracle and the Relayer.
When a UA initiates a message transmission from one blockchain (chain A) to another (chain B), the message undergoes routing via the endpoint residing on chain A. This action prompts the endpoint to inform the designated Oracle and Relayer associated with the UA about the message content and its intended recipient blockchain.
Subsequently, the Oracle takes charge by relaying the block header to the endpoint situated on chain B. Simultaneously, the Relayer steps in and provides the transaction proof. Following this, the validity of the proof is assessed on the destination blockchain, ultimately leading to the forwarding of the message to the specified destination address.
Step 1
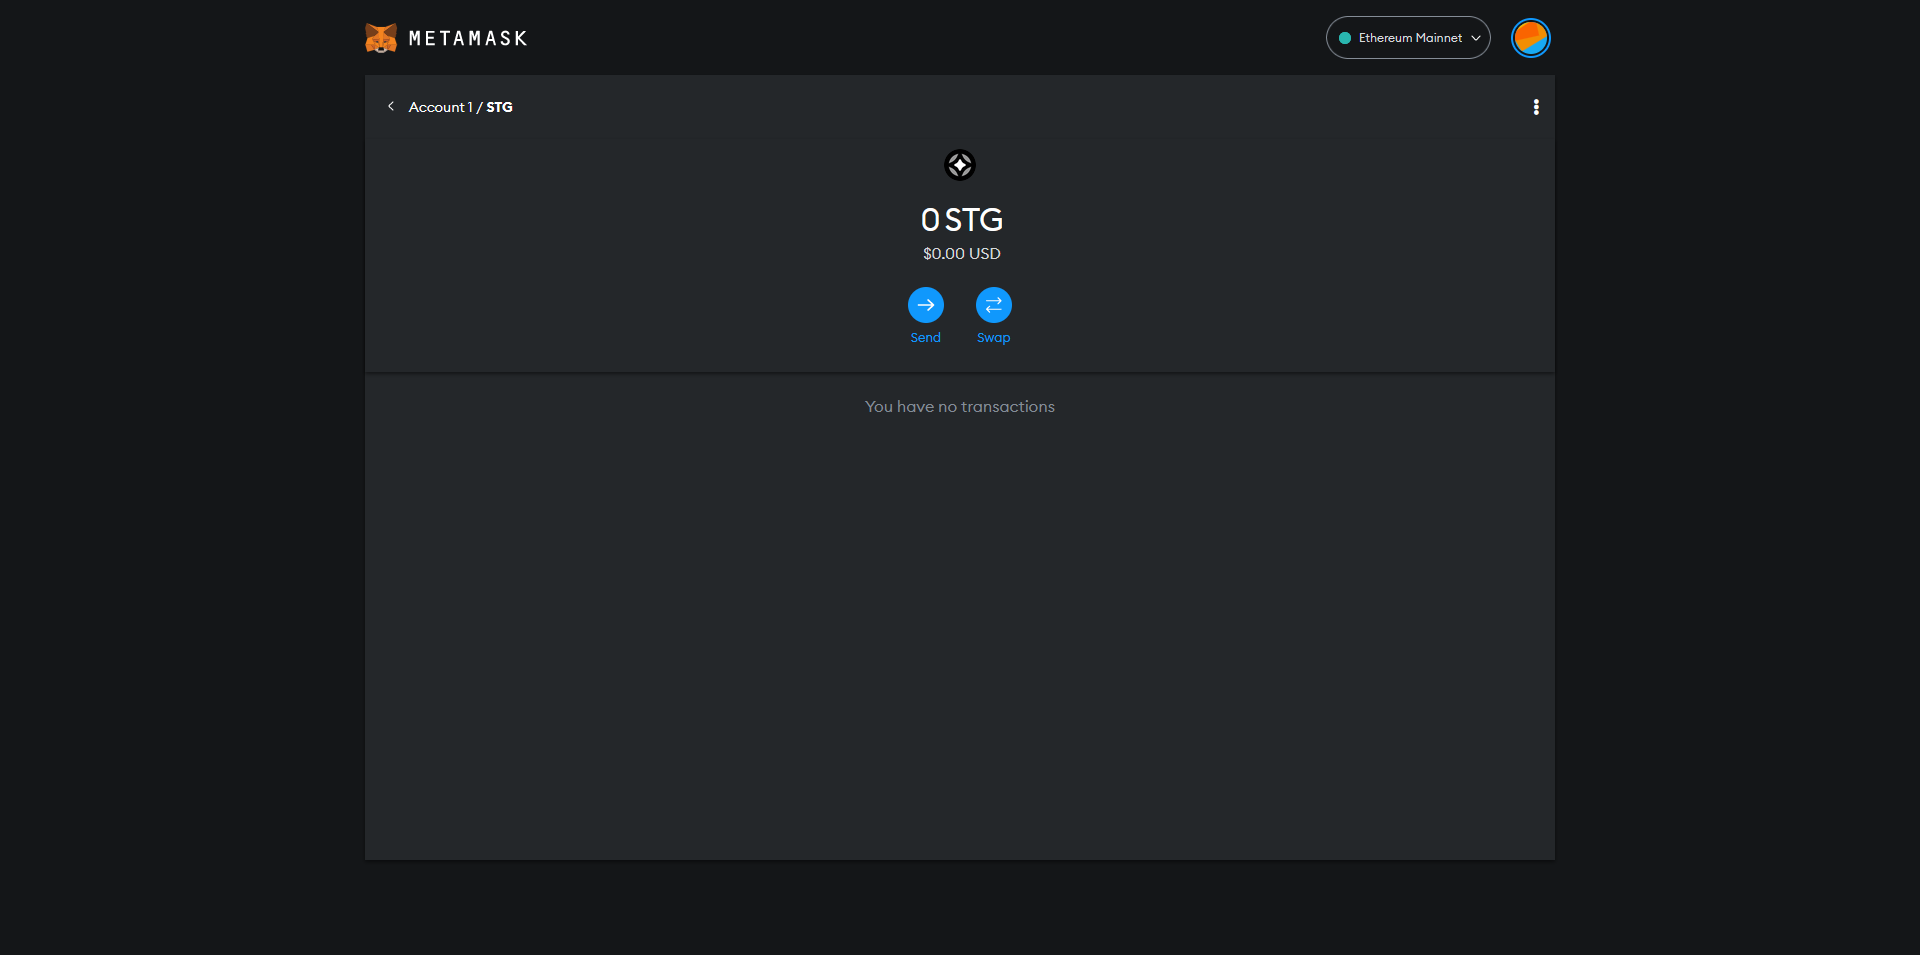
First, let's add STG to our MetaMask wallet.
If you don't have a MetaMask wallet you can follow our quick guide here: How To Setup MetaMask
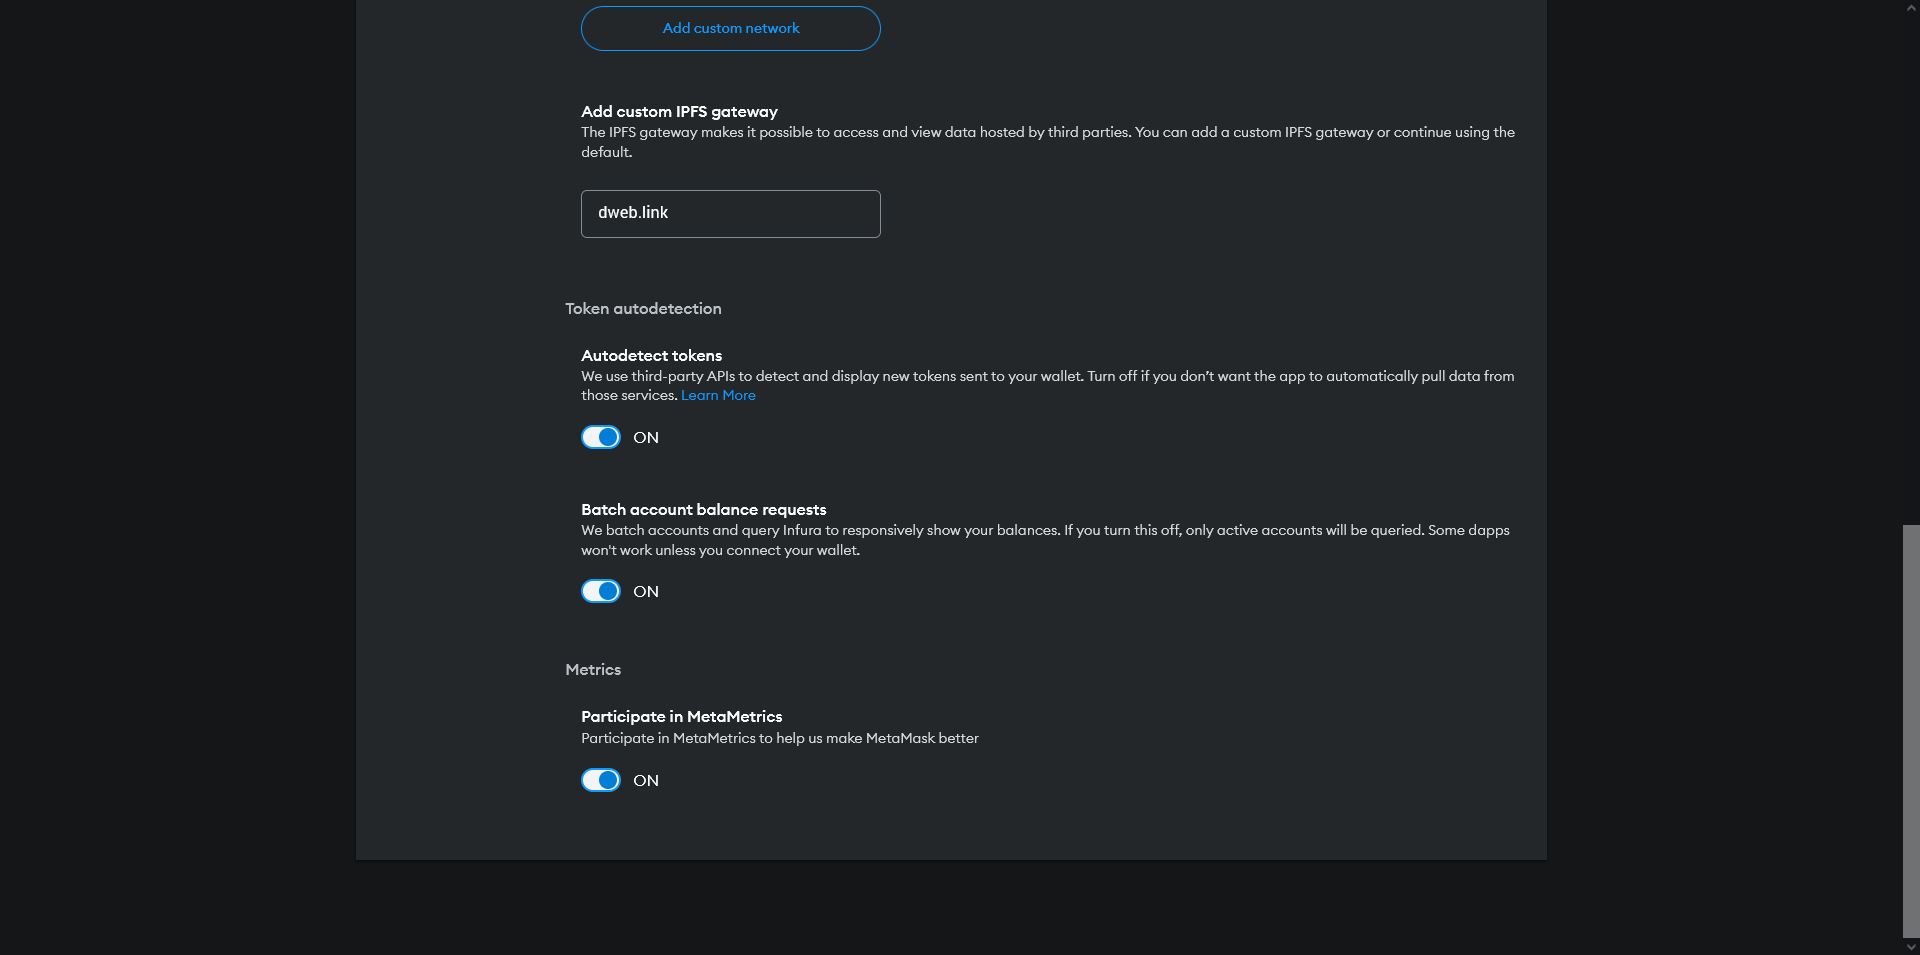
Open MetaMask and go into Settings, select "Security & privacy" on the left, now scroll down and enable the "Autodetect tokens" toggle.
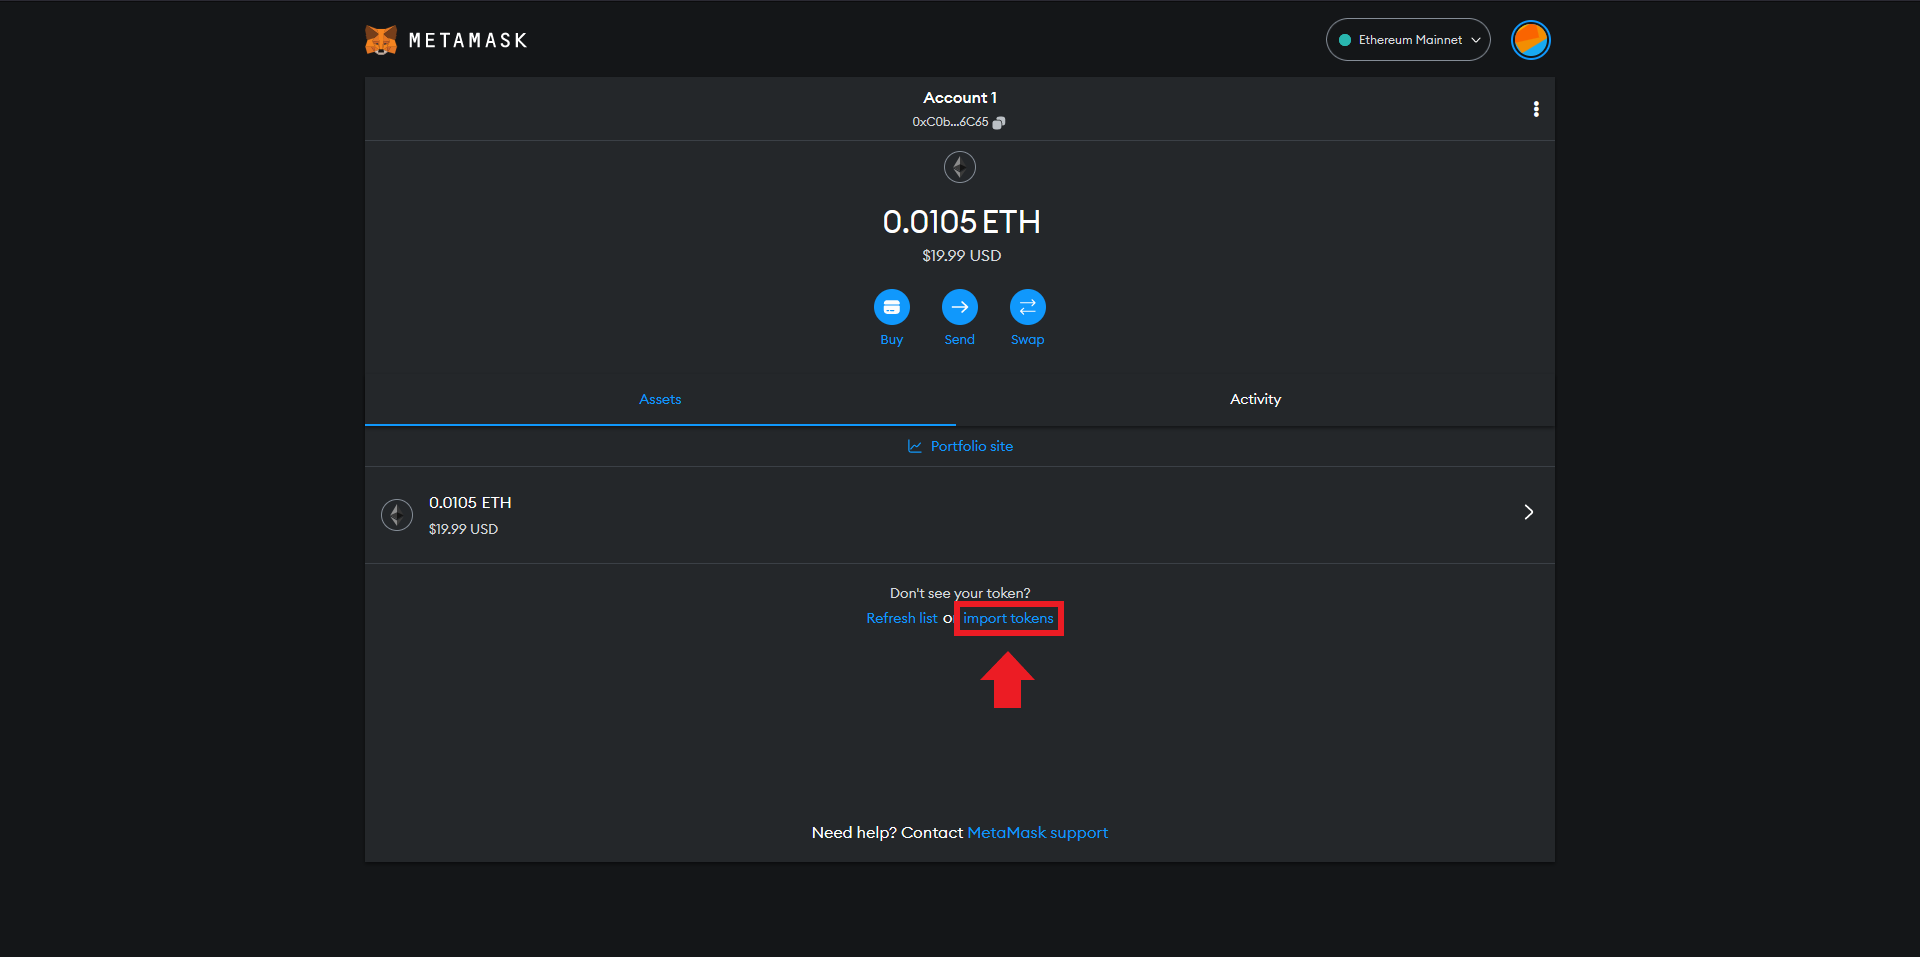
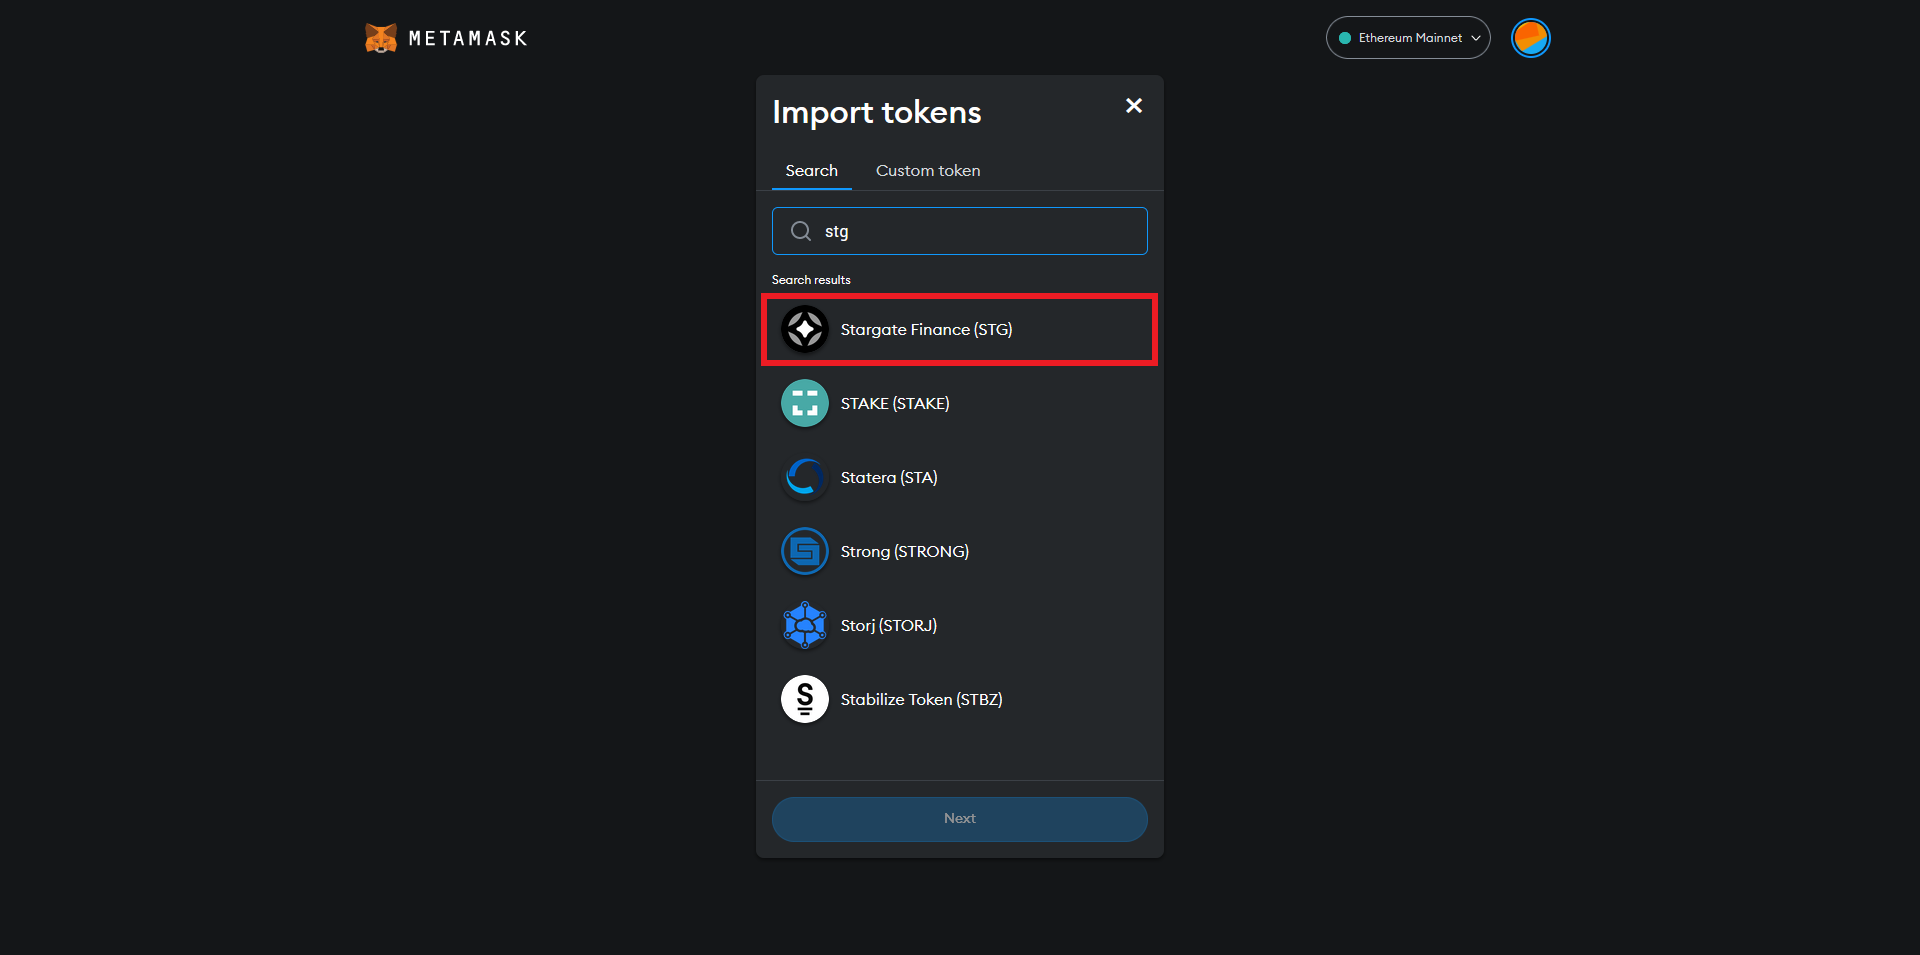
Now exit settings and select "import tokens" at the bottom.
Type STG and select "Next".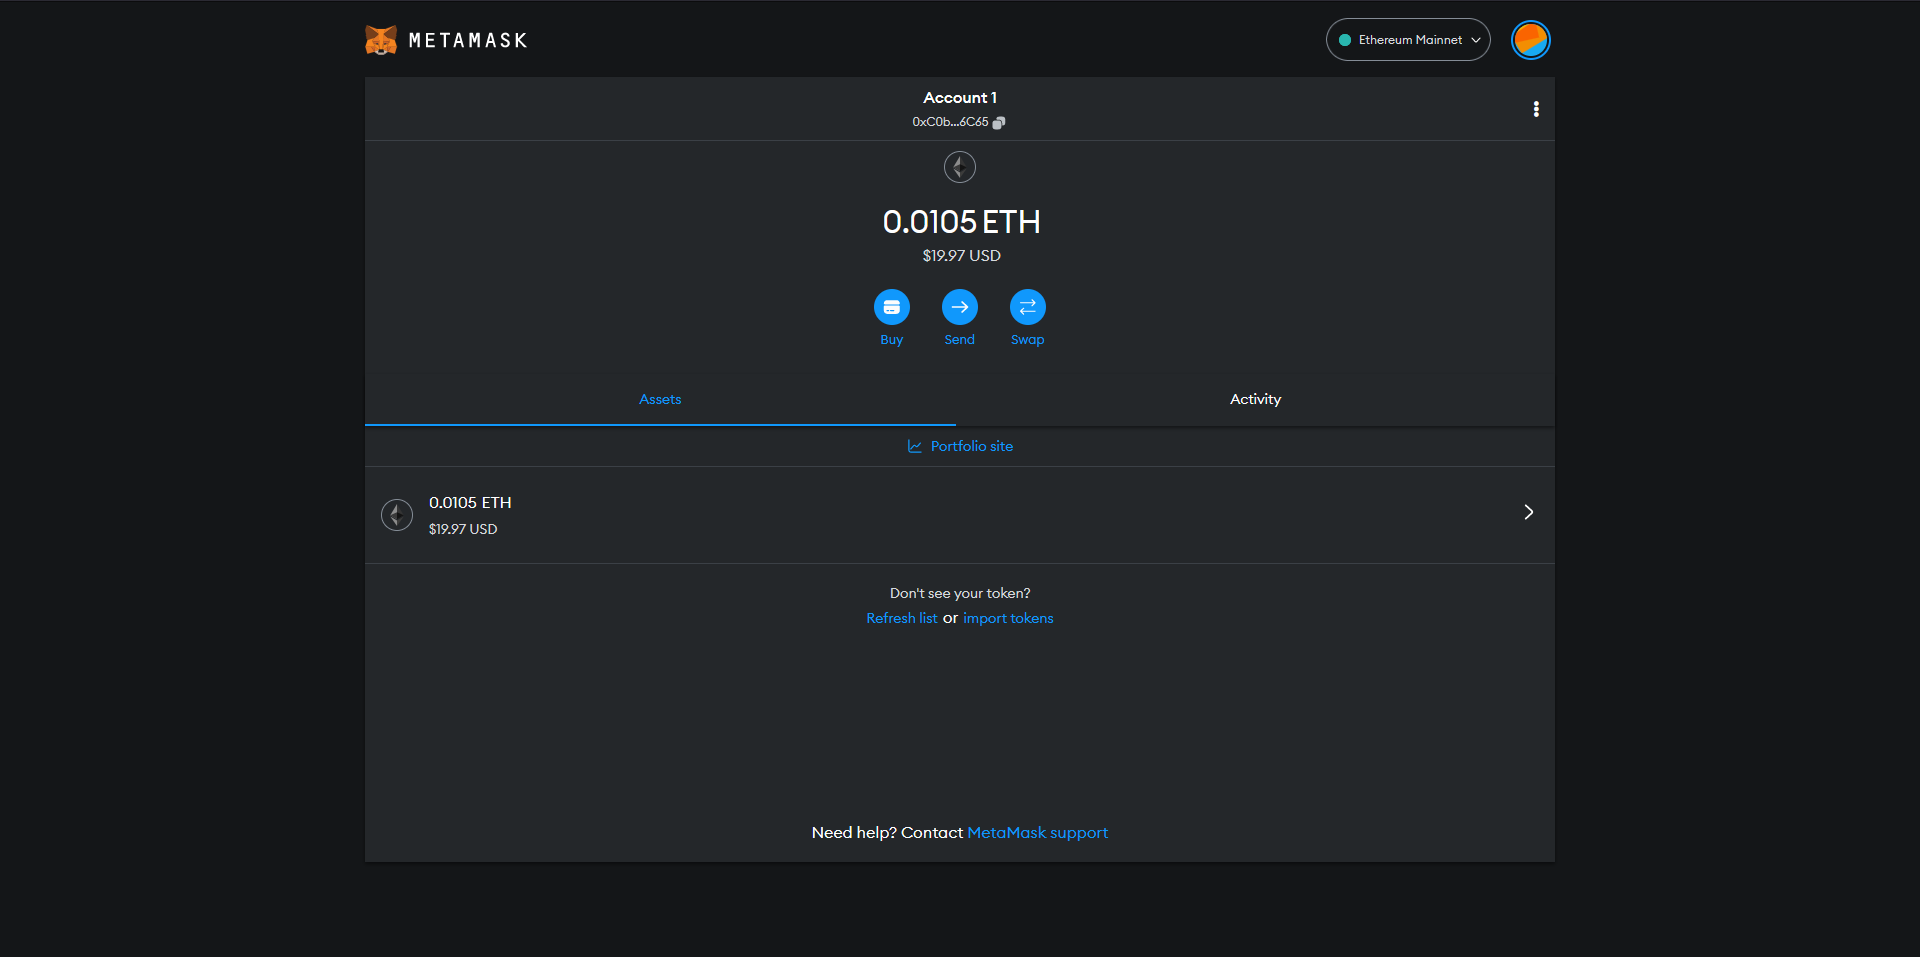
Step 2
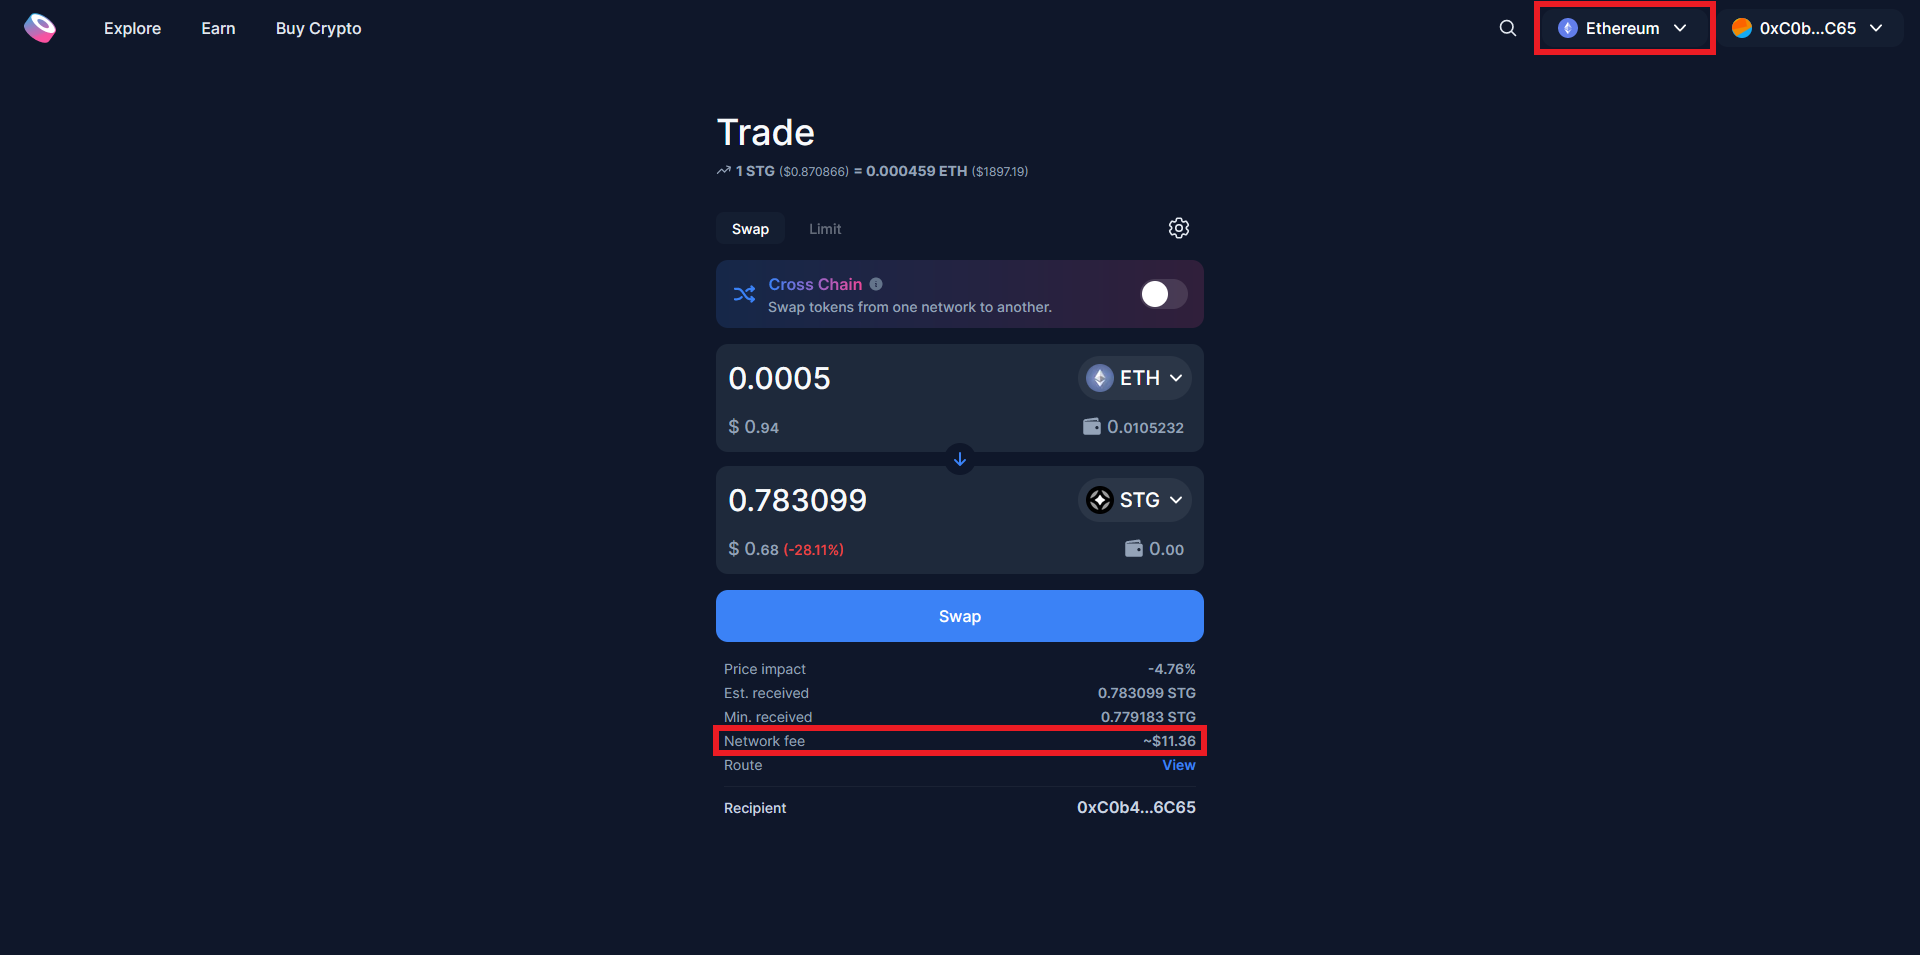
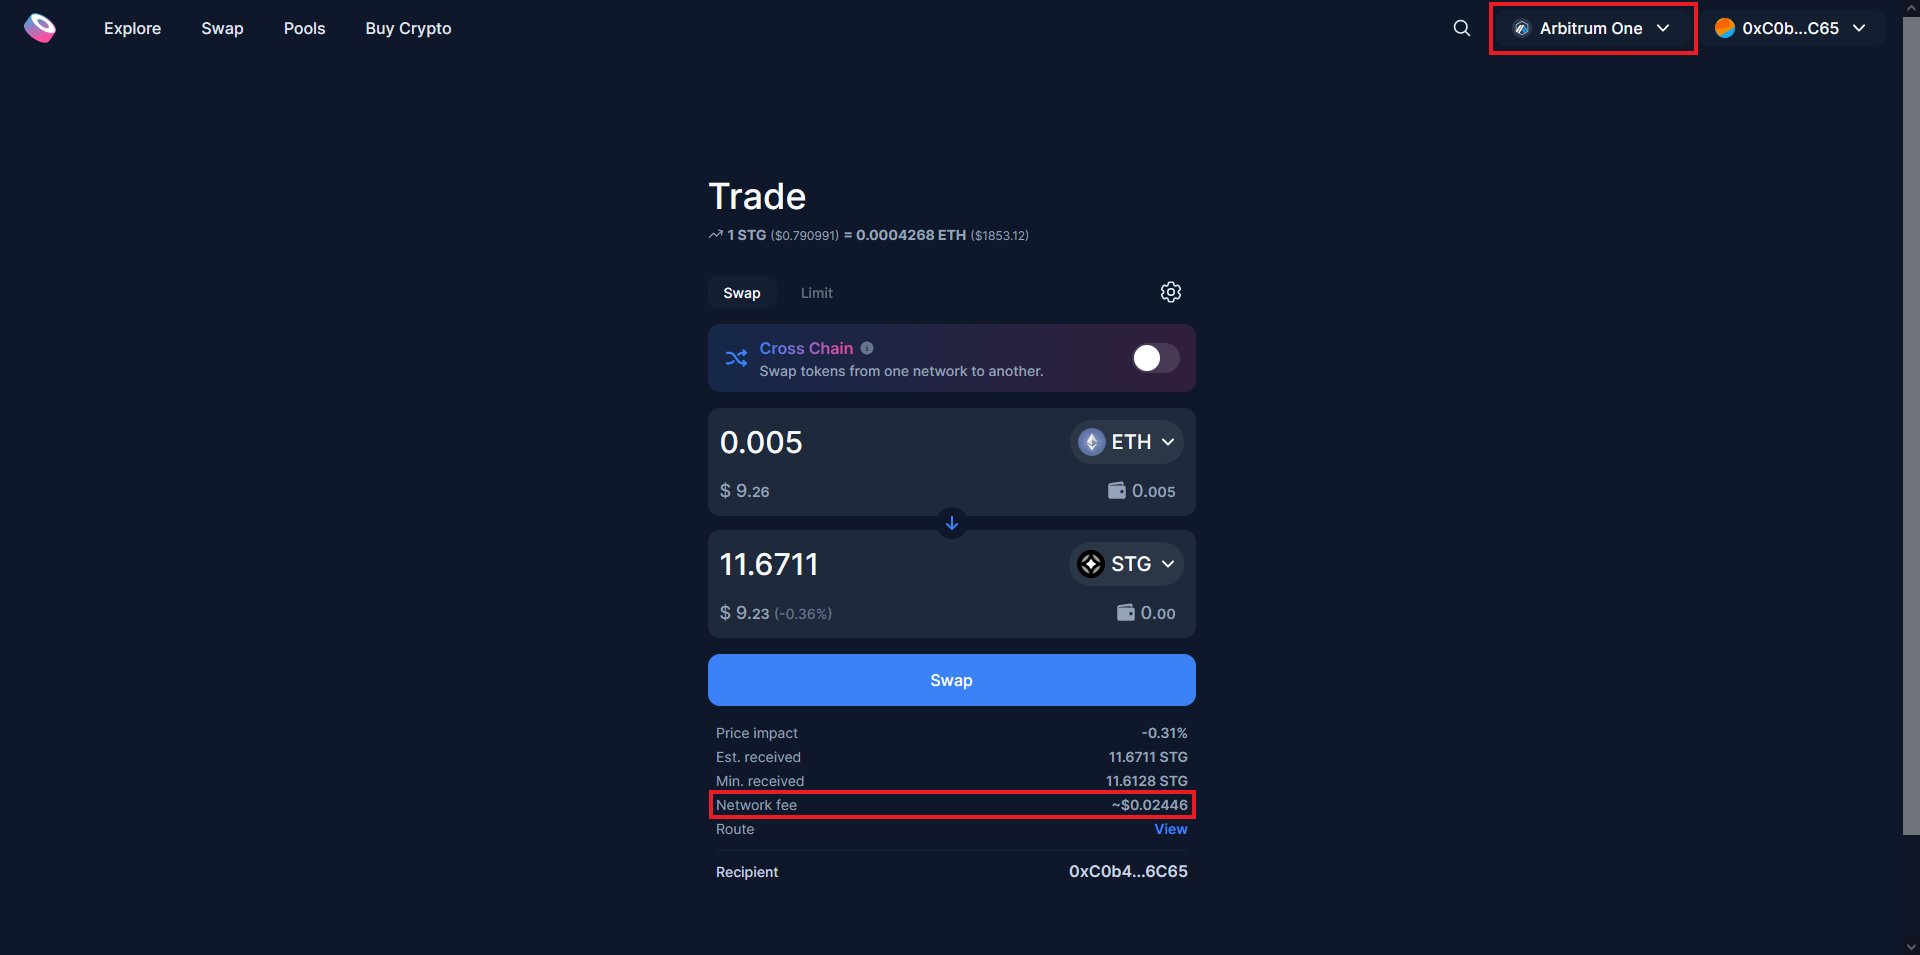
Option 1: Head over to Sushi Swap & connect your wallet.
Next, enter an amount of ETH to swap for STG.
Network fee's when using Ethereum can be really high at certain times of the day depending on where you live, so you should keep an eye on that and try to find the best time for you.
If you want to do this on Arbitrum One, for potentially lower fee's instead of Ethereum, please keep reading.
Option 2: You can also do the previous step using Arbitrum One for potentially lower fee's, but you will need to add Arbitrum to your MetaMask wallet, to do this you can follow our quick guide here: How To Add Arbitrum To MetaMask
Now go to bridge.arbitrum.io, connect your wallet & bridge ETH to Arbitrum One. (see image example below)
Transaction can take up to 15 Mins.
Once thats complete we can go back to Sushi Swap and switch from Ethereum to Arbitrum One in the top right-hand corner.
After you switch to Arbitrum One, you'll notice the fee's are now averaging at around $0.02!
If you used this method, you can go to step 3 now.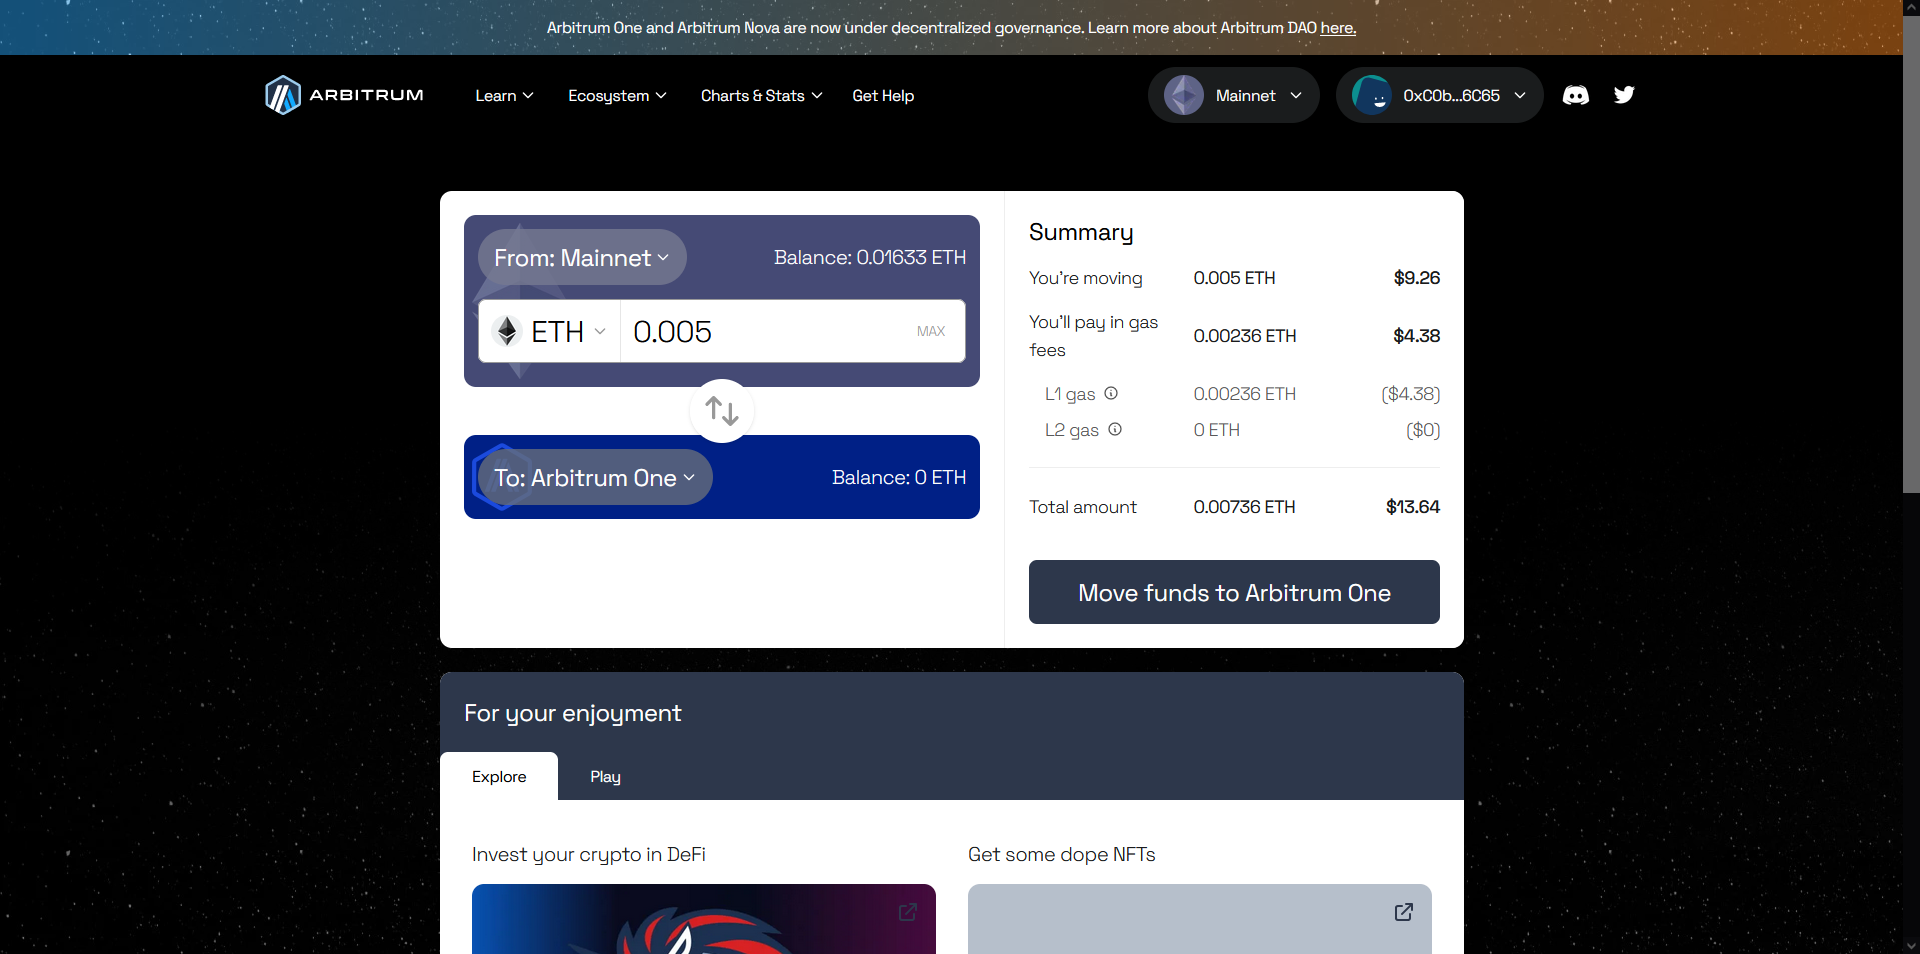
Step 3
Now let's Stake our STG!
Go to Stargate.finance/stake & connect your wallet.
You should now see your available STG tokens.
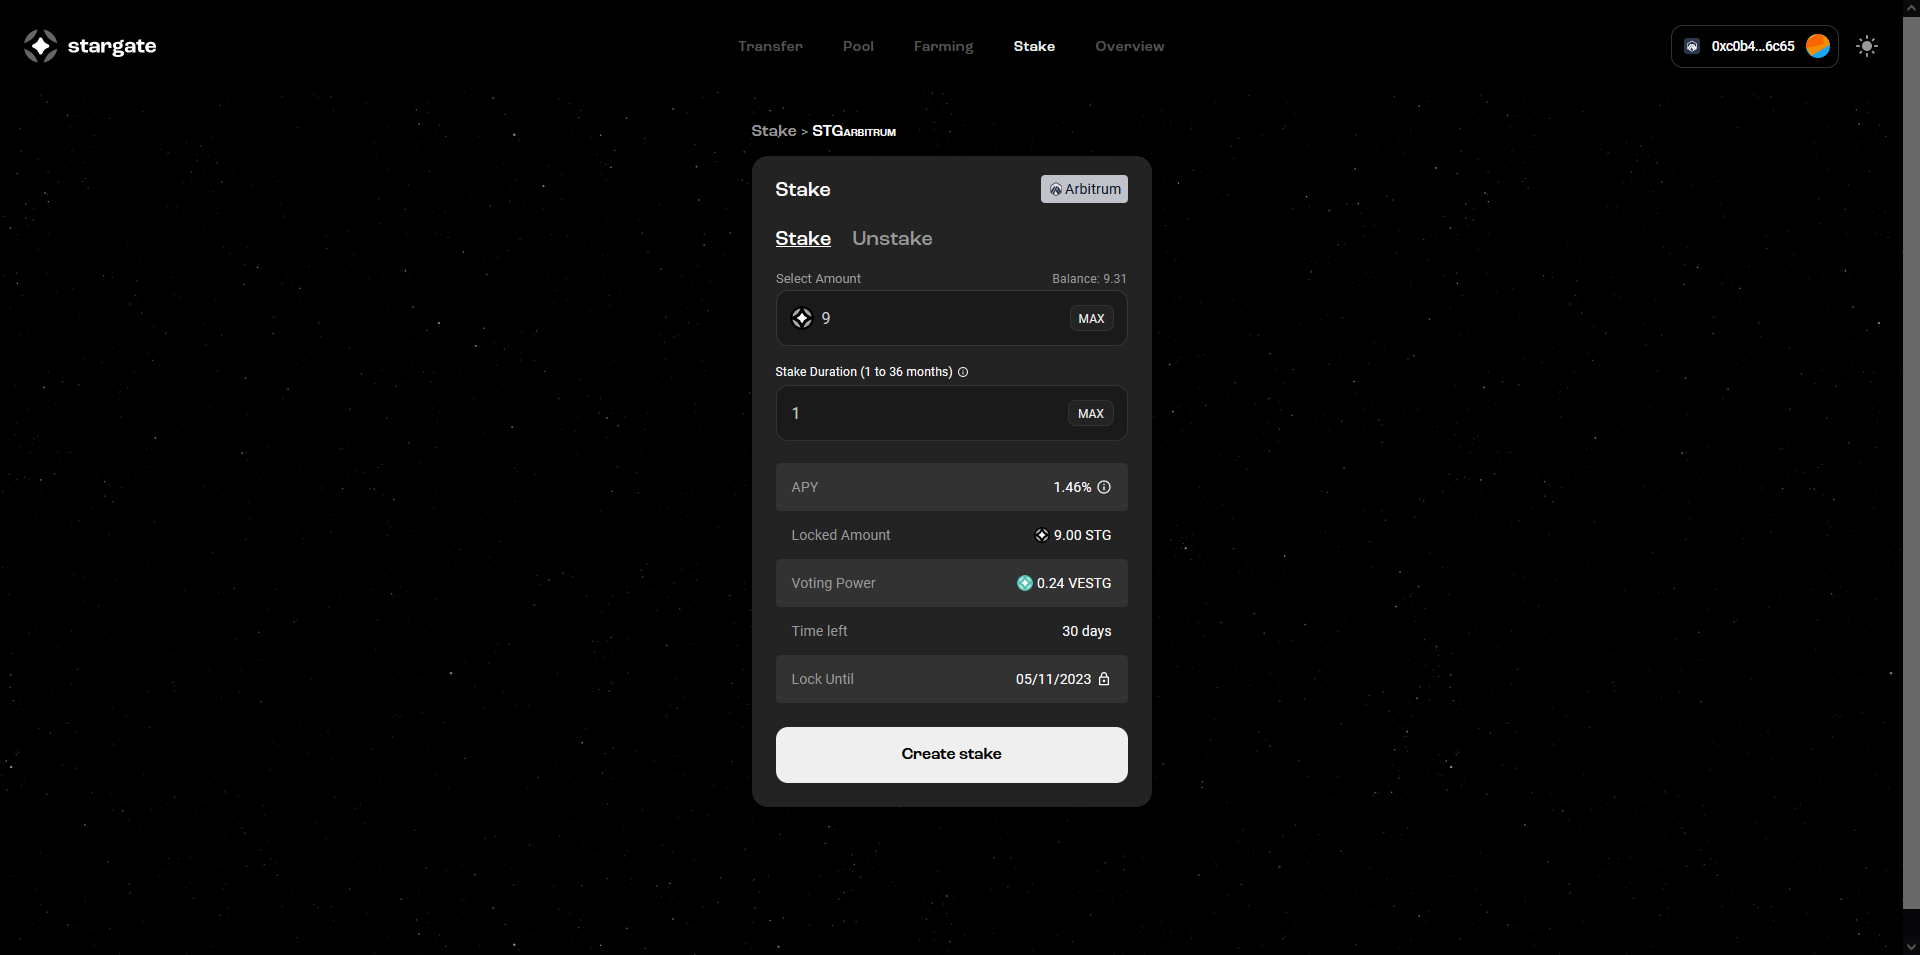
Select your STG, & then input how much you want to stake and for how many months, then select "Create Stake" & confirm the transactions.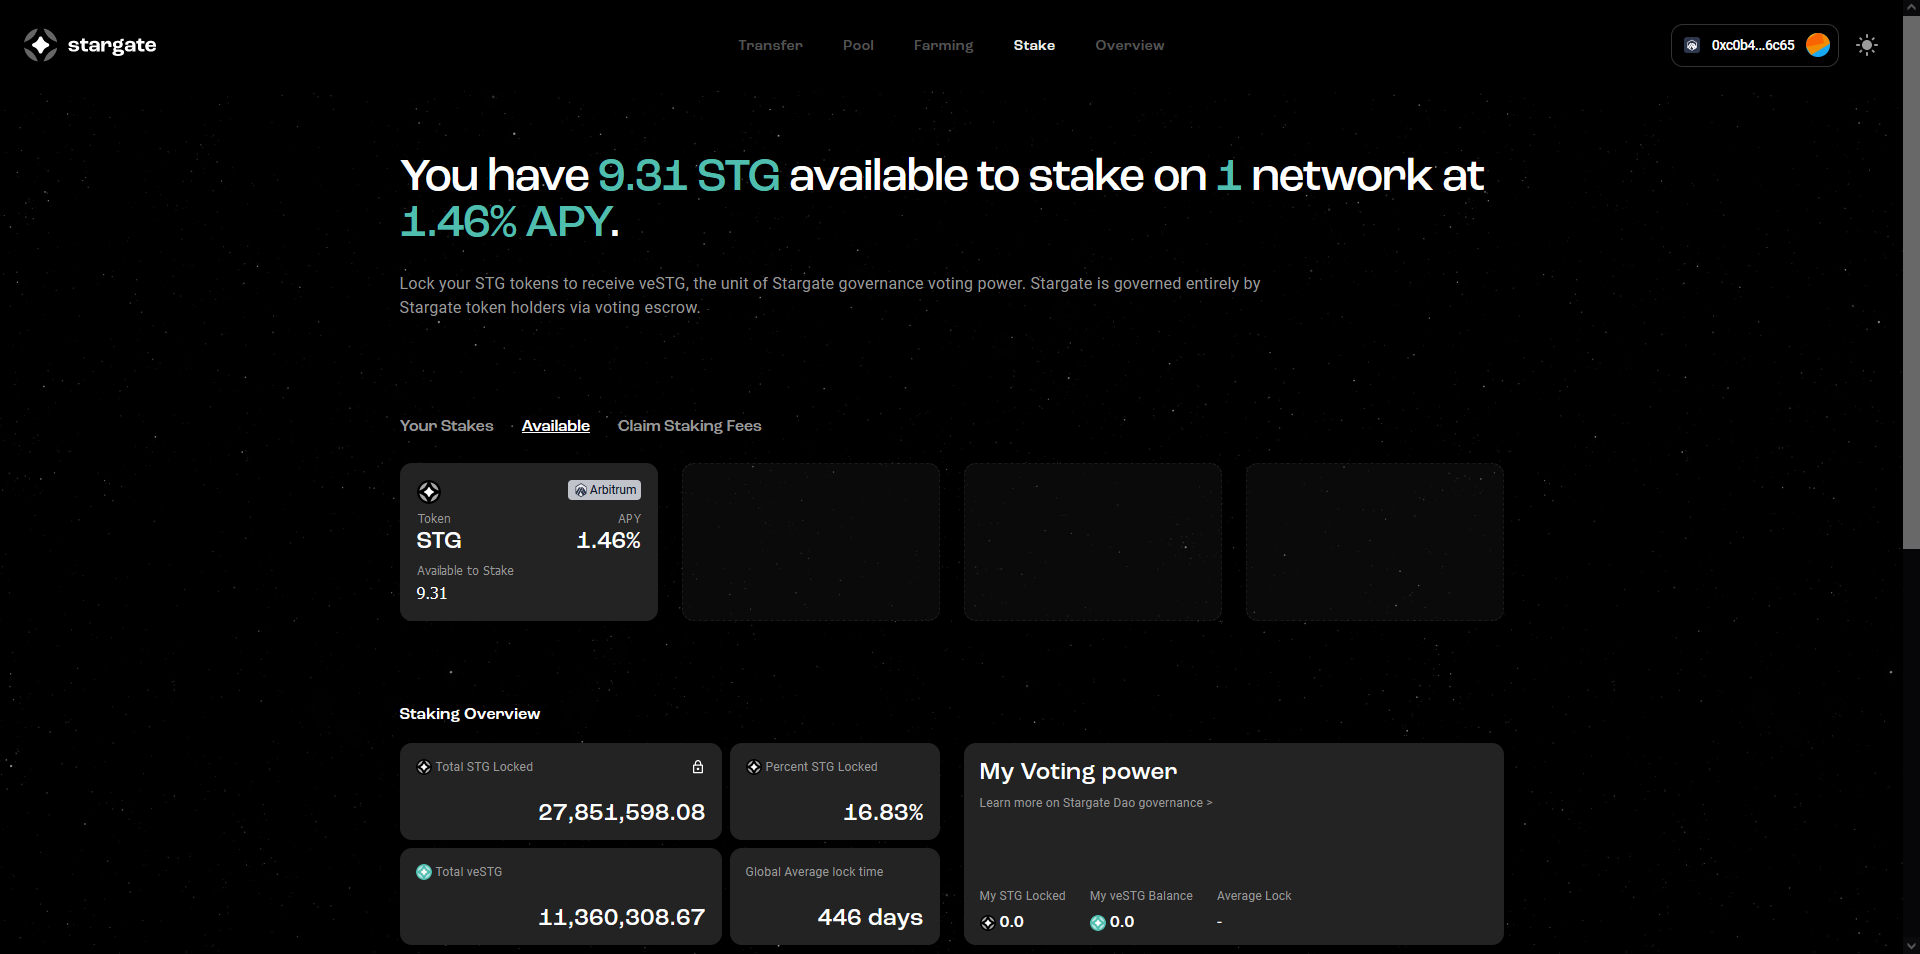
Step 4
Once you have STG staked, you can then go to Snapshot.org & vote on new proposals.
This will also increase your chances of receiving an airdrop!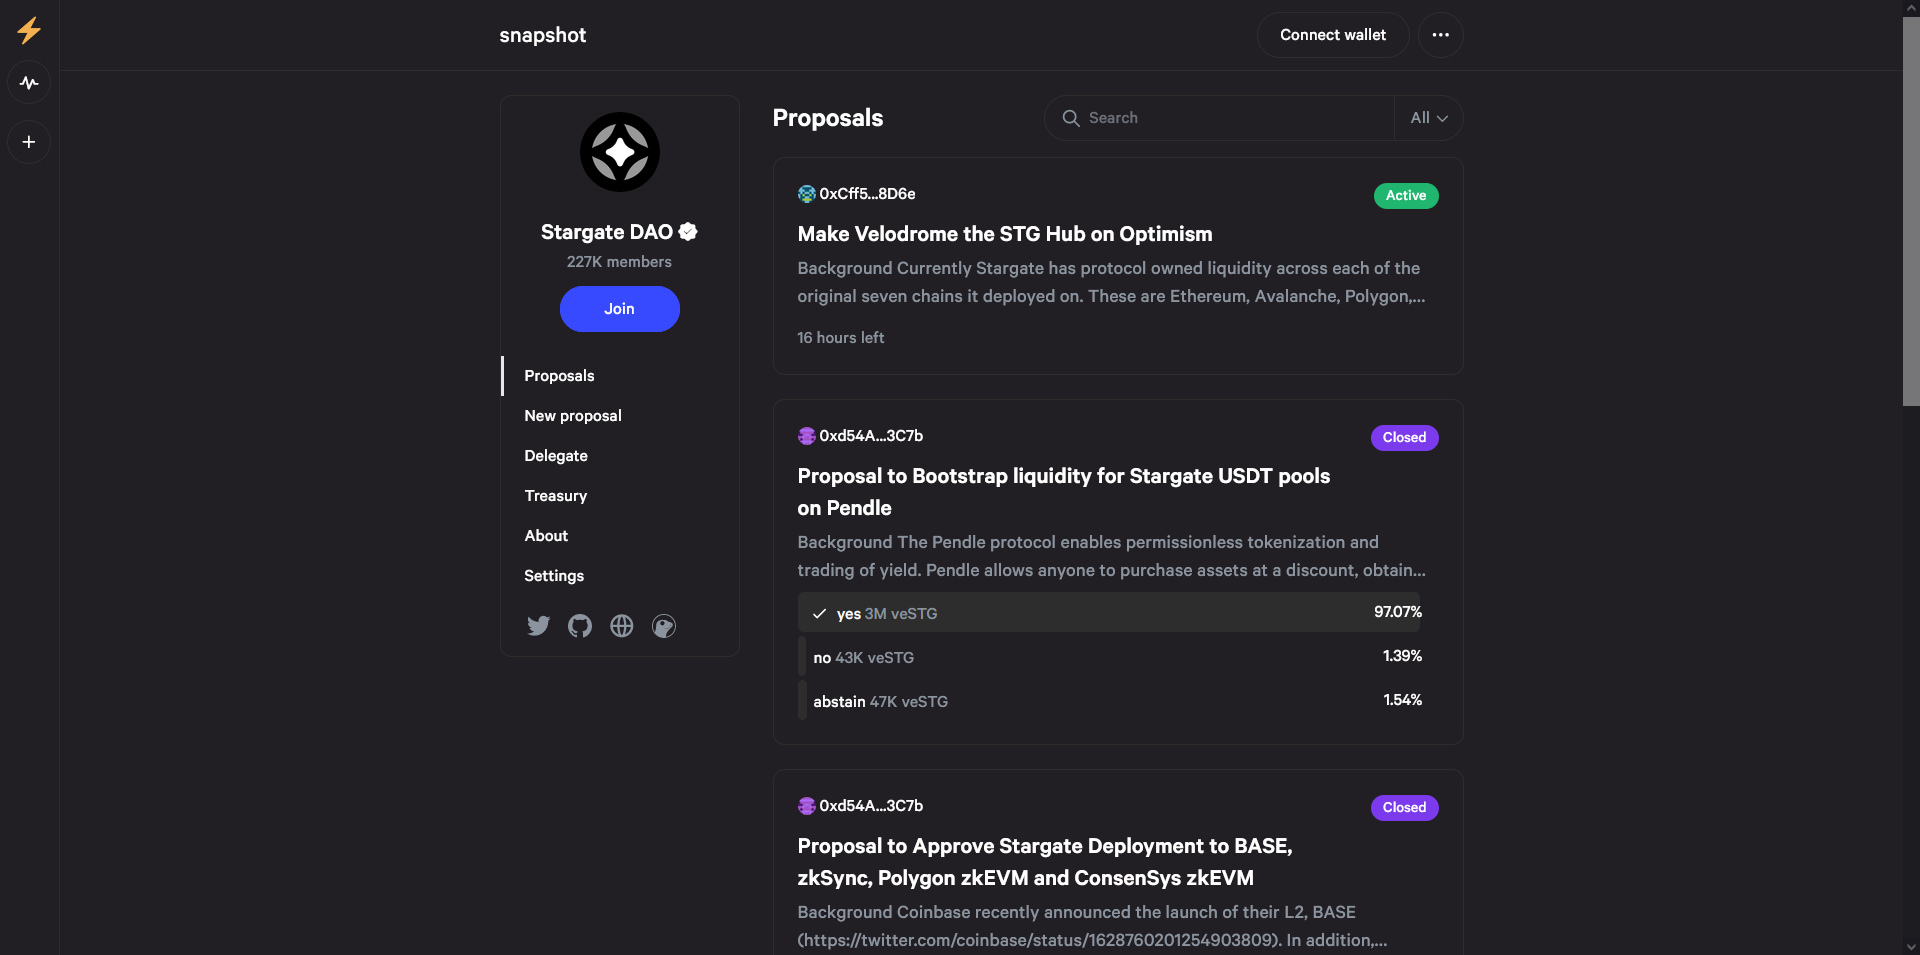
Step 5
Now let's check out another network interaction to increase our chances of a potential airdrop.
First, head over to theaptosbridge.com/bridge & connect both your MetaMask & Martian wallets.
Next, select any token on Arbitrum & any token on Aptos then click "Transfer".
Now bridge that token from Aptos back to Arbitrum, it's a good idea to repeat these swaps multiple times to gain more activity and have a bigger chance for an airdrop.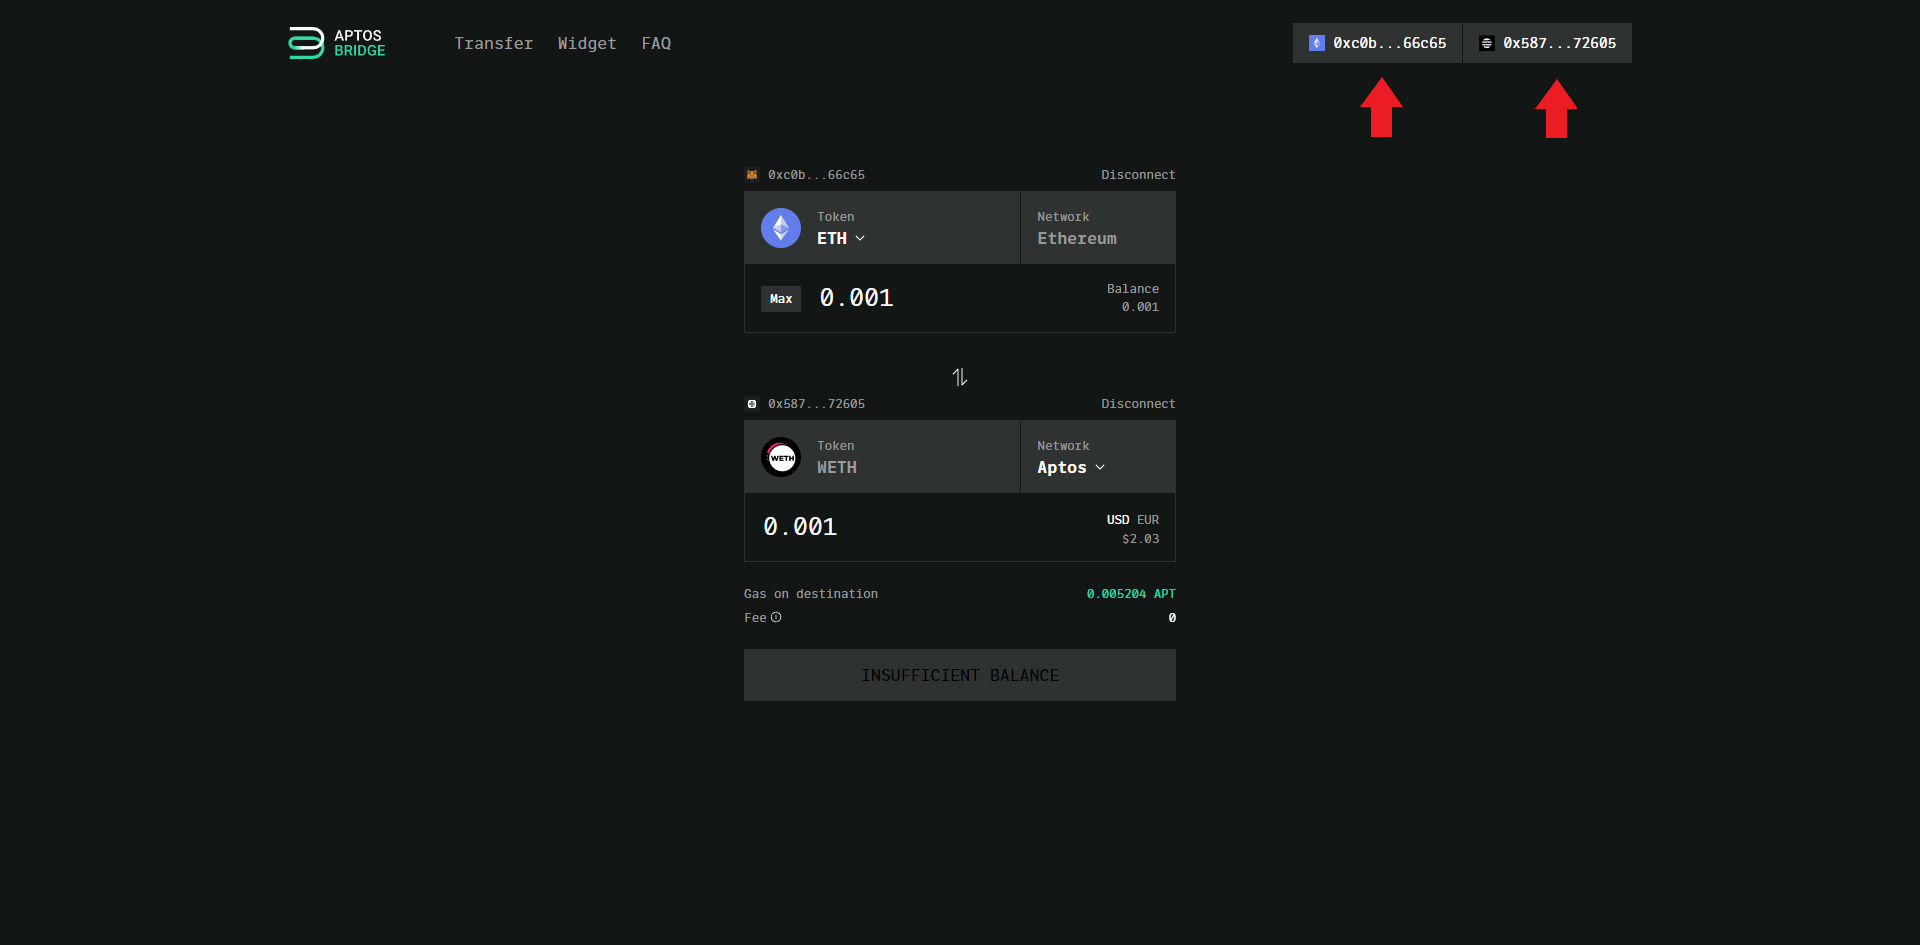
Outro
If you found this guide helpful and informative, consider sharing it on social media. You can also stay updated on the latest content and discussions by following us on X (formely Twitter): @BitBlogxyz
Disclaimer: This guide is provided strictly for educational purposes and should not be considered financial advice. The content is designed to offer insights into various web3 topics & projects.
We do not recommend putting real money into random projects without conducting plenty of your own research first. It is crucial to make informed decisions based on your own understanding and risk tolerance.
Comments
 fork3d
Replied: November 15th, 2023
Thanks, we should do lots of swaps also..