Introduction
In this guide, I will show you how to interact with the Mantle Testnet & position yourself for a potential future airdrop!
Mantle is a layer-2 network built on Ethereum that offers exceptional performance, security, and low fees. Its modular architecture enables developers to create decentralized applications with a great user experience while leveraging Ethereum's unparalleled security.
Step 1
First, we need to add Mantle to MetaMask!
If you don't have a Metamask wallet you can follow our quick setup guide here: How To Setup Metamask.
There are 2 ways we can add Mantle Testnet to Metamask:
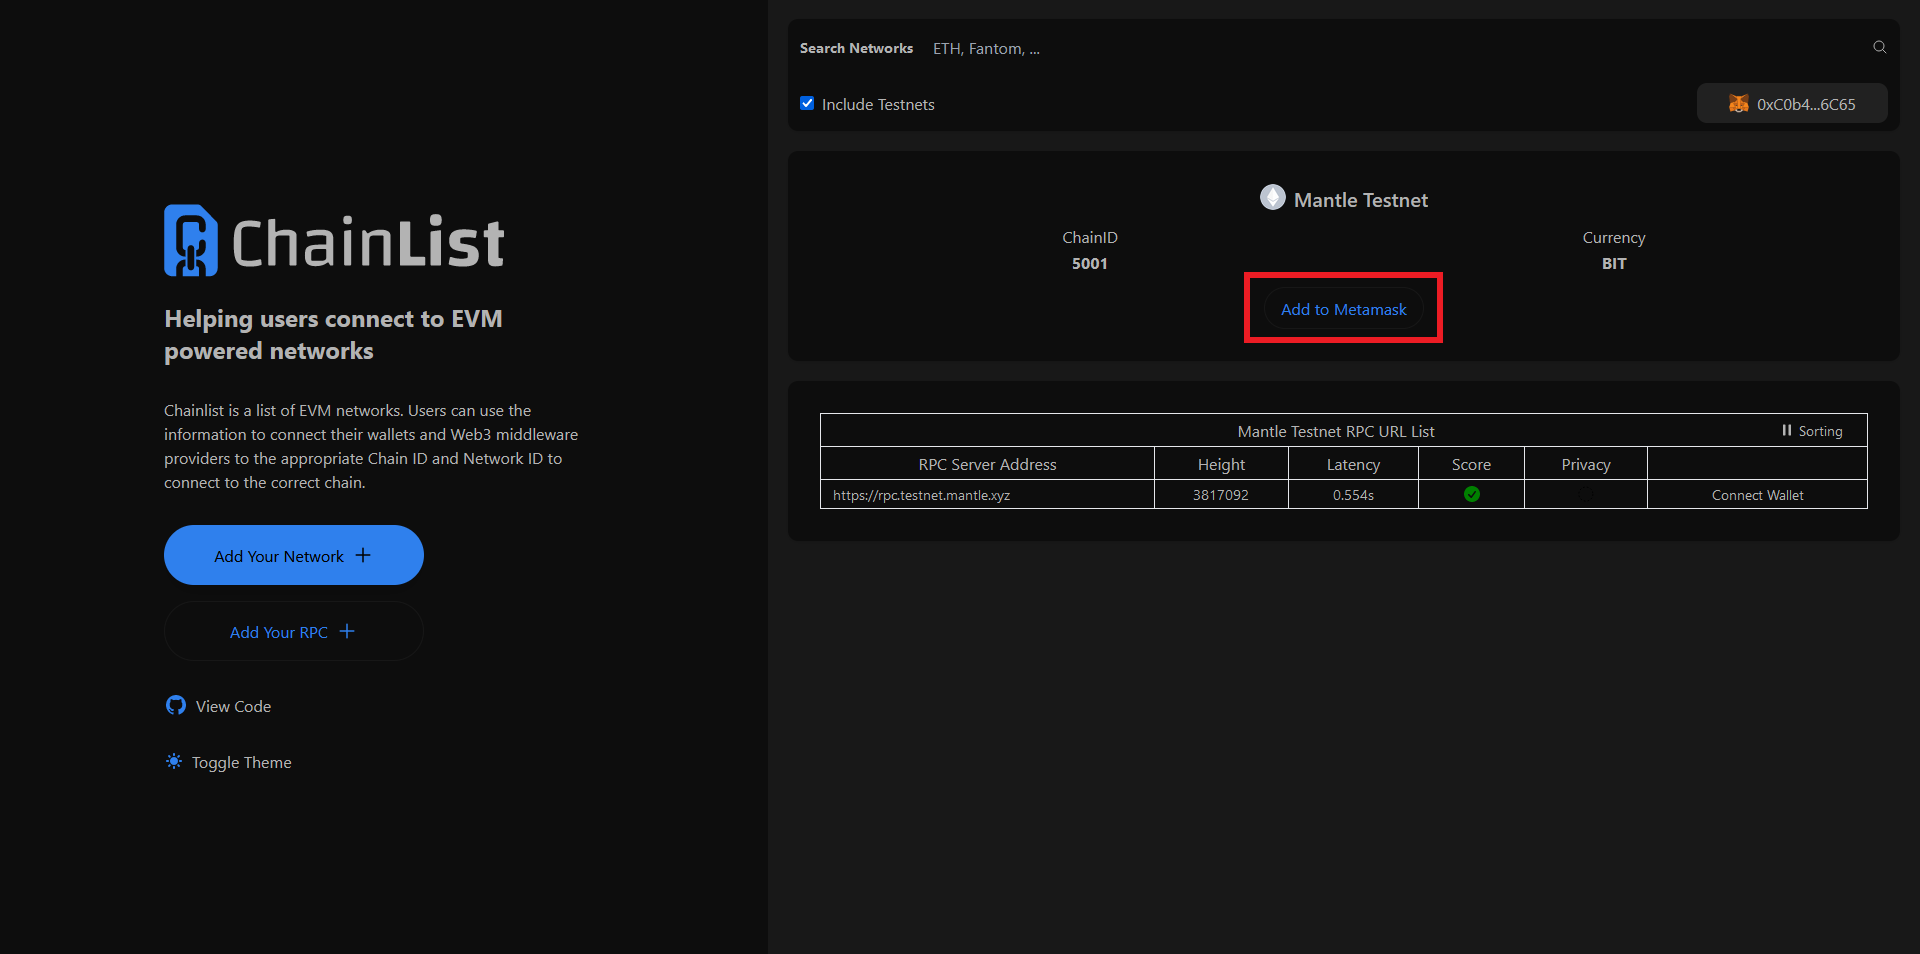
1) Head over to chainlist.org & select "Add to MetaMask".
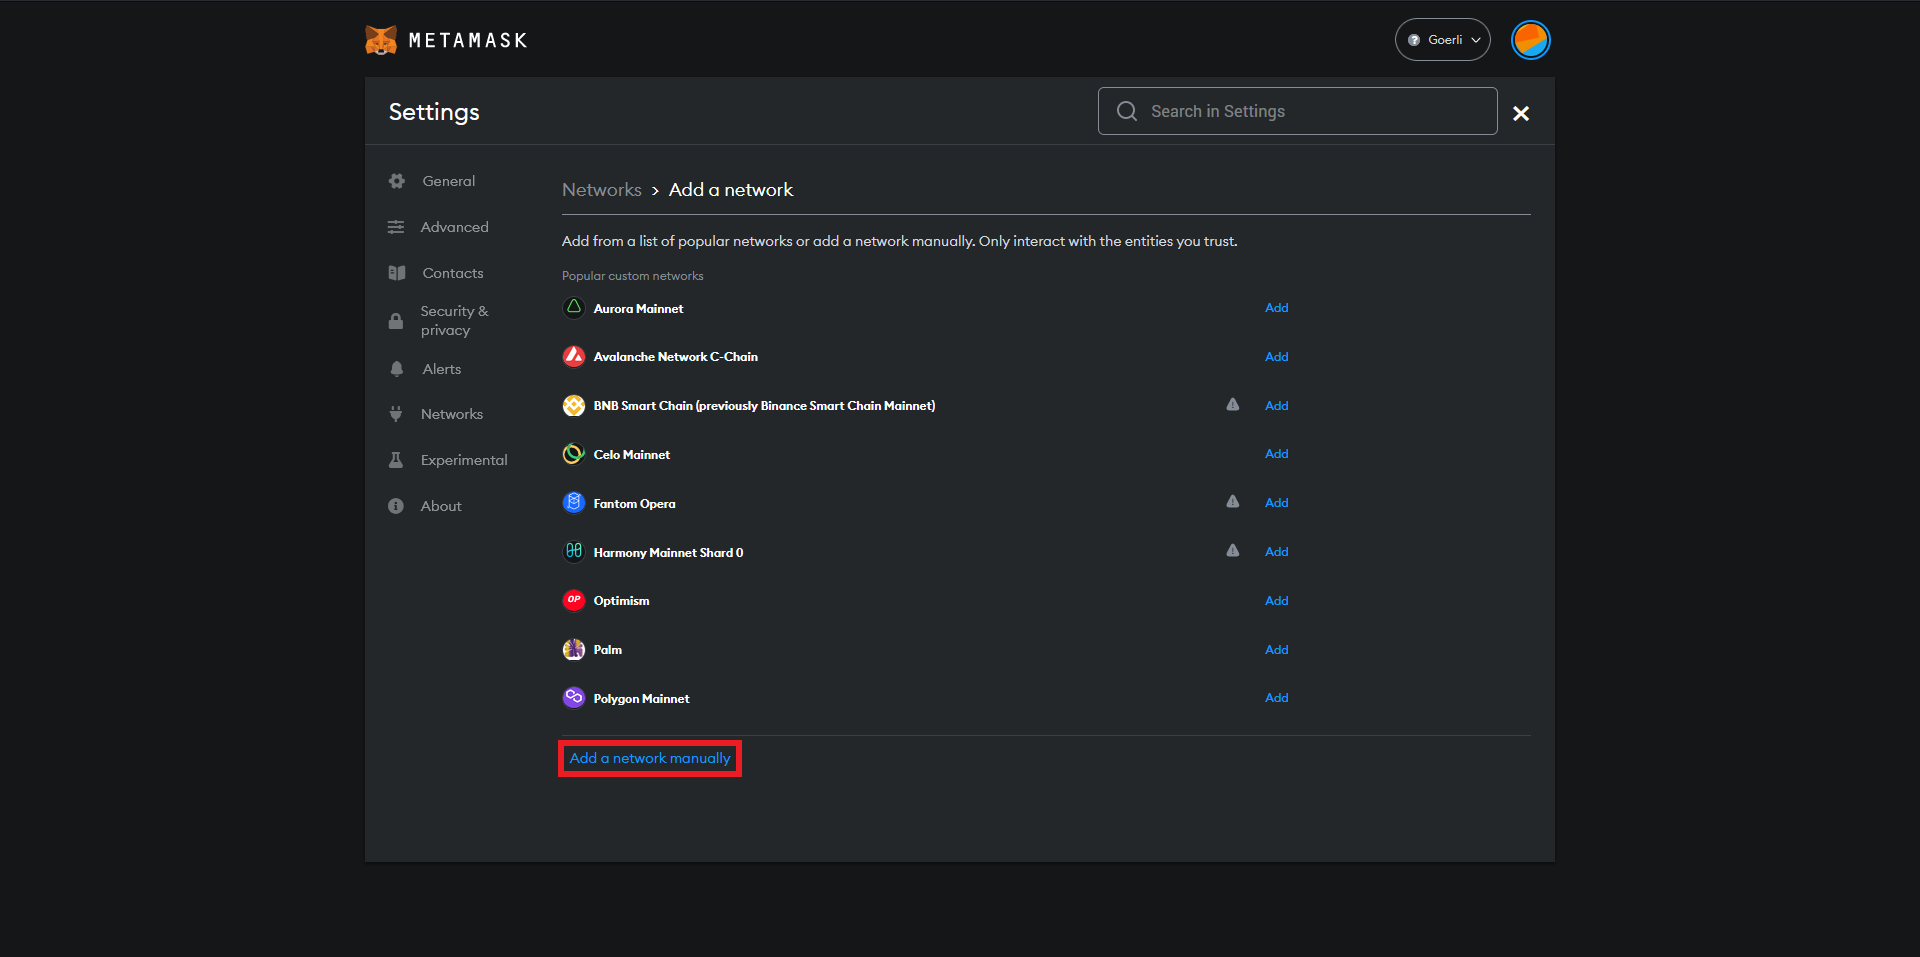
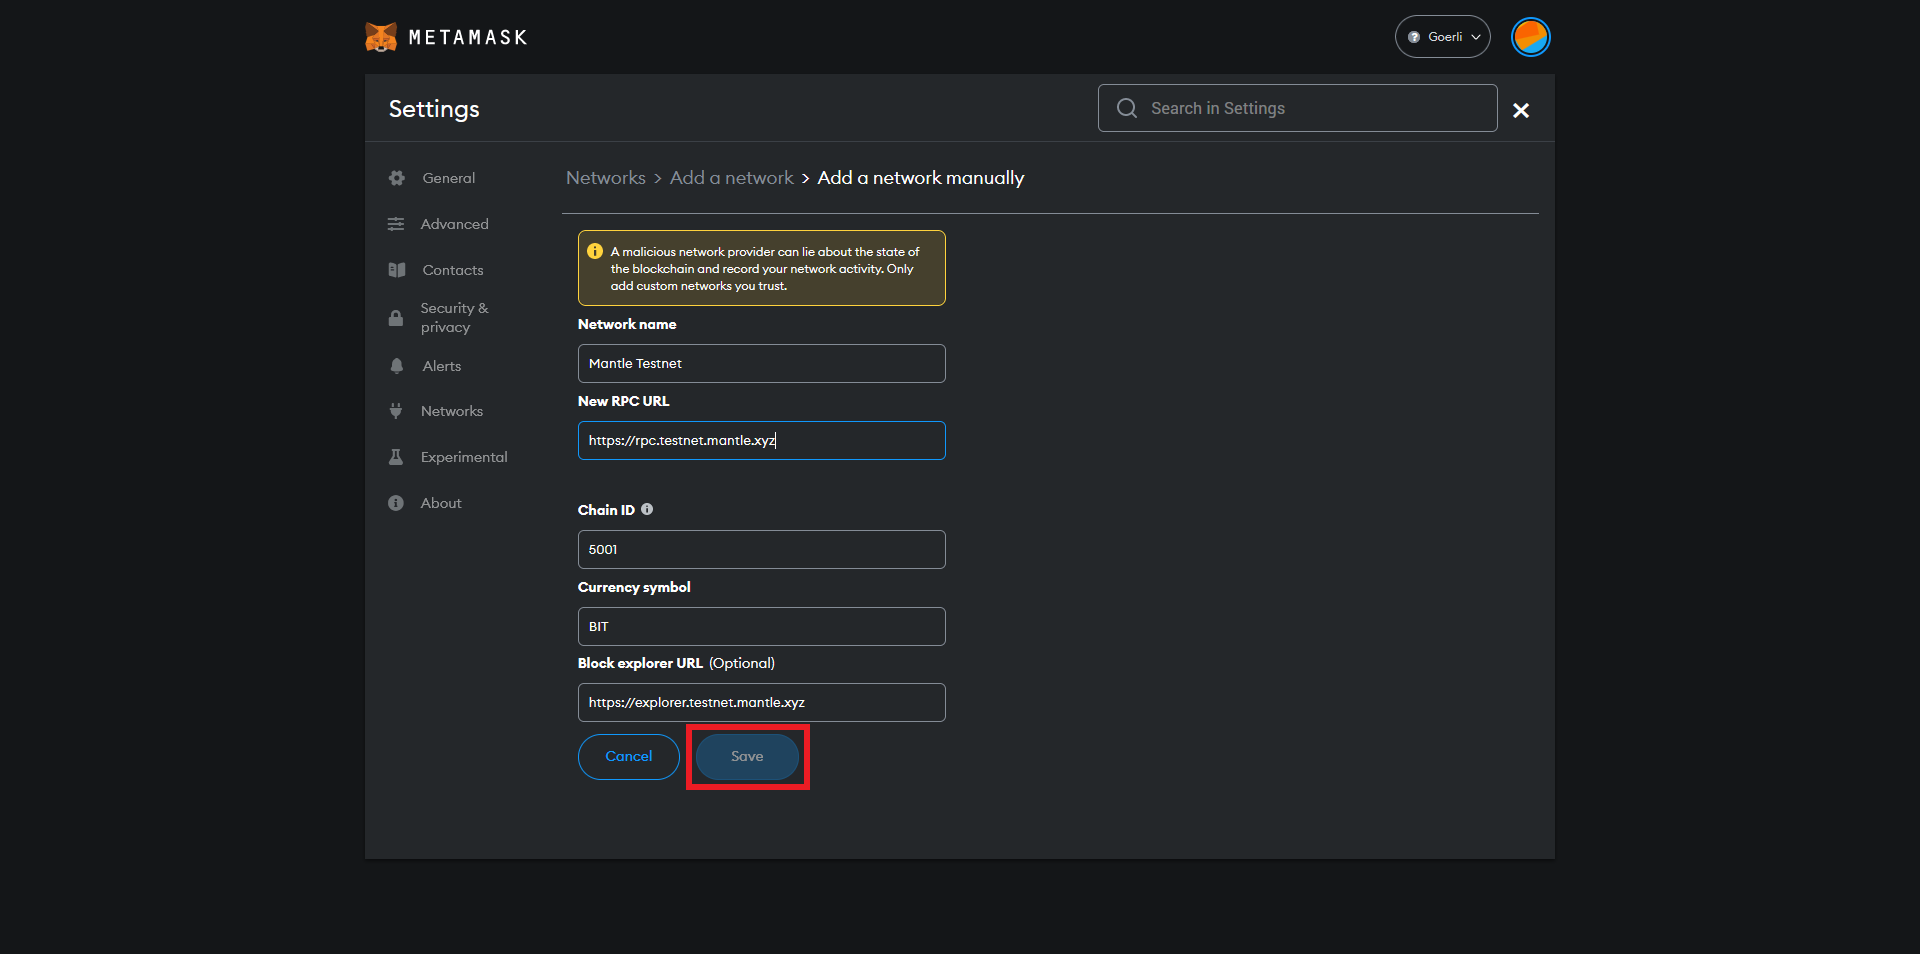
2) Or set it manually in MetaMask by selecting the dropdown and choosing "Add a Network", then input the following details:
- Network Name: Mantle Testnet
- RPC URL: https://rpc.testnet.mantle.xyz
- Chain ID: 5001
- Currency Symbol: BIT
- Block Explorer URL: https://explorer.testnet.mantle.xyz
and then hit "Save".
Step 2
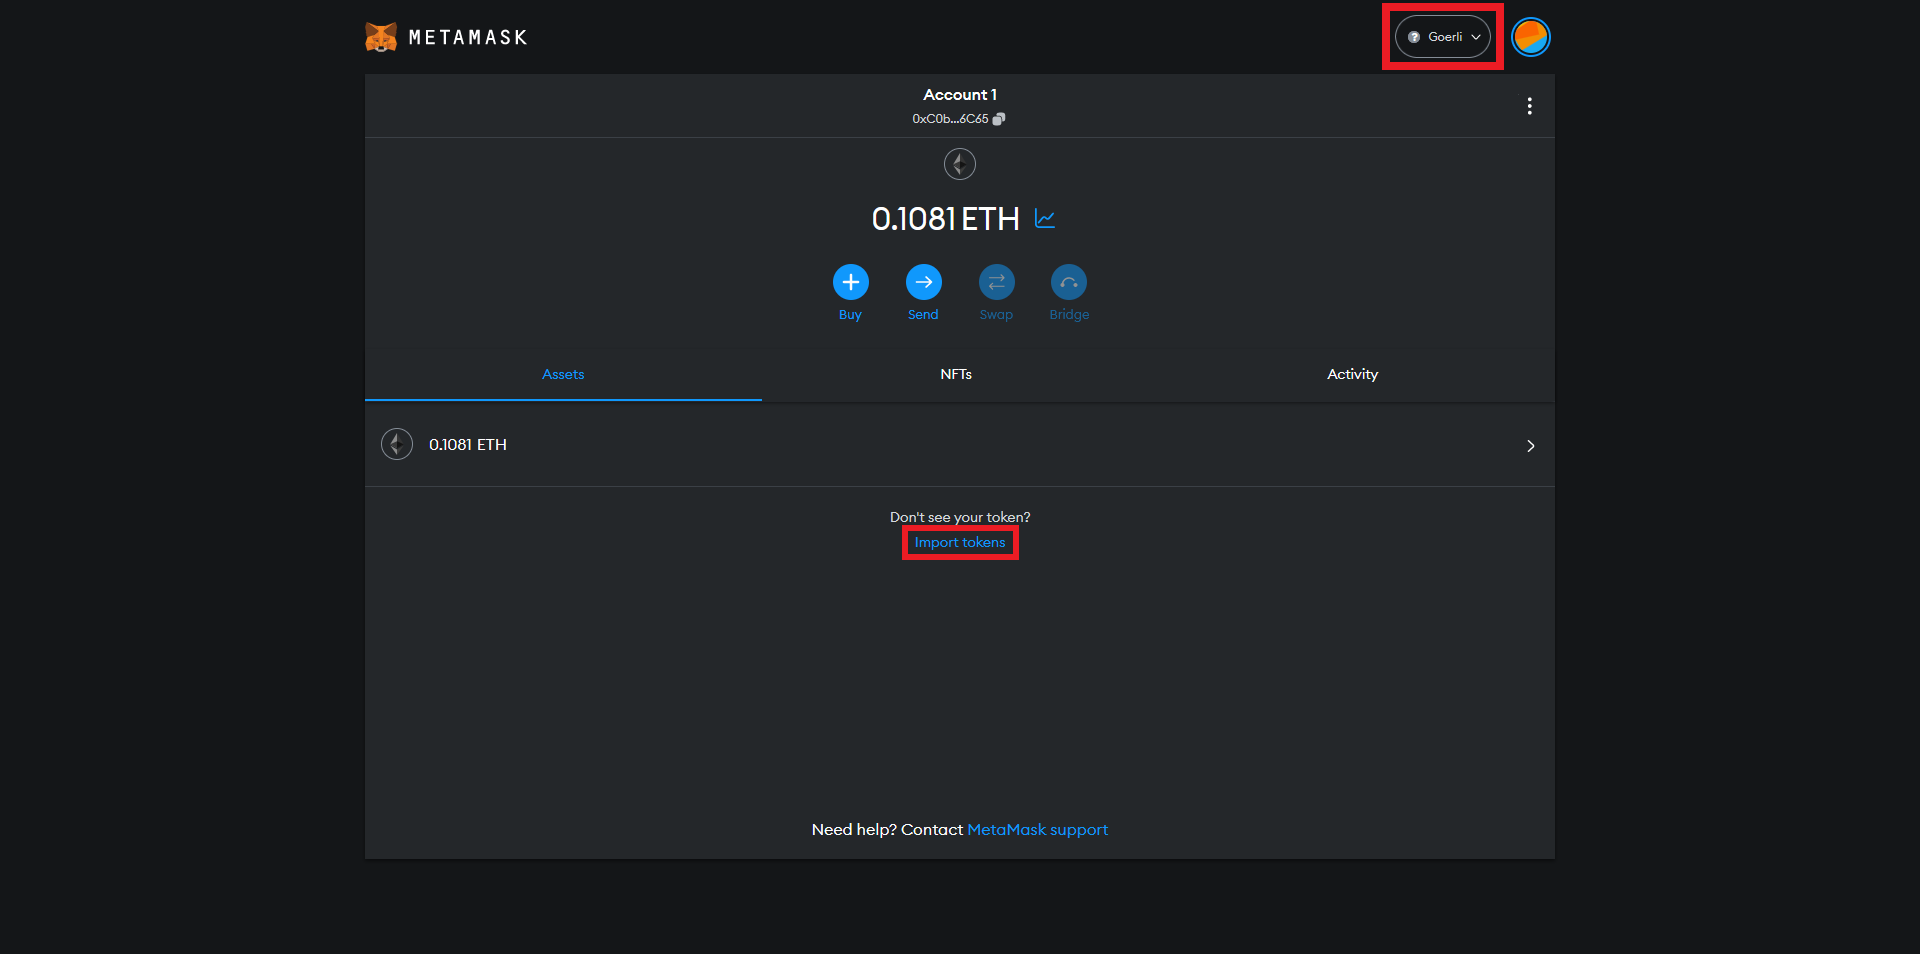
Now we need to switch network to Goerli & add the BIT token!
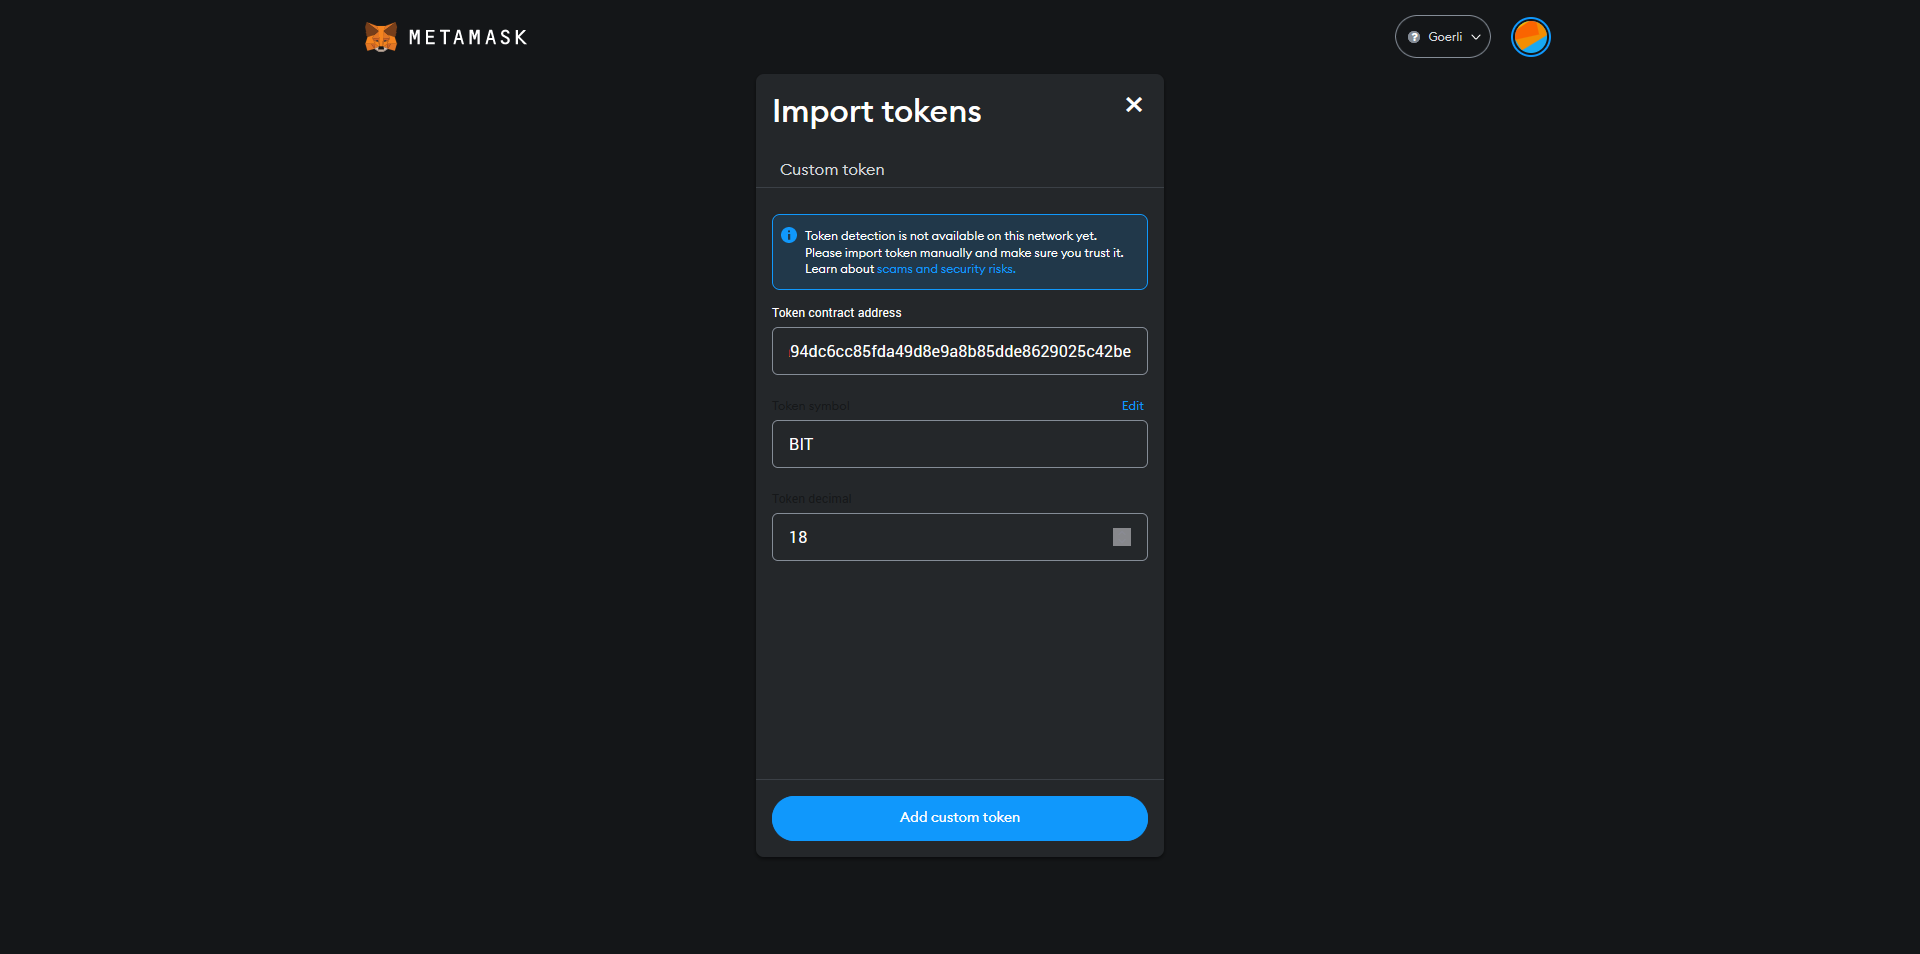
In MetaMask, click "Import Token", input the details below & then "Add custom token".
- Token contract address: 0x5a94Dc6cc85fdA49d8E9A8b85DDE8629025C42be
- Token Symbol: BIT
- Token Decimal: 18
Step 3
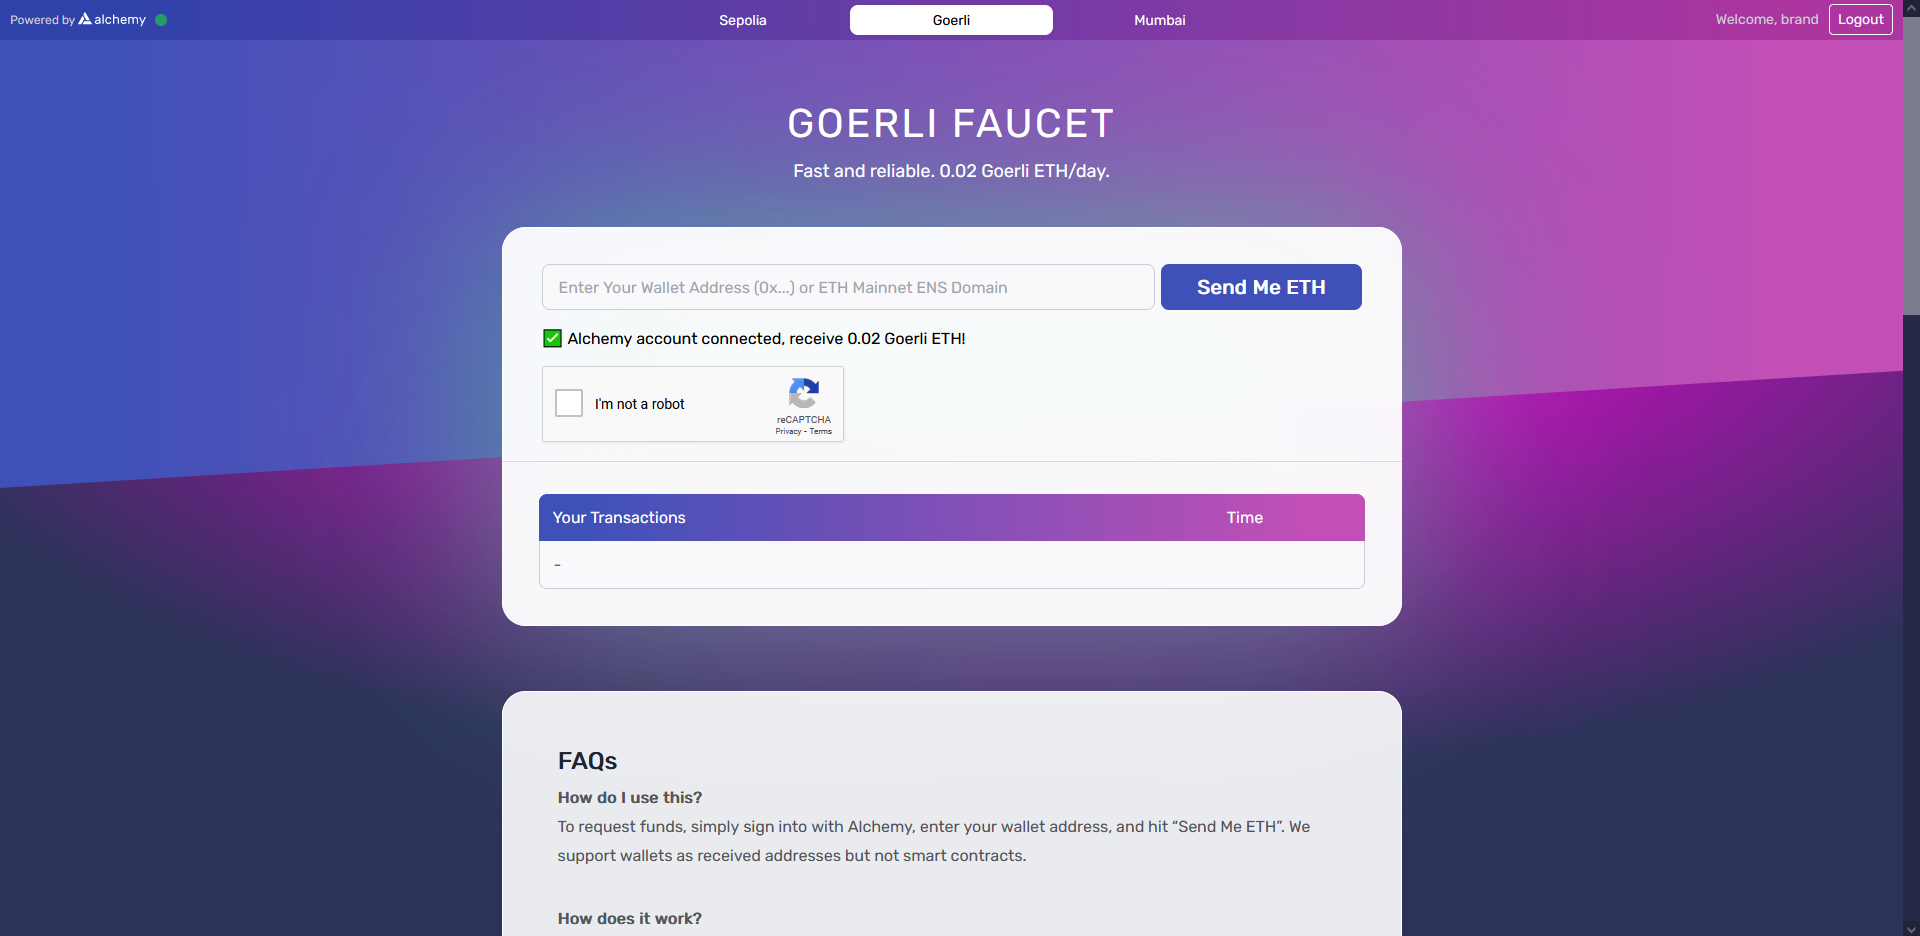
Now we need to claim some test ETH, head over to Goerli Faucet, sign into Alchemy, input your Metamask wallet address & claim ETH.
Step 4
Now we just need to claim some BIT test tokens.
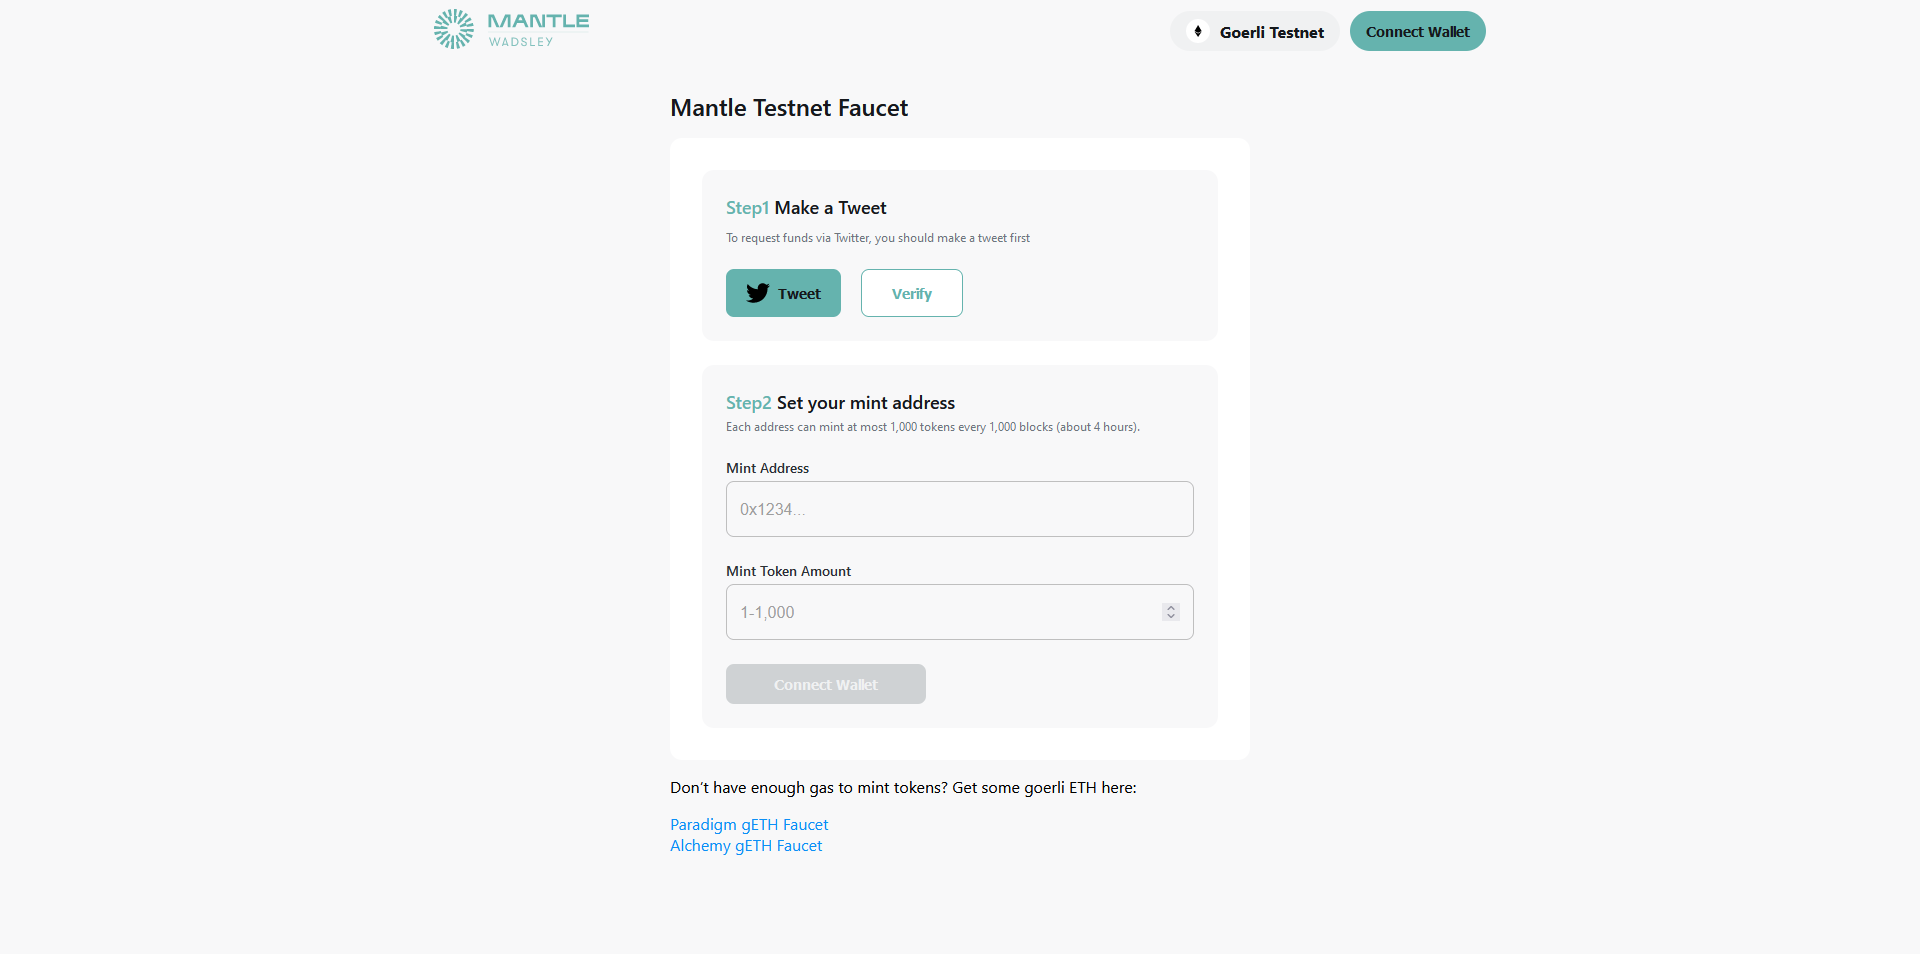
Head over to faucet.testnet.mantle.xyz, connect your wallet then post the tweet & hit "Verify".
Next, input your wallet address & the amount you want to request, then select "Mint Token".
Now if you go back to MetaMask you should see the BIT tokens!
Step 5
Now let's finally interact with the testnet!
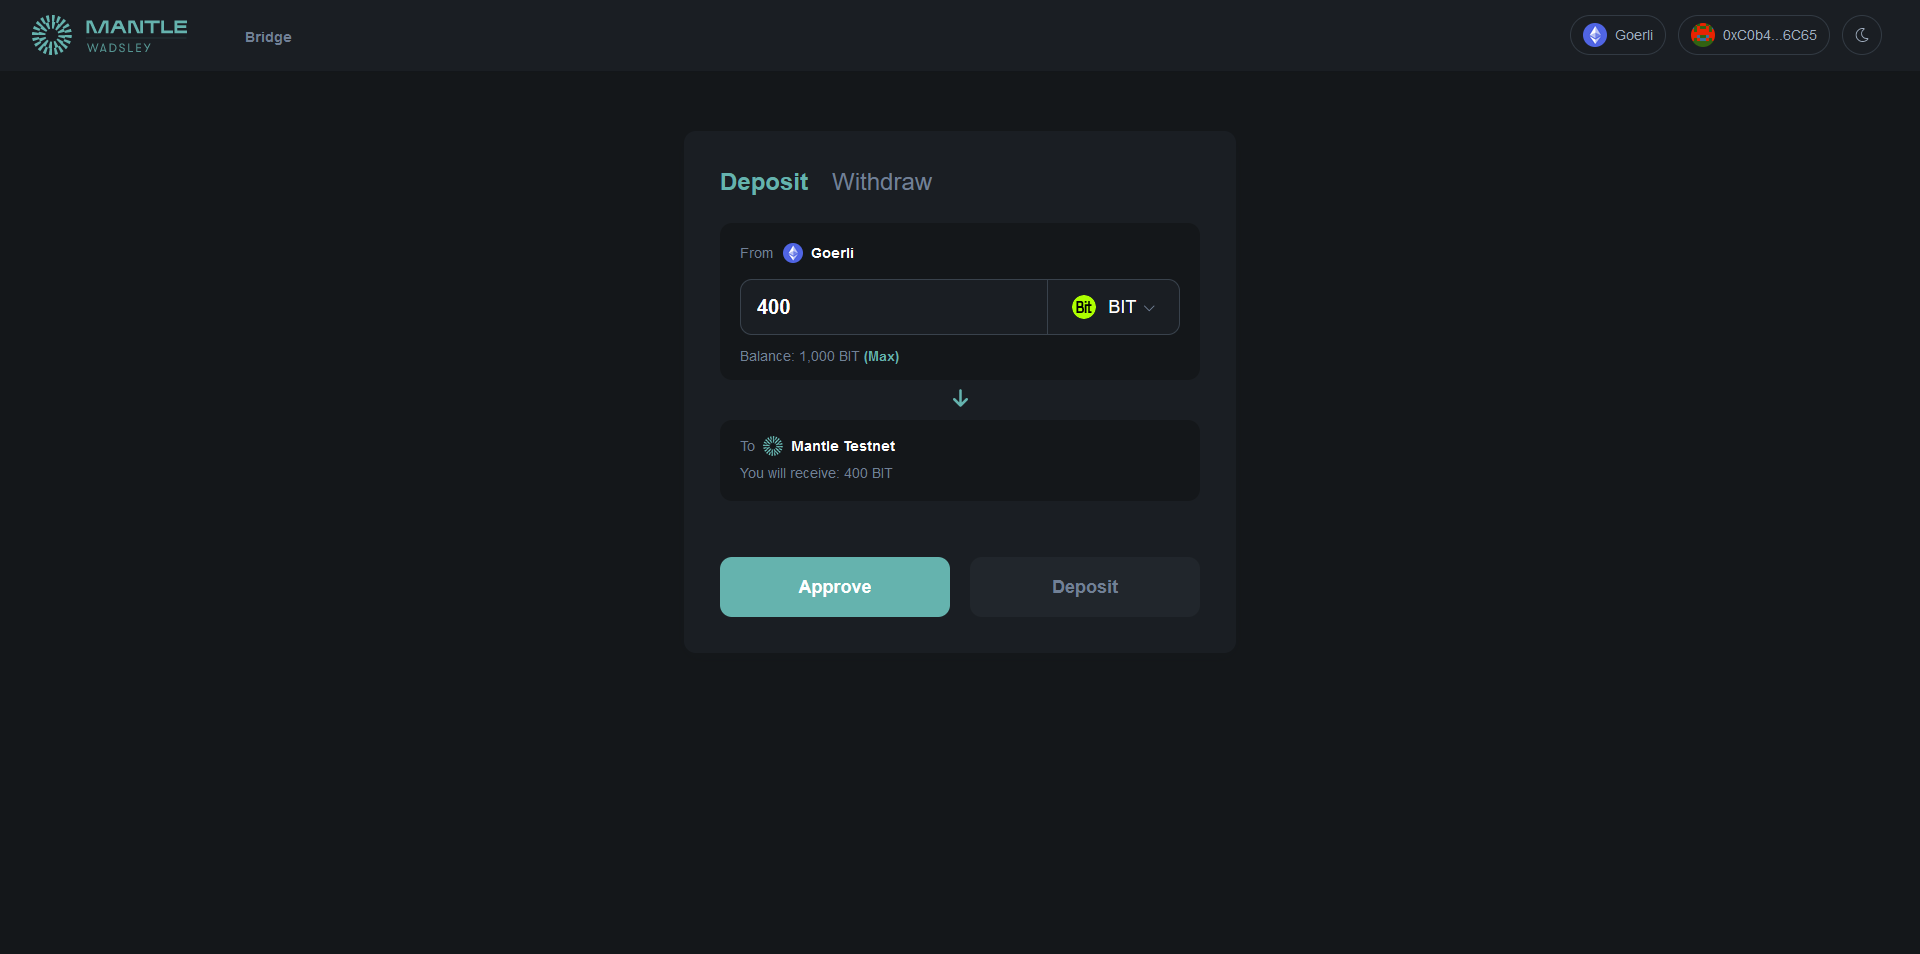
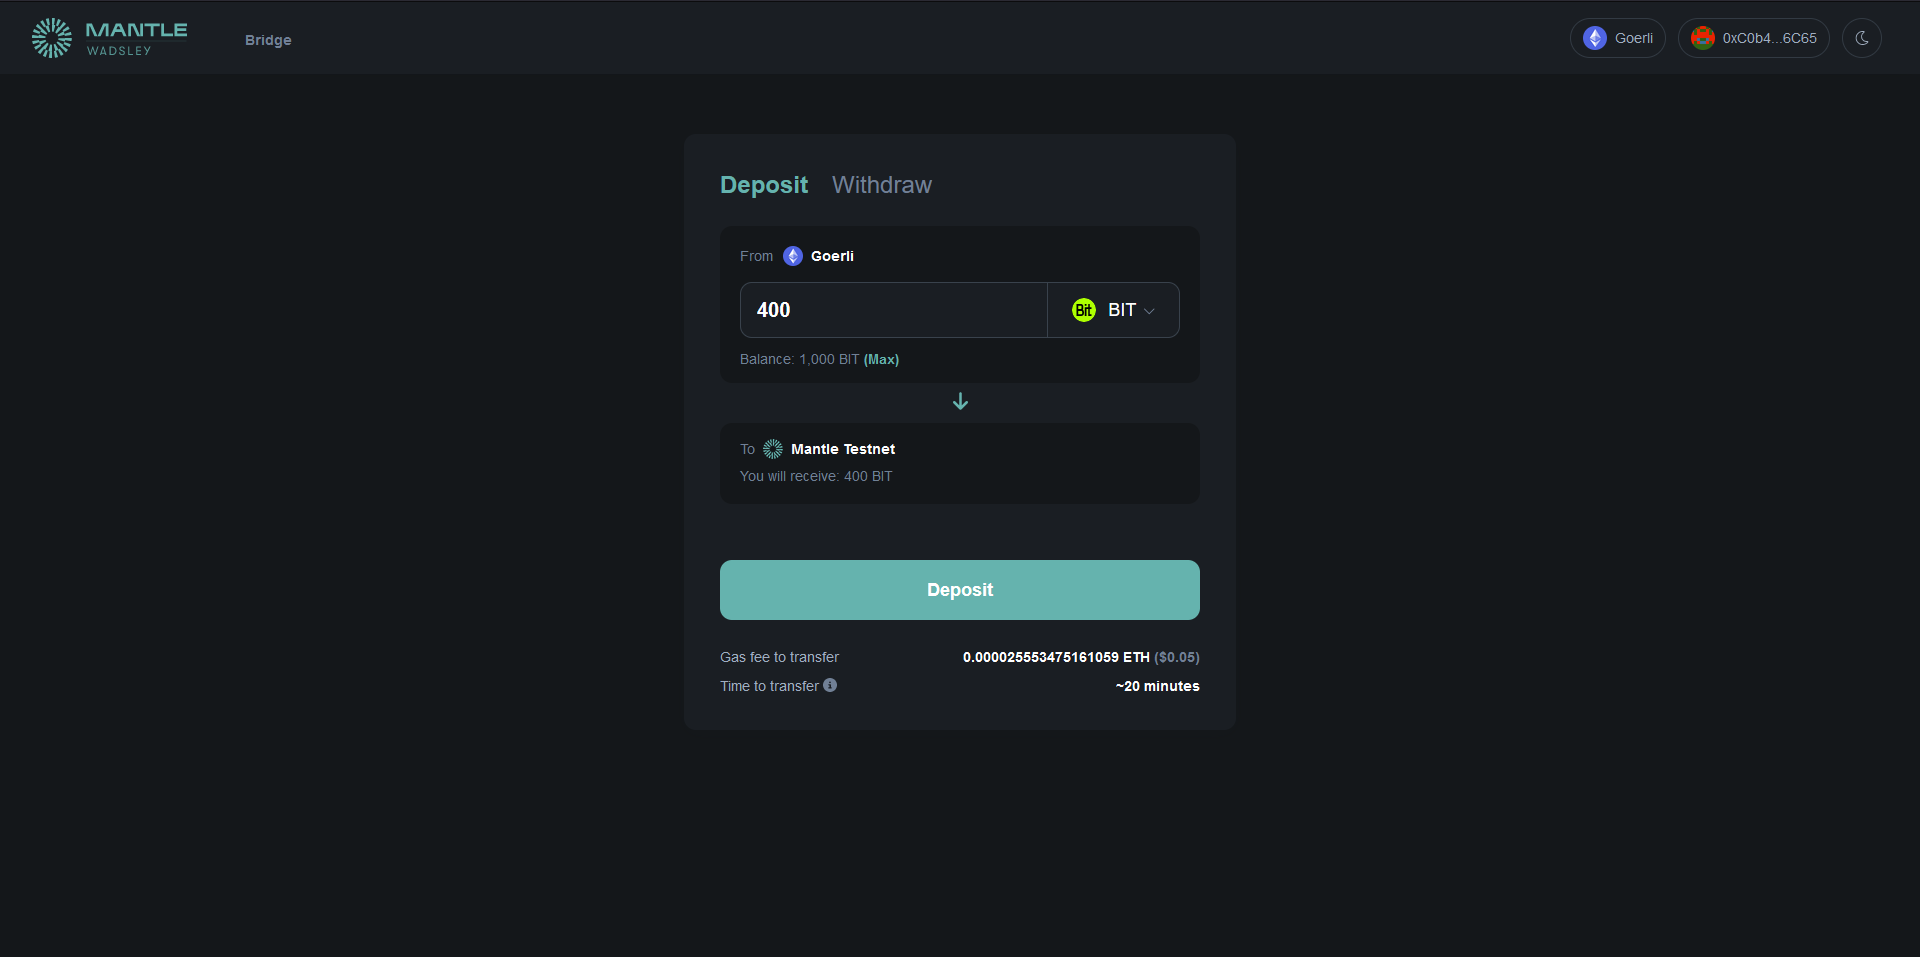
Go to bridge.testnet.mantle.xyz/deposit & connect your MetaMask wallet.
Now switch the token to BIT, input an amount & hit "Approve".
Now hit "Deposit".
Step 6
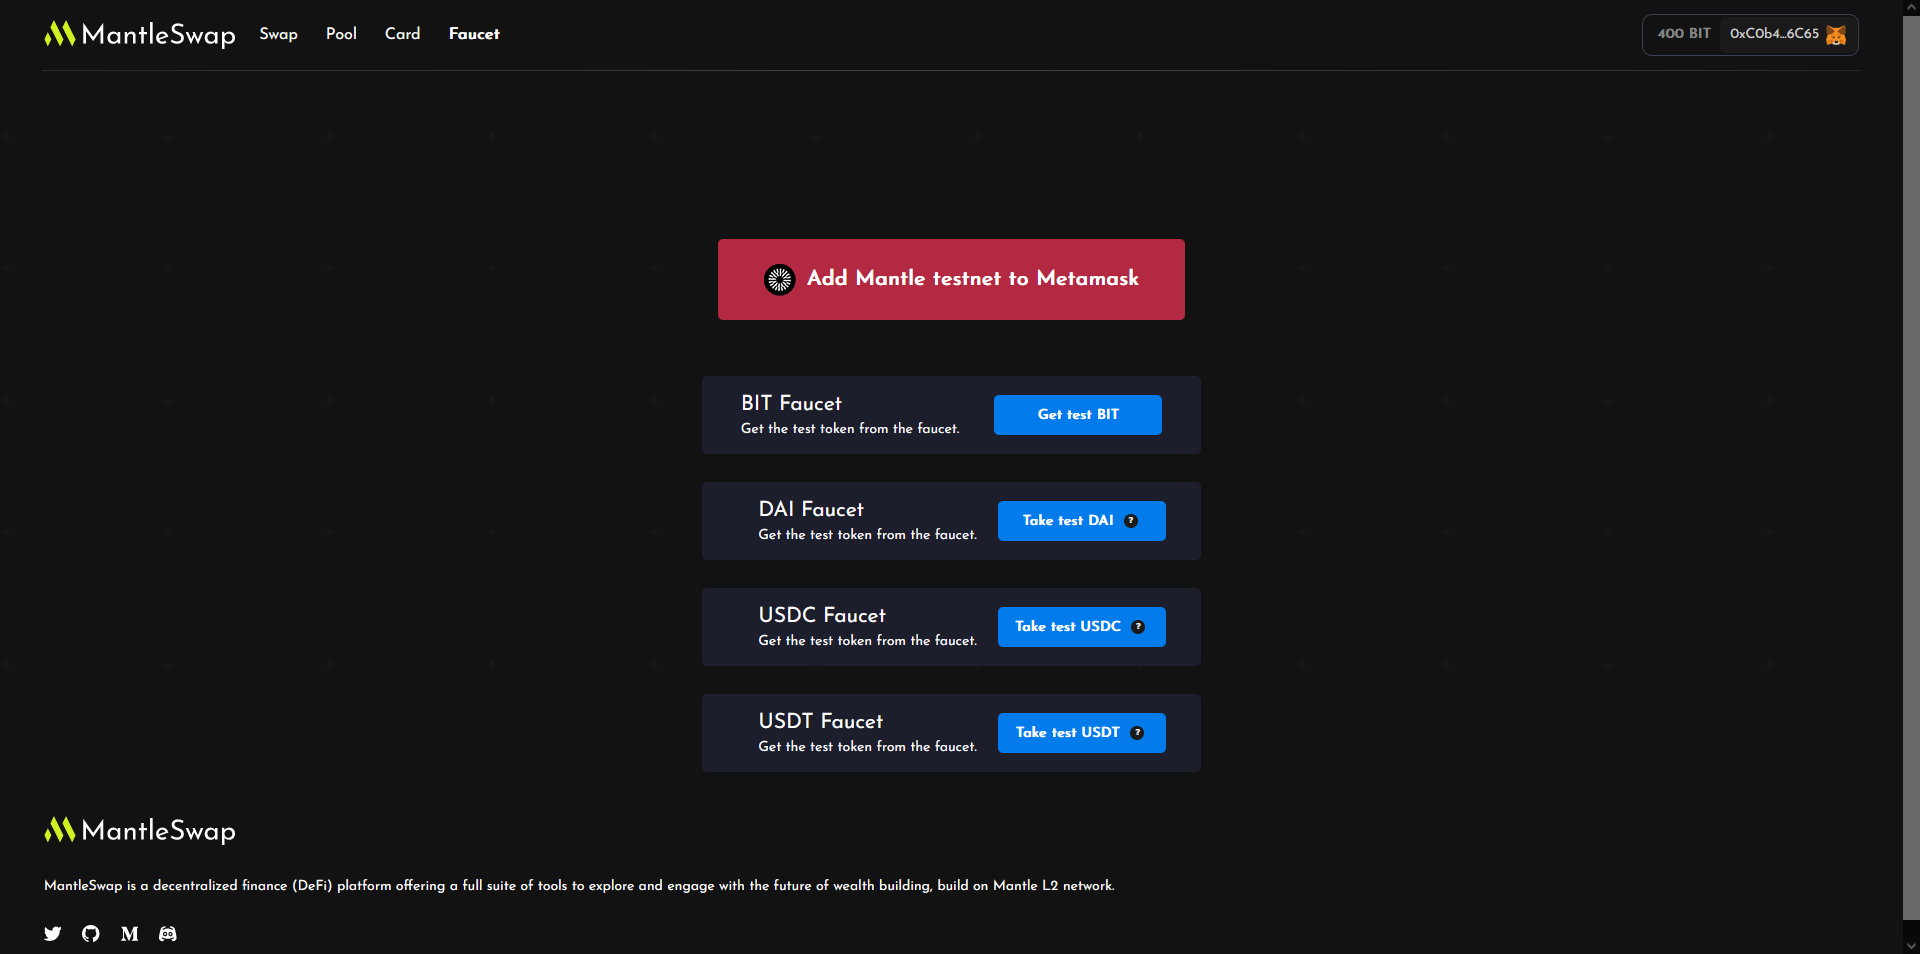
Now we should go to MantleSwap to claim some test tokens from a few Faucets.
Go to testnet.mantleswap.org/tools, "Connect to a wallet", select "Mantle Testenet".
Now claim all 3 faucets (DAI, USDC & USDT).
Step 7
Now let's perform some swaps!
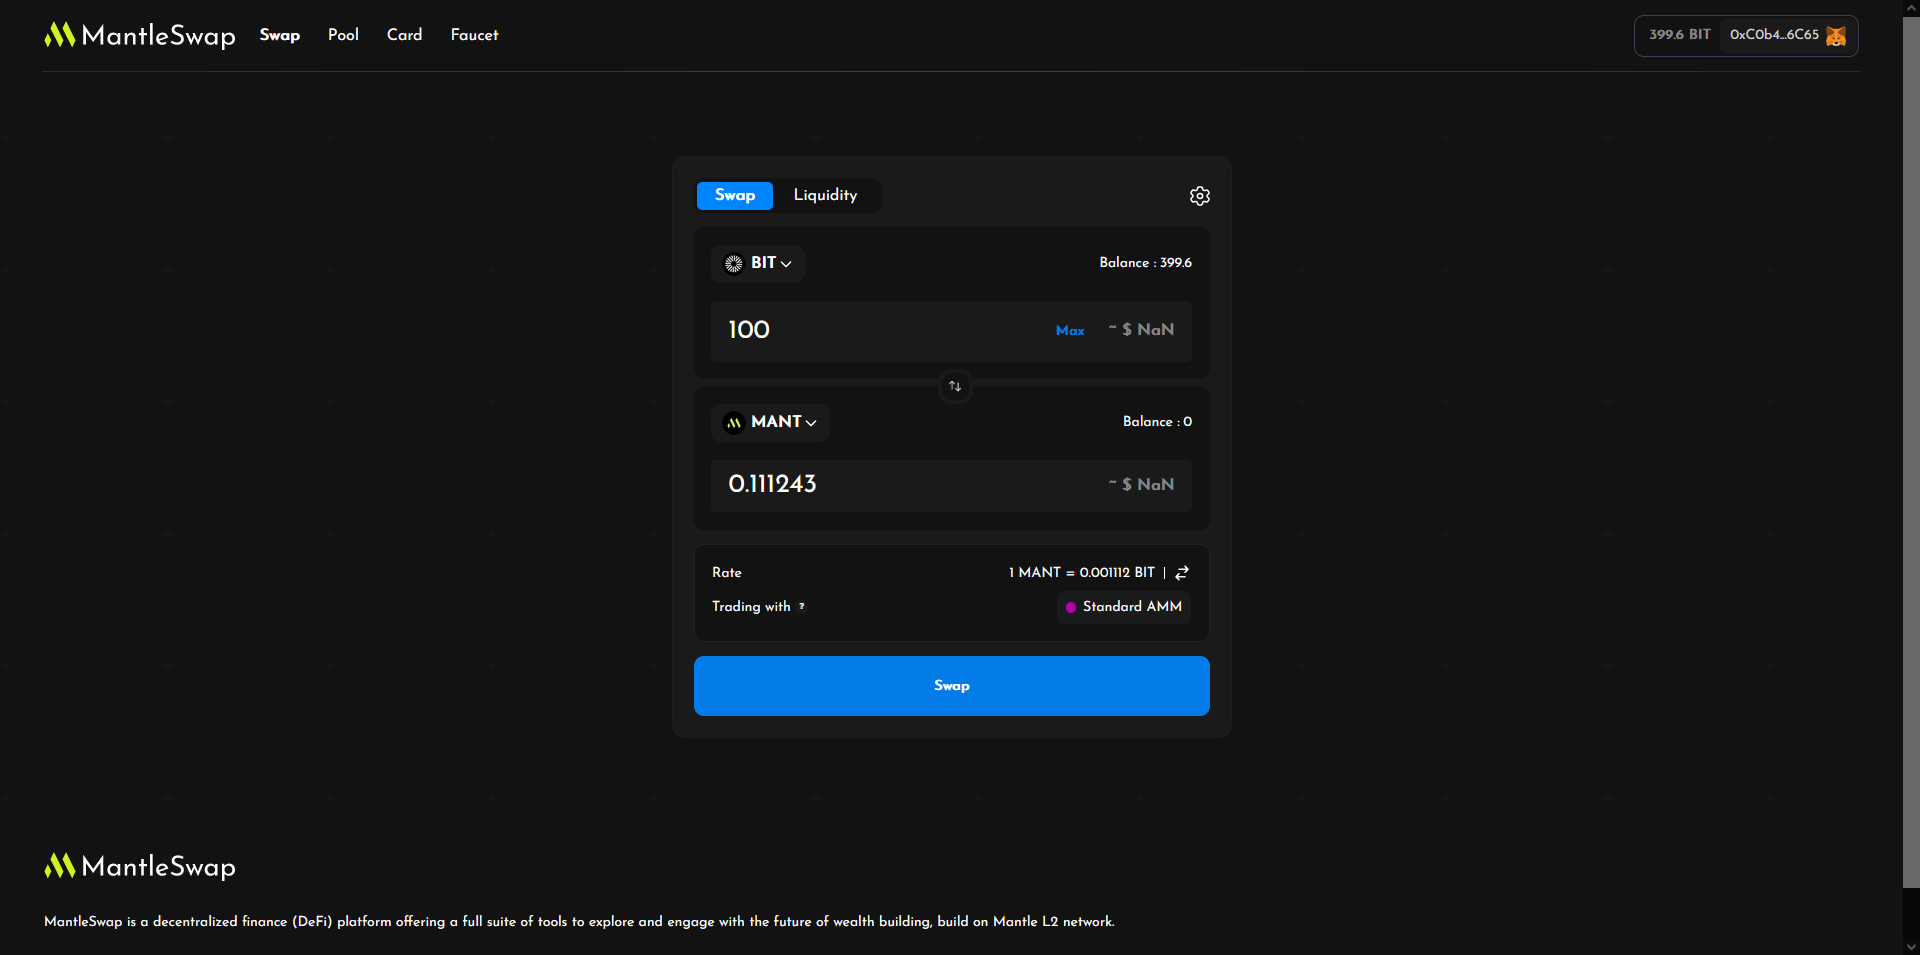
To do this, go to testnet.mantleswap.org/swap & connect your wallet.
Perform a swap from BIT to MANT, approve the transaction & click "Add Manta to MetaMask".
If your looking to earn a potential airdrop, you might want to repeat several swaps across several different token pairs to ensure your active on the network!
Step 8
Now let's add liquidity!
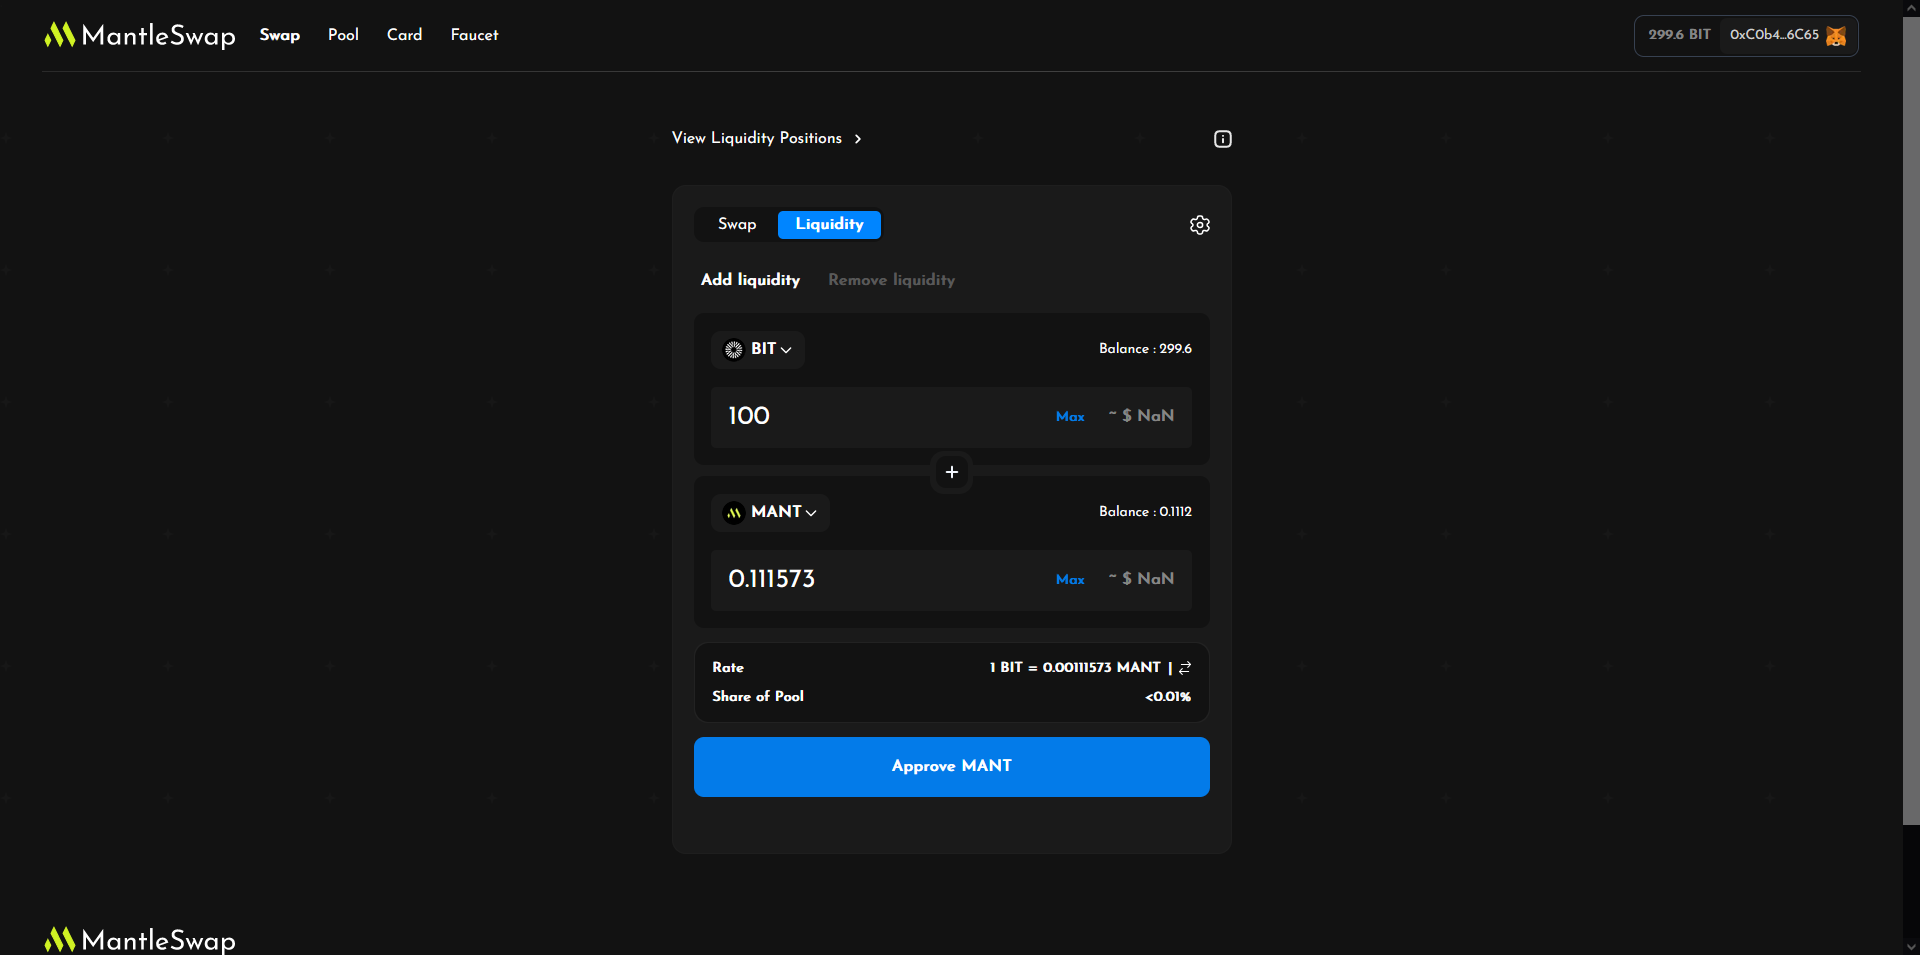
Go to testnet.mantleswap.org/pool
Hit "Approve" and then hit "Confirm Adding Liquidity".
Step 9
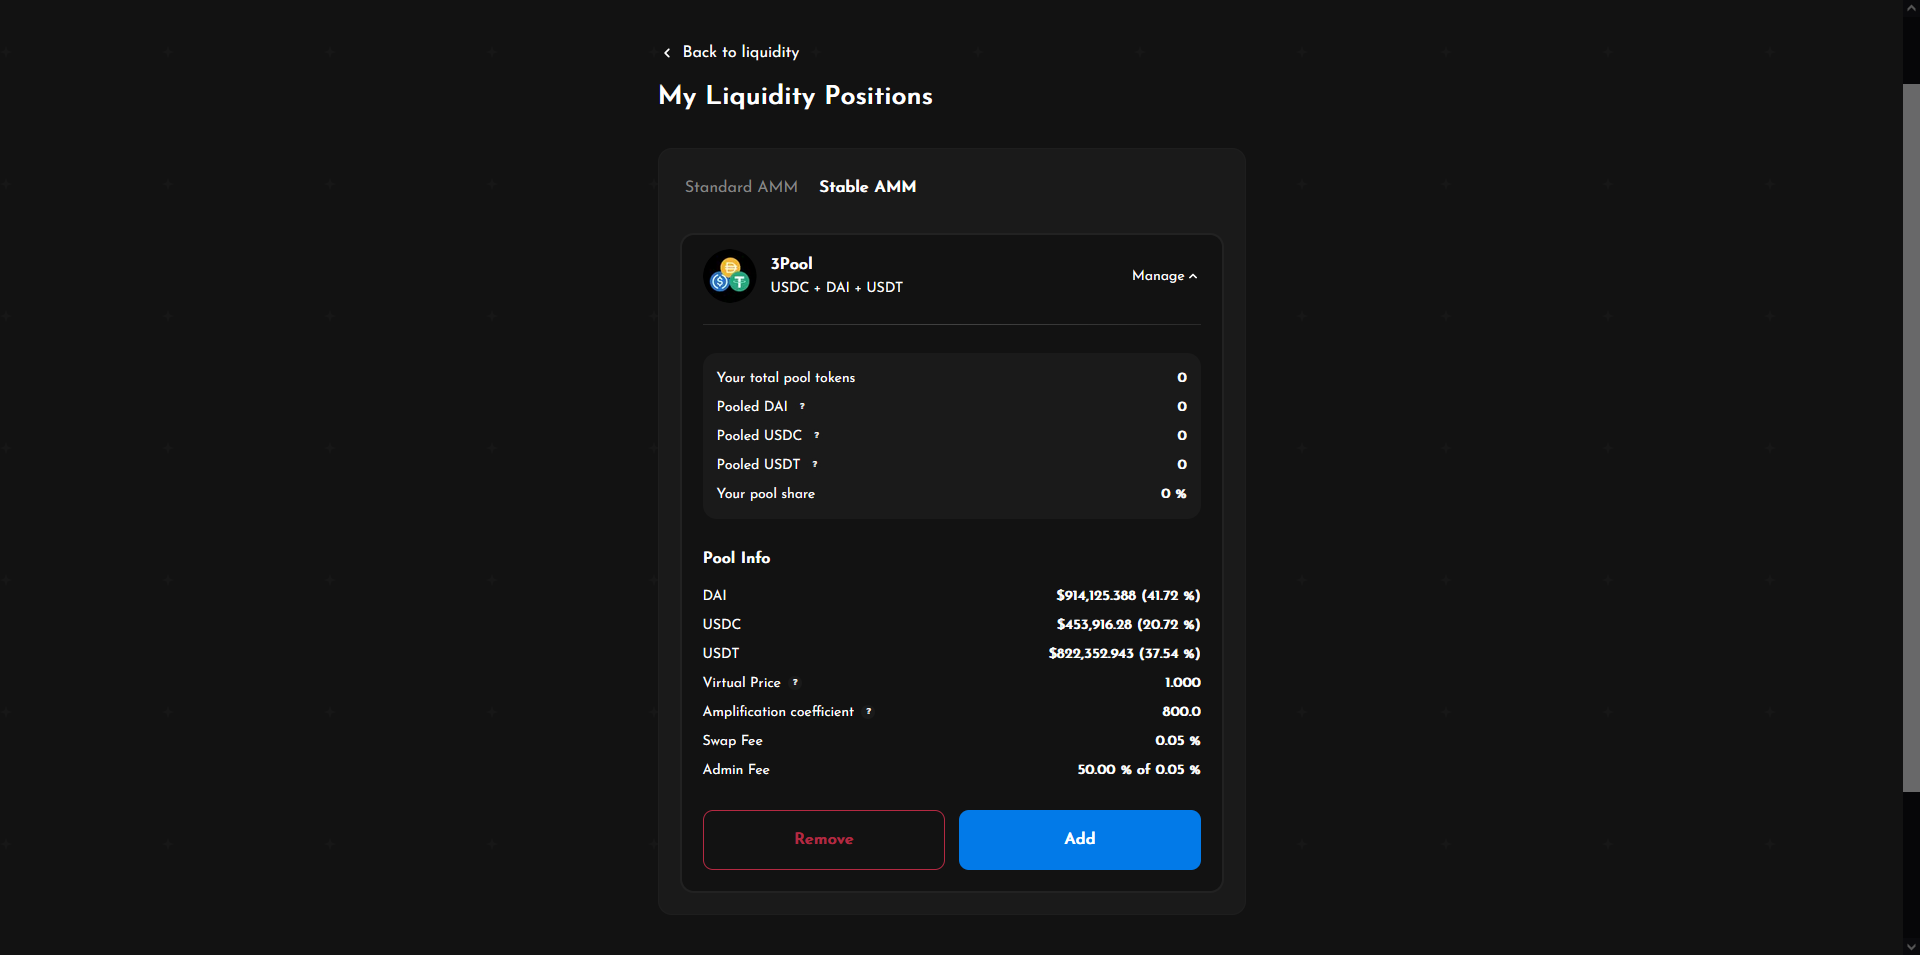
Go to testnet.mantleswap.org/stable-pool
Select the "Manage" dropdown & click "Add".
select some stablecoins such as DAI, USDC & USDC, input 20 of each, approve each one and finally confirm transaction!
Outro
If you found this guide helpful and informative, consider sharing it on social media. You can also stay updated on the latest content and discussions by following us on X (formely Twitter): @BitBlogxyz
Disclaimer: This guide is provided strictly for educational purposes and should not be considered financial advice. The content is designed to offer insights into various web3 topics & projects.
We do not recommend putting real money into random projects without conducting plenty of your own research first. It is crucial to make informed decisions based on your own understanding and risk tolerance.