Introduction
In this guide, we're going to take a look at Metis Network and how to participate in their ongoing testnet.
What is Metis?
Metis is an open-access Layer 2 network driving the advancement of decentralized applications. The project is dedicated to leading the creation of the initial Ethereum Layer 2 rollup with a decentralized sequencer. Season 1 provides an opportunity for community testing of the Proof-of-Stake Sequencer Pool.
Step 1
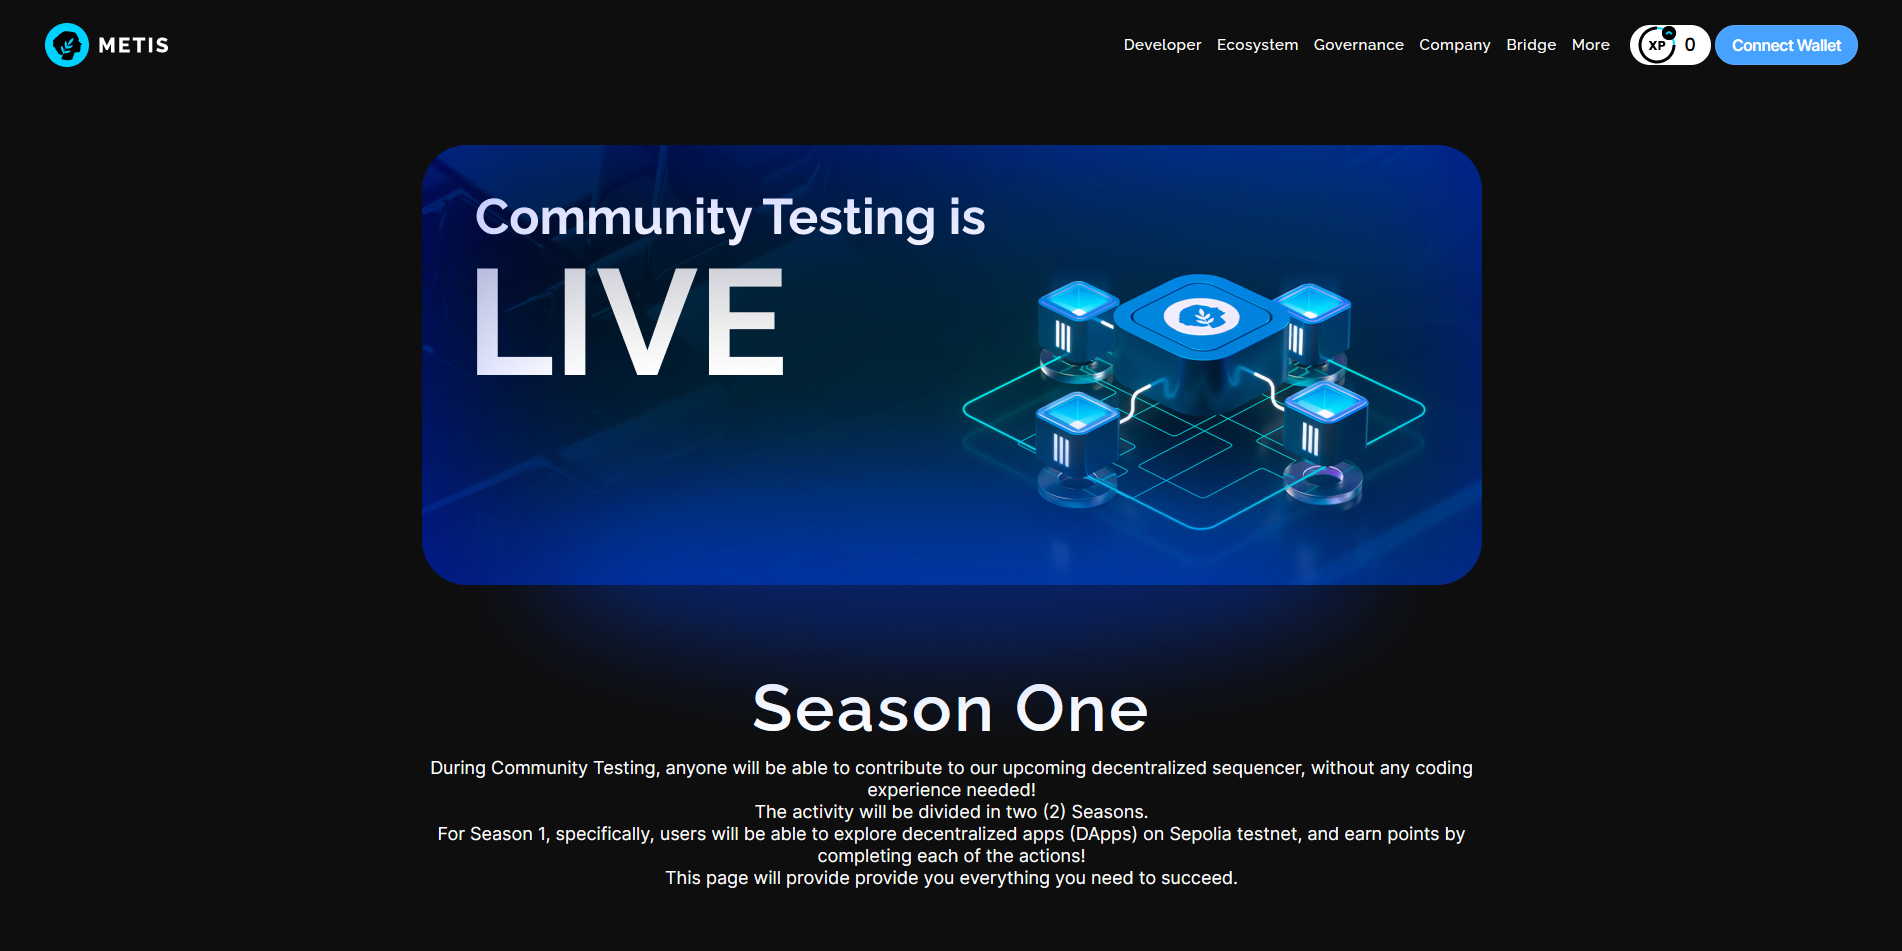
First, go to decentralize.metis.io & connect wallet.
Step 2
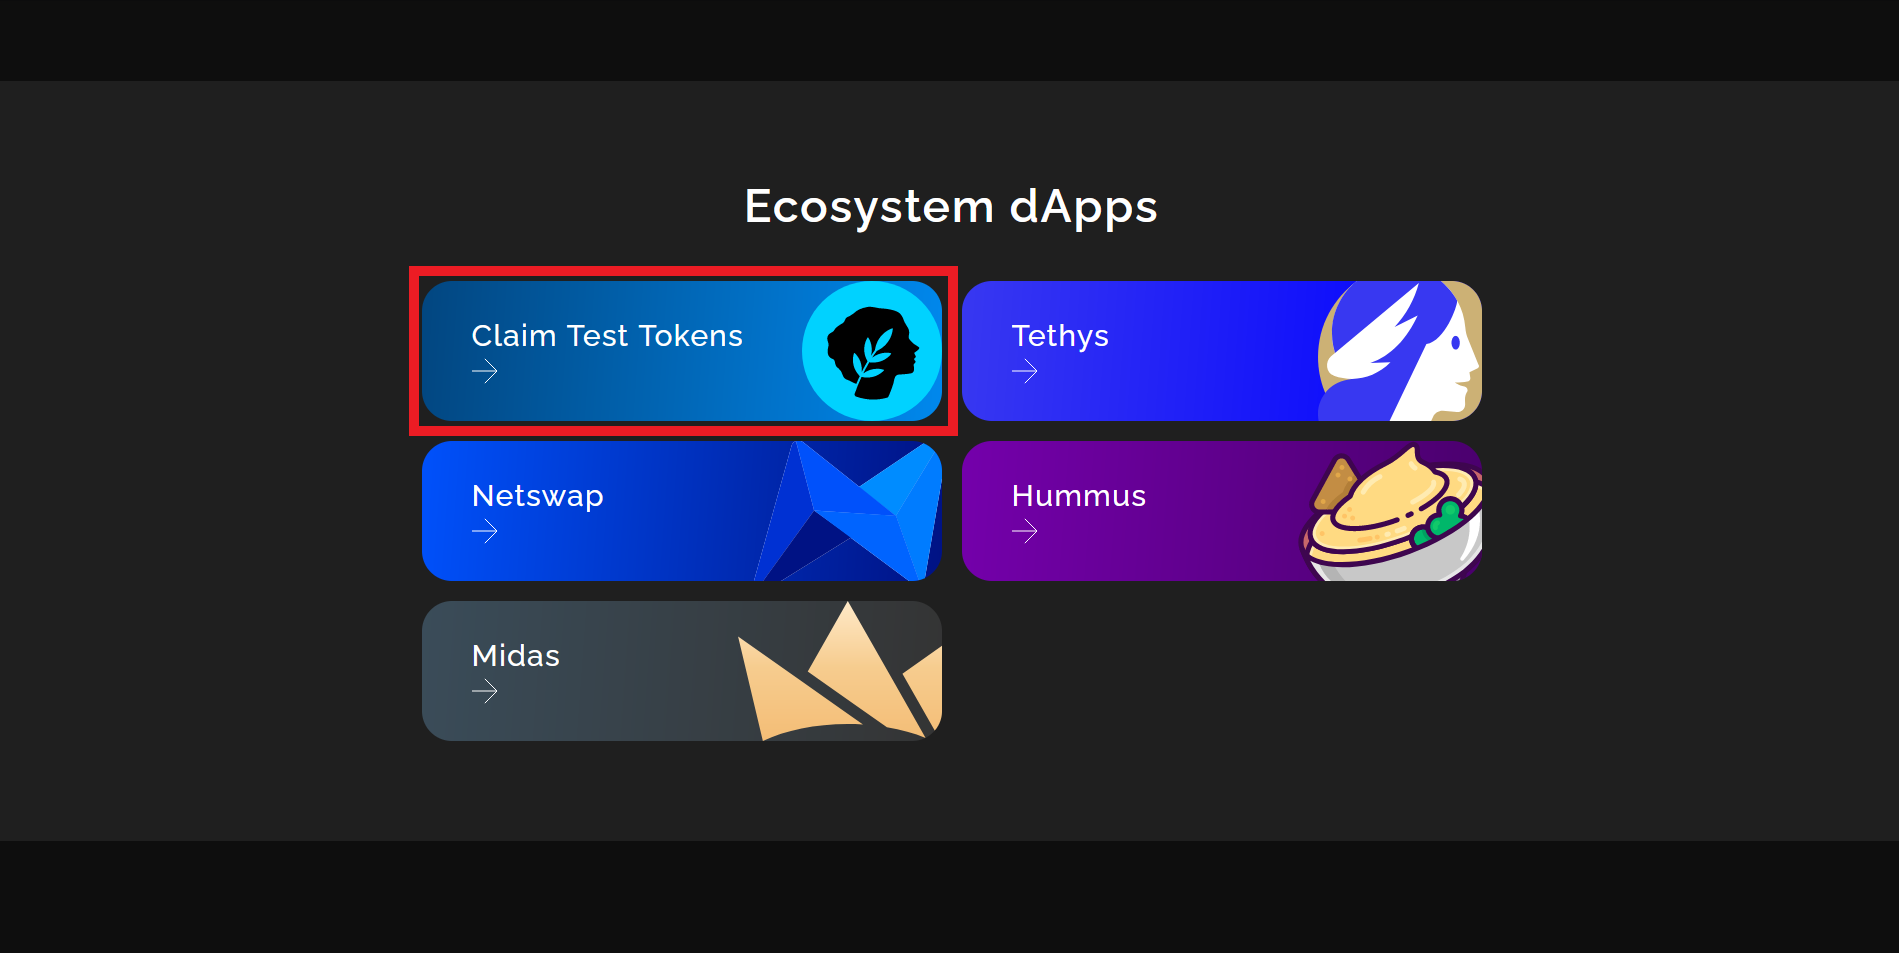
Scroll down and click "Claim Test Tokens".
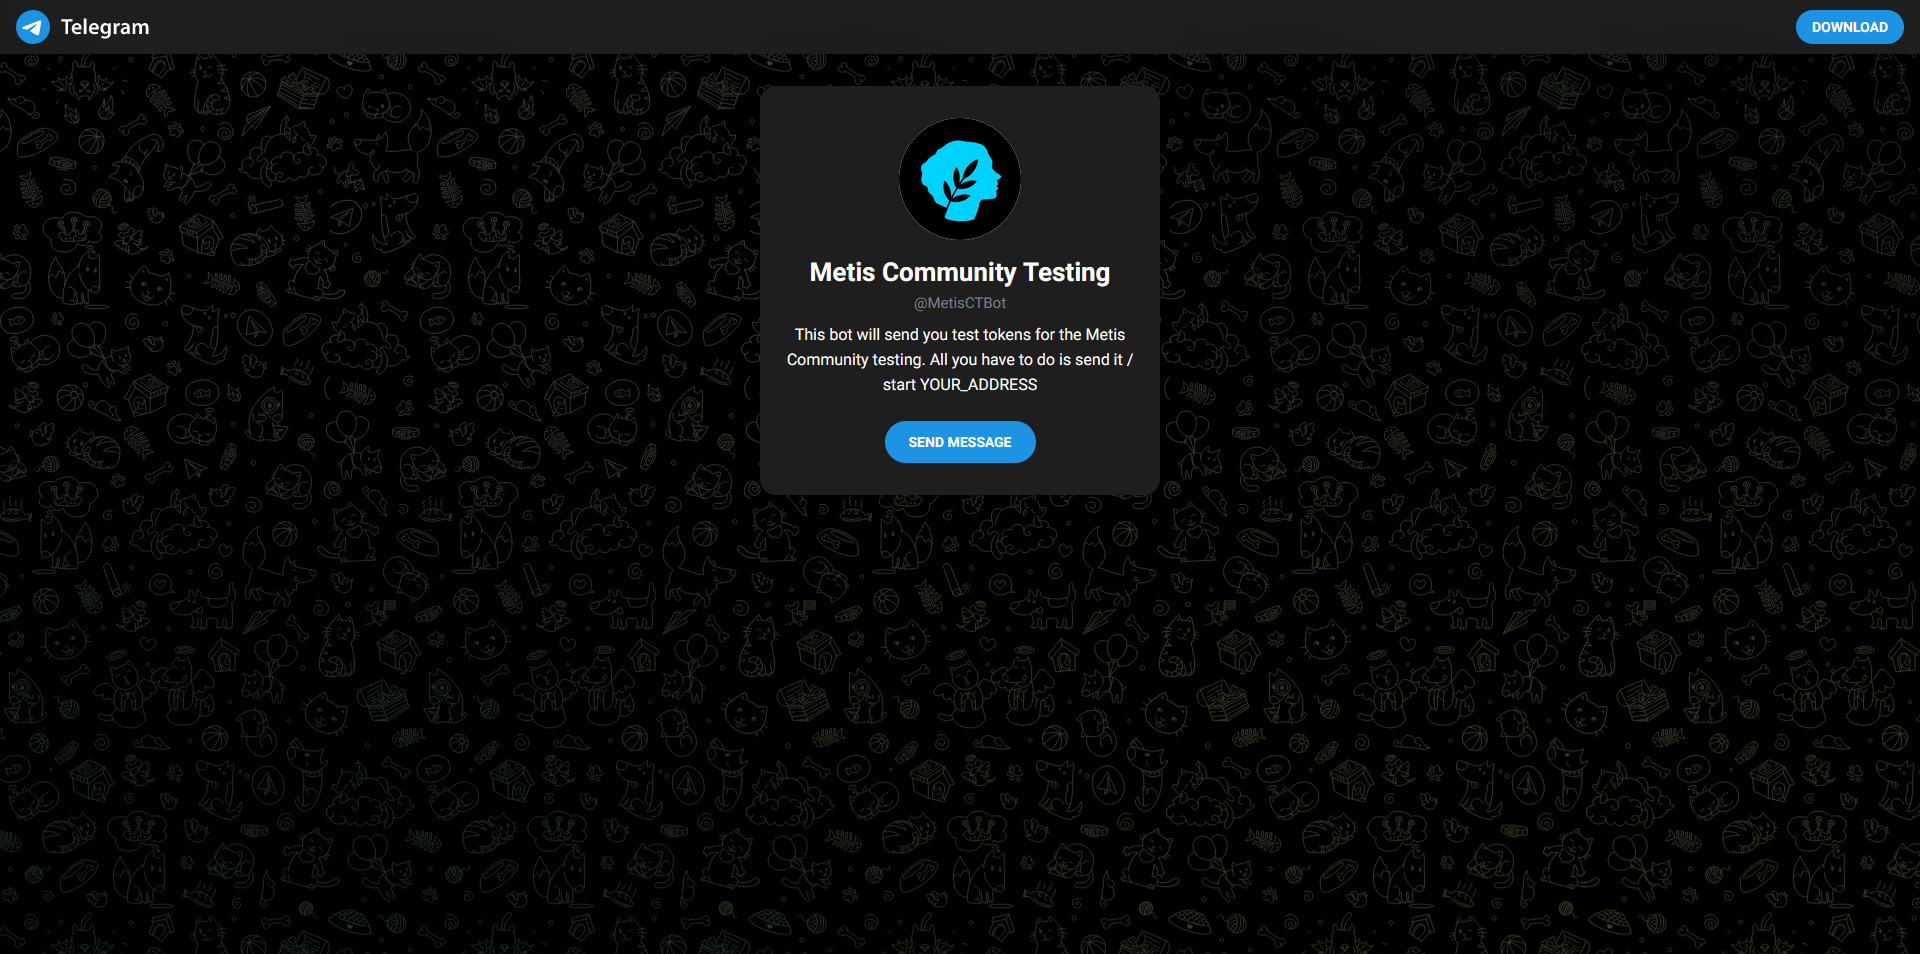
Complete the request in Telegram app by using command: "/start YOUR_WALLET_ADDRESS"
The Telegram username of the bot is: @MetisCTBot
Step 3
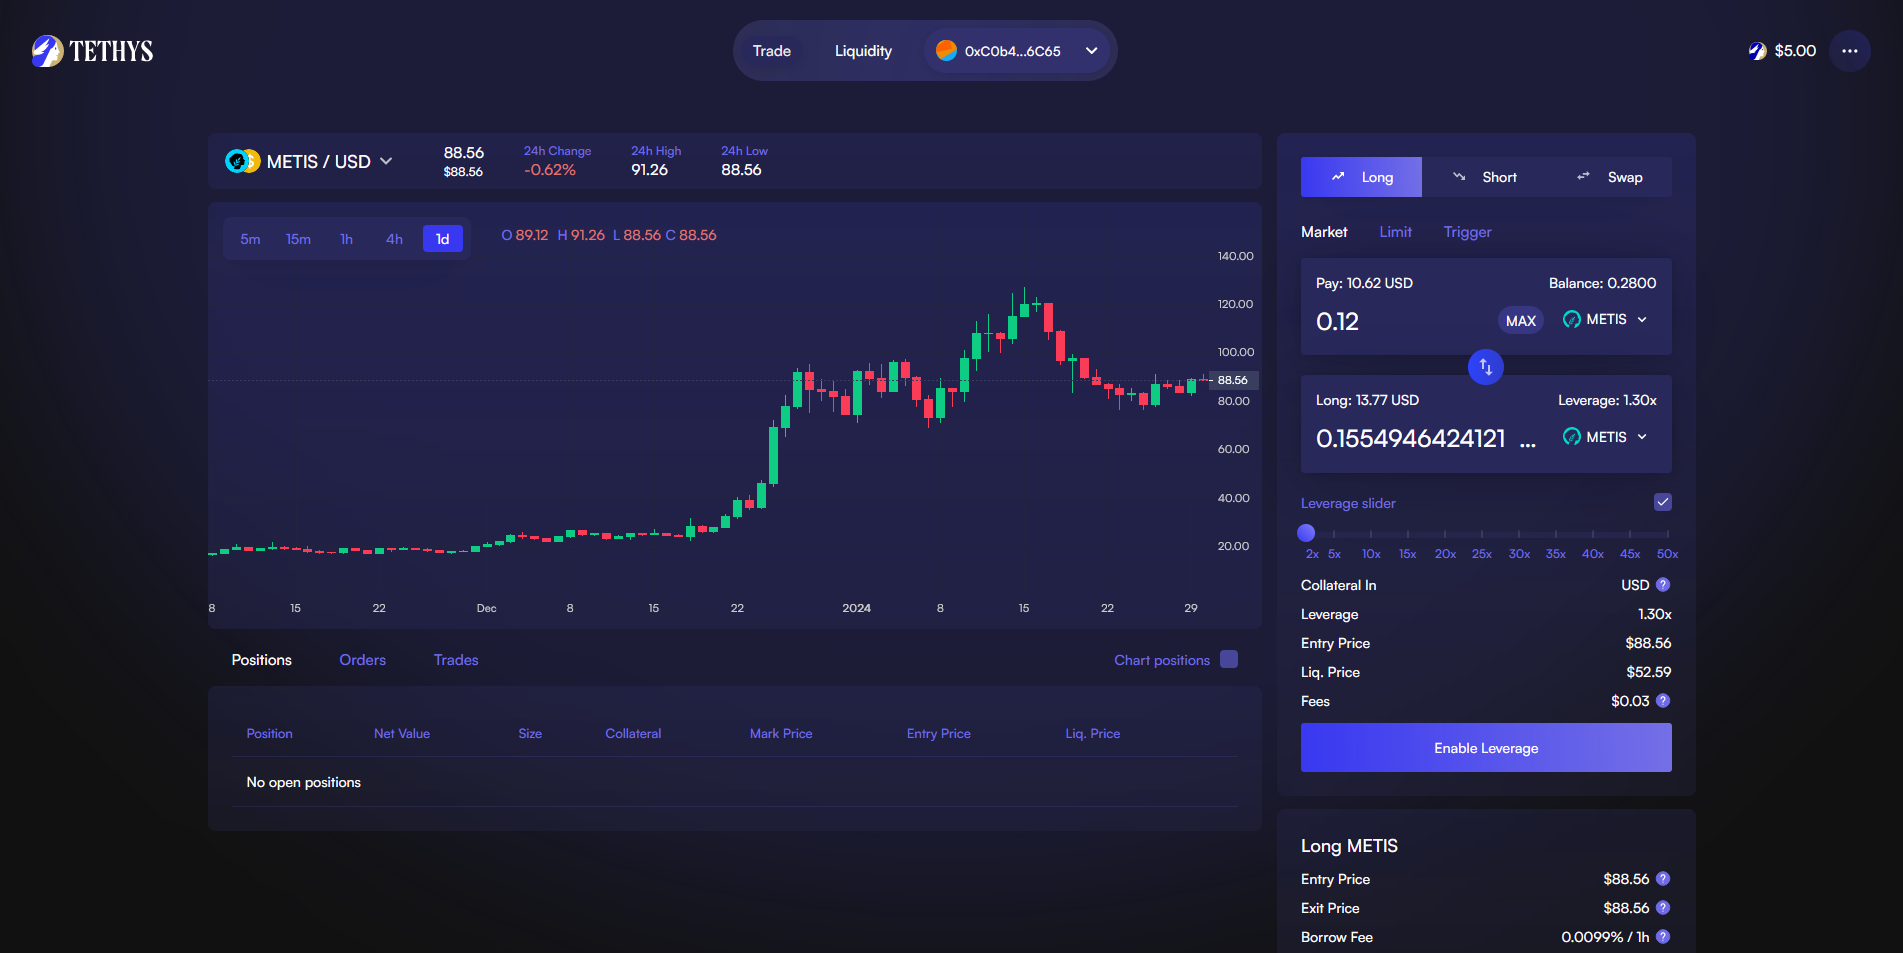
Now go to testnet.tethys.finance/trade & connect your wallet.
It will ask to add Metis Network to MetaMask, approve the request.
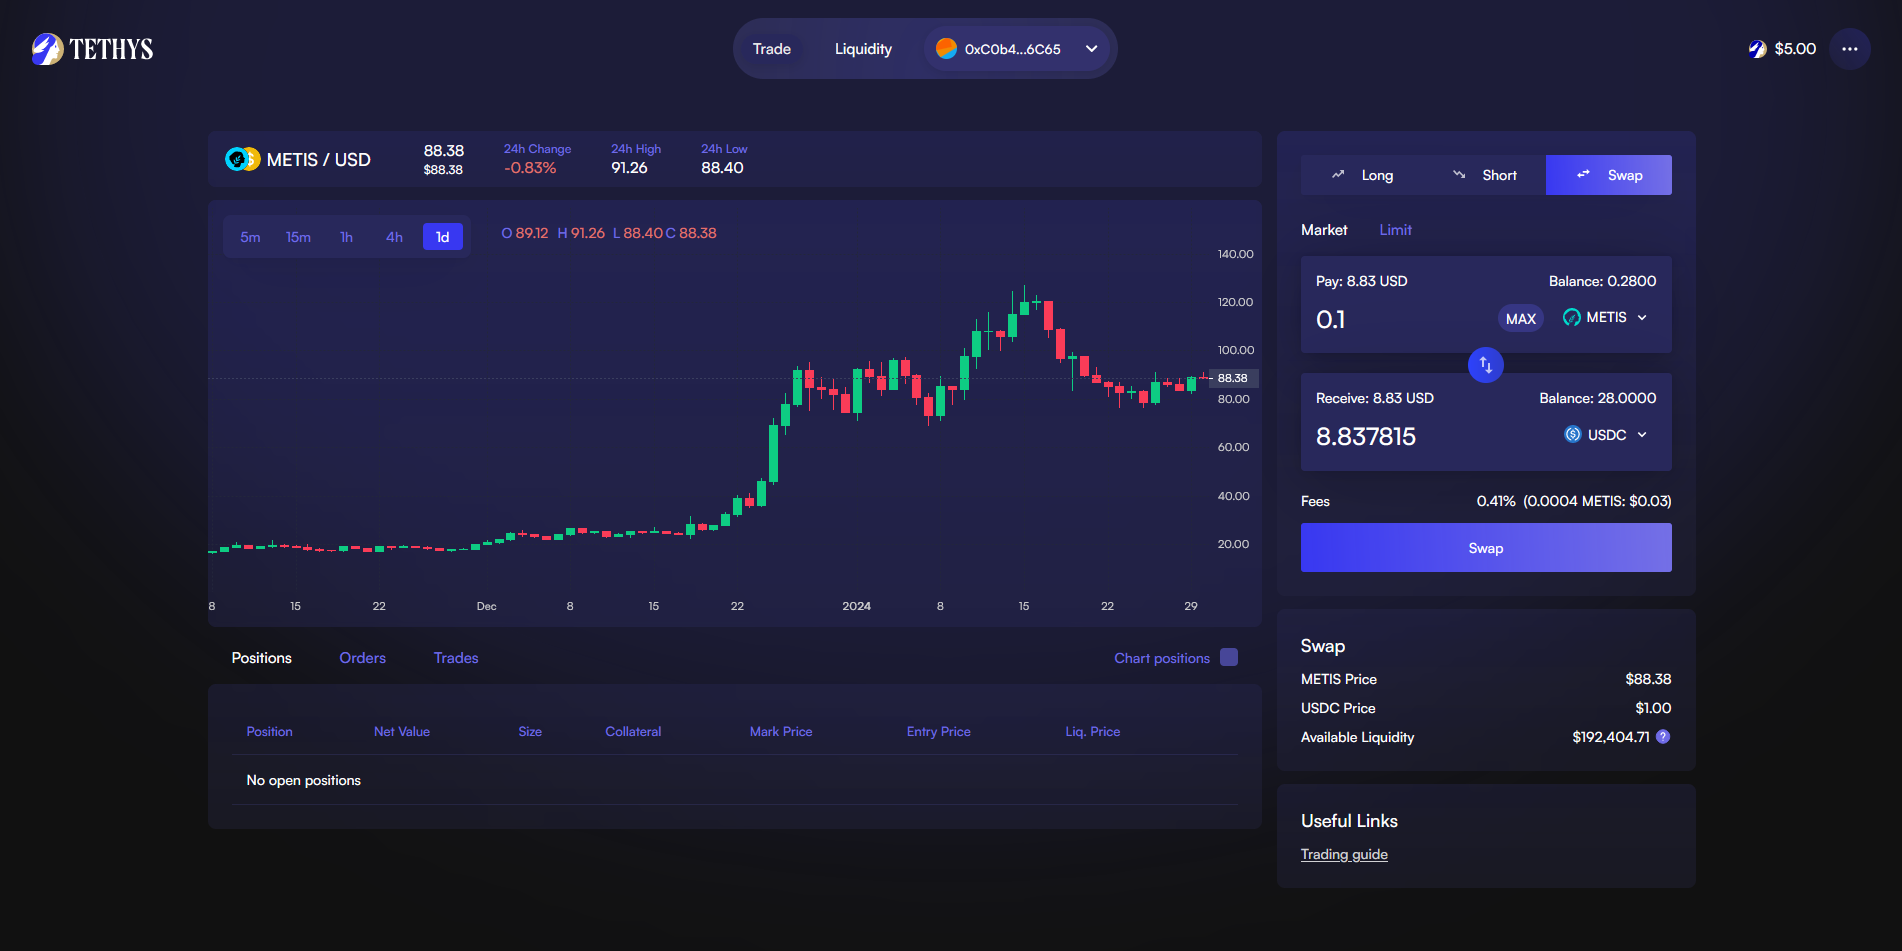
Now let's open a Long or Short position by inserting at least $10 worth of test tokens and clicking "Enable Leverage", confirm transaction and then click "Long METIS".
Next, we're going to perform some swaps by going to the "Swap" tab, input a quantity and token (USDC) and hit "Swap", then "Confirm Swap".
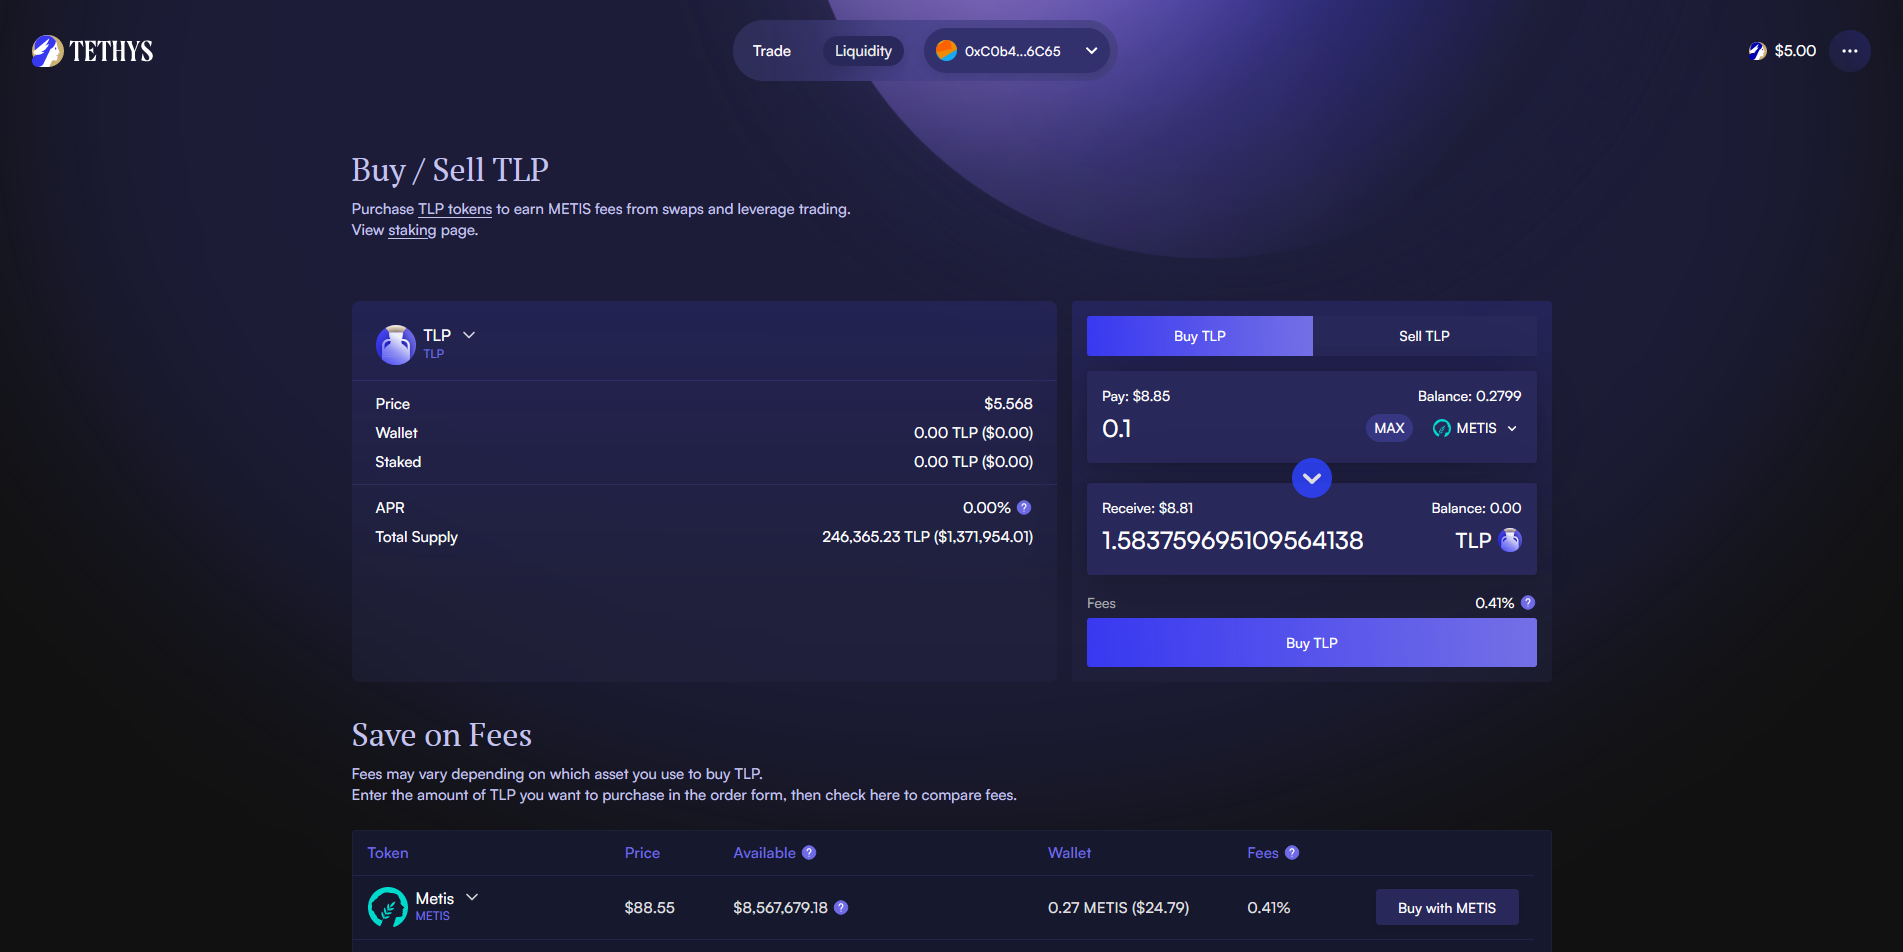
Now we're going to select the Liquidity tab so we can buy/sell LTP tokens.
If you're getting "Max METIS long exceeded" when trying to open long/short positions, you should try to lower the leverage slider to a lower amount such as 1.20x.
If you're getting errors with buying/selling LTP tokens, it may be because the exchange rate is changing rapidly, keep trying.
If you need more tokens for other testnet interactions, you can swap some USDC back to METIS.
Step 4
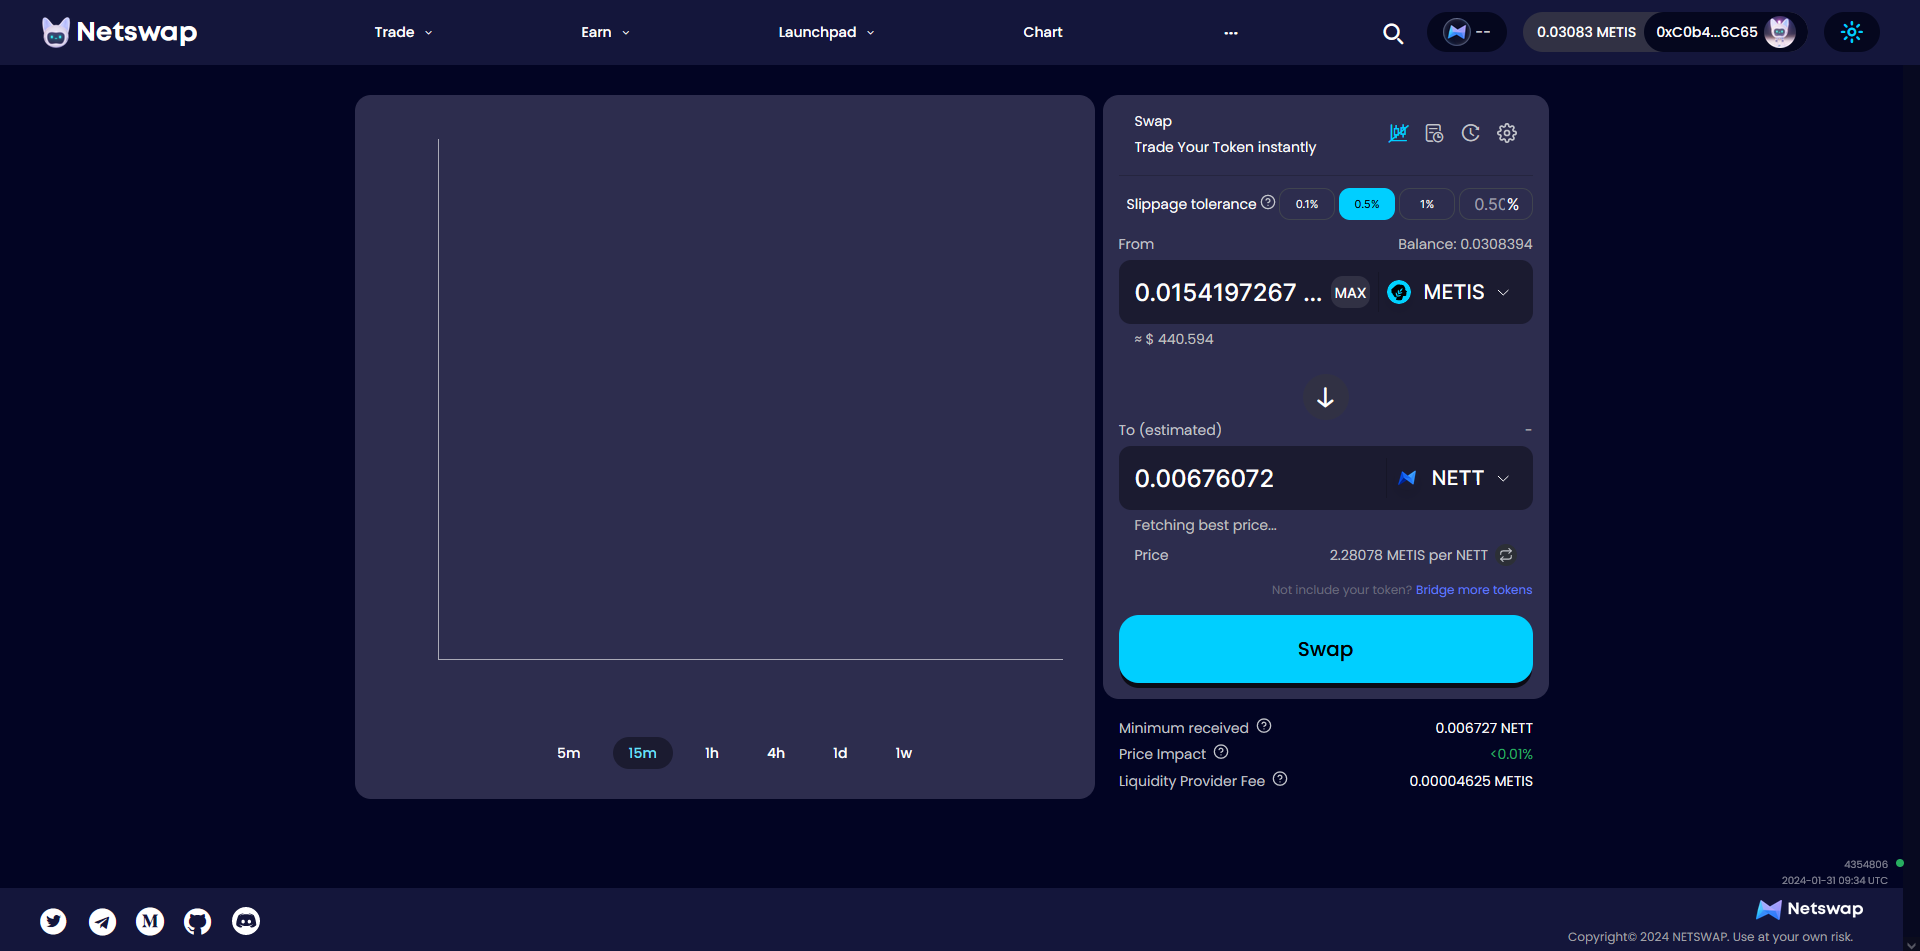
Now let's head over to NetSwap and perform a swap to any other token.
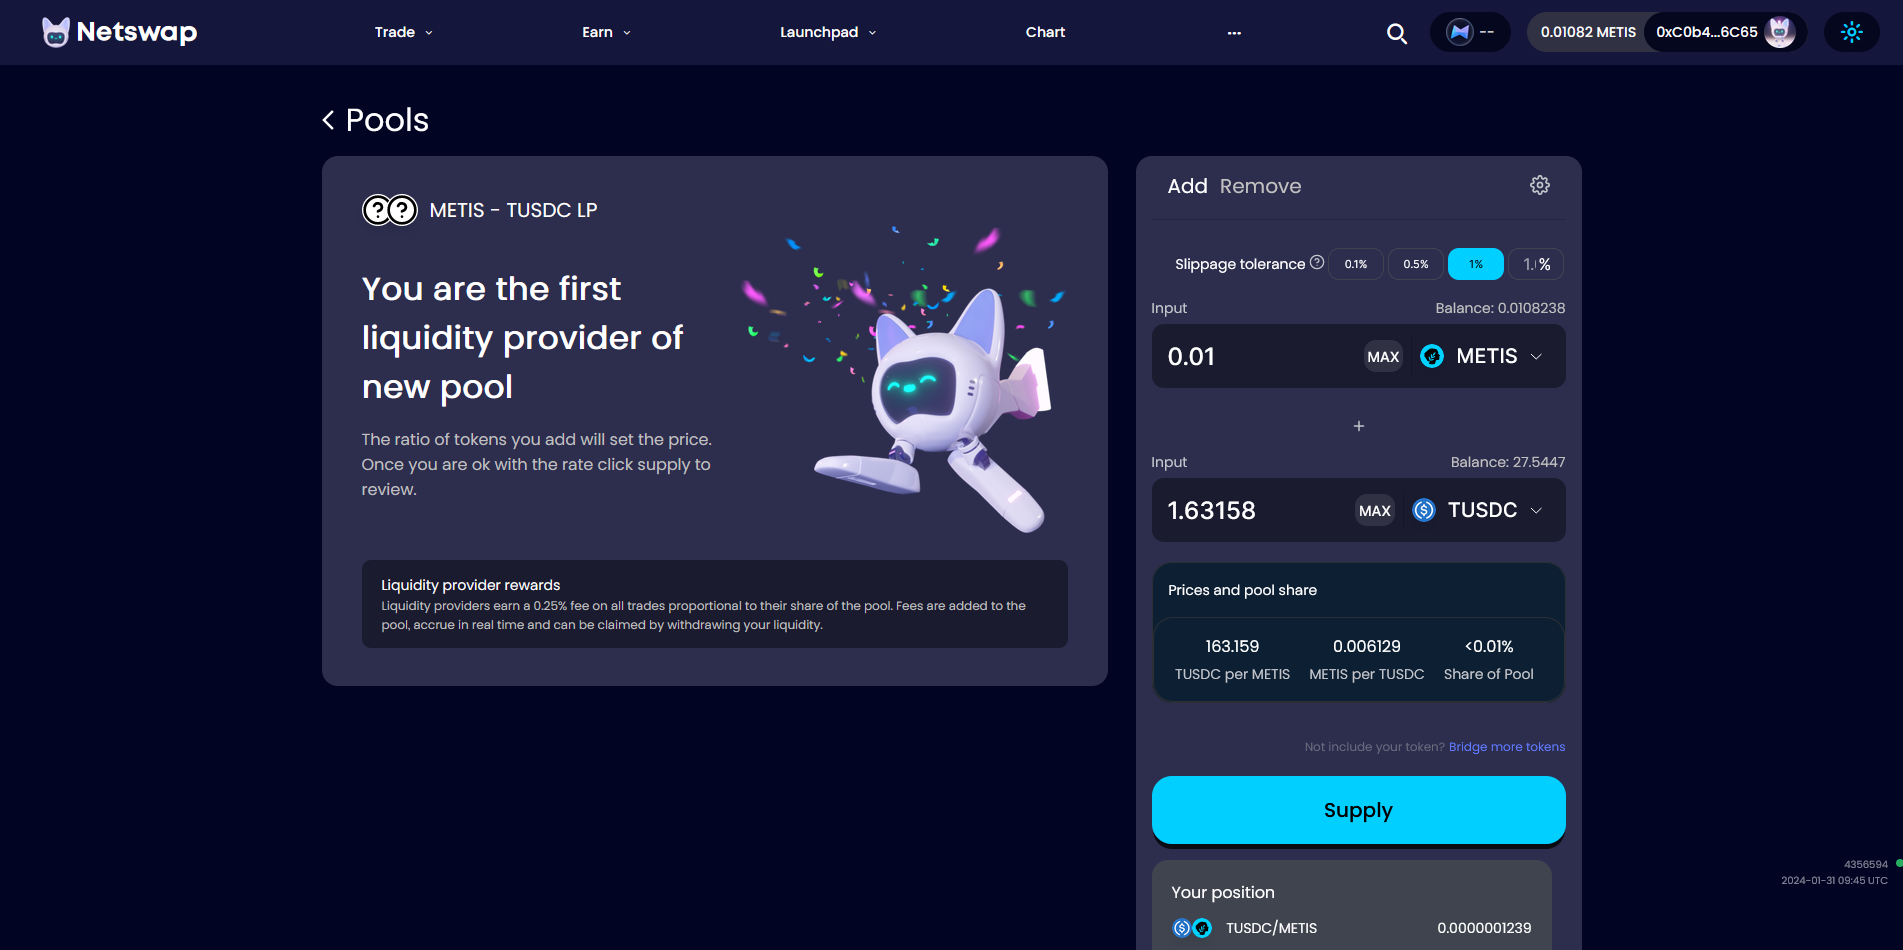
Now let's provide Liquidity, go to the "Trade" tab and click "Pool", then "Create Pool", enter amount, approve, "Supply", "Confirm Supply".
Step 5
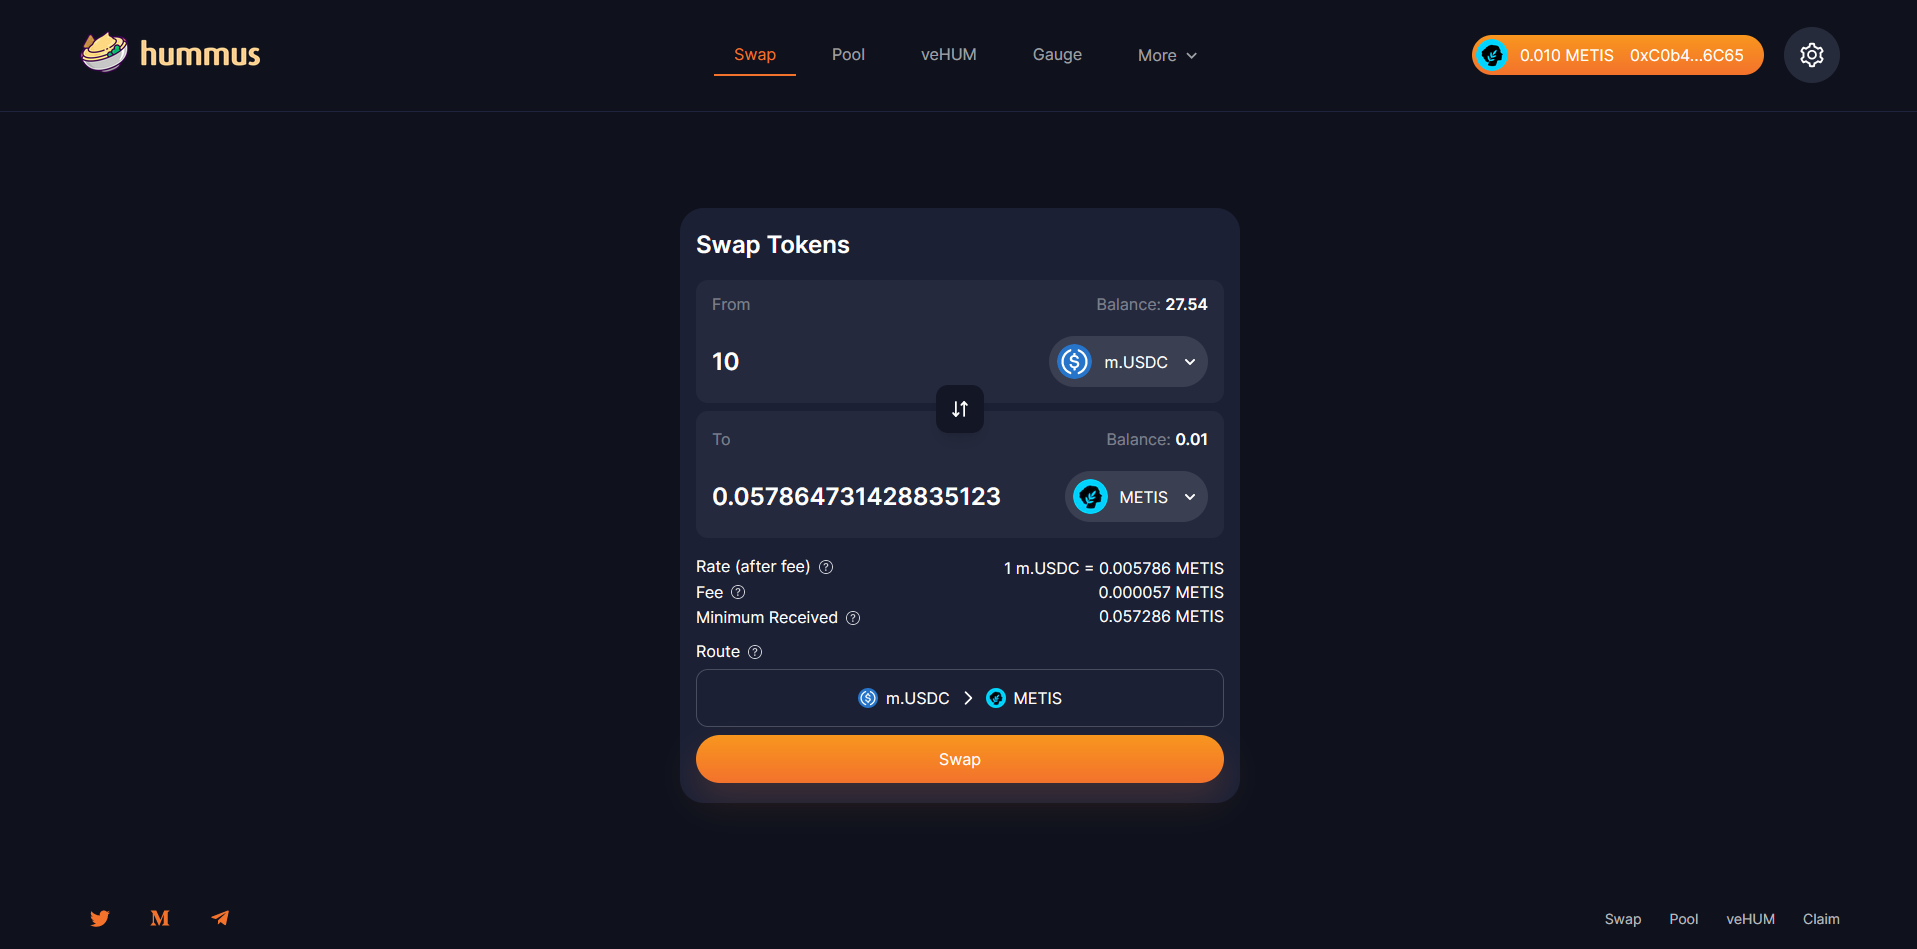
Go to https://app.hummus.exchange/ & connect your wallet.
Perform a swap with any token, insert quantity, press "Swap", and "Swap" again to confirm.
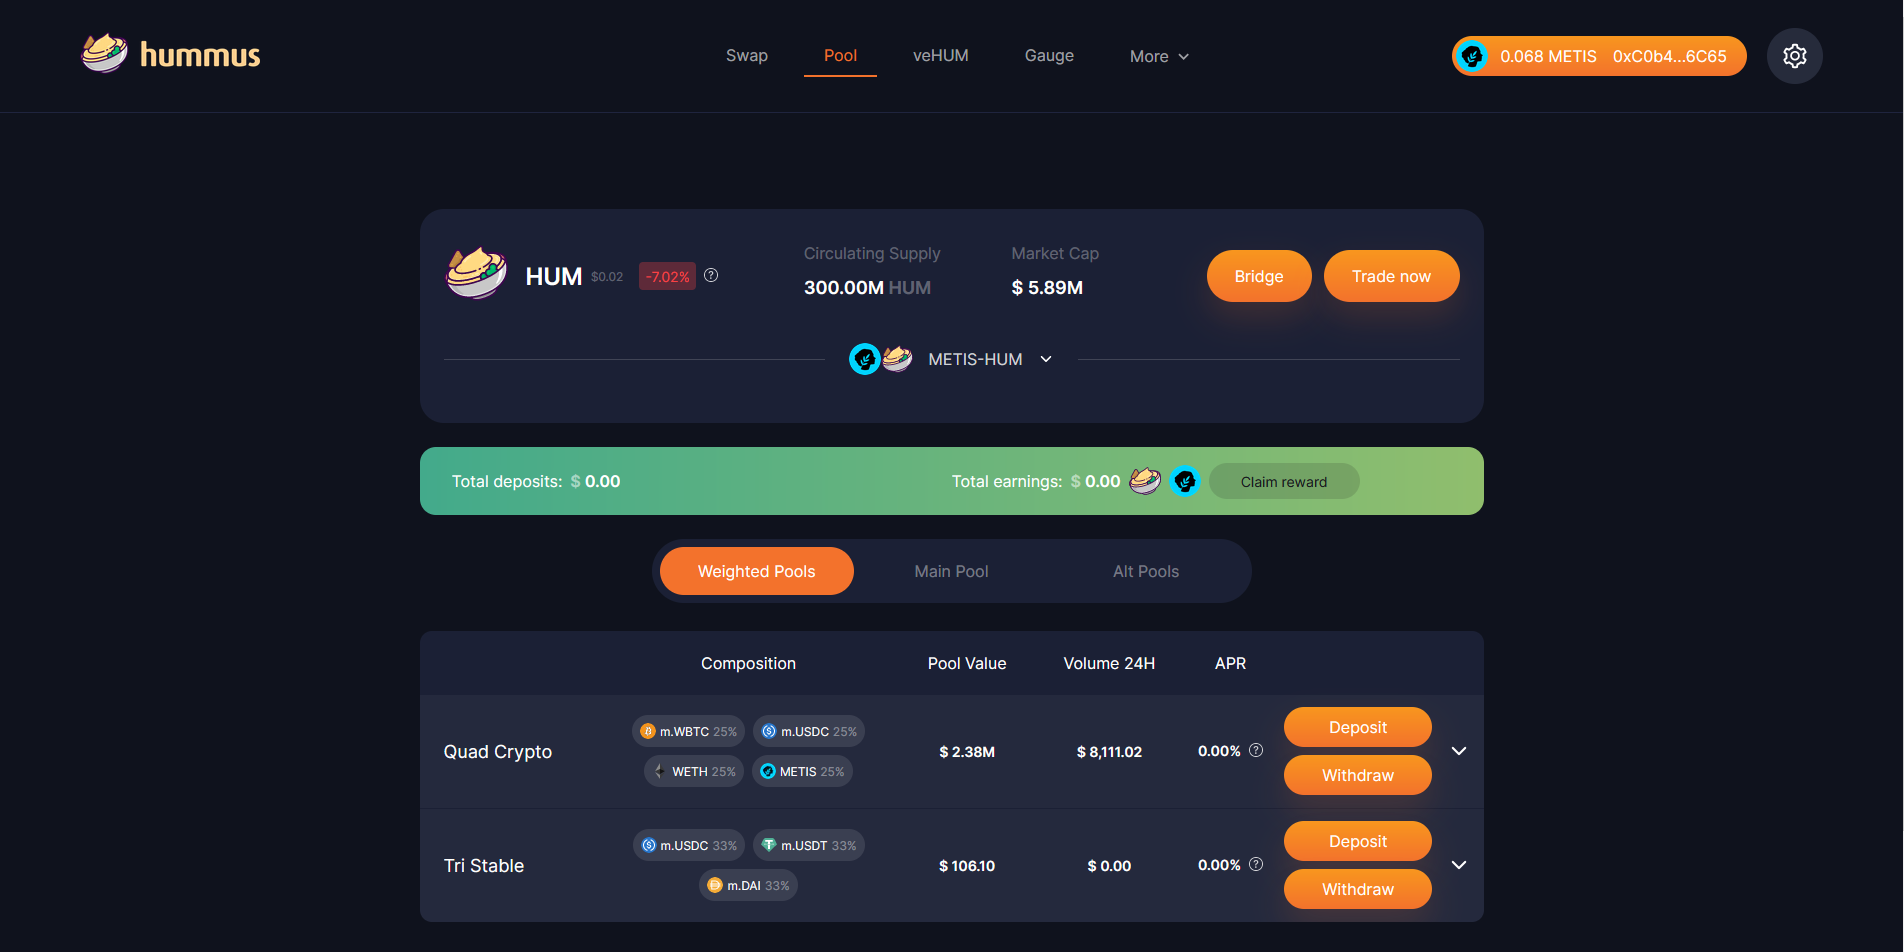
Now let's provide Liquidity, go to the "Pool" tab and select "Deposit" on any pool, insert a quantity for each token, approve each token and finally, click "Add Liquidity" to confirm.
If you're having trouble adding Liquidity to a Pool, it's a little buggy so keep trying and it should go through.
Step 6
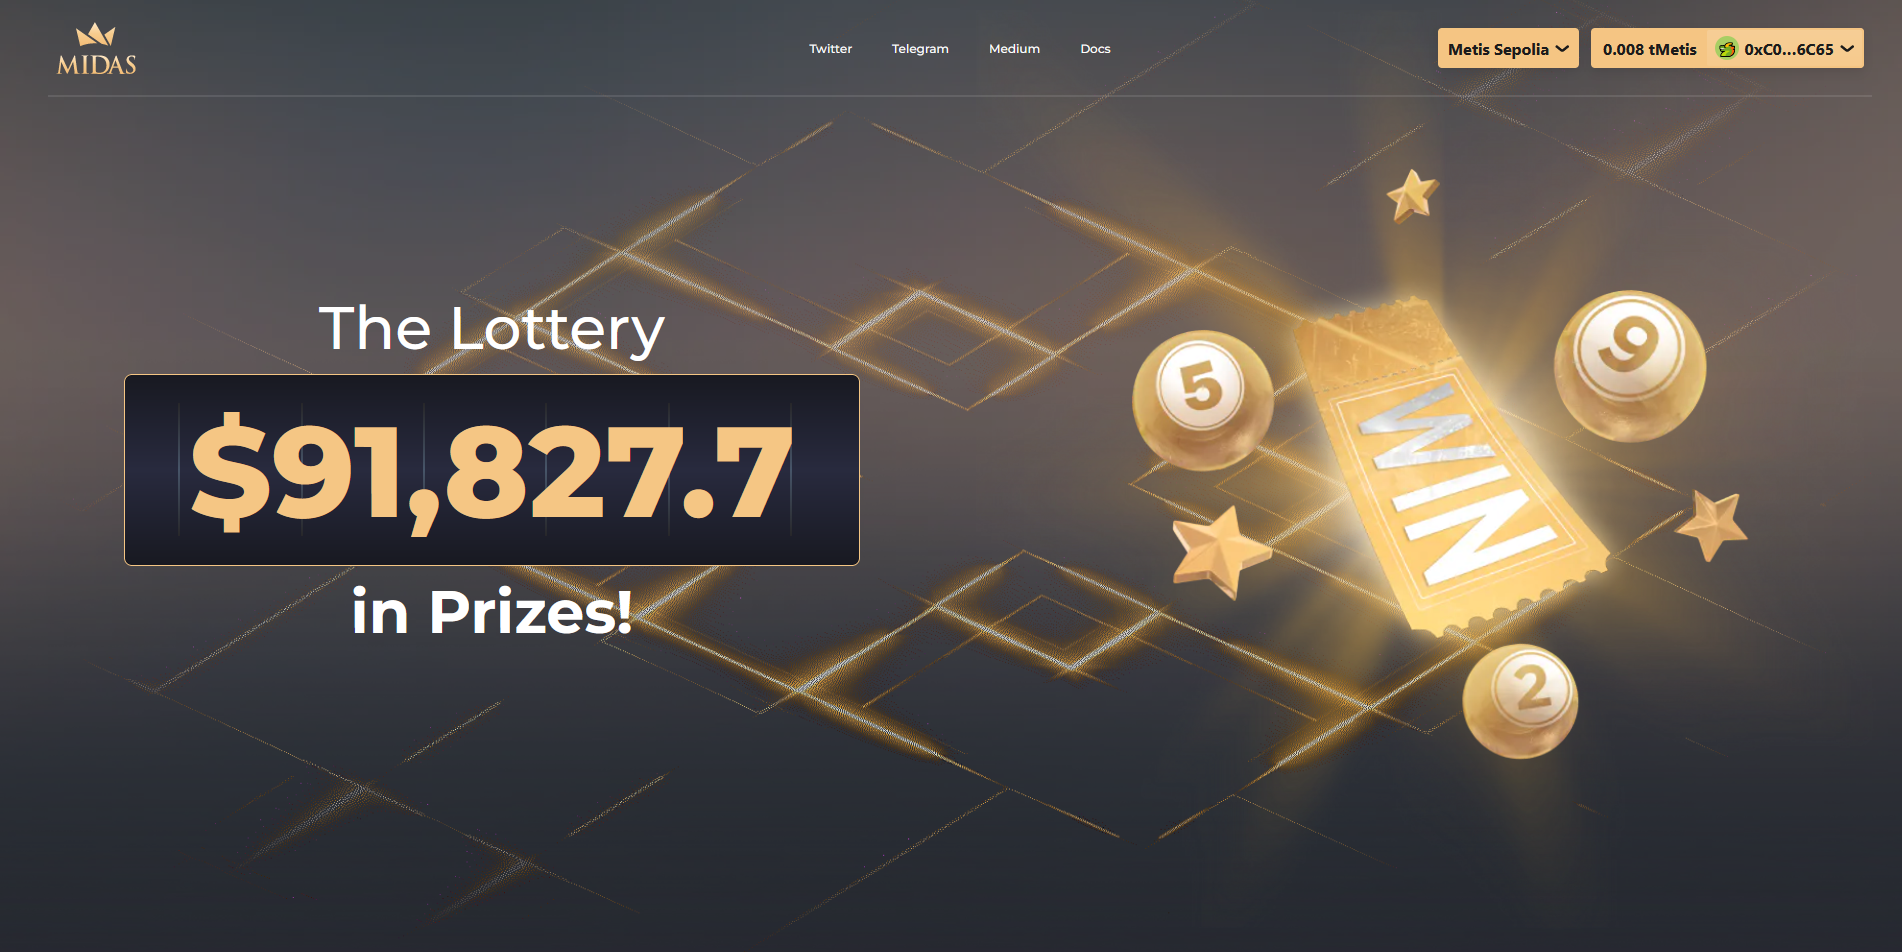
Finally, let's head over to dev.midas.game & connect our wallet.
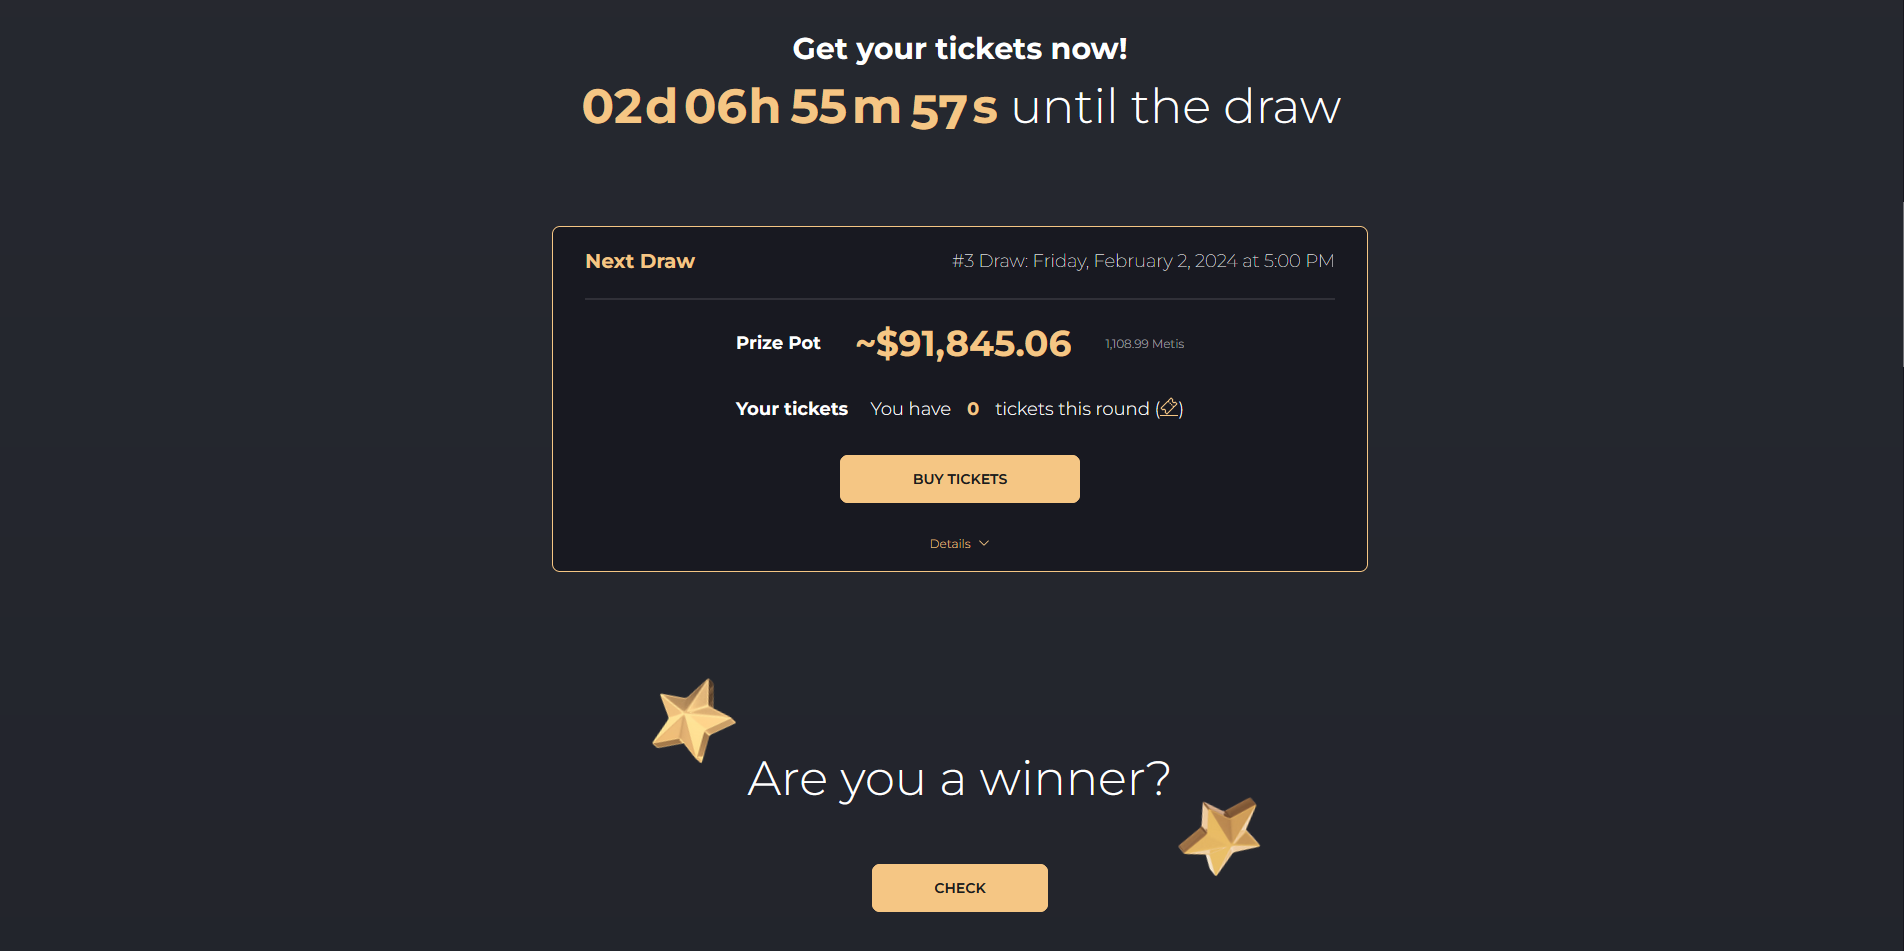
Scroll down and click "Buy Tickets", enter an amount, approve transaction and buy.
If you're low on test tokens, you may need to go back to the previous step and swap some USDC back to METIS.
Outro
If you found this guide helpful and informative, consider sharing it on social media. You can also stay updated on the latest content and discussions by following us on X (formely Twitter): @BitBlogxyz
Disclaimer: This guide is provided strictly for educational purposes and should not be considered financial advice. The content is designed to offer insights into various web3 topics & projects.
We do not recommend putting real money into random projects without conducting plenty of your own research first. It is crucial to make informed decisions based on your own understanding and risk tolerance.