Introduction
In this guide, I will show you how to interact with the Venon testnet, earn all the early adopter NFTs, & position yourself for a potential future airdrop!
Venom is an infinitely scalable blockchain utilizing T-Sol smart contracts, aiming to foster a more interconnected future. Serving as a fundamental multi-blockchain platform, it empowers the creation of scalable Web3 applications in areas like DeFi and global payments.
Step 1
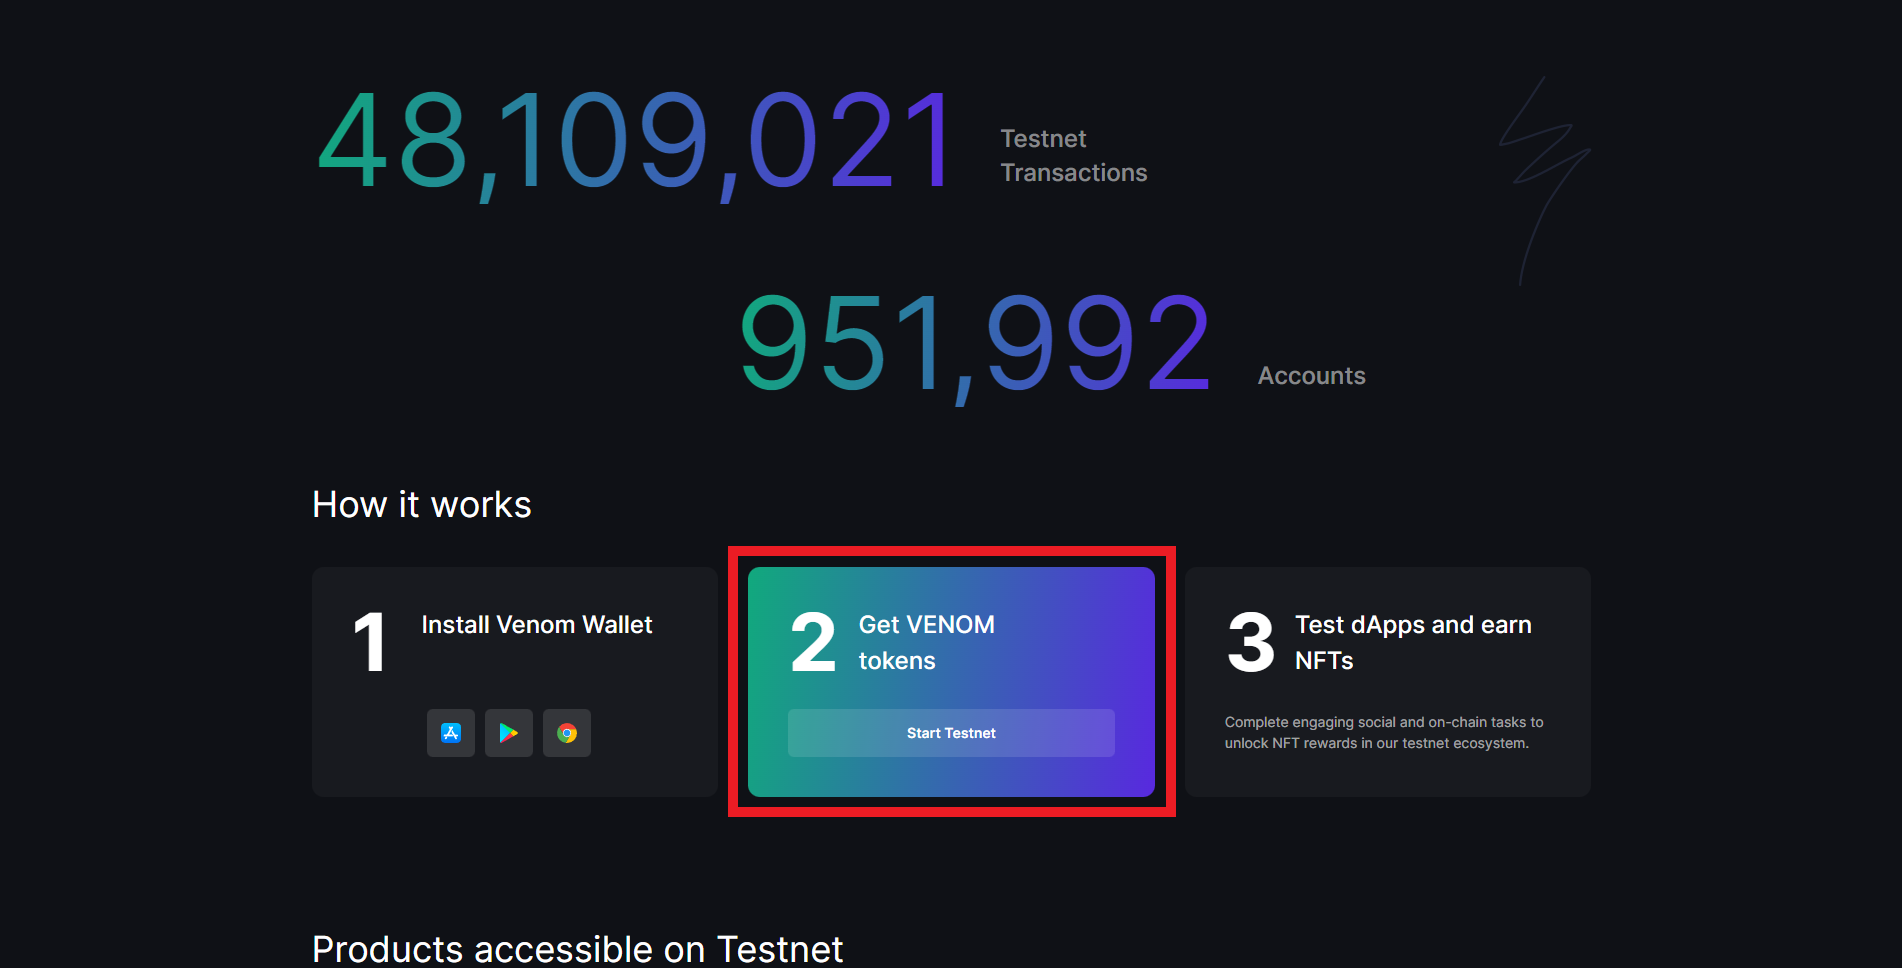
First, we need to go to venom.network & press "Start Testnet".
Step 2
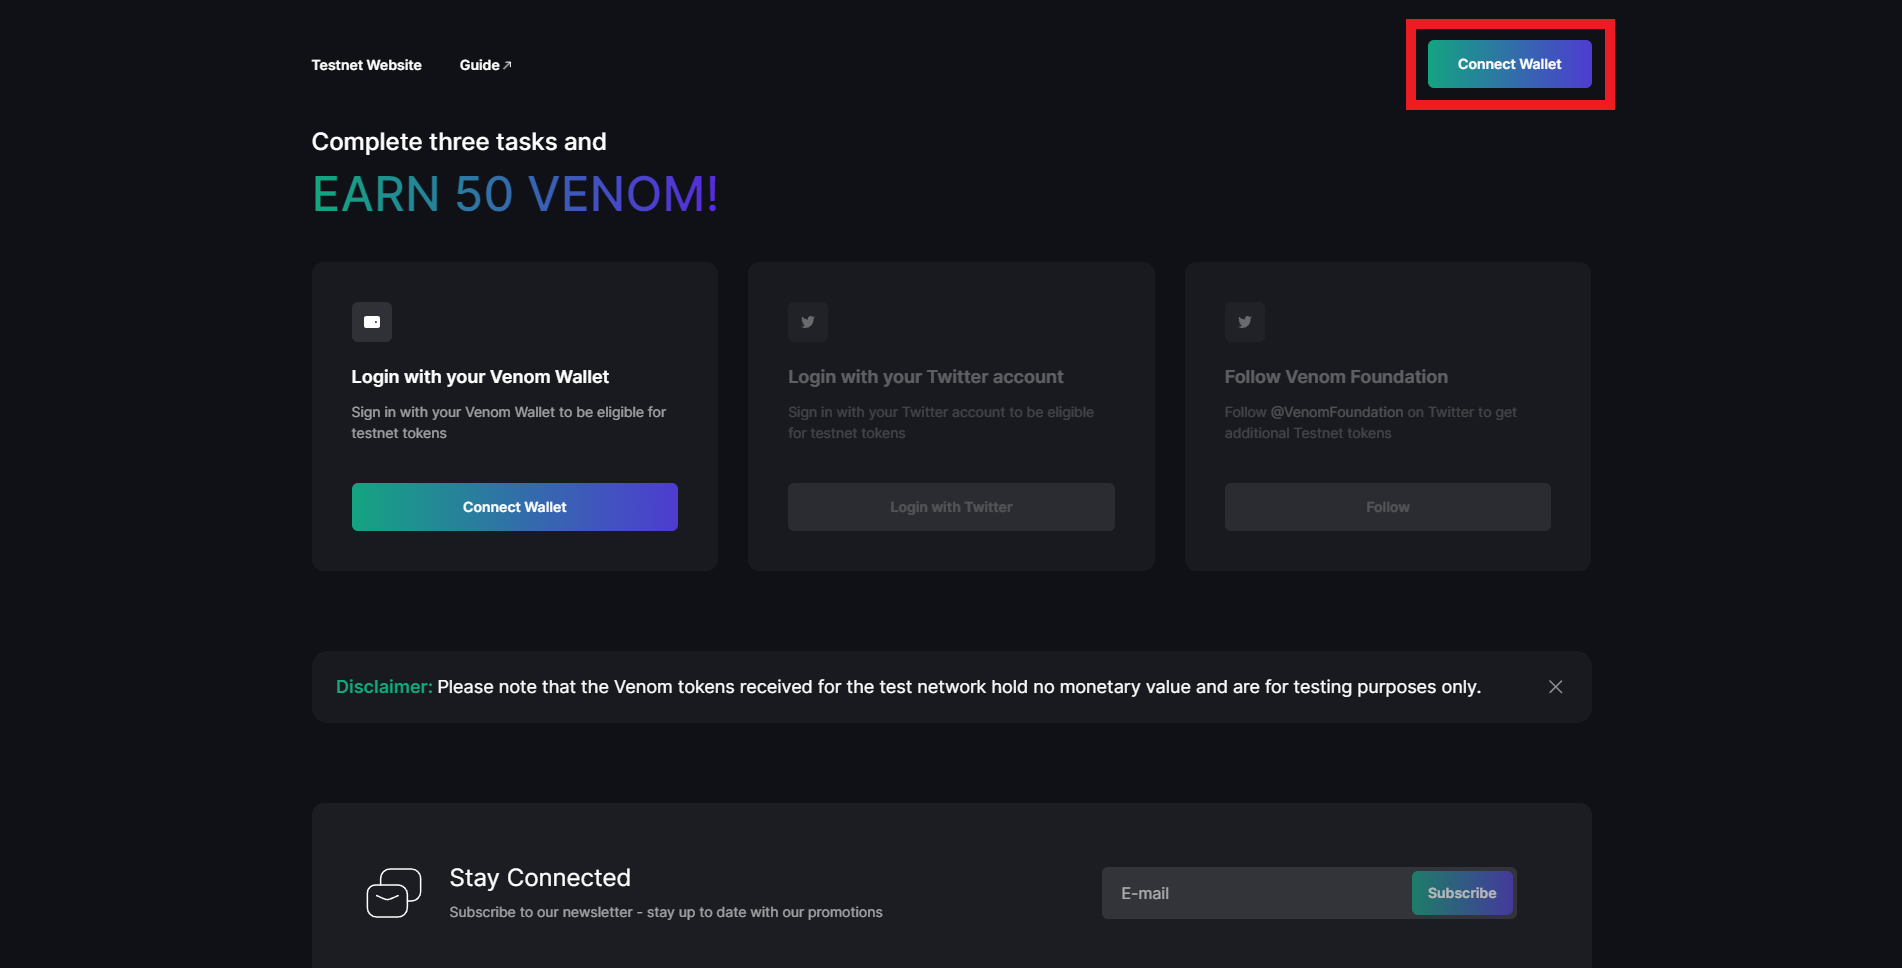
Connect your Venom Wallet, & then complete the 3 tasks.
If you don't have a Venom wallet, you can follow our quick guide here: How To Setup Venom Wallet
Step 3
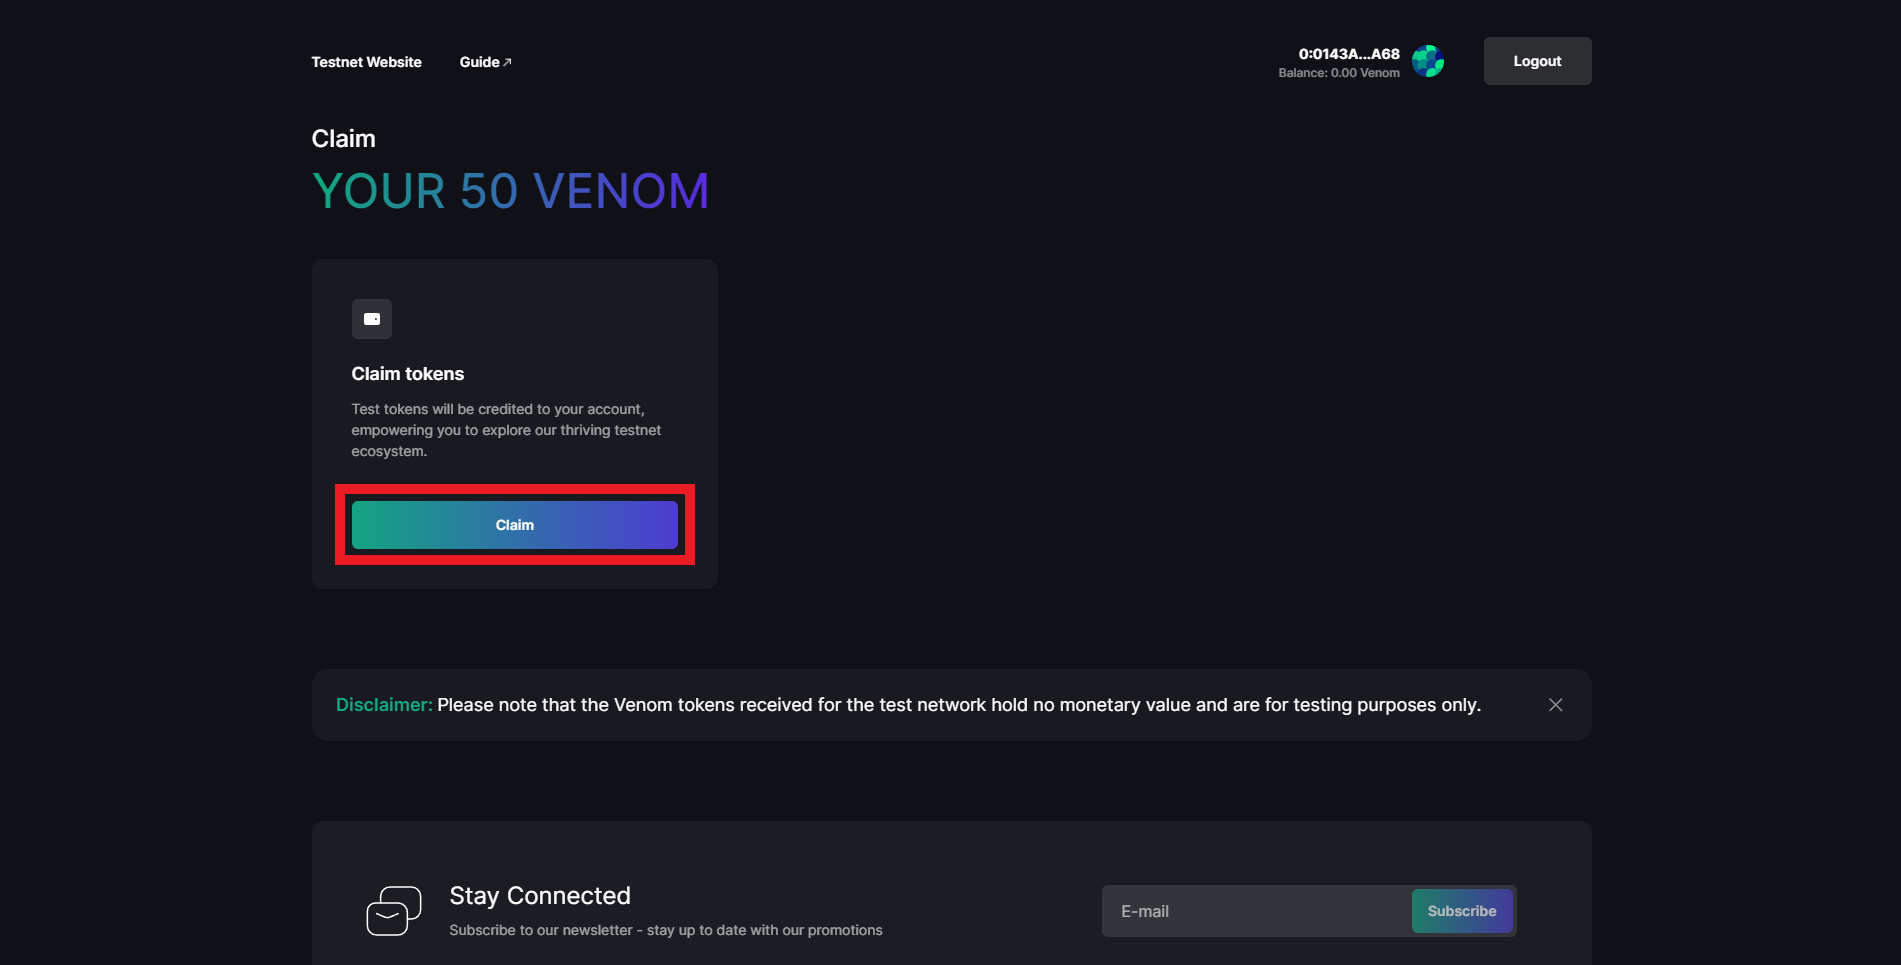
Select "Claim", then input the password you created for the wallet & select "Sign" to receive the testnet tokens.
Step 4
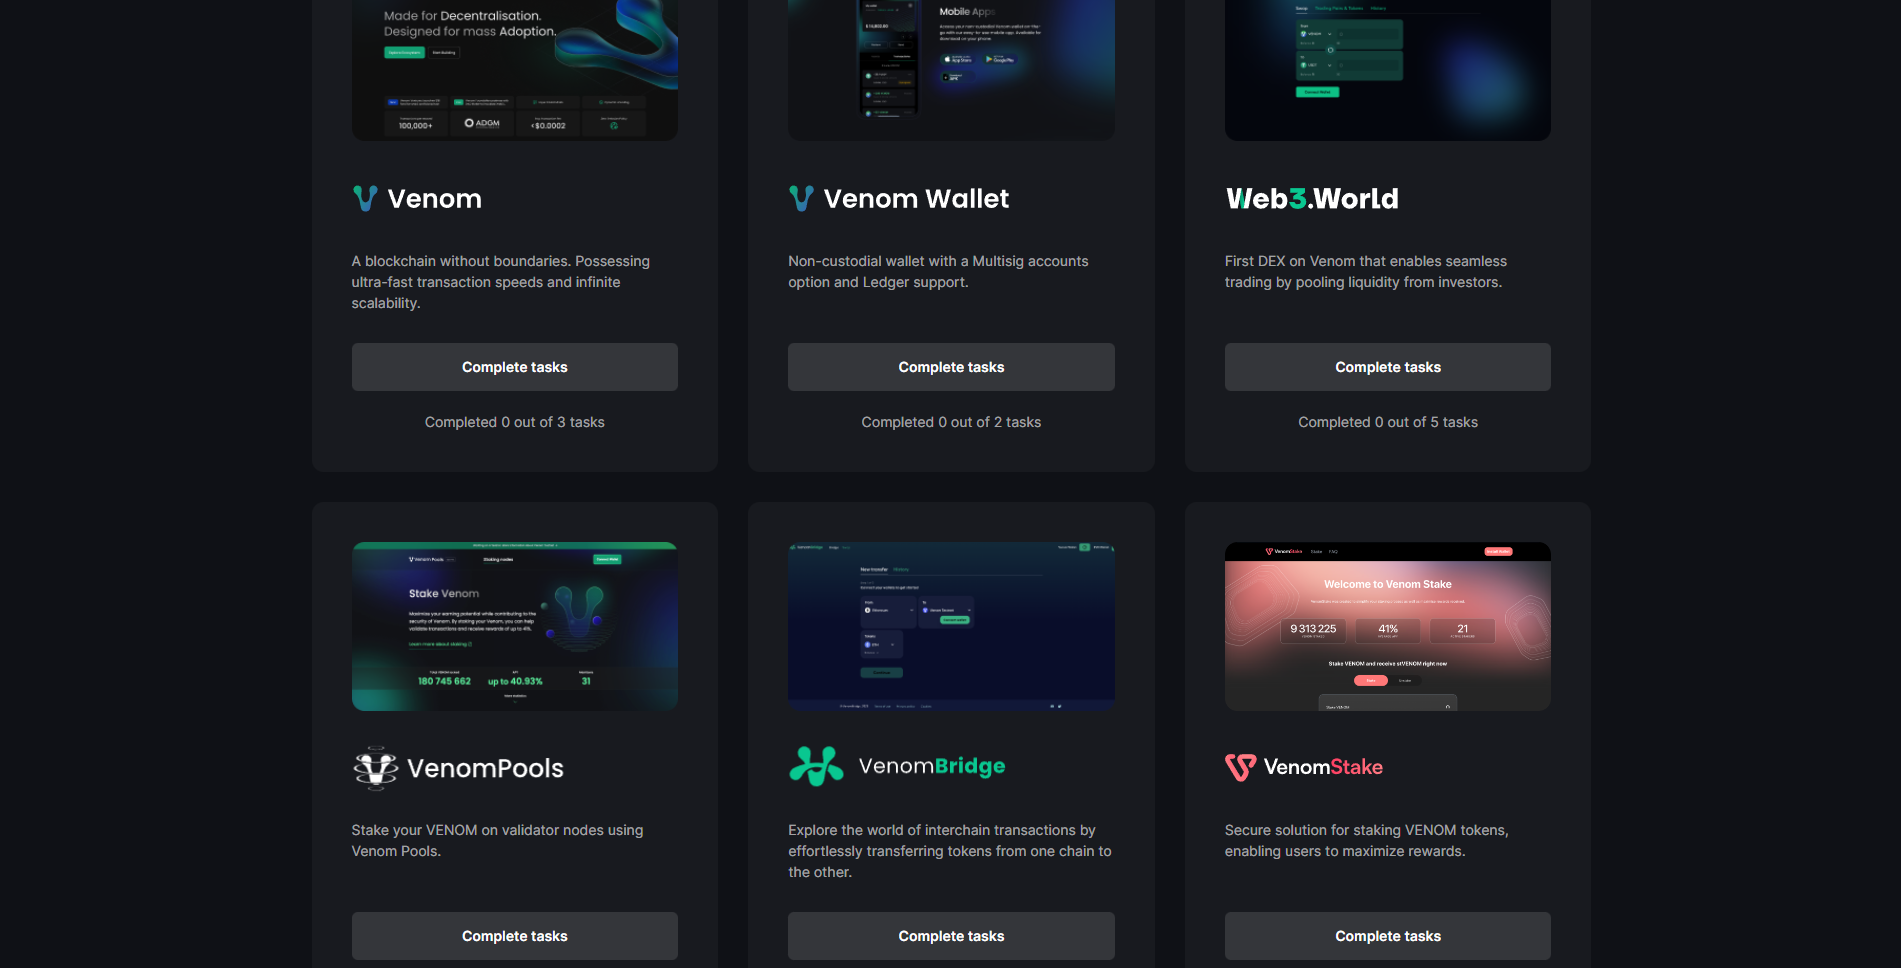
After you've received the 50 Tokens, refresh the page & scroll down to view all the projects!
Each Project will have some tasks that you'll need to complete to earn each NFT.
Step 5
The first 3 tasks are simple and should only take several minutes to complete.
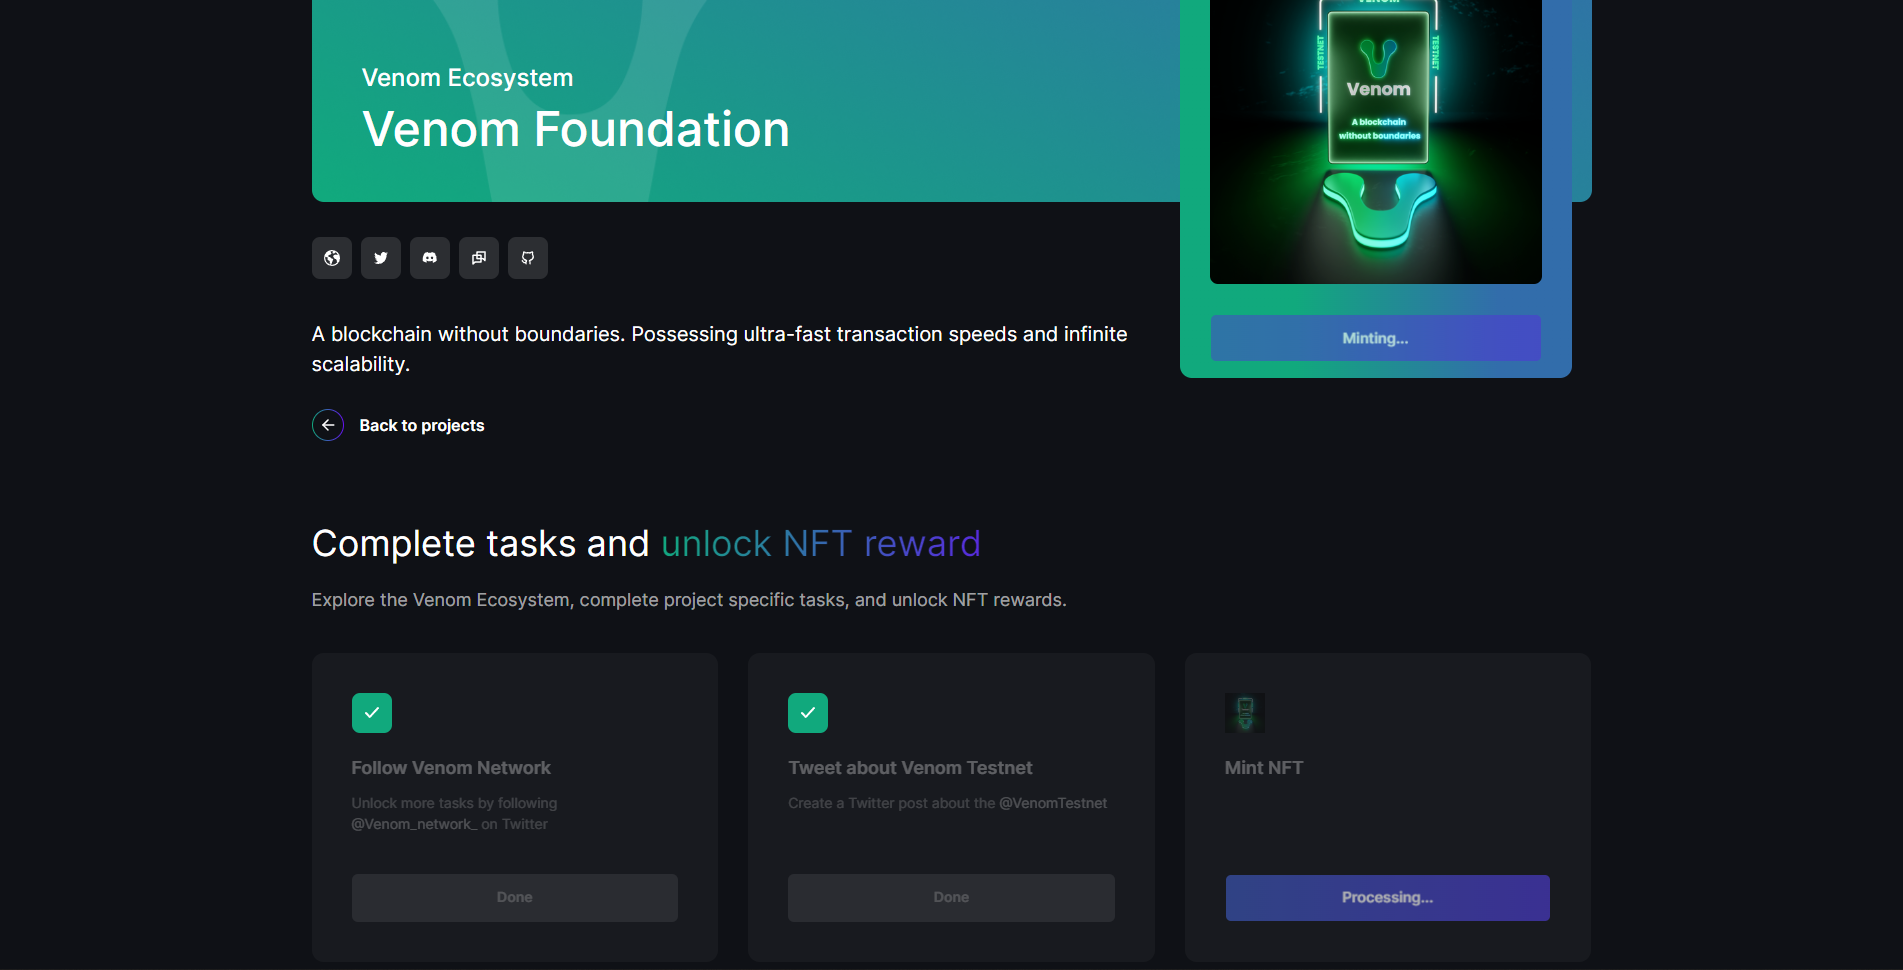
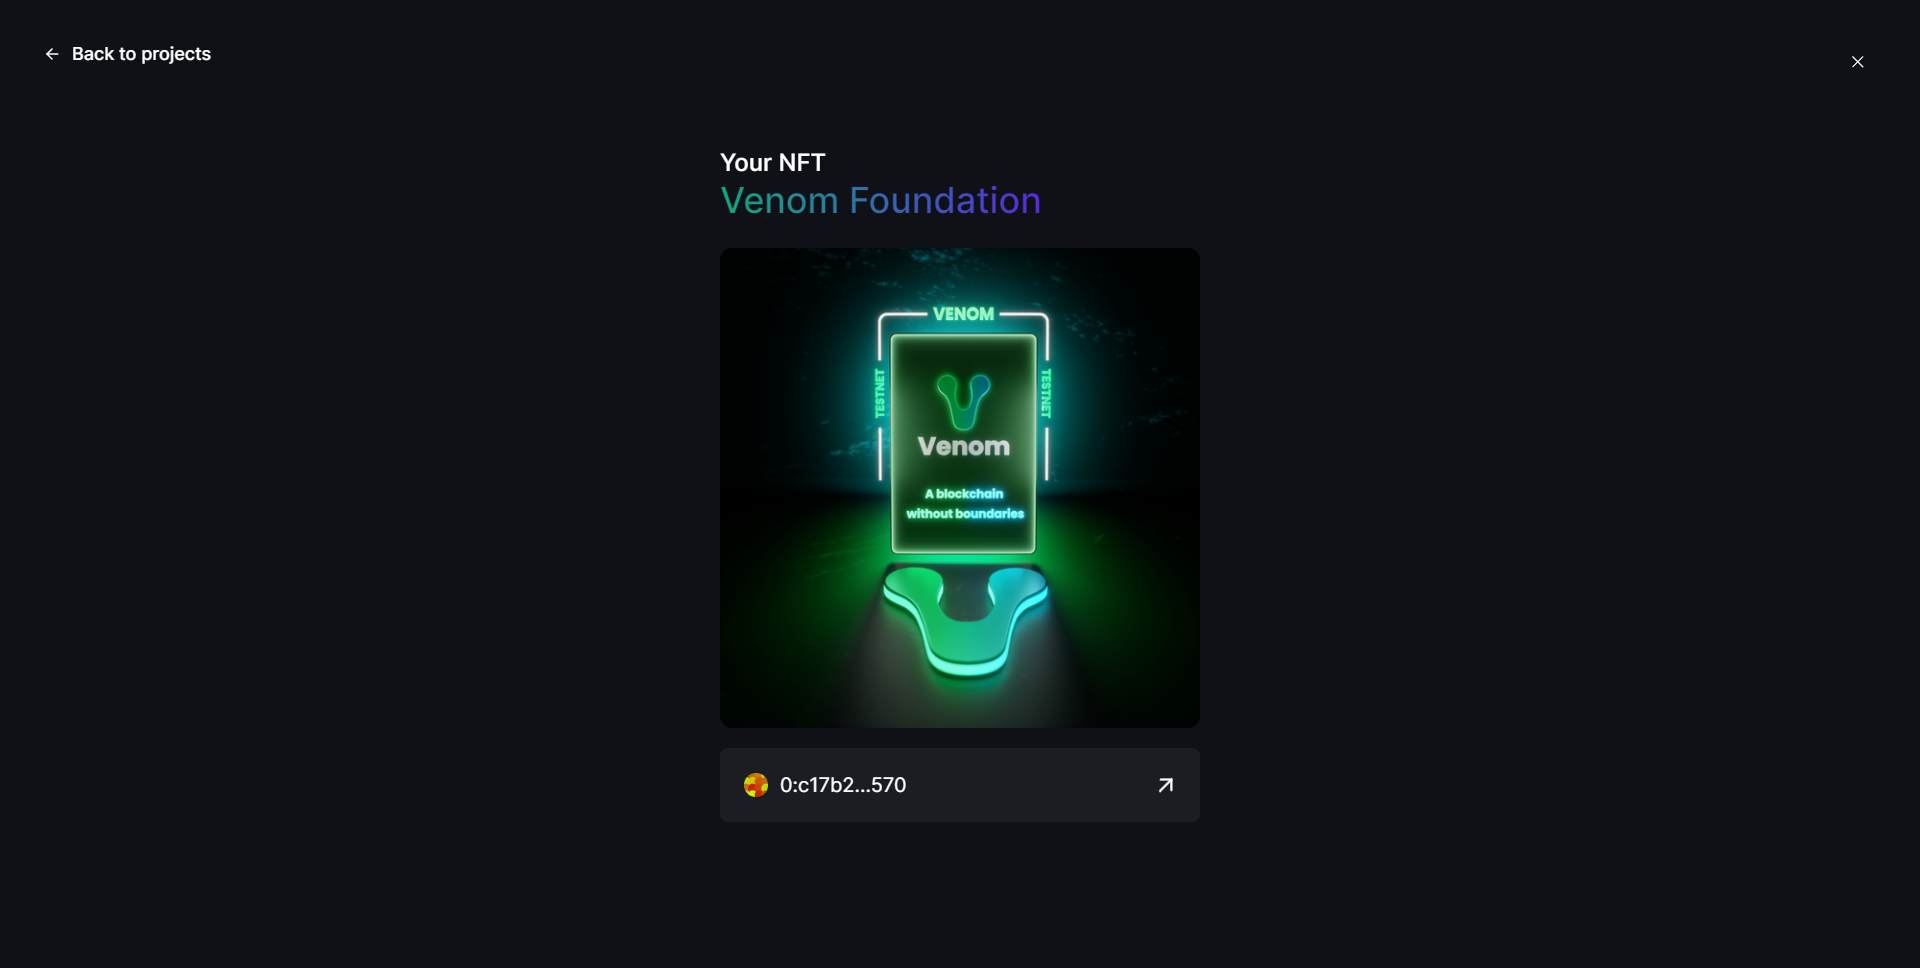
Step 6
For this NFT, we just need to send a small amount of Venom to the wallet address provided in the task, you can use the Venom Wallet for this step.
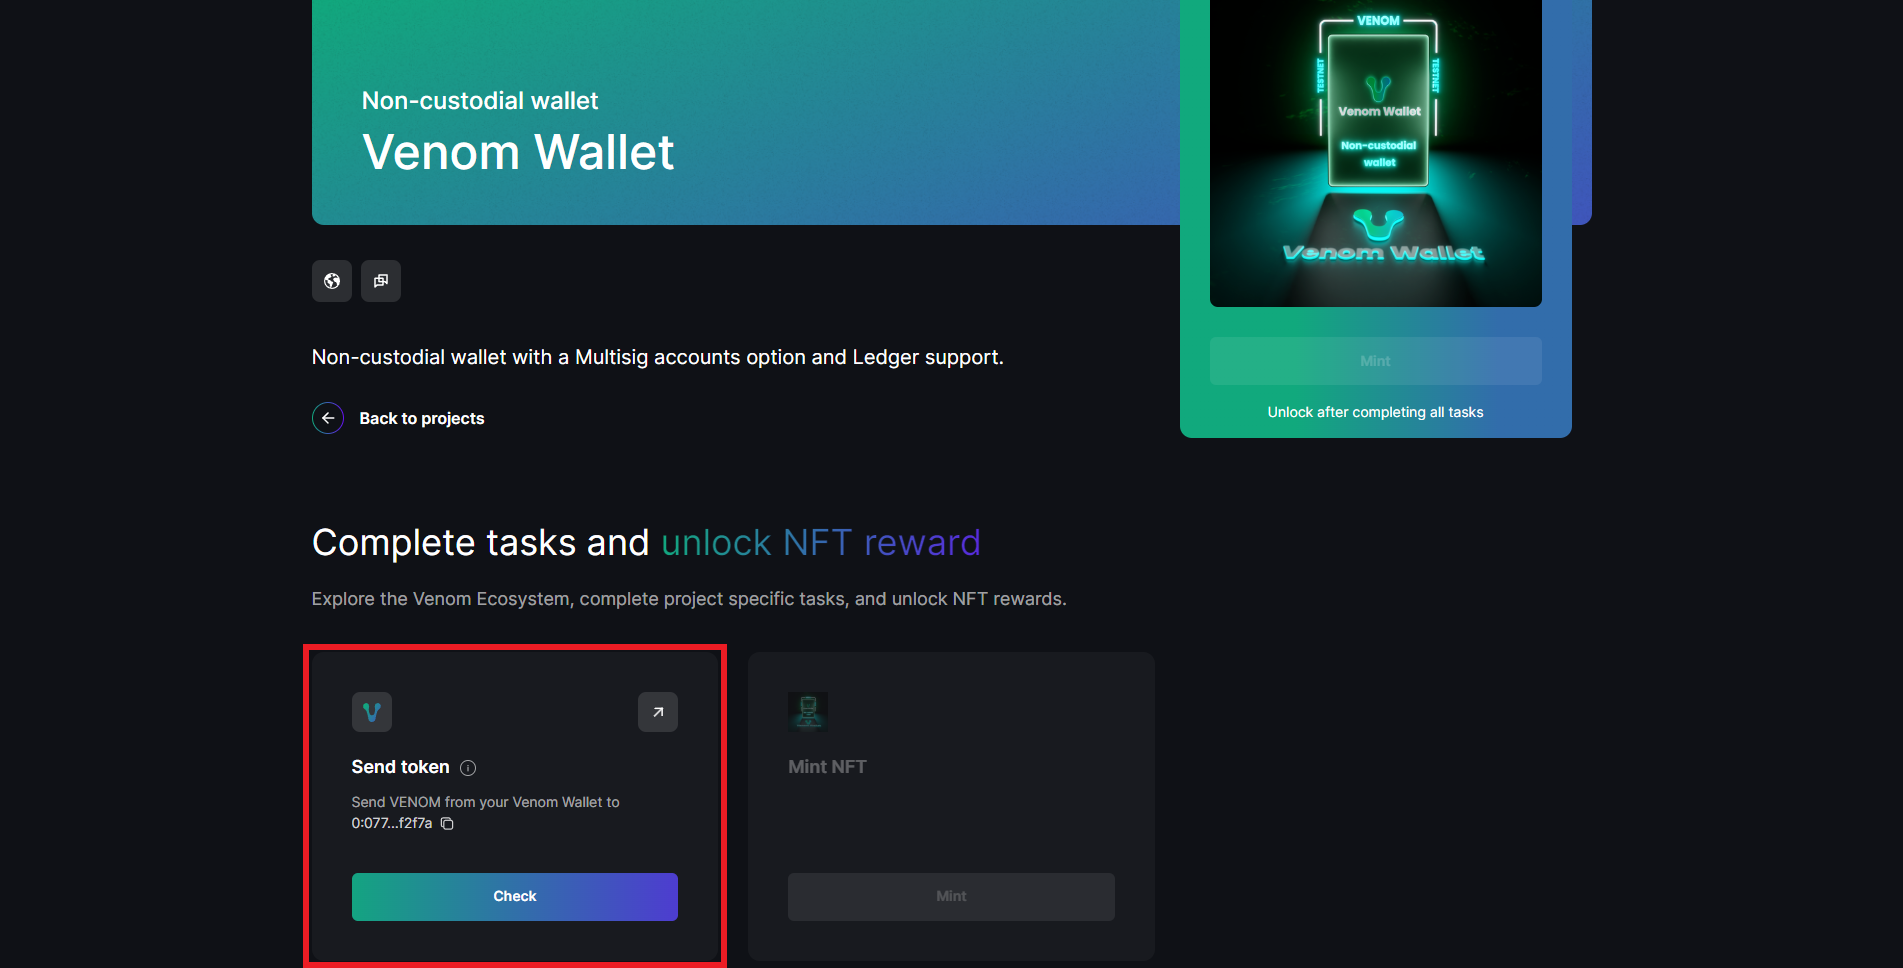
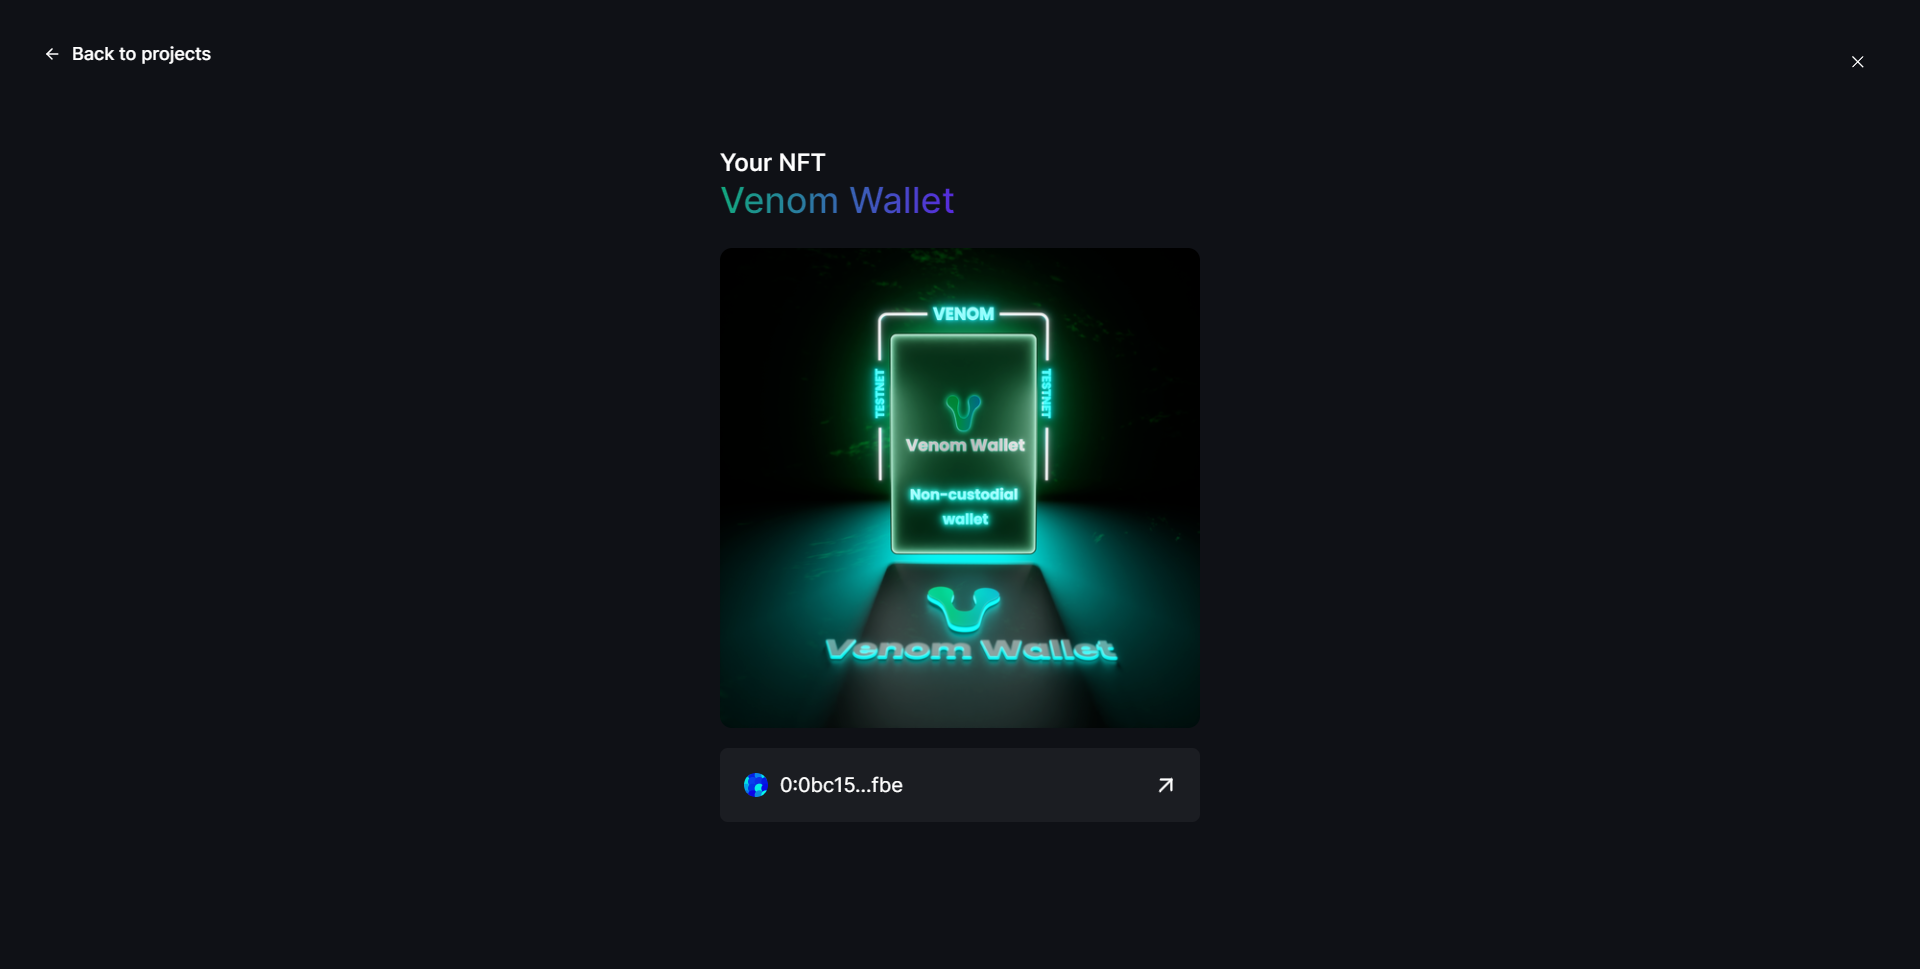
Step 7
For this Project, you'll need to go to testnet.web3.world/swap, connect your wallet & swap a small amount of VENOM for any other token.
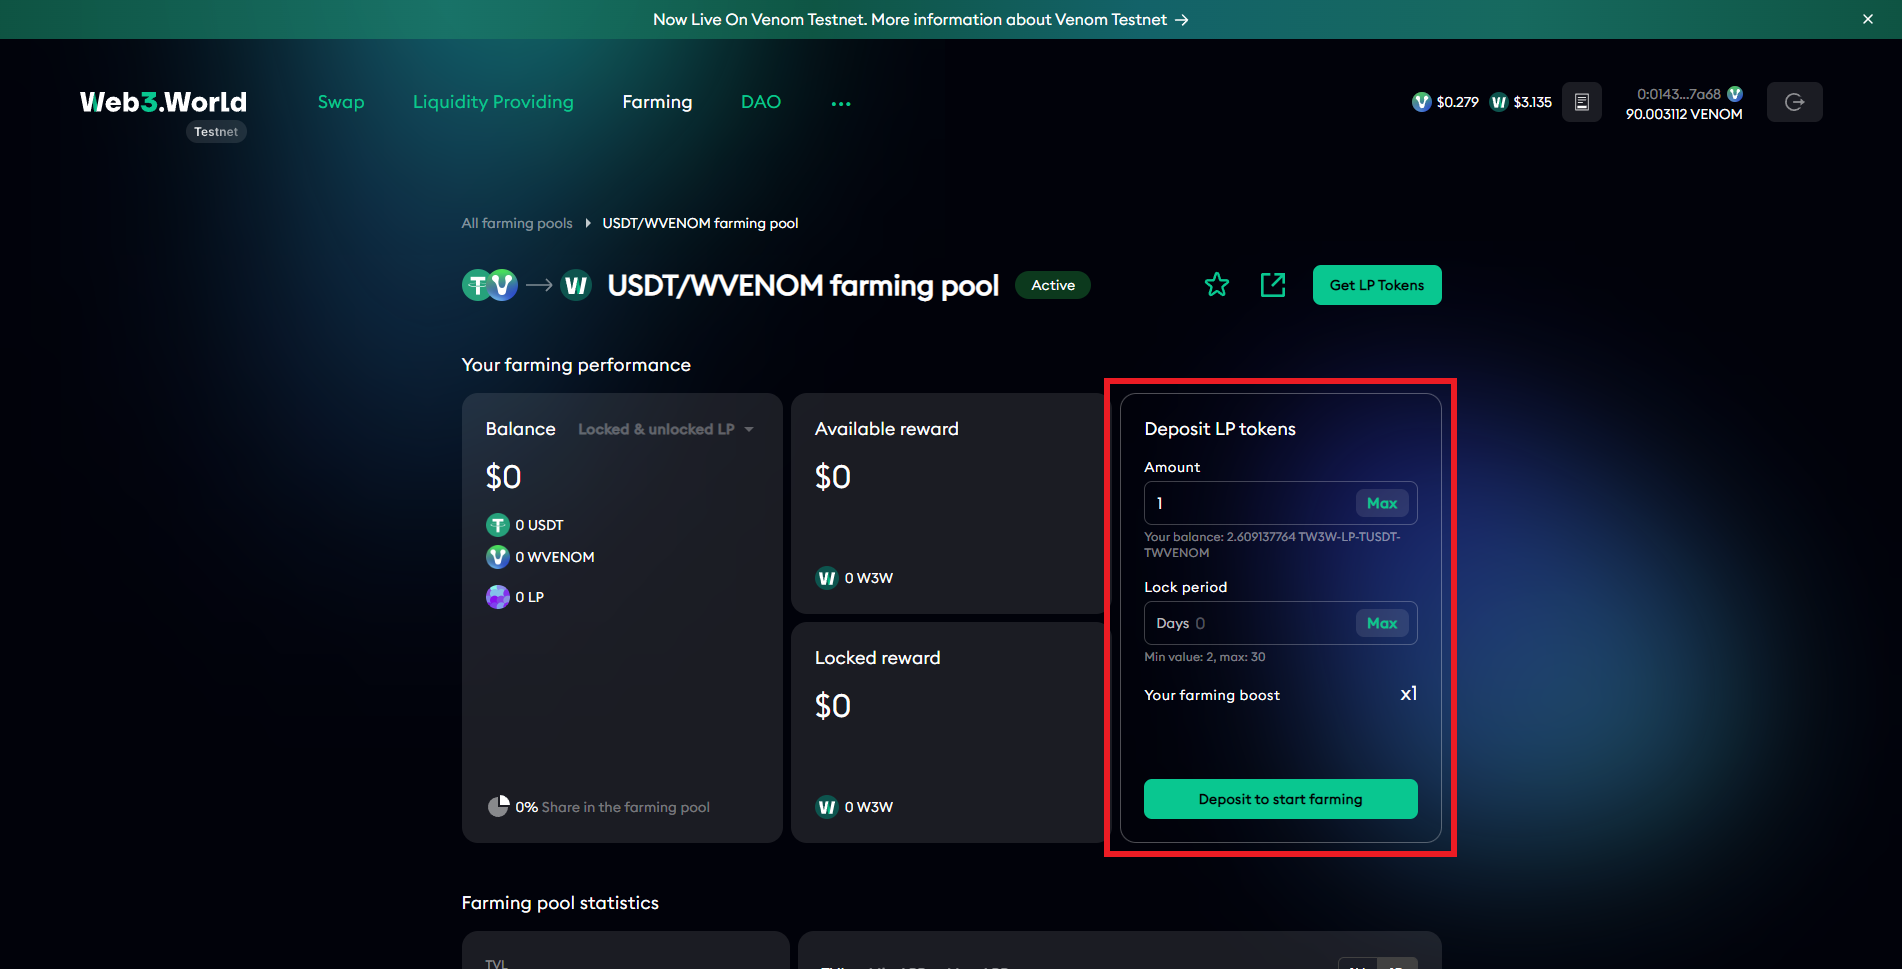
- For the next stage we need to go to testnet.web3.world/pools & provide a Liquidity pair of WVENOM & USDT, confirm each token.
- Now go to the Farming section & choose any Pool.
- Input an amount & how long you'd like the lock period to be, then hit "Deposit LP Tokens".
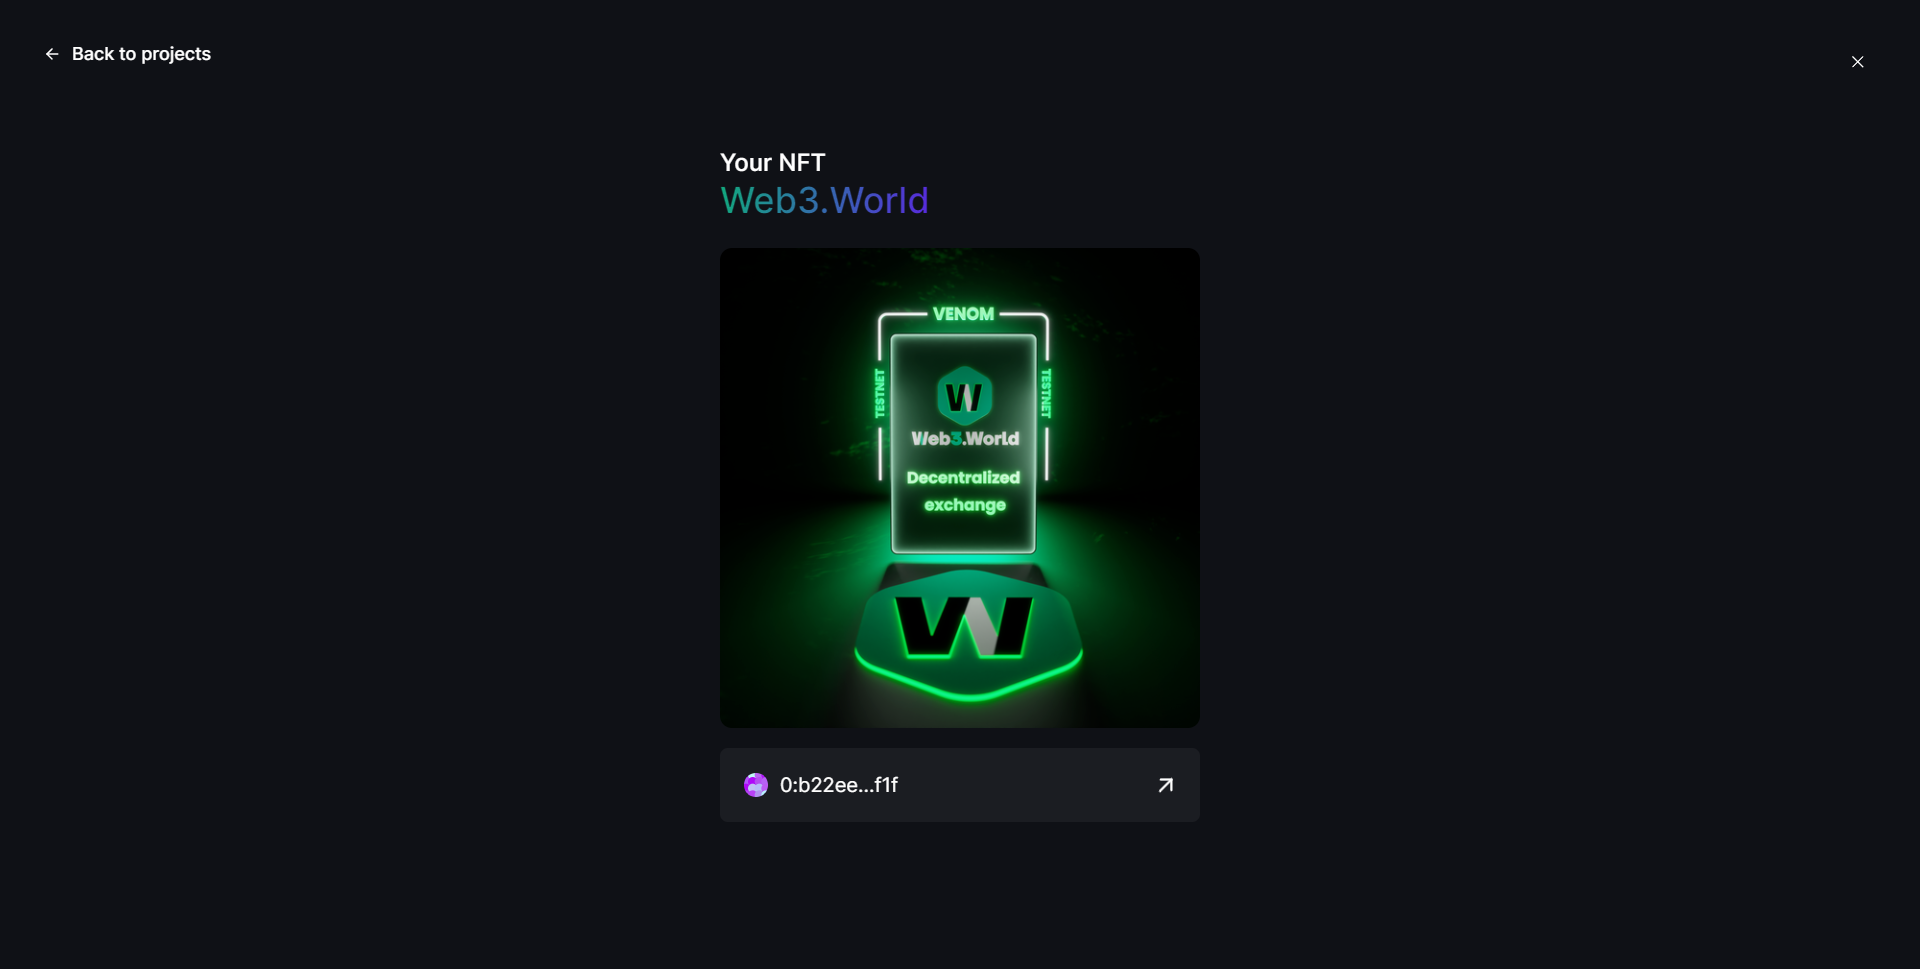
Head back to the Venom quests to collect your Web3.World NFT!
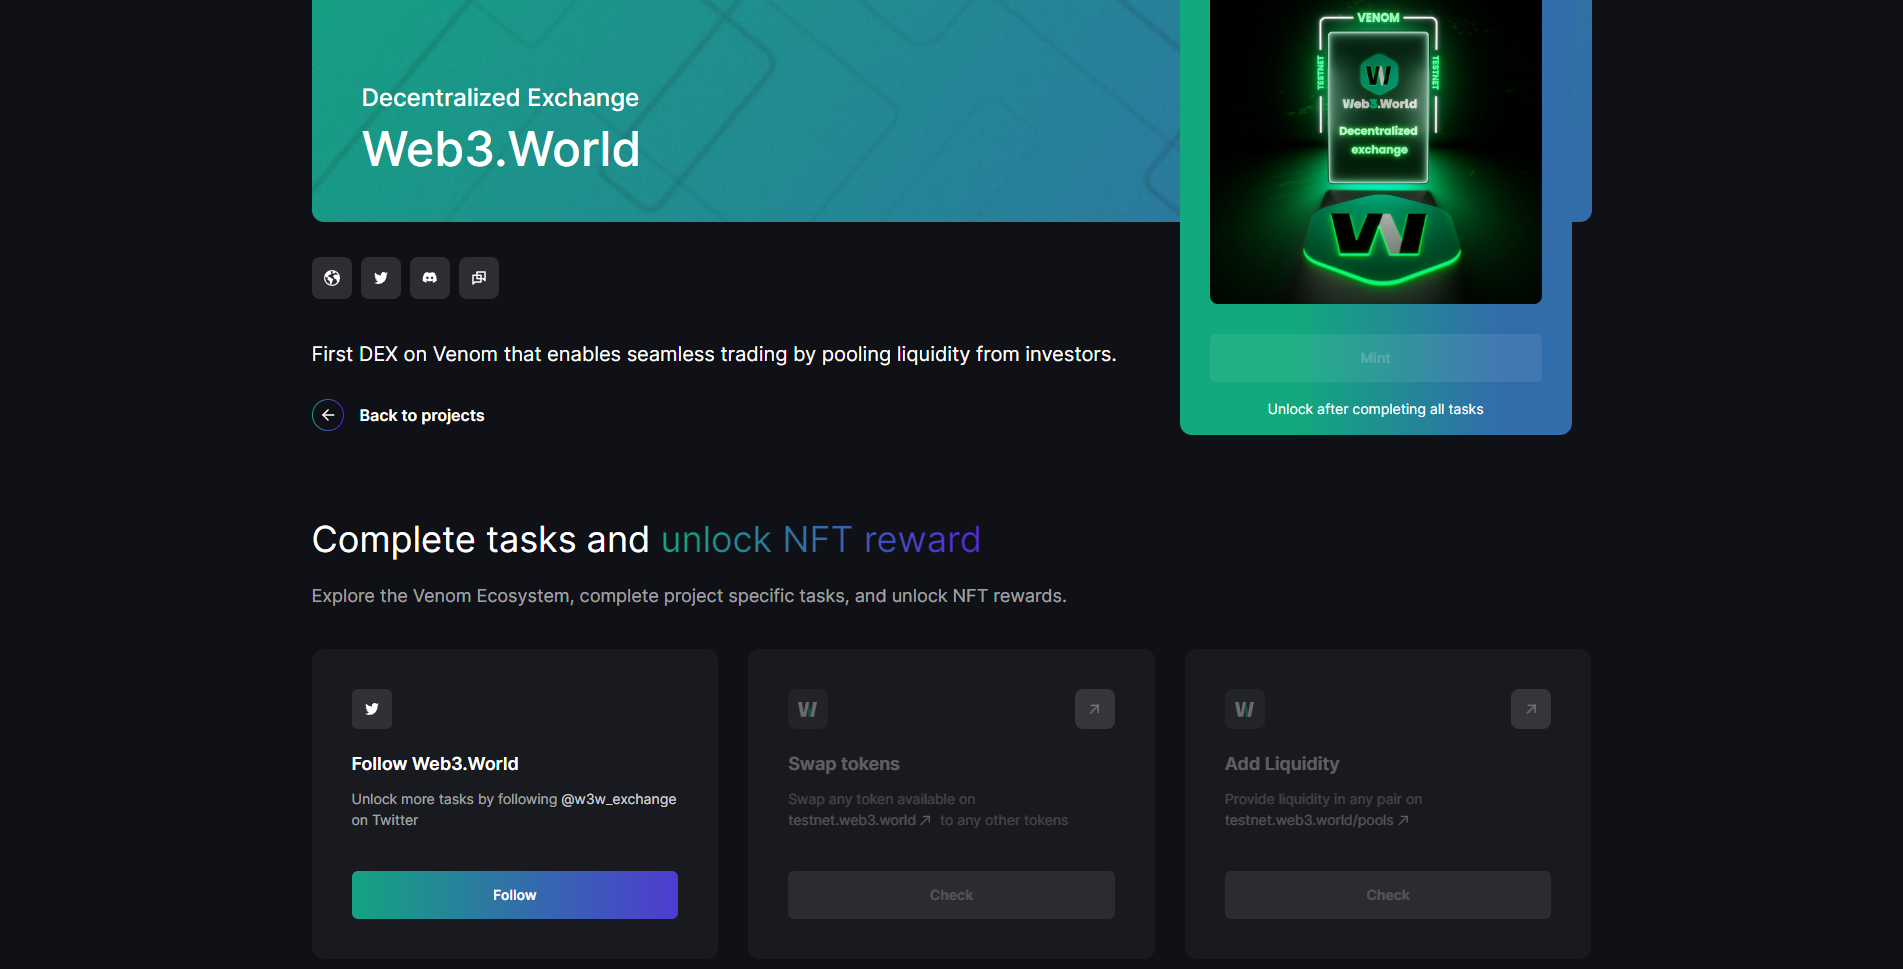
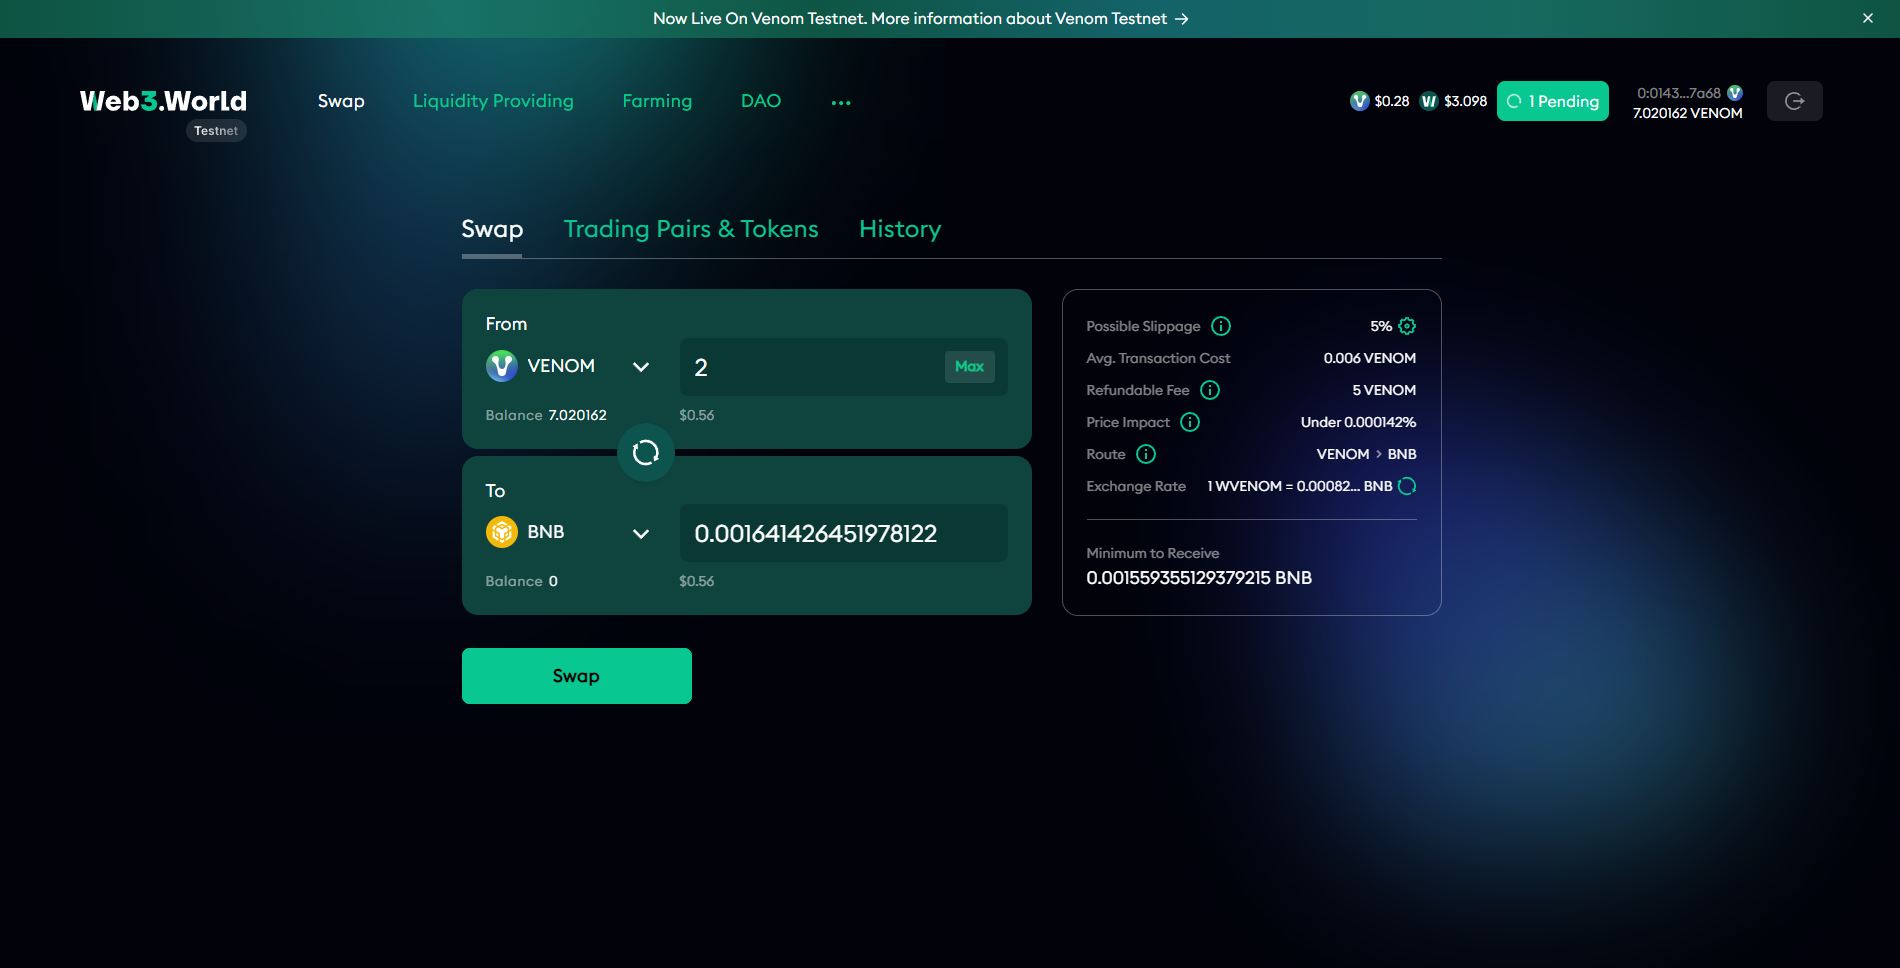
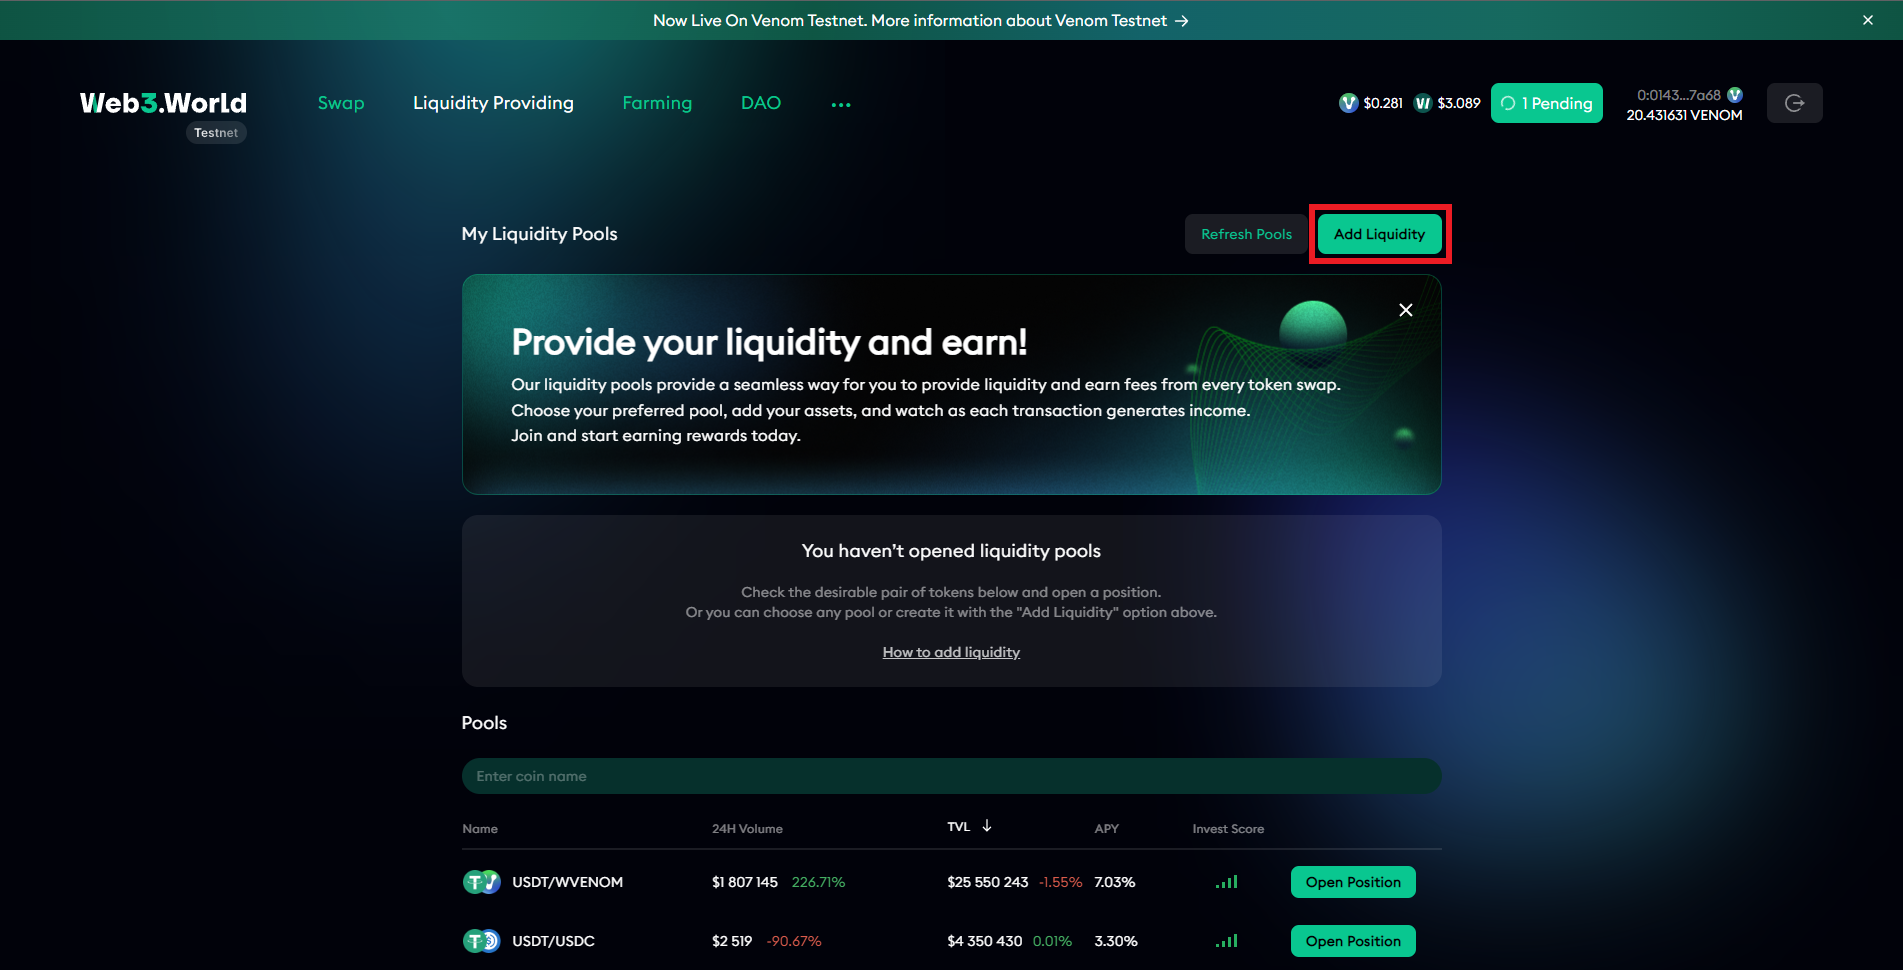
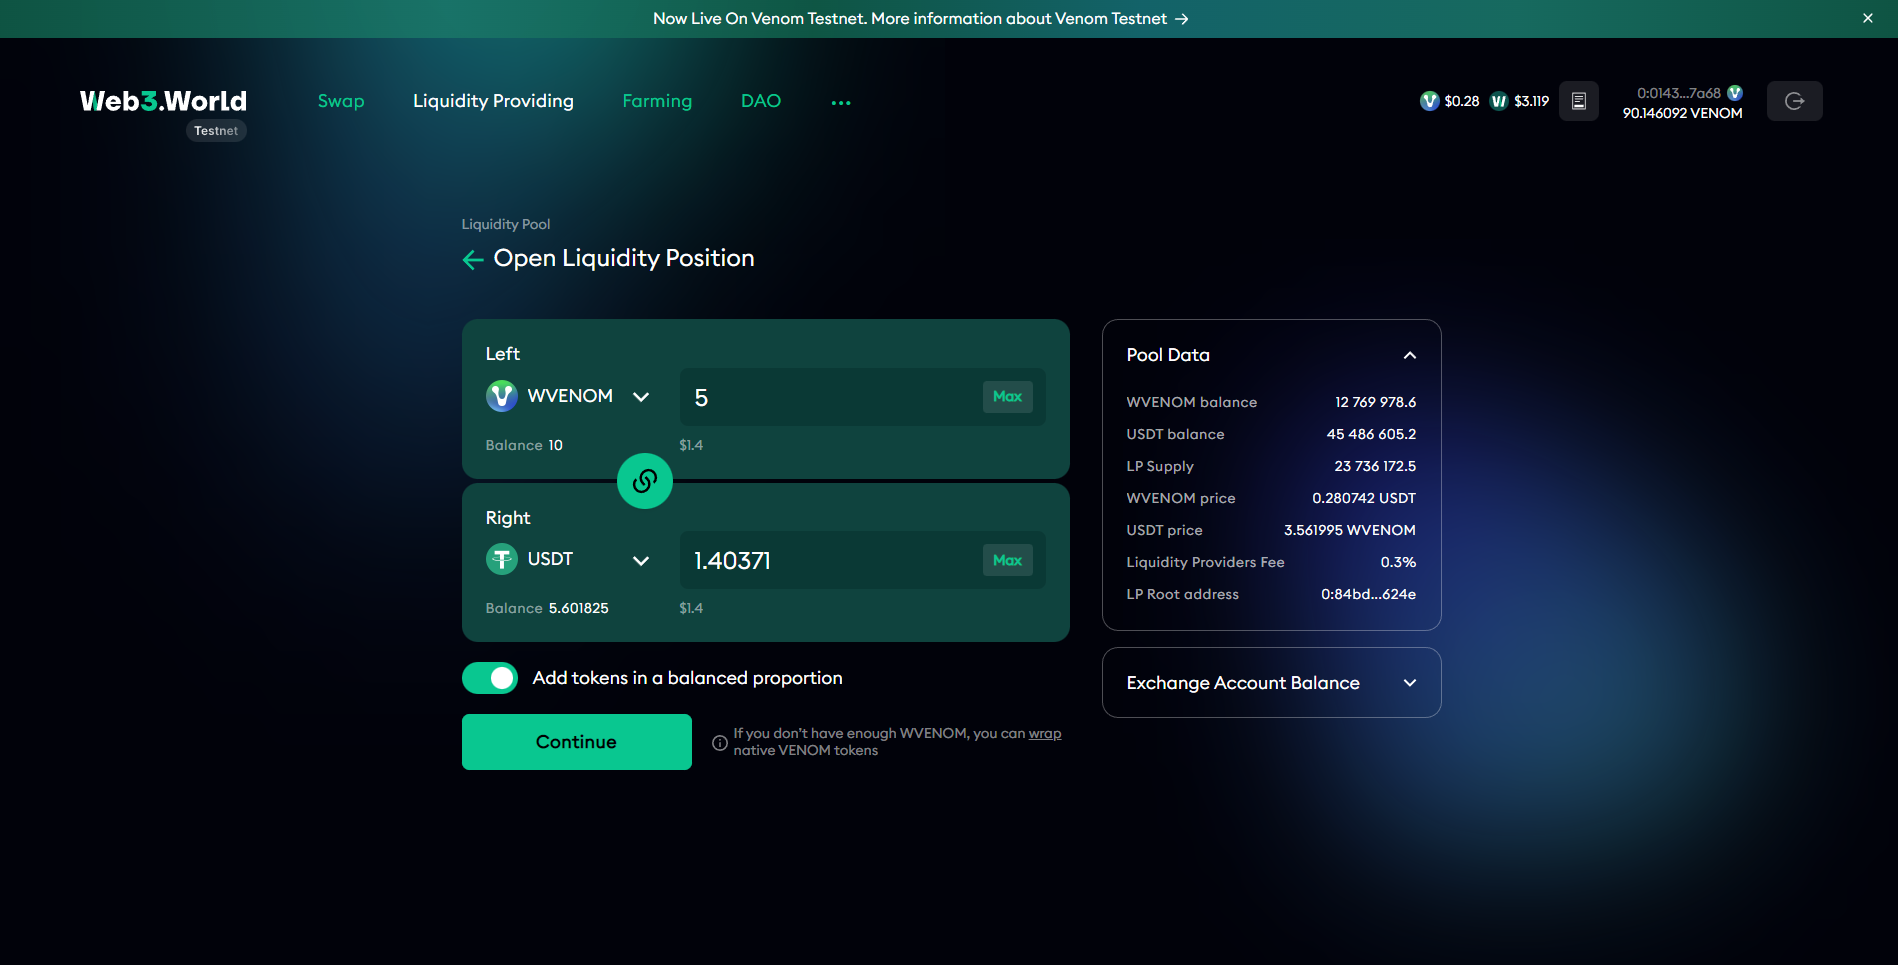
Step 8
Let's take a look at Venom Pools!
- Go to testnet.venompools.com & connect your wallet.
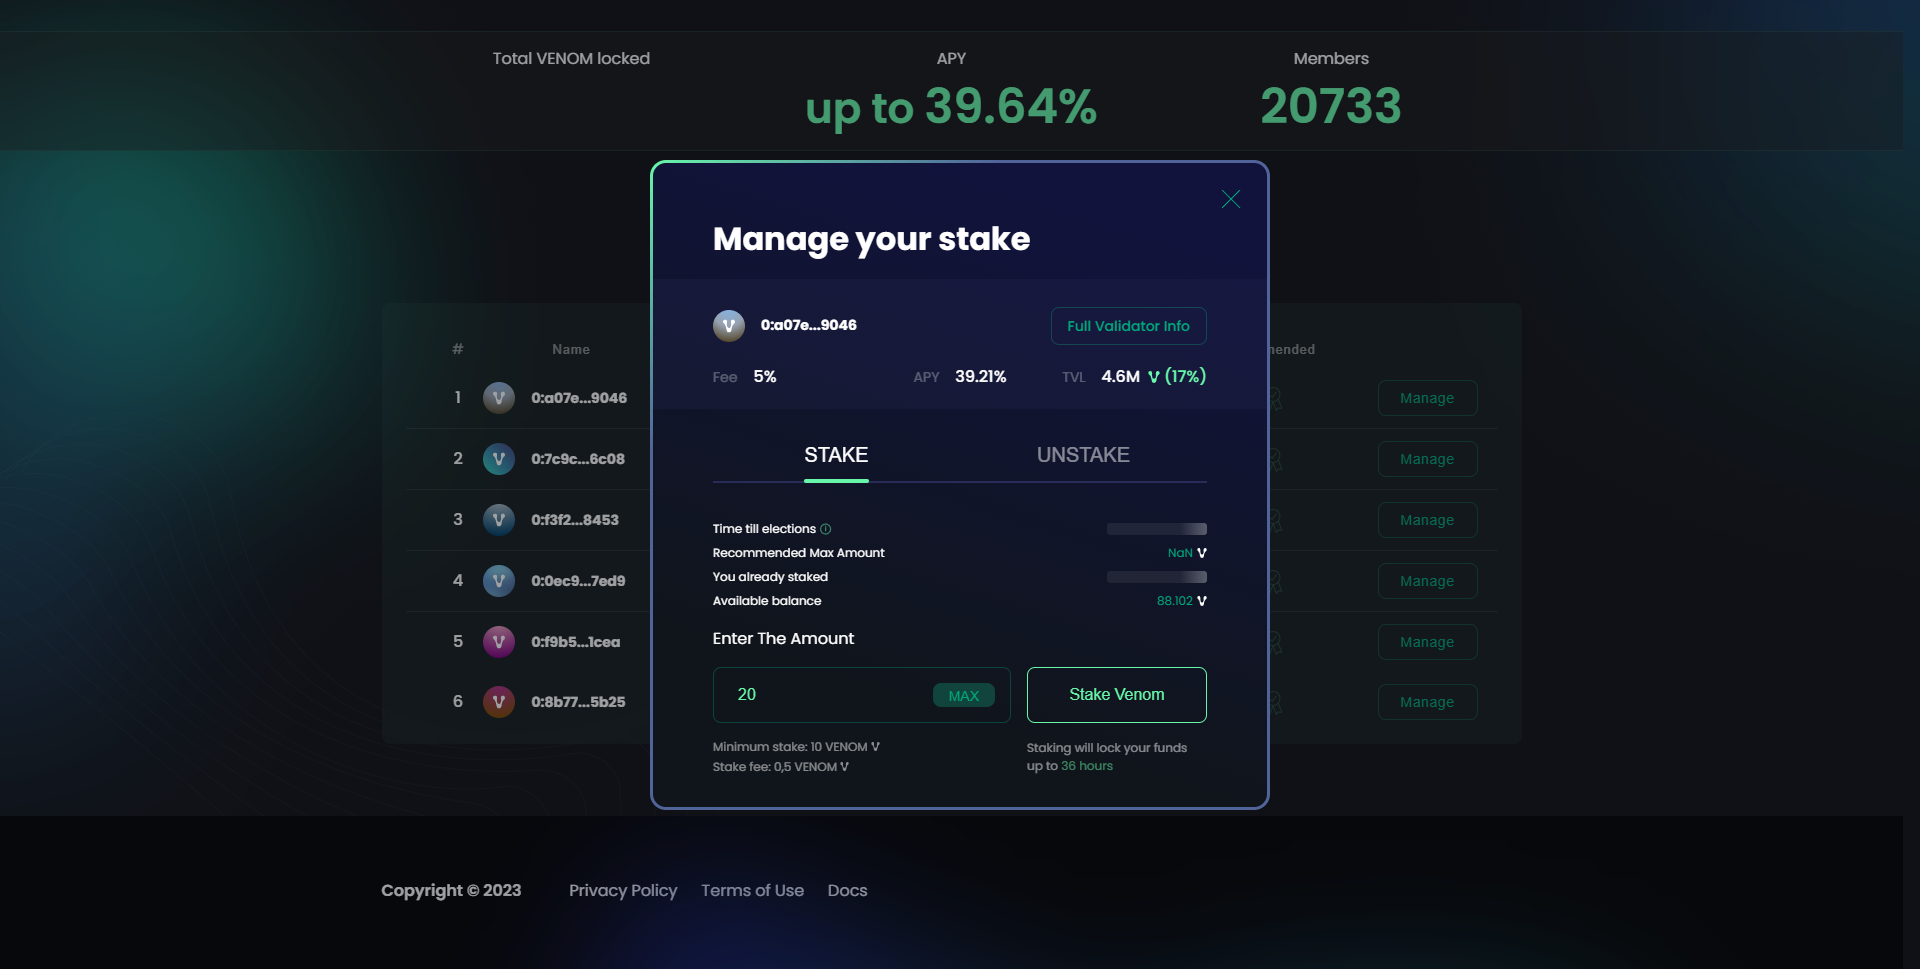
- Scroll down, choose a Validator & press "Manage".
- Input an amount & hit "Stake Venom"
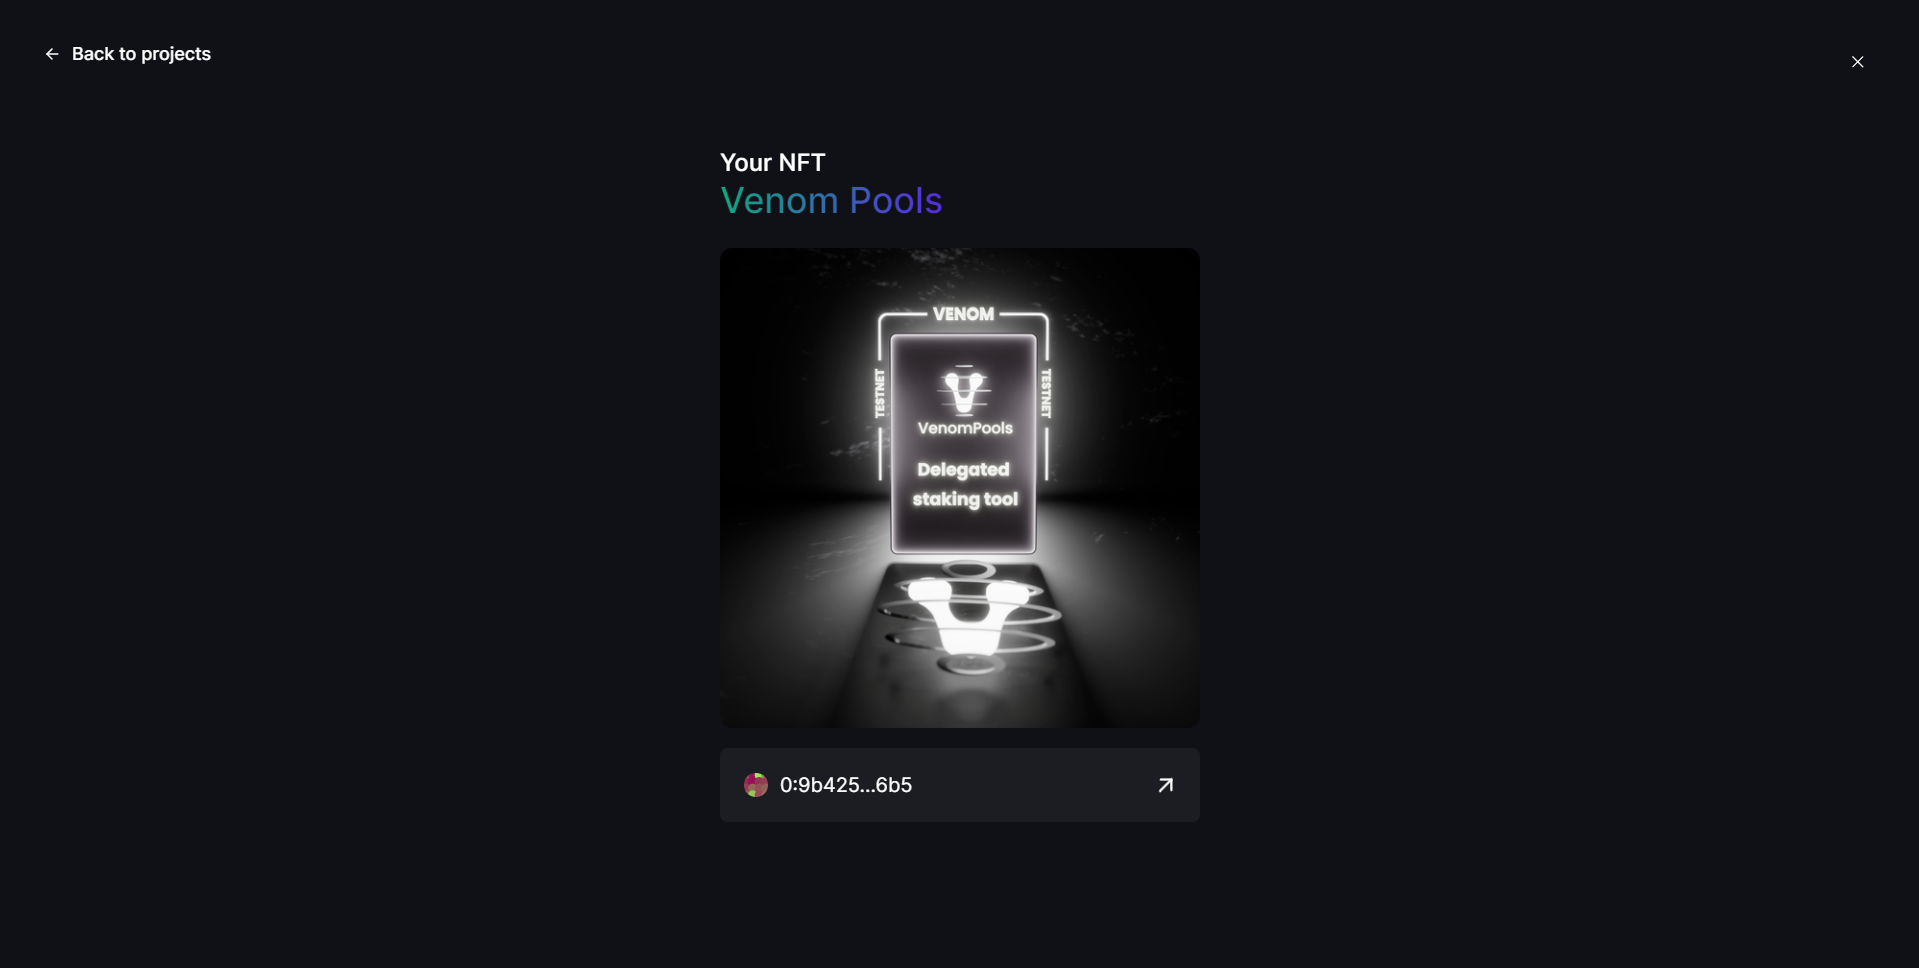
Now you can go back to the Venom quests & claim the Venom Pools NFT!
Step 9
Let's bridge some tokens to a different chain!
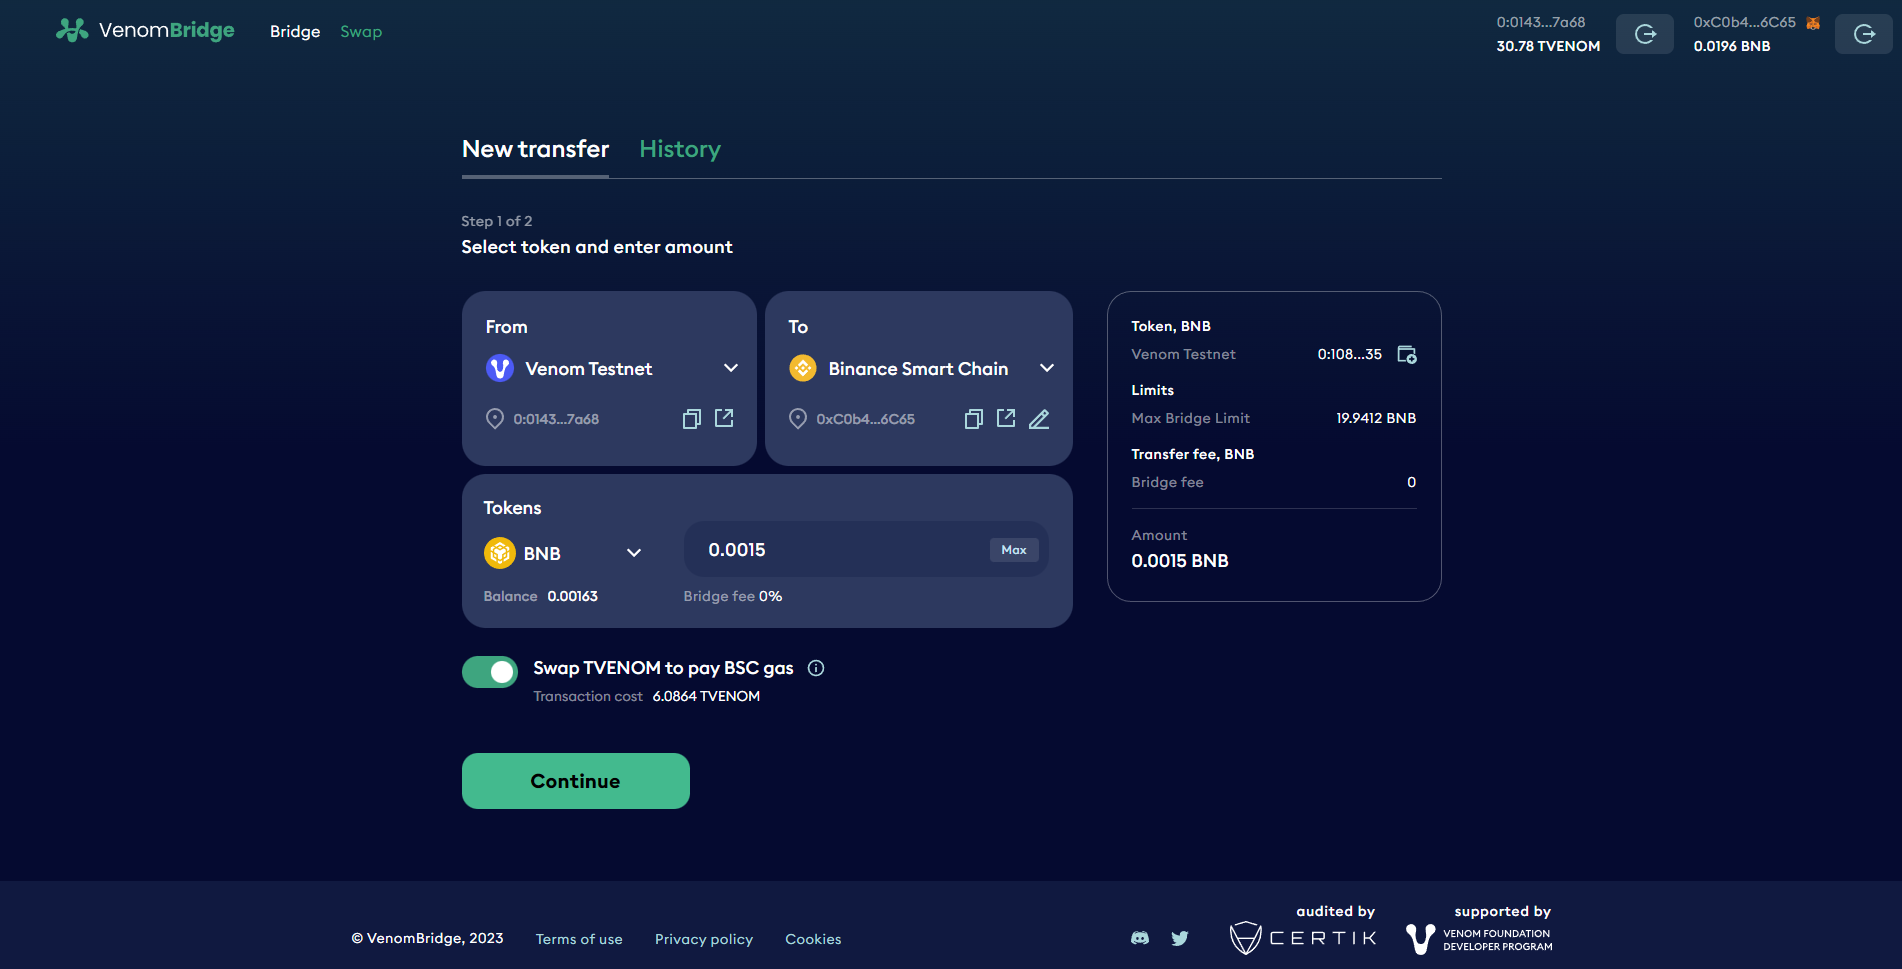
- Go to testnet.venombridge.com/bridge, connect both your Venom Wallet & MetaMask Wallet.
- Set the "From" as Venom Testnet & set the "To" as Binance Smart Chain.
- Choose which tokens to send (I'll use BNB for this guide), input an amount & hit "Continue".
- Approve & wait for the confirmations.
You will need some BNB ($1-2) on Mainnet AND Testnet for this step!
If you don't have any Testnet BNB you'll need to go back to testnet.venombridge.com/bridge & swap some VENOM to BNB (Native).
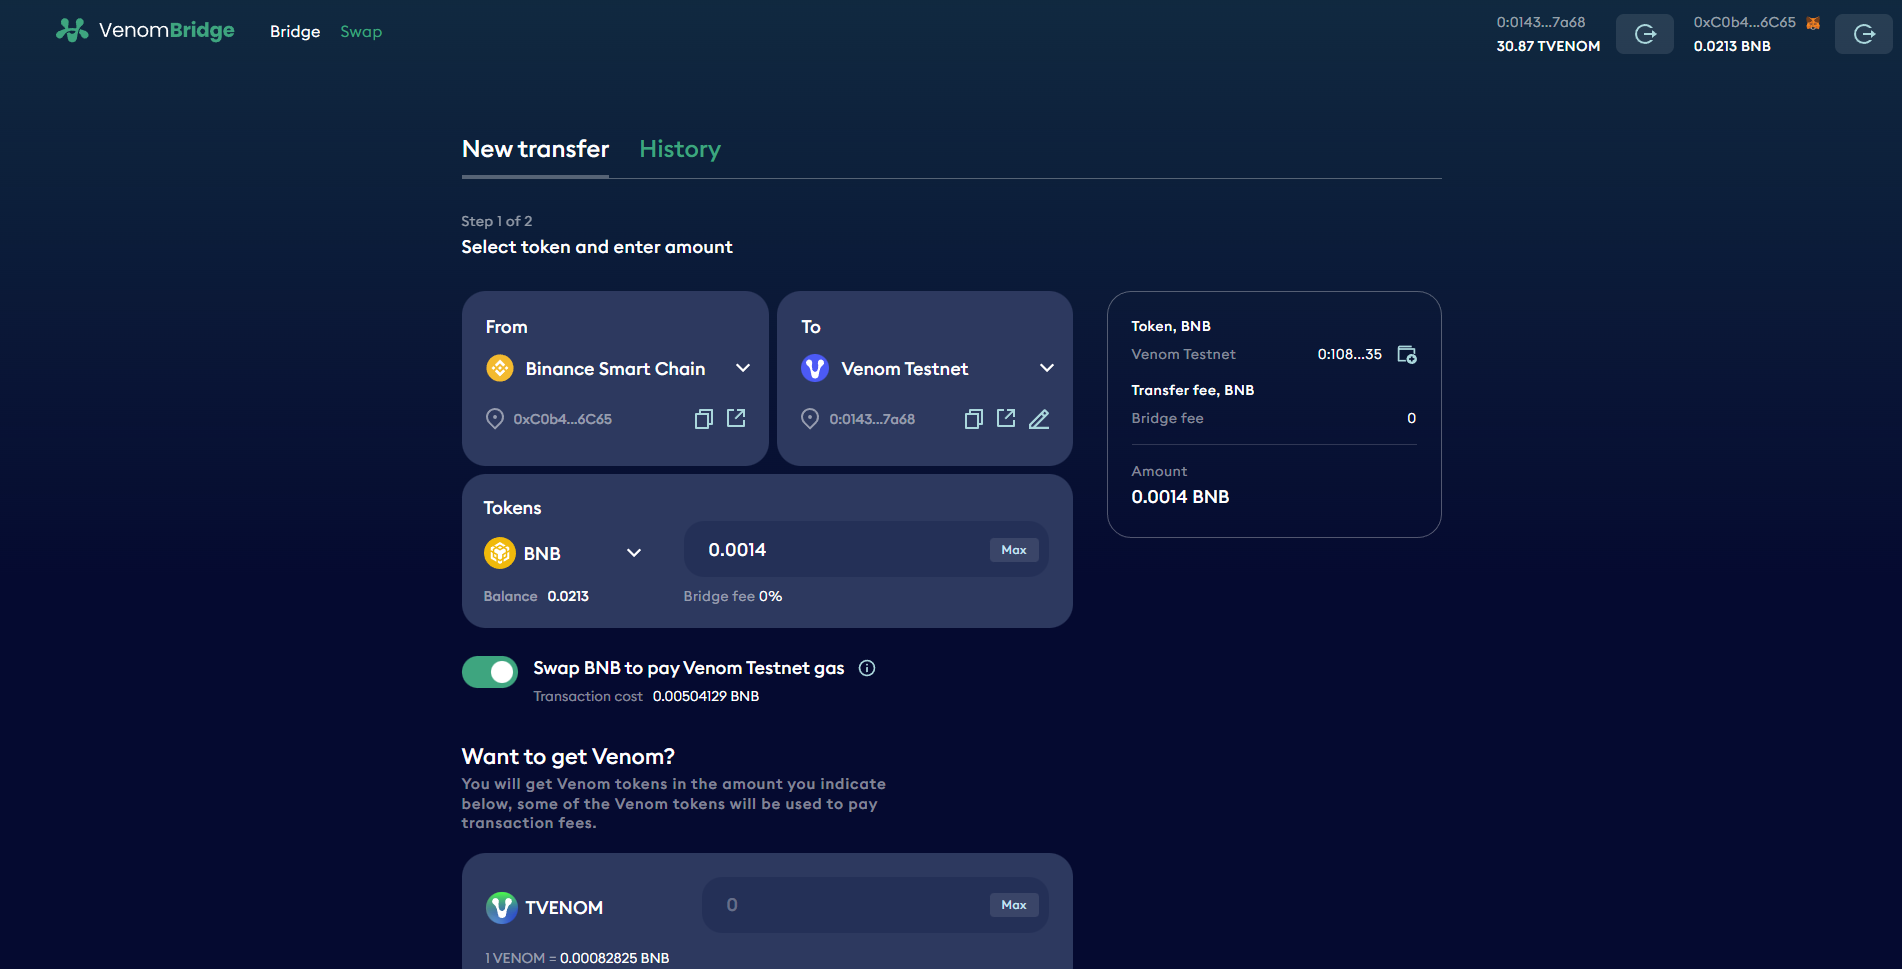
For the next part of this task we'll need to transfer some tokens back to Venom Testnet from Binance Smart Chain, to do this we just need to repeat the same process but this time set the "From" as Binance Smart Chain & "To" as Venom Testnet.
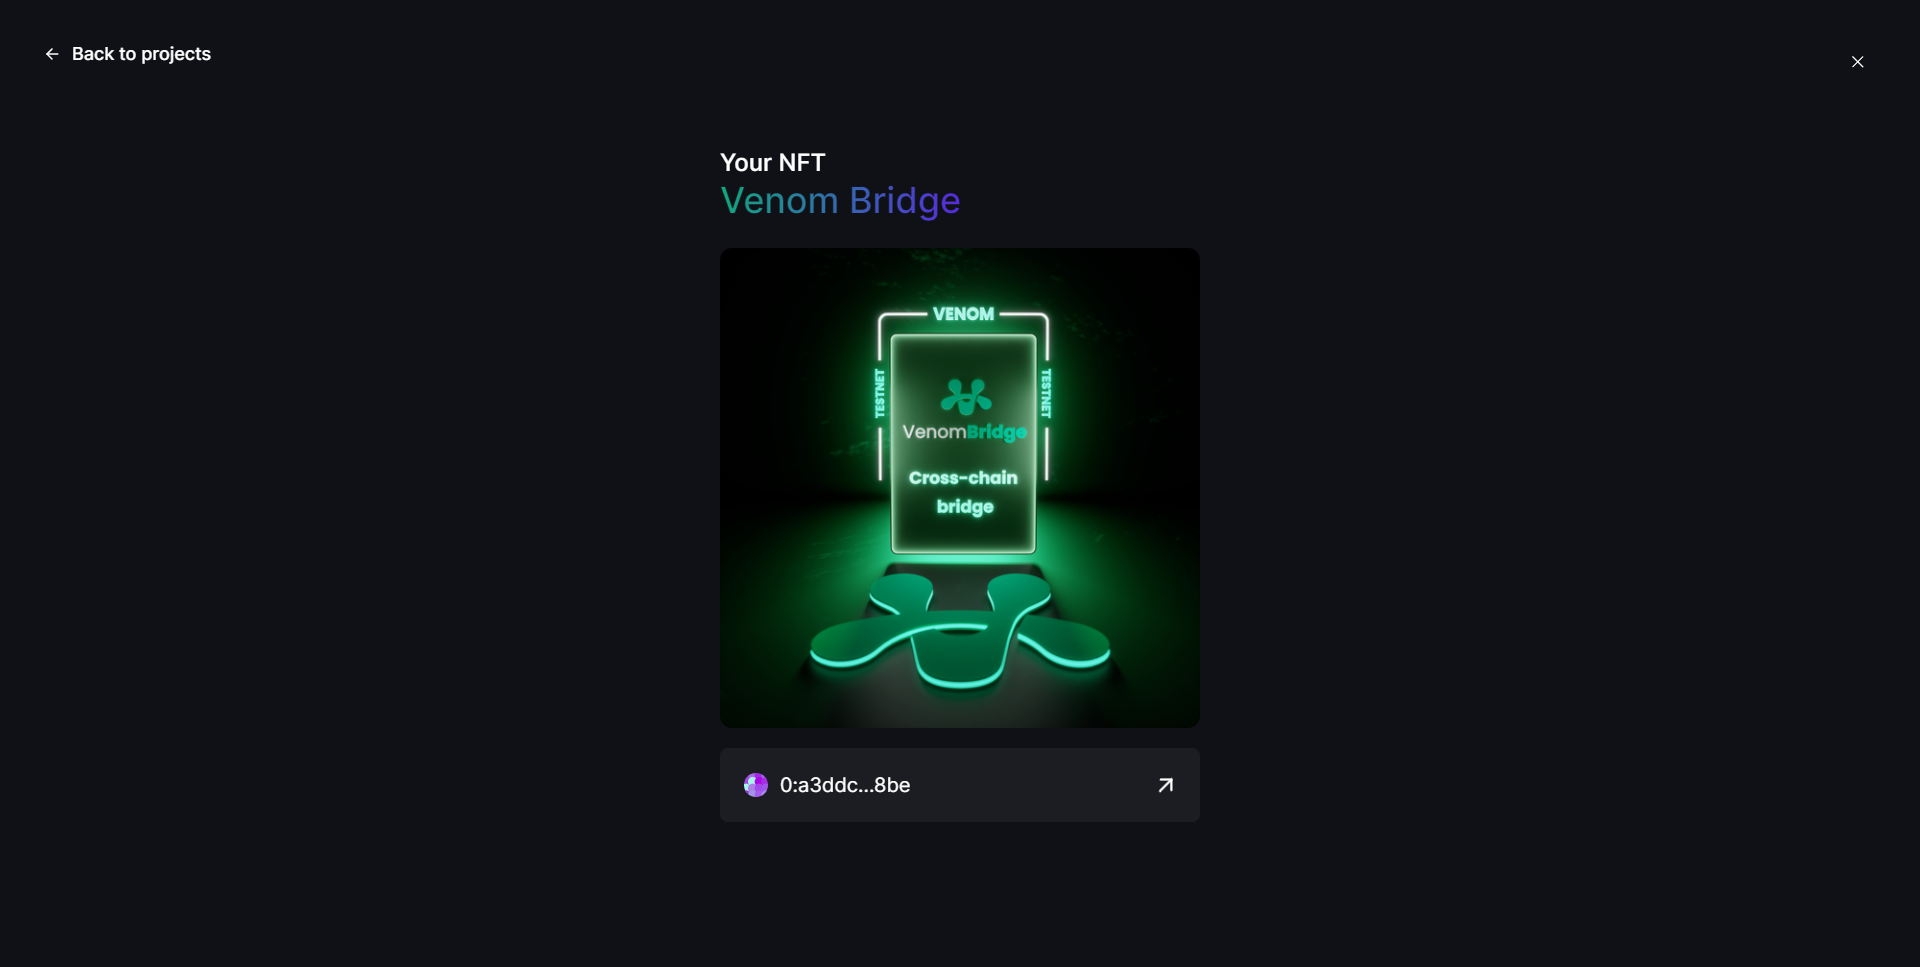
Once thats done you can head back to the Venom quests to collect the Venom Bridge NFT!
Step 10
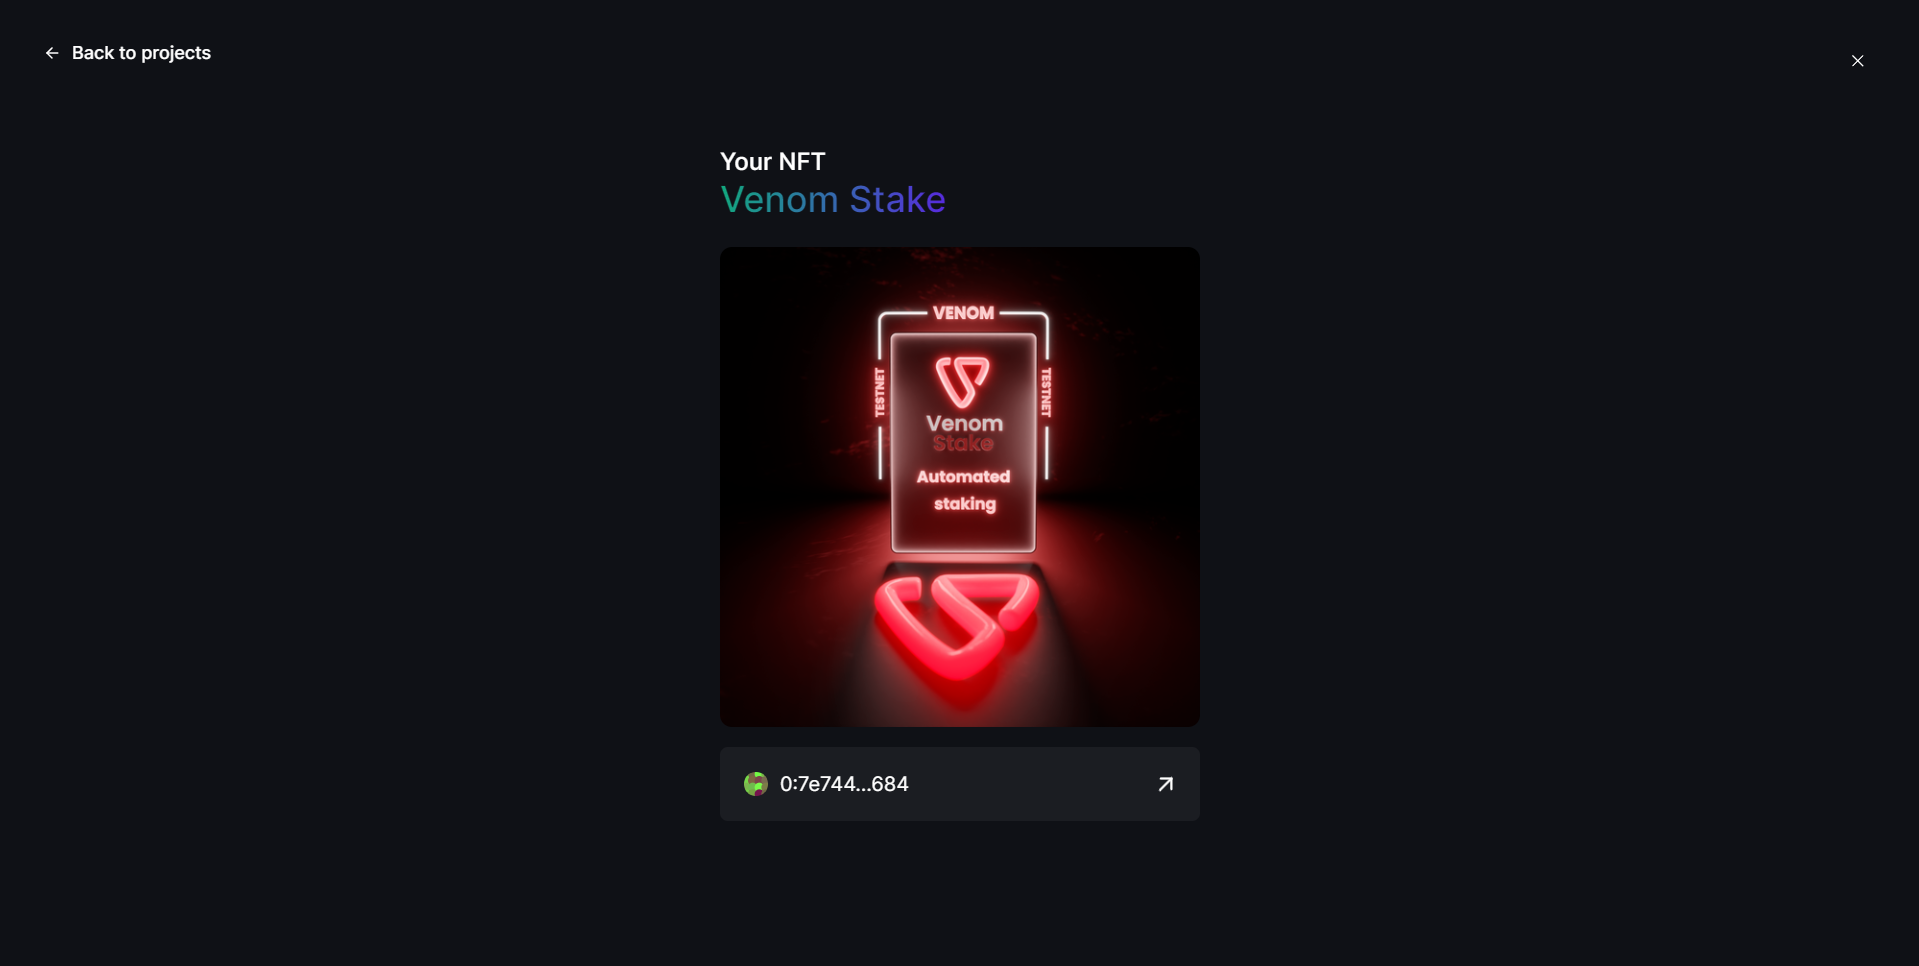
Next, let's do some Staking on VenomStake!
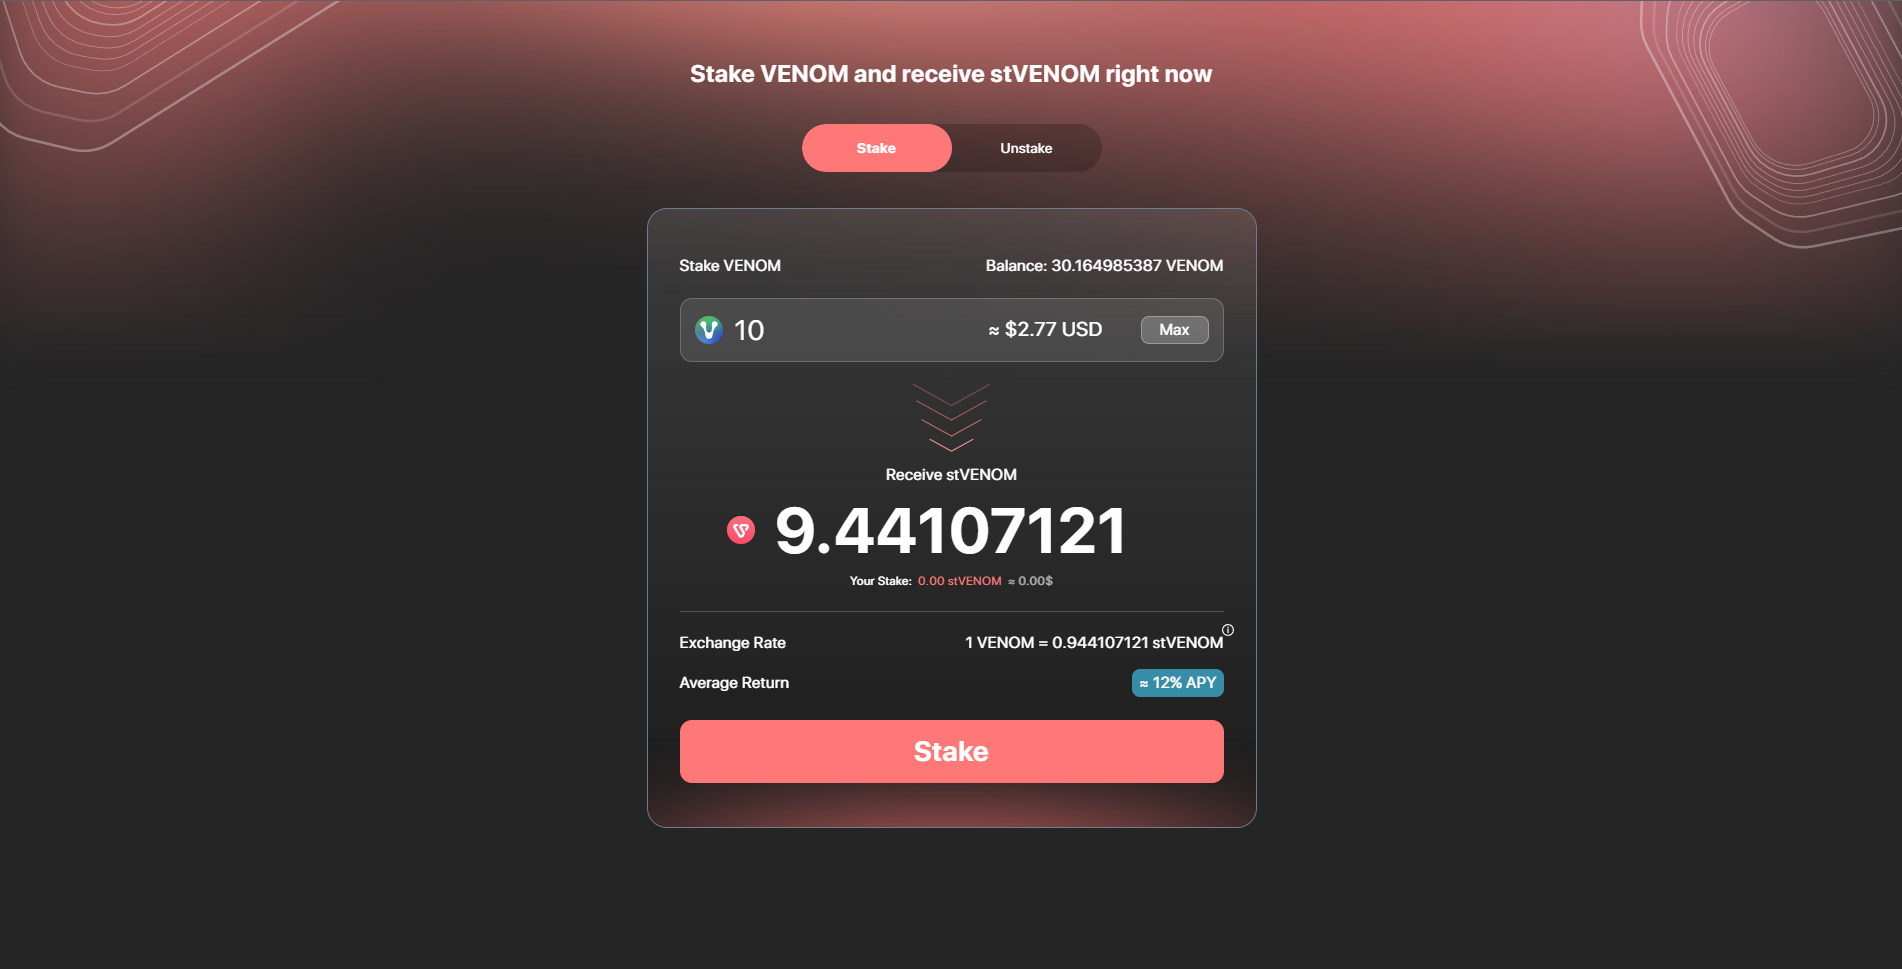
- First, go to testnet.venomstake.com & connect your wallet.
- Now, just scroll down, input an amount of VENOM & hit "Stake".
After that you can go back to the Venom tasks and collect the VenomStake NFT!
Step 11
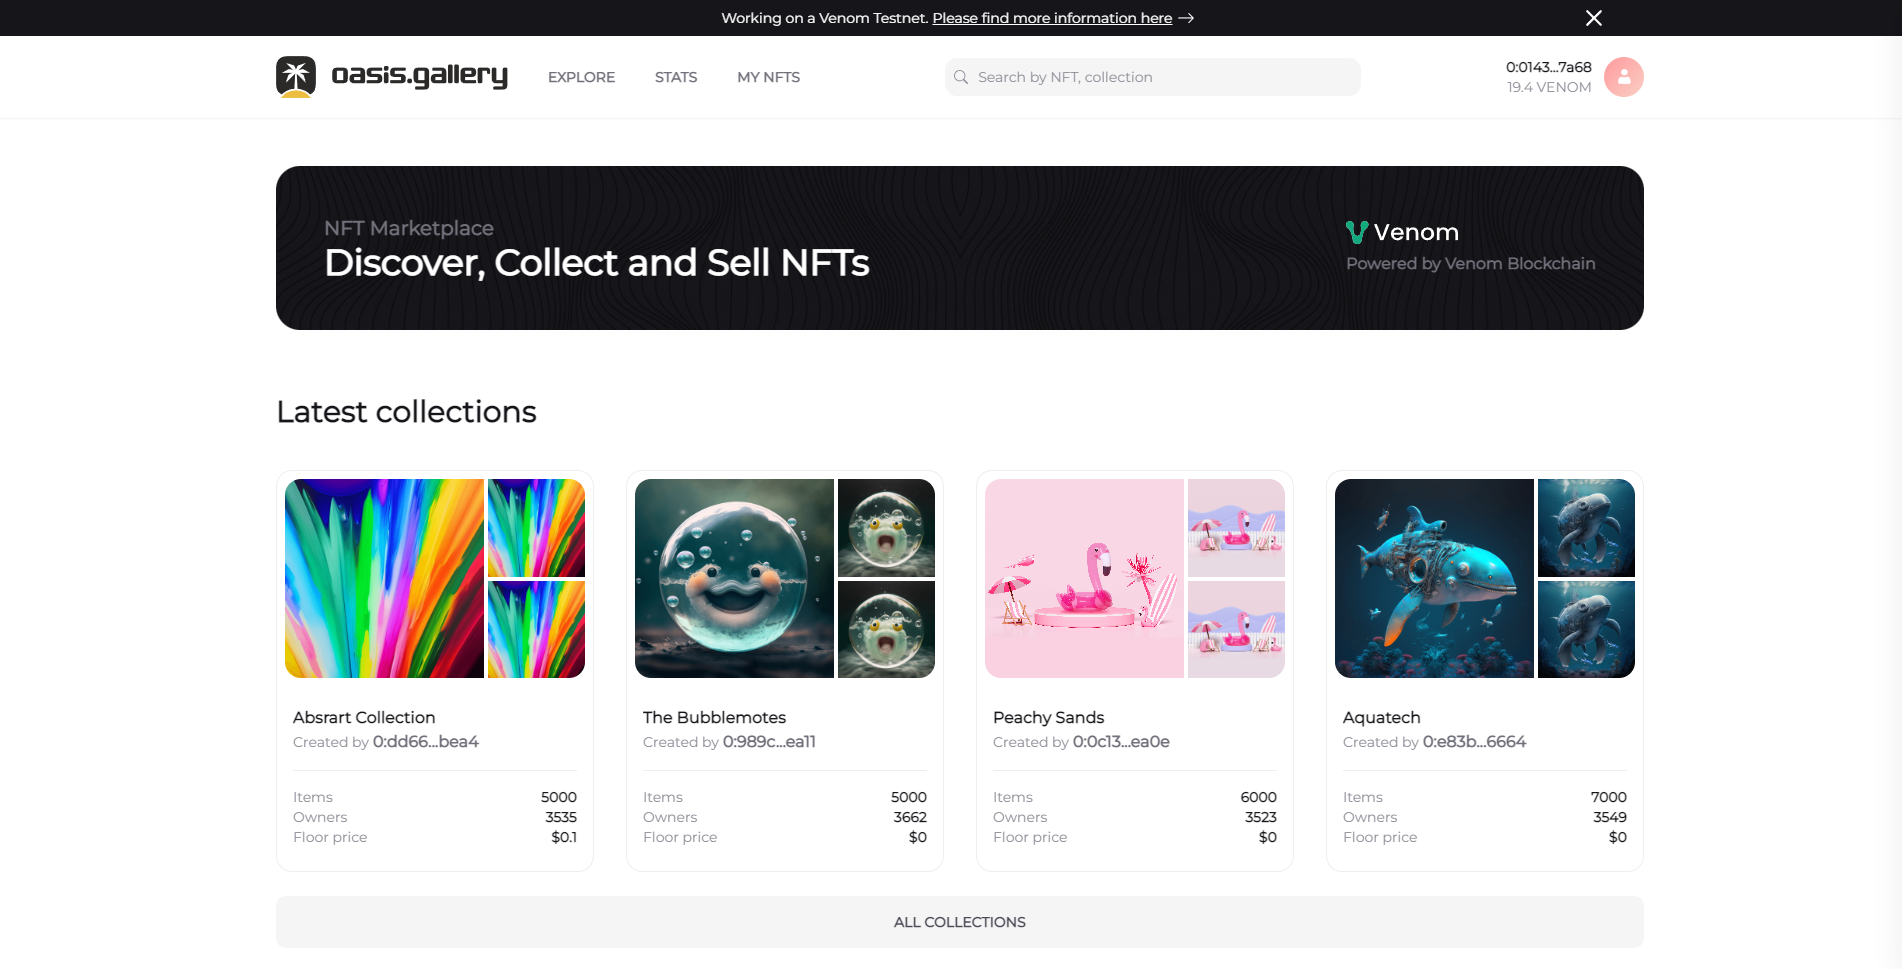
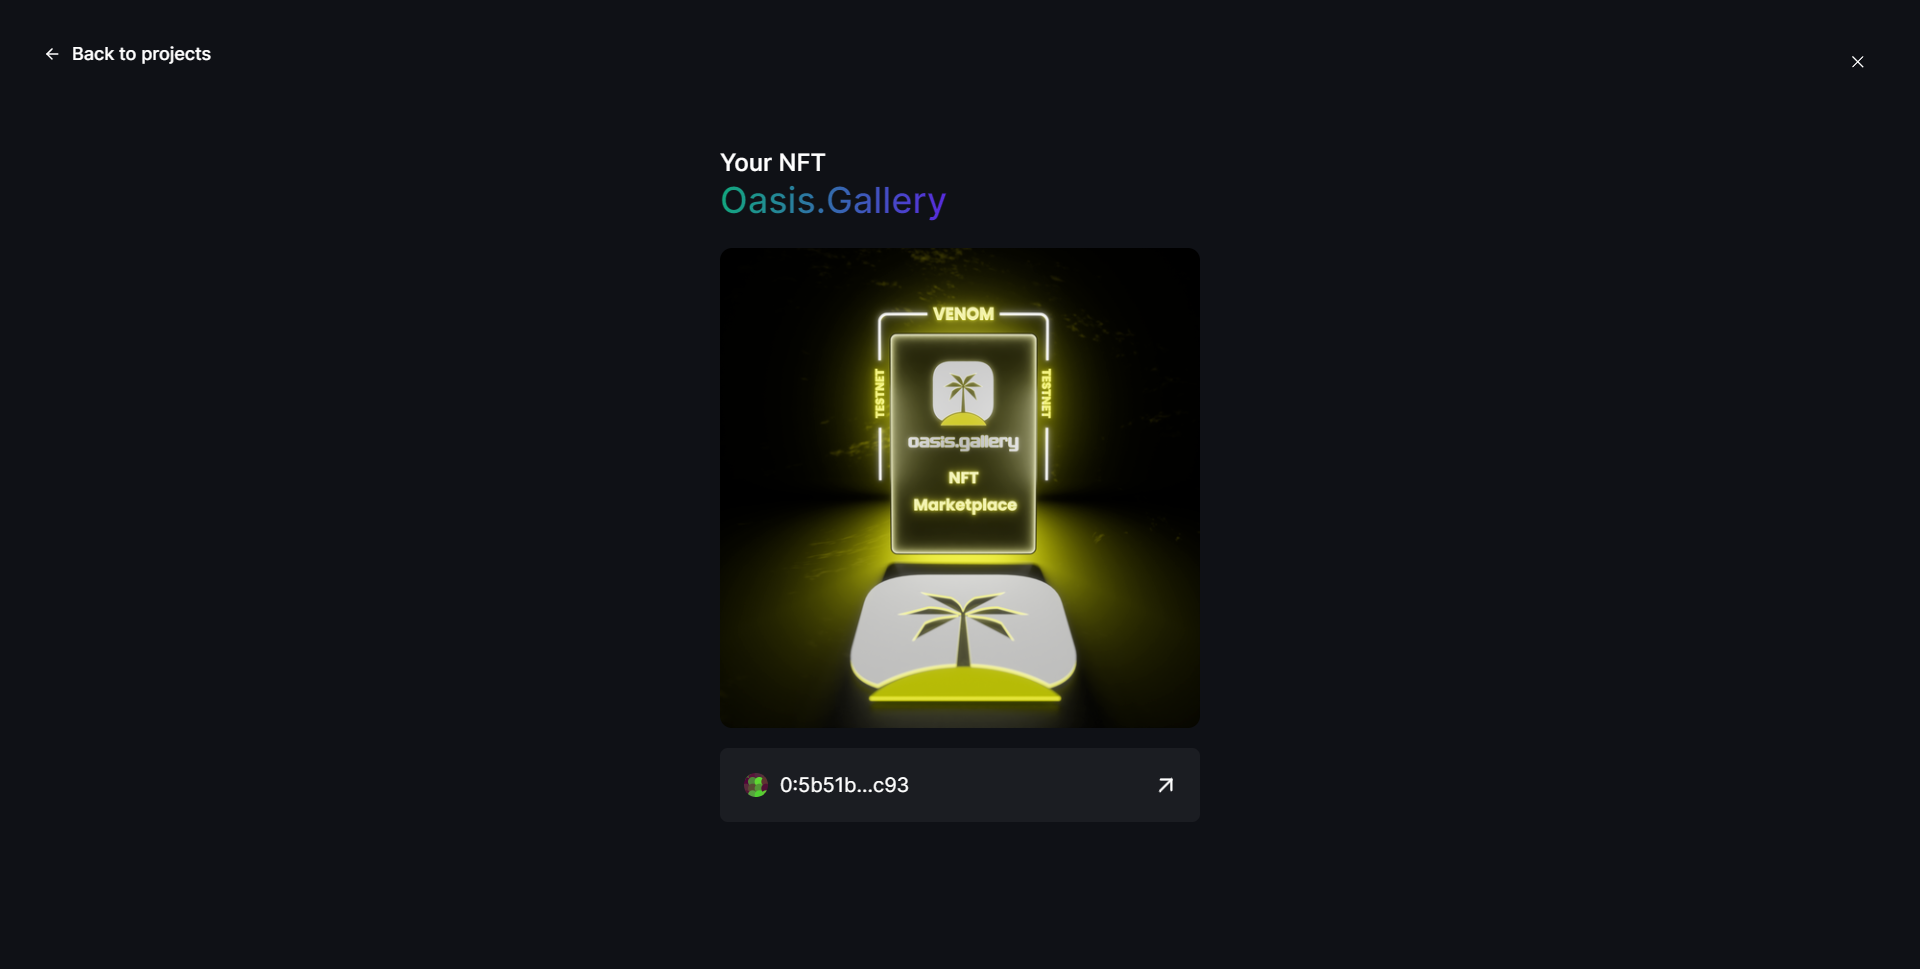
Now let's take a look at Oasis Gallery: The first NFT marketplace built on the Venom blockchain!
- First go to testnet.oasis.gallery/explore & connect your wallet.
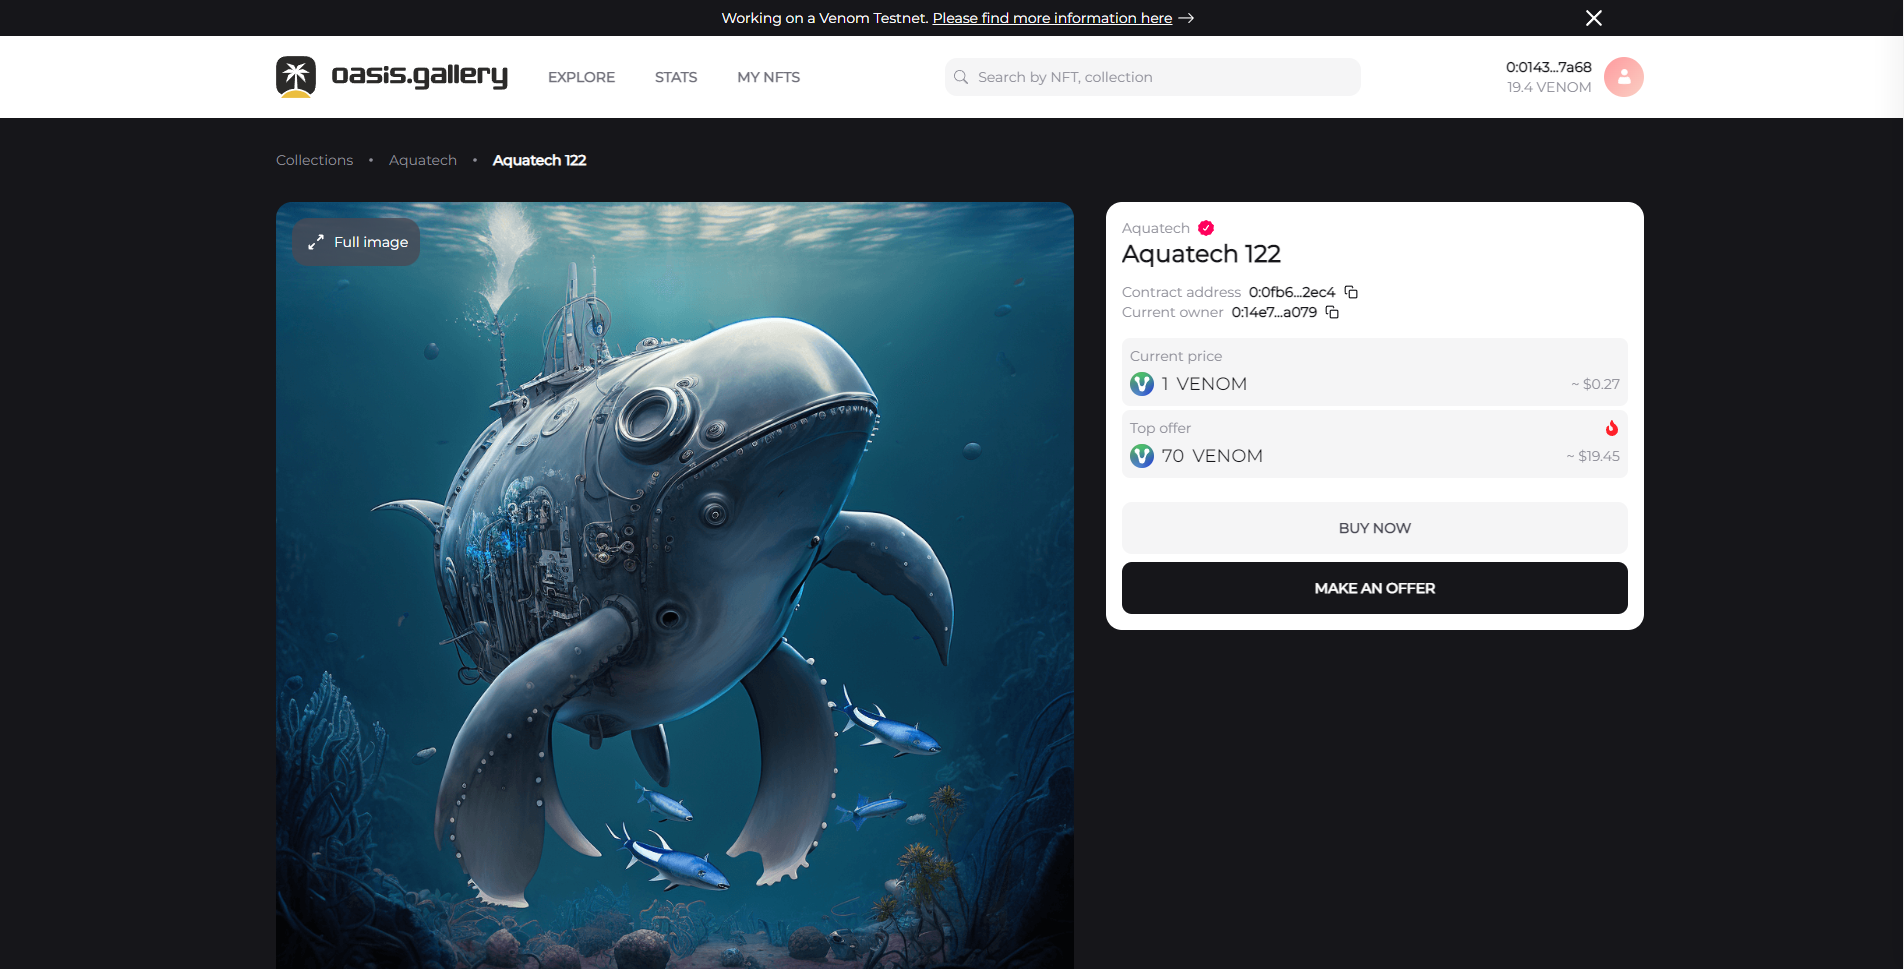
- Now just choose an NFT collection you like the look of, then find an NFT thats available to purchase from that collection & purchase it!
This purchase does not require real funds, we are just using testnet tokens so don't worry about prices etc.
Step 12
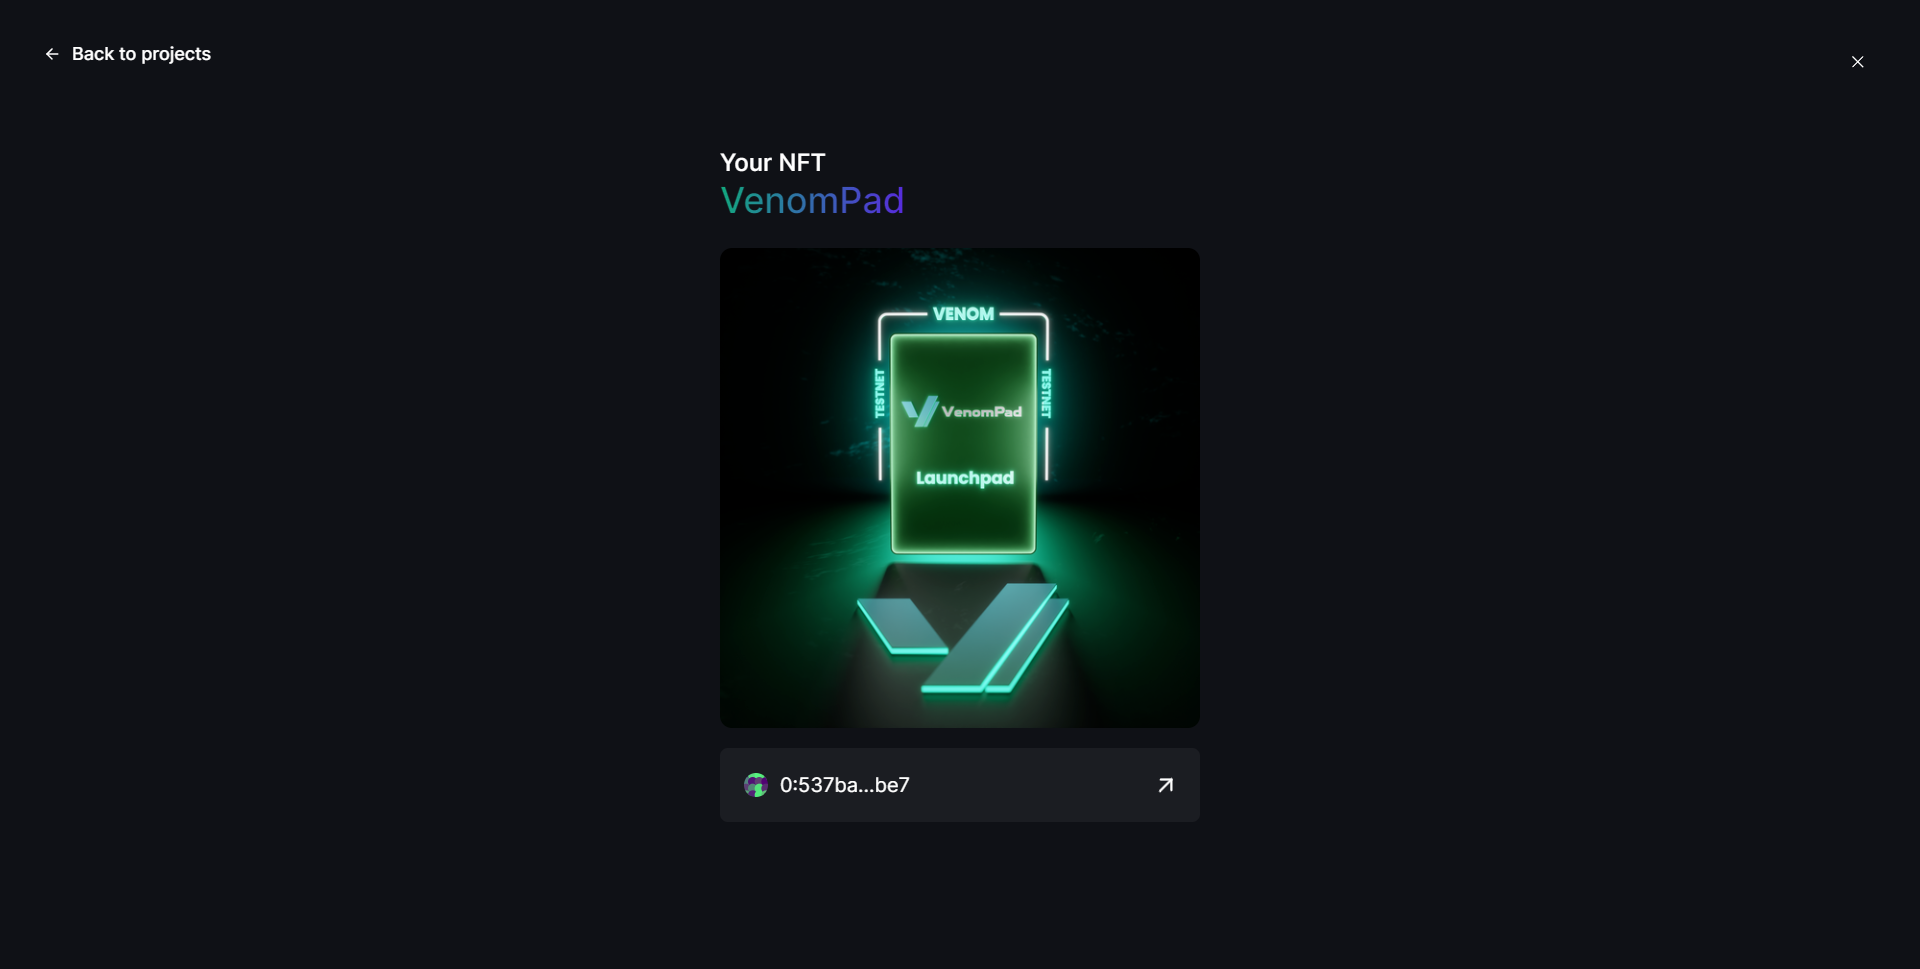
Now let's take a look at VenomPad!
This part is really easy, we just need to follow VenomPad on Twitter & tweet about them using the pre-filled Tweet they provide in the task.
Step 13
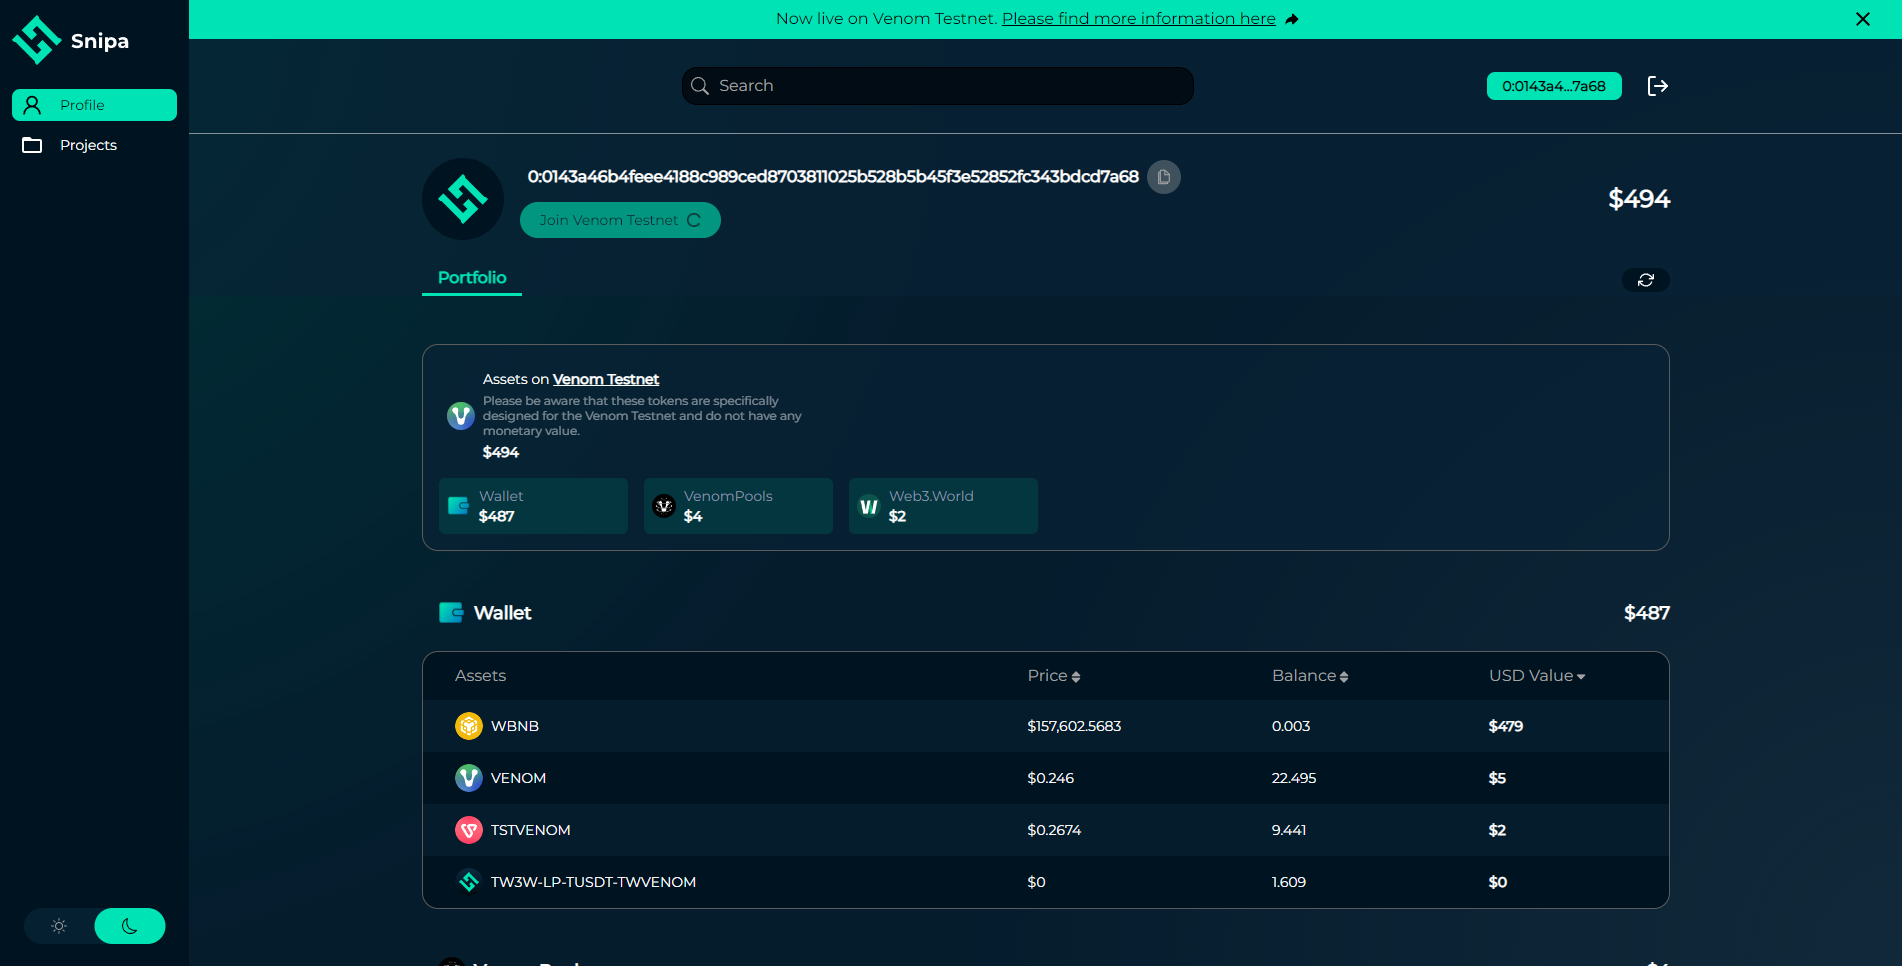
Now let's take a look at Snipa Finance!
- First, we just need to tweet about Snipa Finance, you can use this link to generate the tweet: Generate Tweet.
- Now go to venom.snipa.finance, connect your wallet & check out your Testnet portfolio!
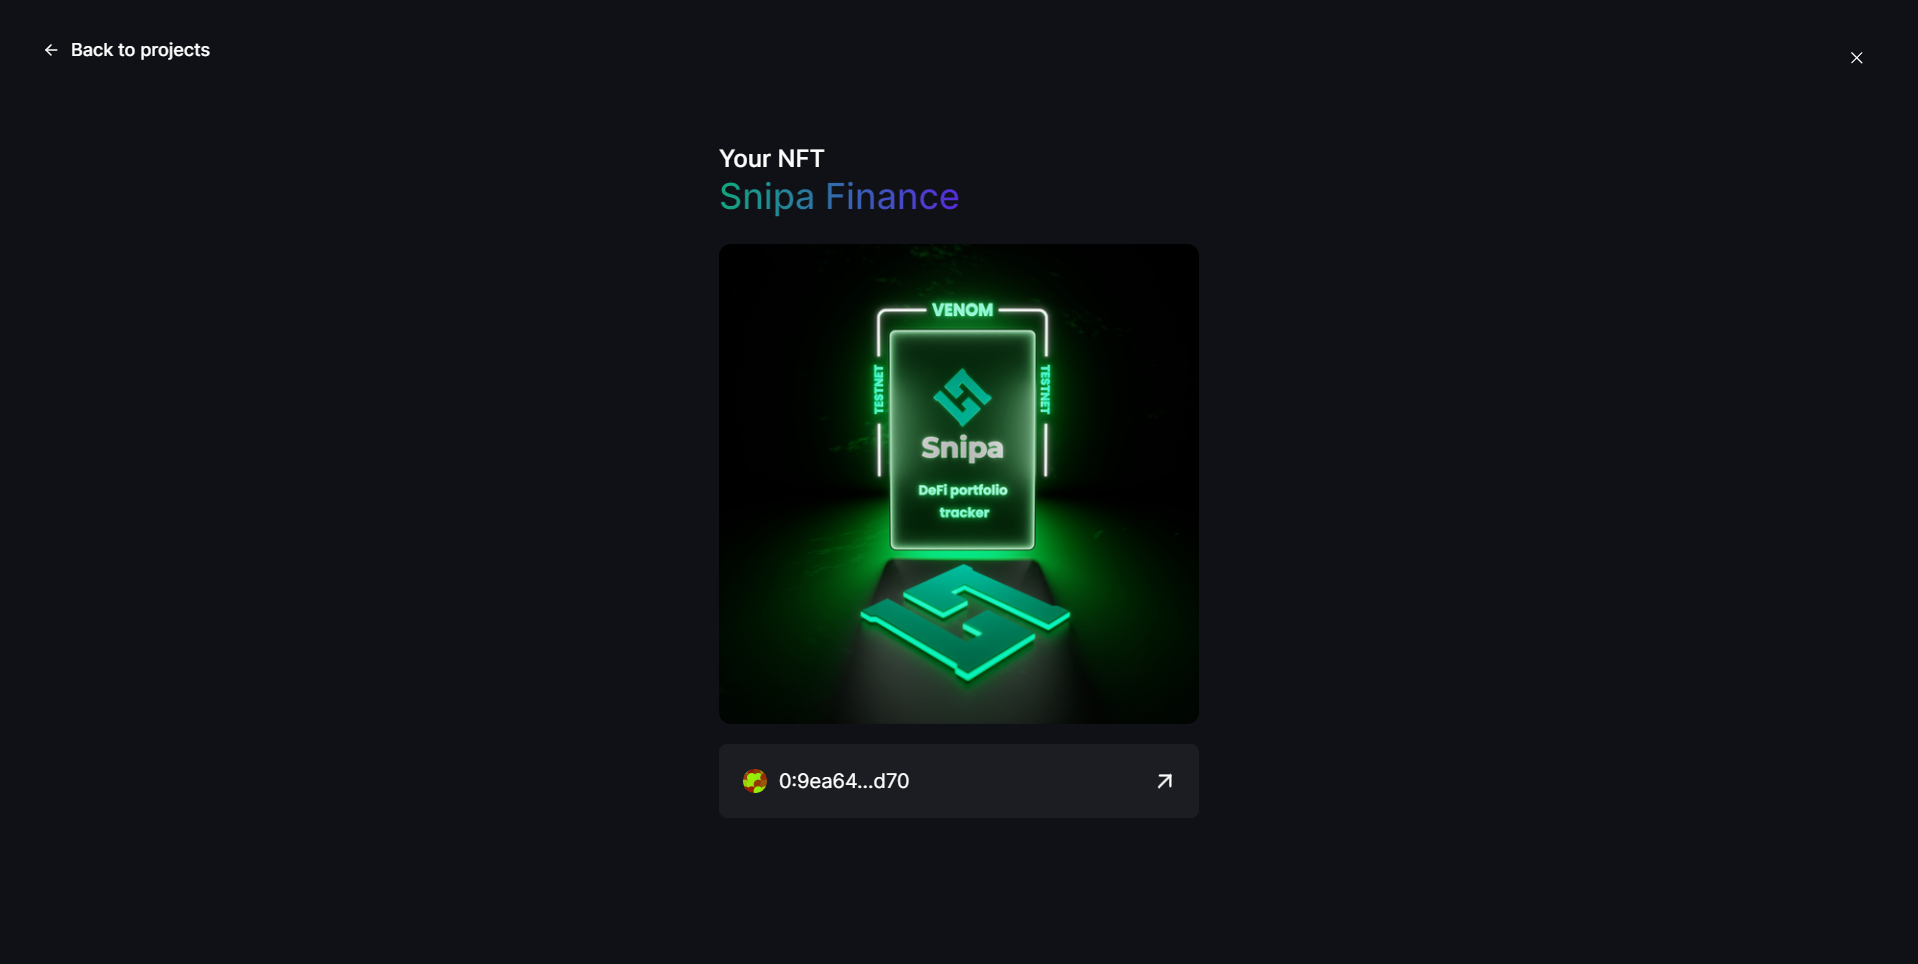
That's it! Now you can mint the SnipaFinance NFT!
Step 14
The first two tasks for this step are easy, we just need to watch a short gameplay video of Nümi, then just post a tweet about them!
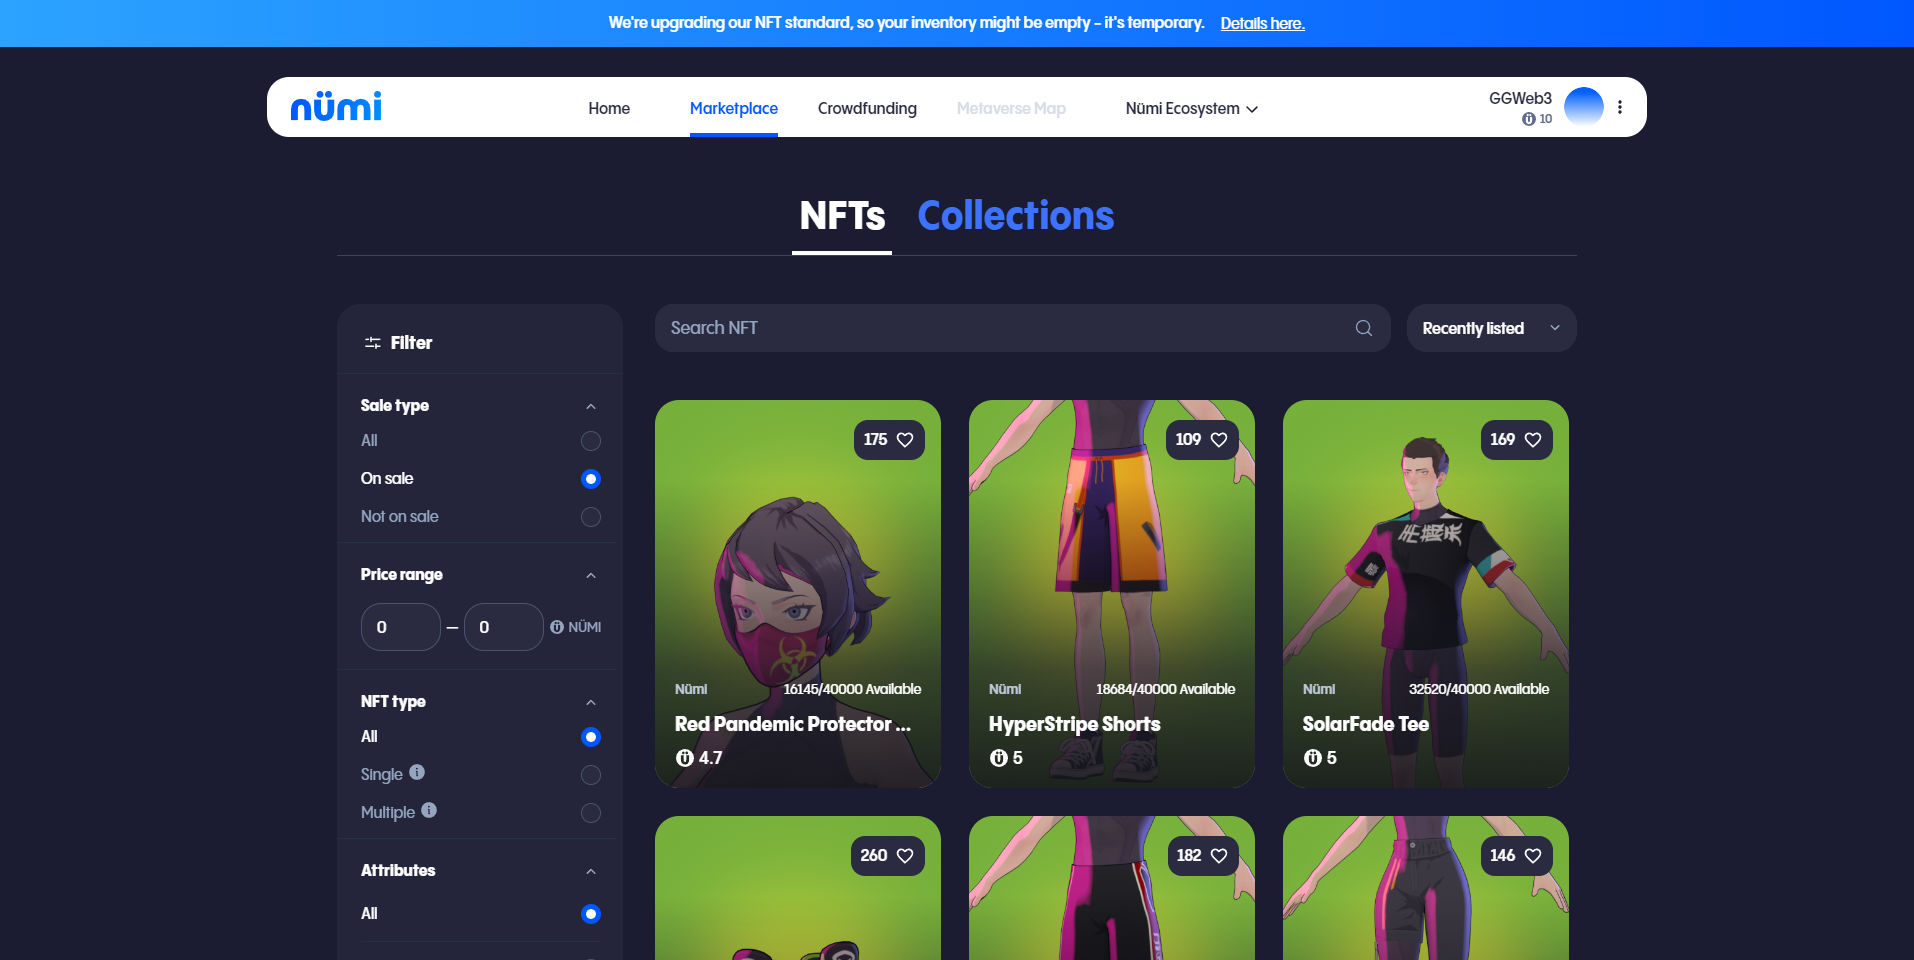
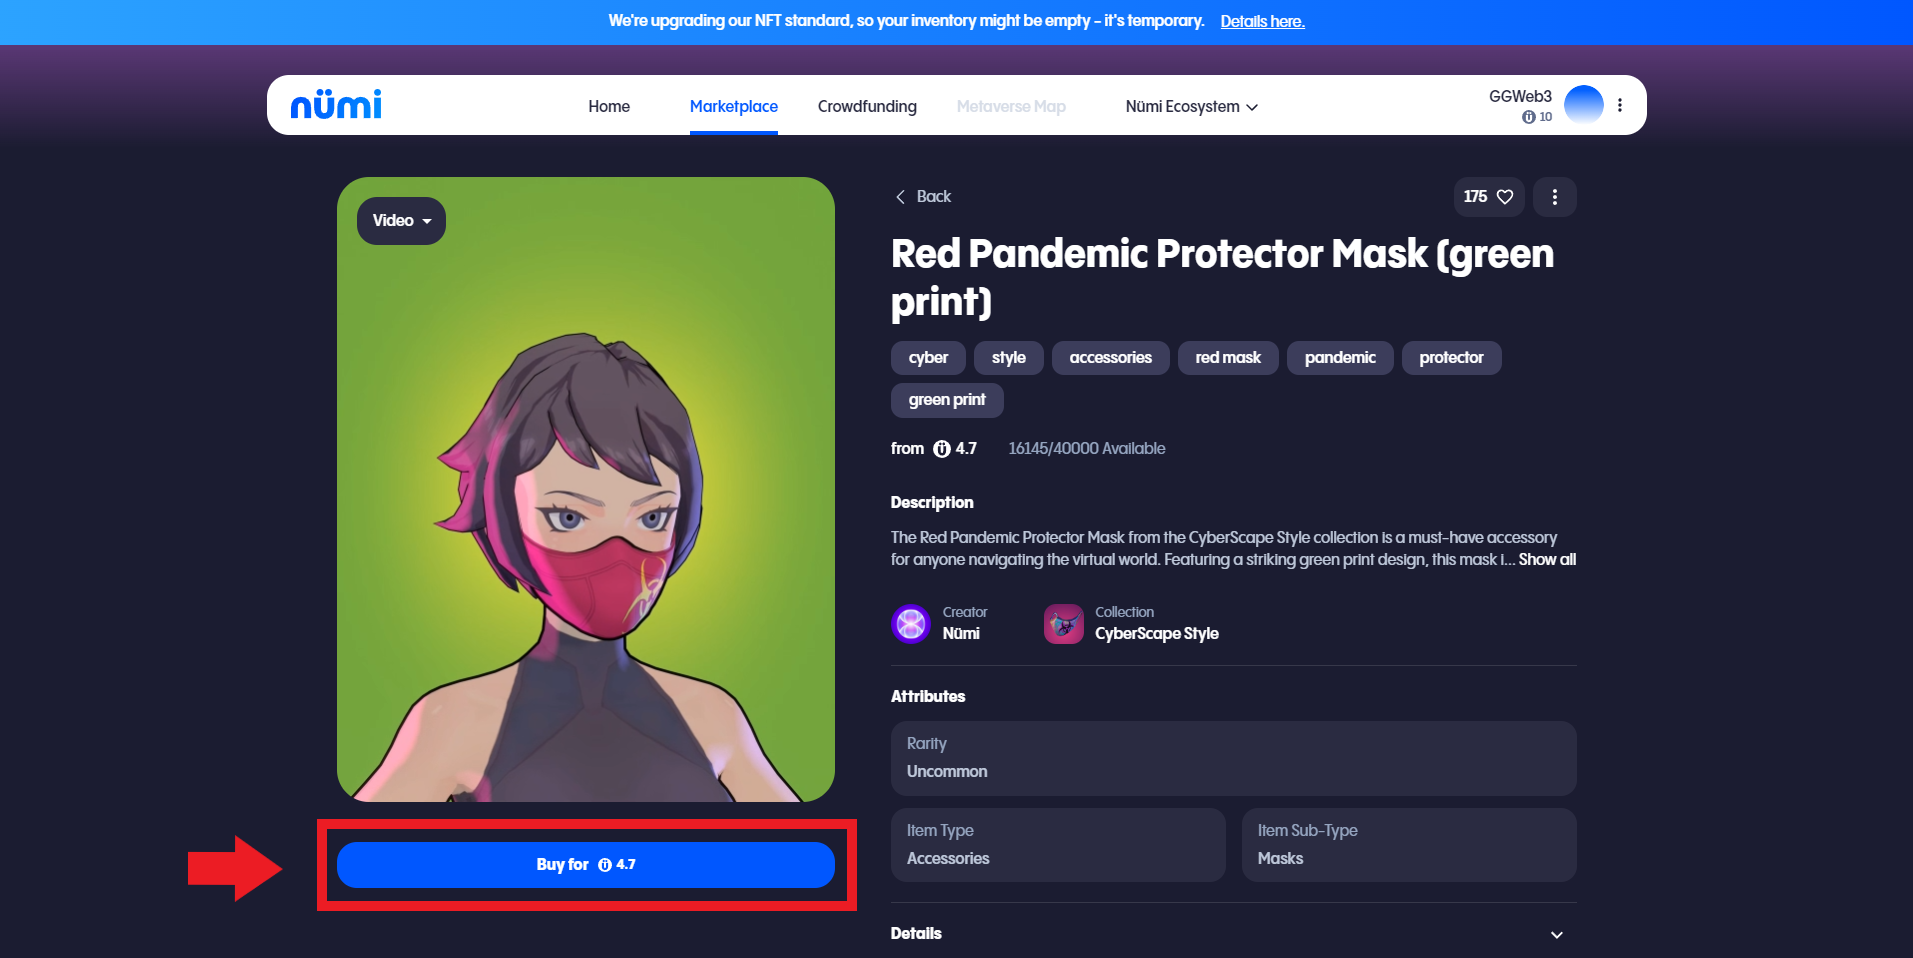
Next we need to purchase an NFT, so head over to Nümi Marketplace, create a free account & connect your Venom Wallet!
Now you can explore the NFT marketplace and find something you'd like to purchase!
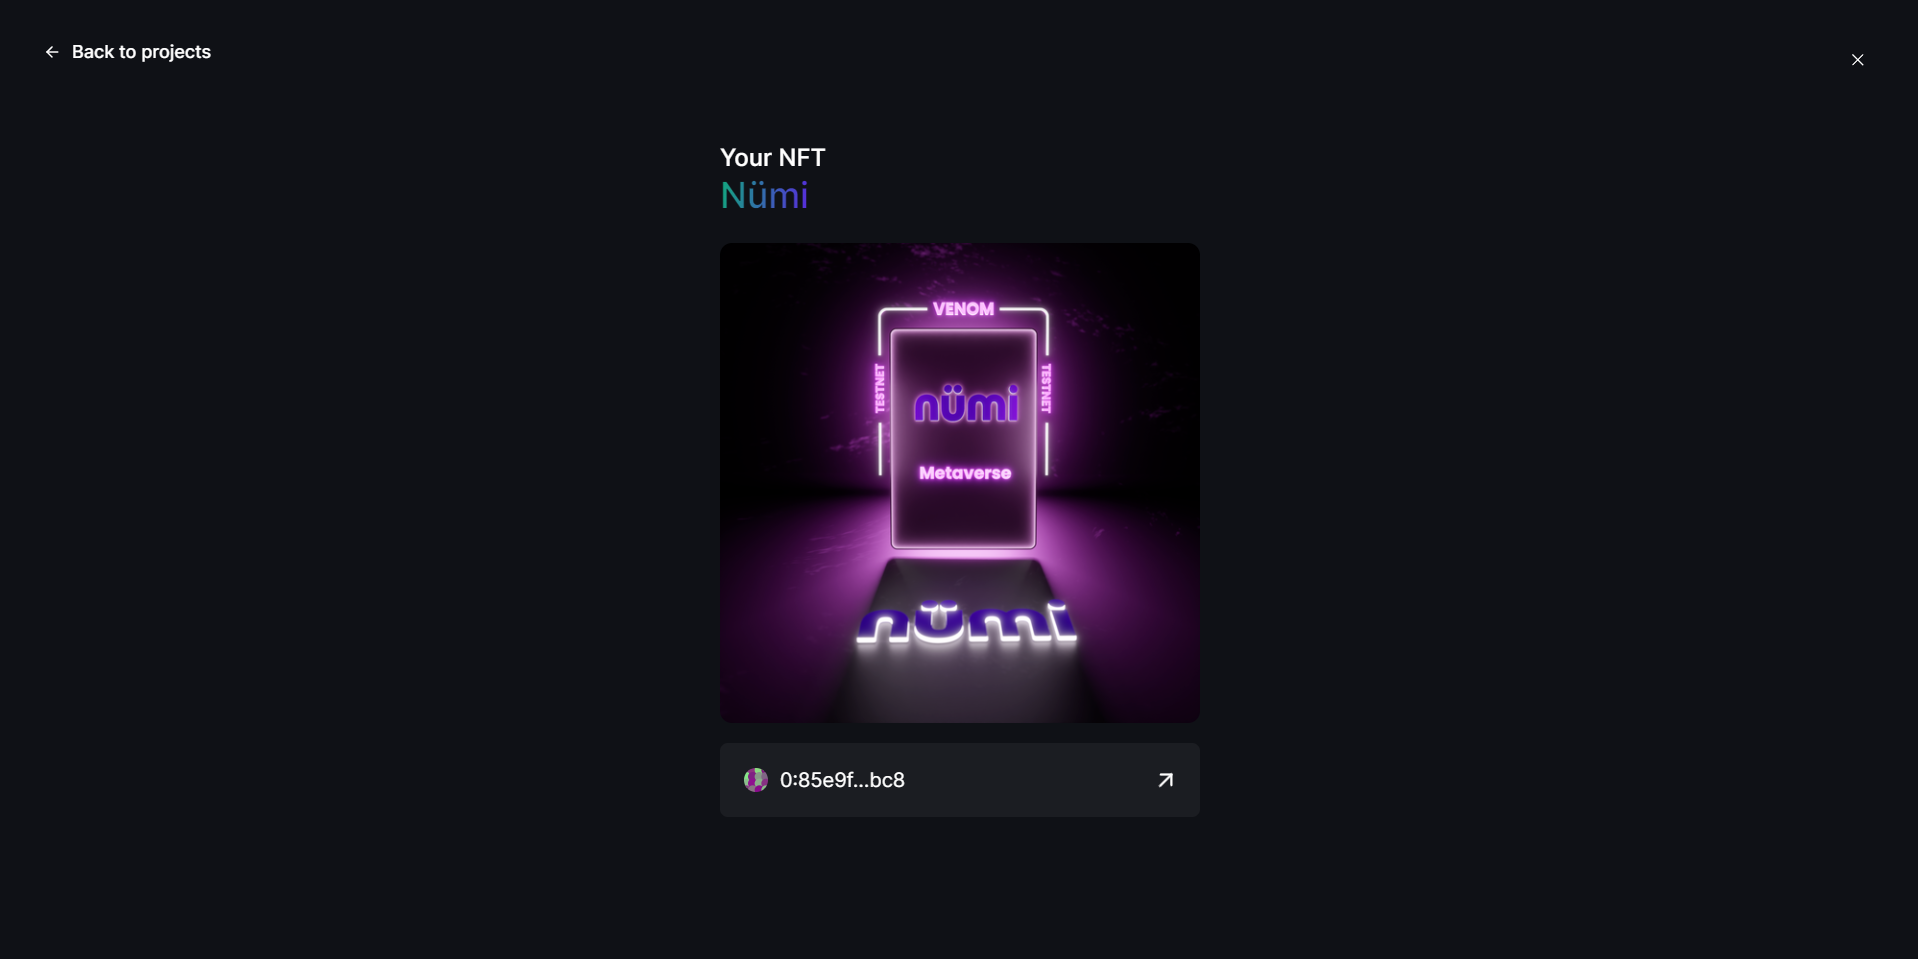
Once you've completed that you can go back to the Venom quests and mint the Nümi NFT!
Step 15
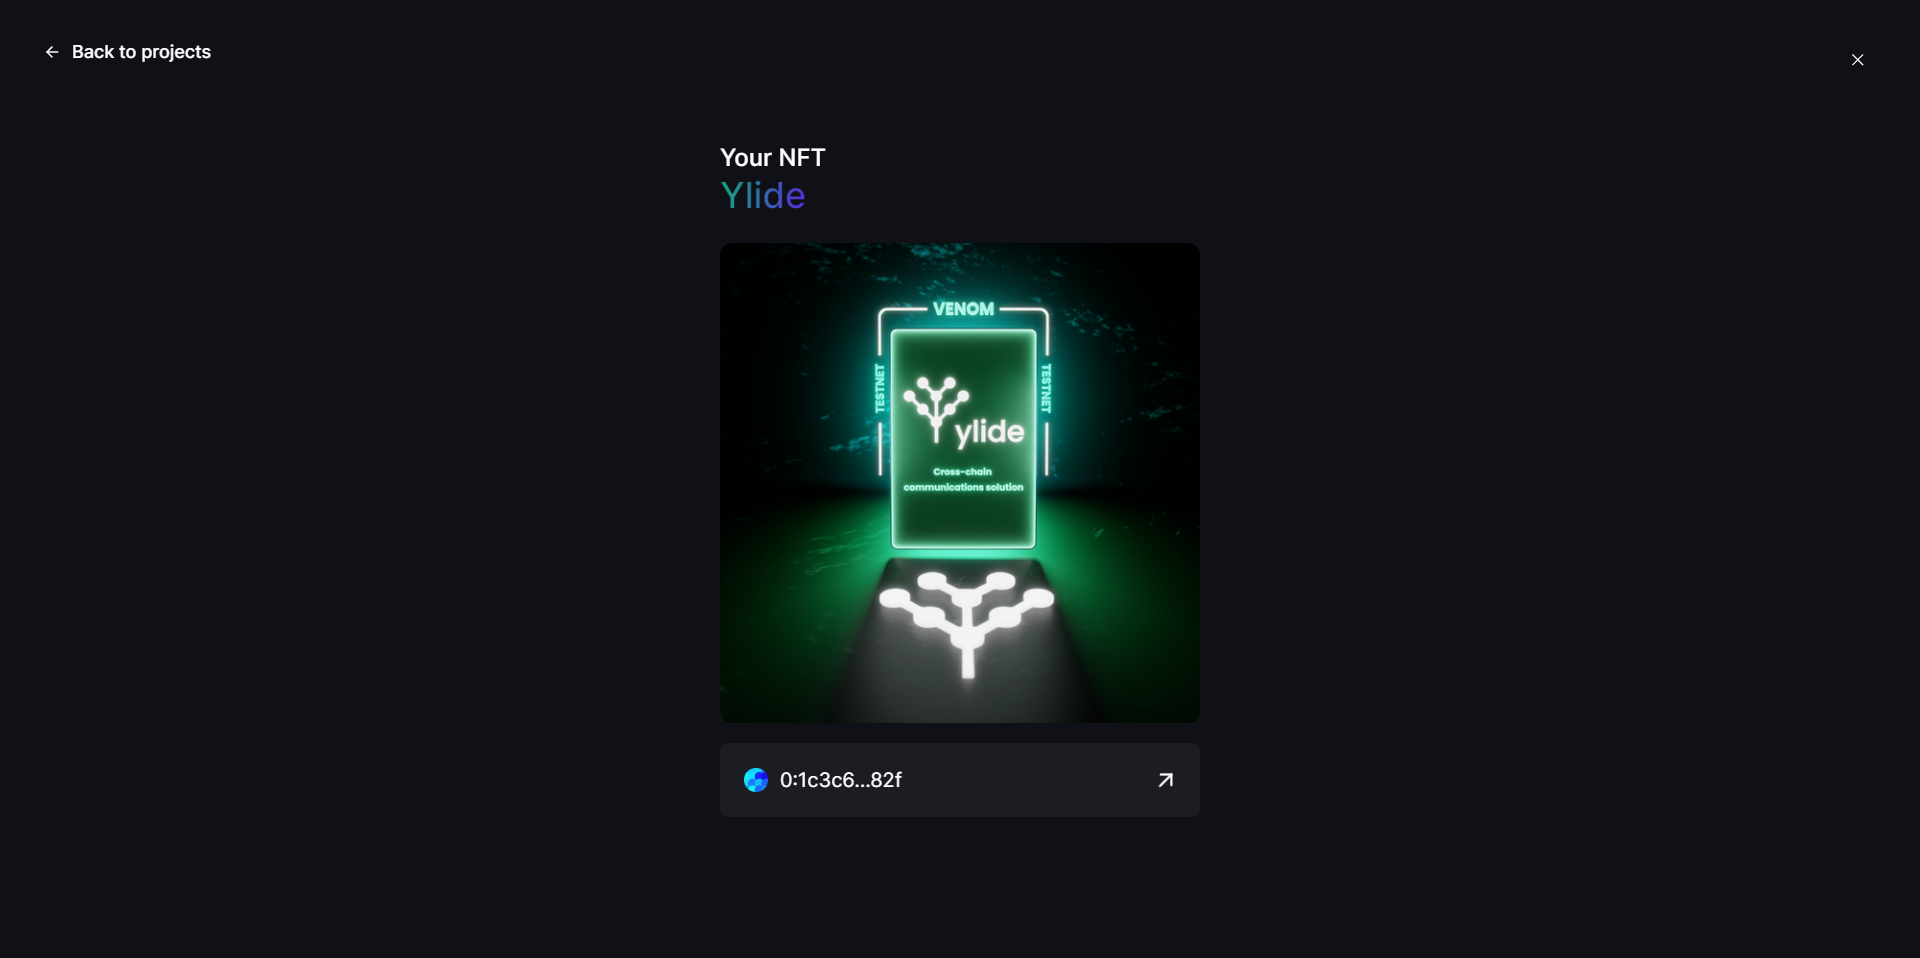
In this step we're going to take a look at Ylide: A cross-chain communications solution.
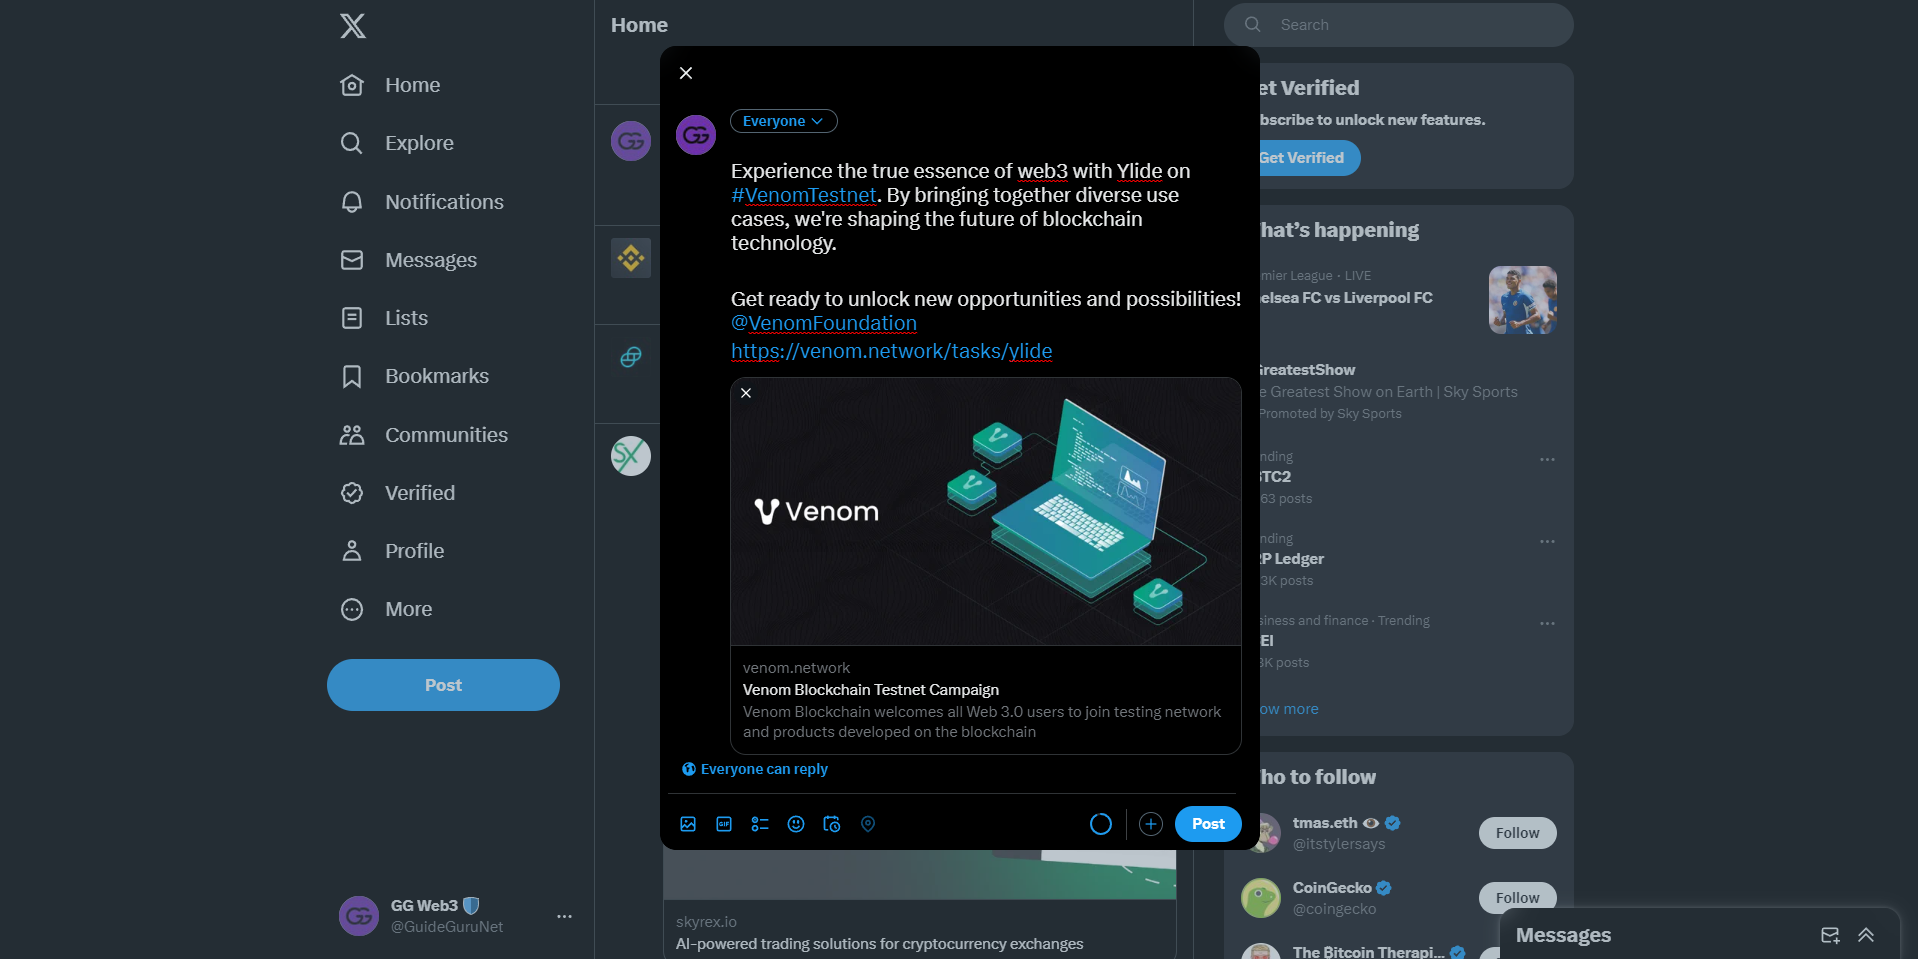
- For the first task we just need to tweet about Ylide by pressing the "Tweet" button & posting to X (Twitter).
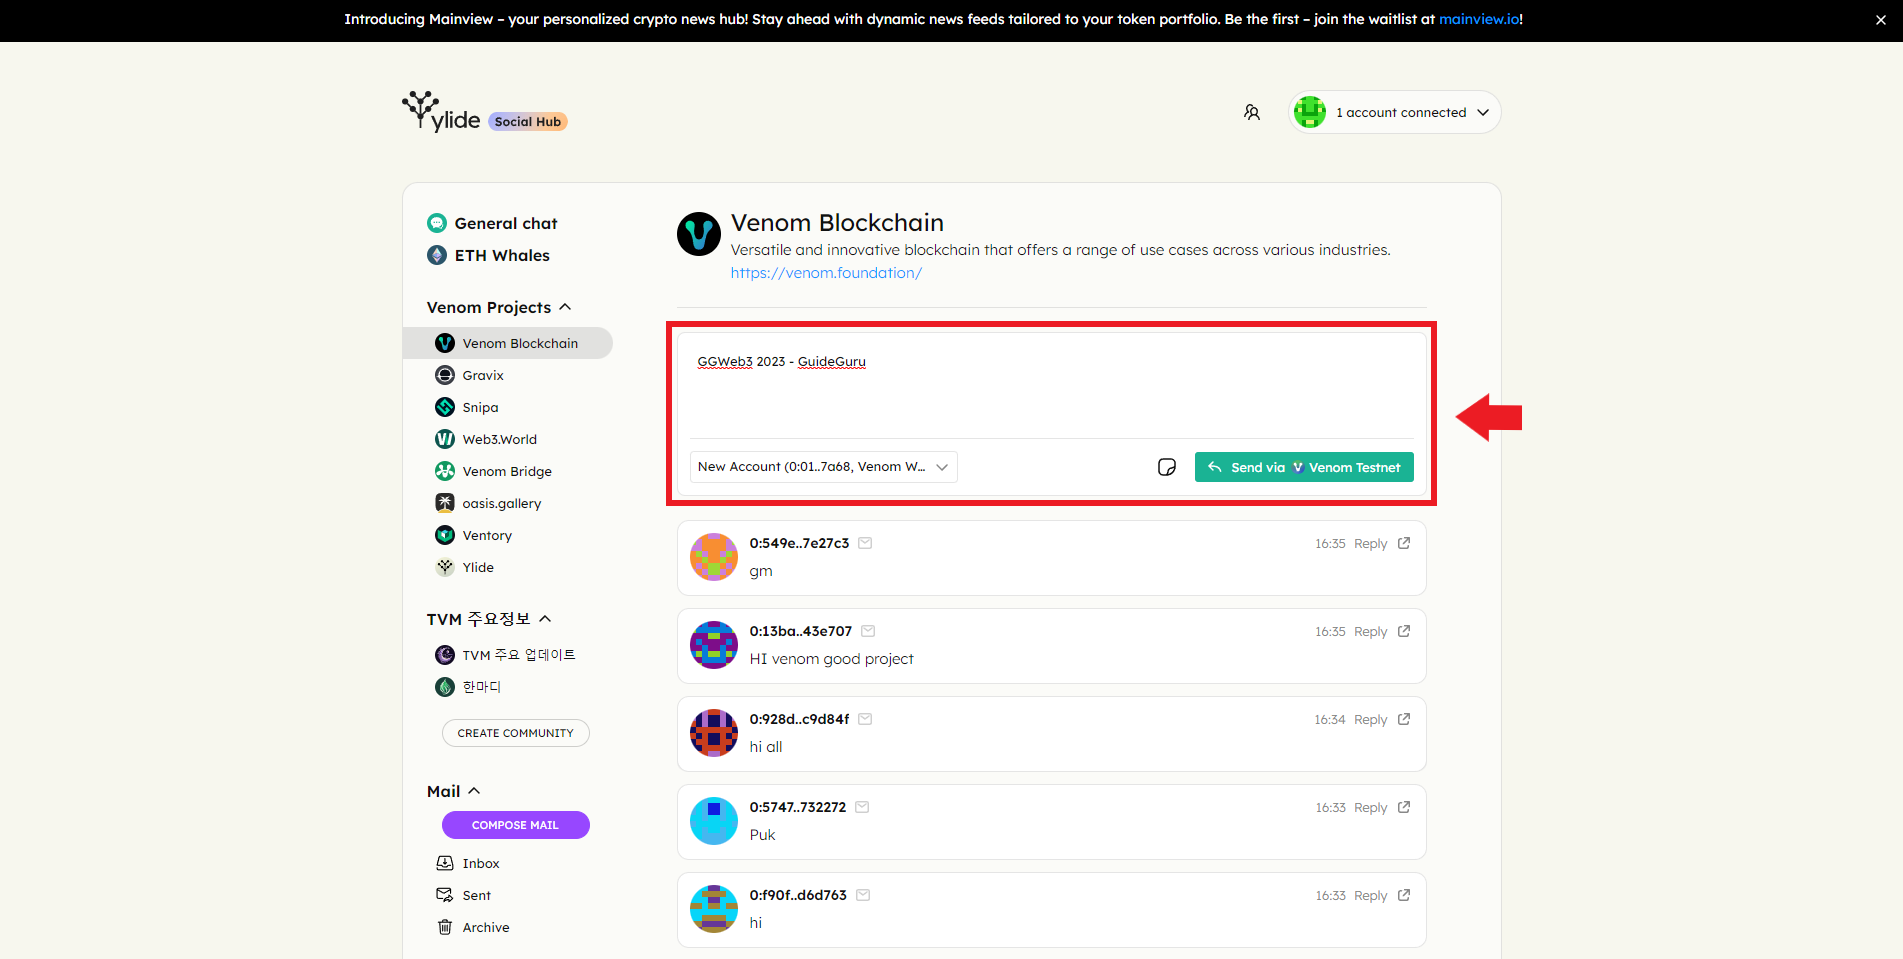
- Now we need to post an on-chain message, to do this, head over to hub.ylide.io & connect your Venom wallet.
- Now we can type our custom message where it says "Make a new post..", once you've done that you can hit "Post".
When thats completed you can go back to the Venom quests & mint the Ylide NFT!
Step 16
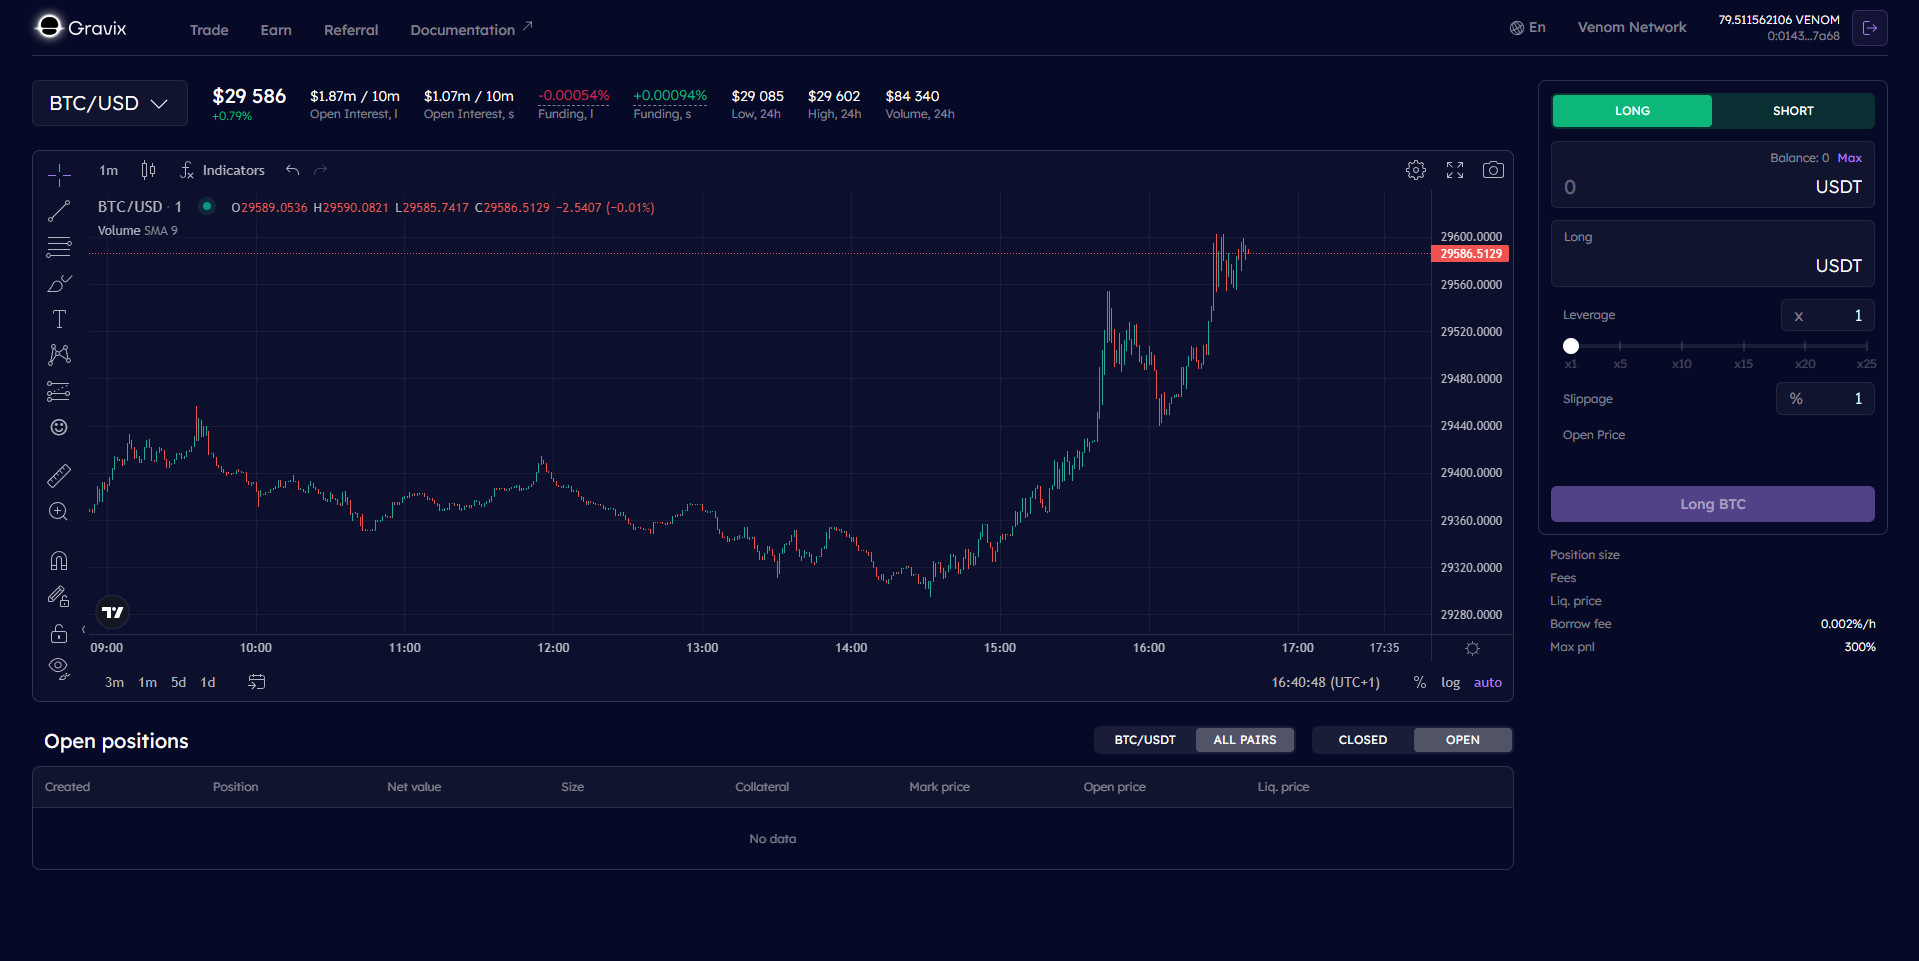
For this step, we're going to take a look at Gravix: A Derivatives Exchange.
- For the first task we just need to follow Gravix on X (Twitter).
- Next, we need to open either a LONG or SHORT position on the Gravix platform.
To do this, head over to Gravix & connect your Venom wallet. Now just open a Long/Short position on any token pair!
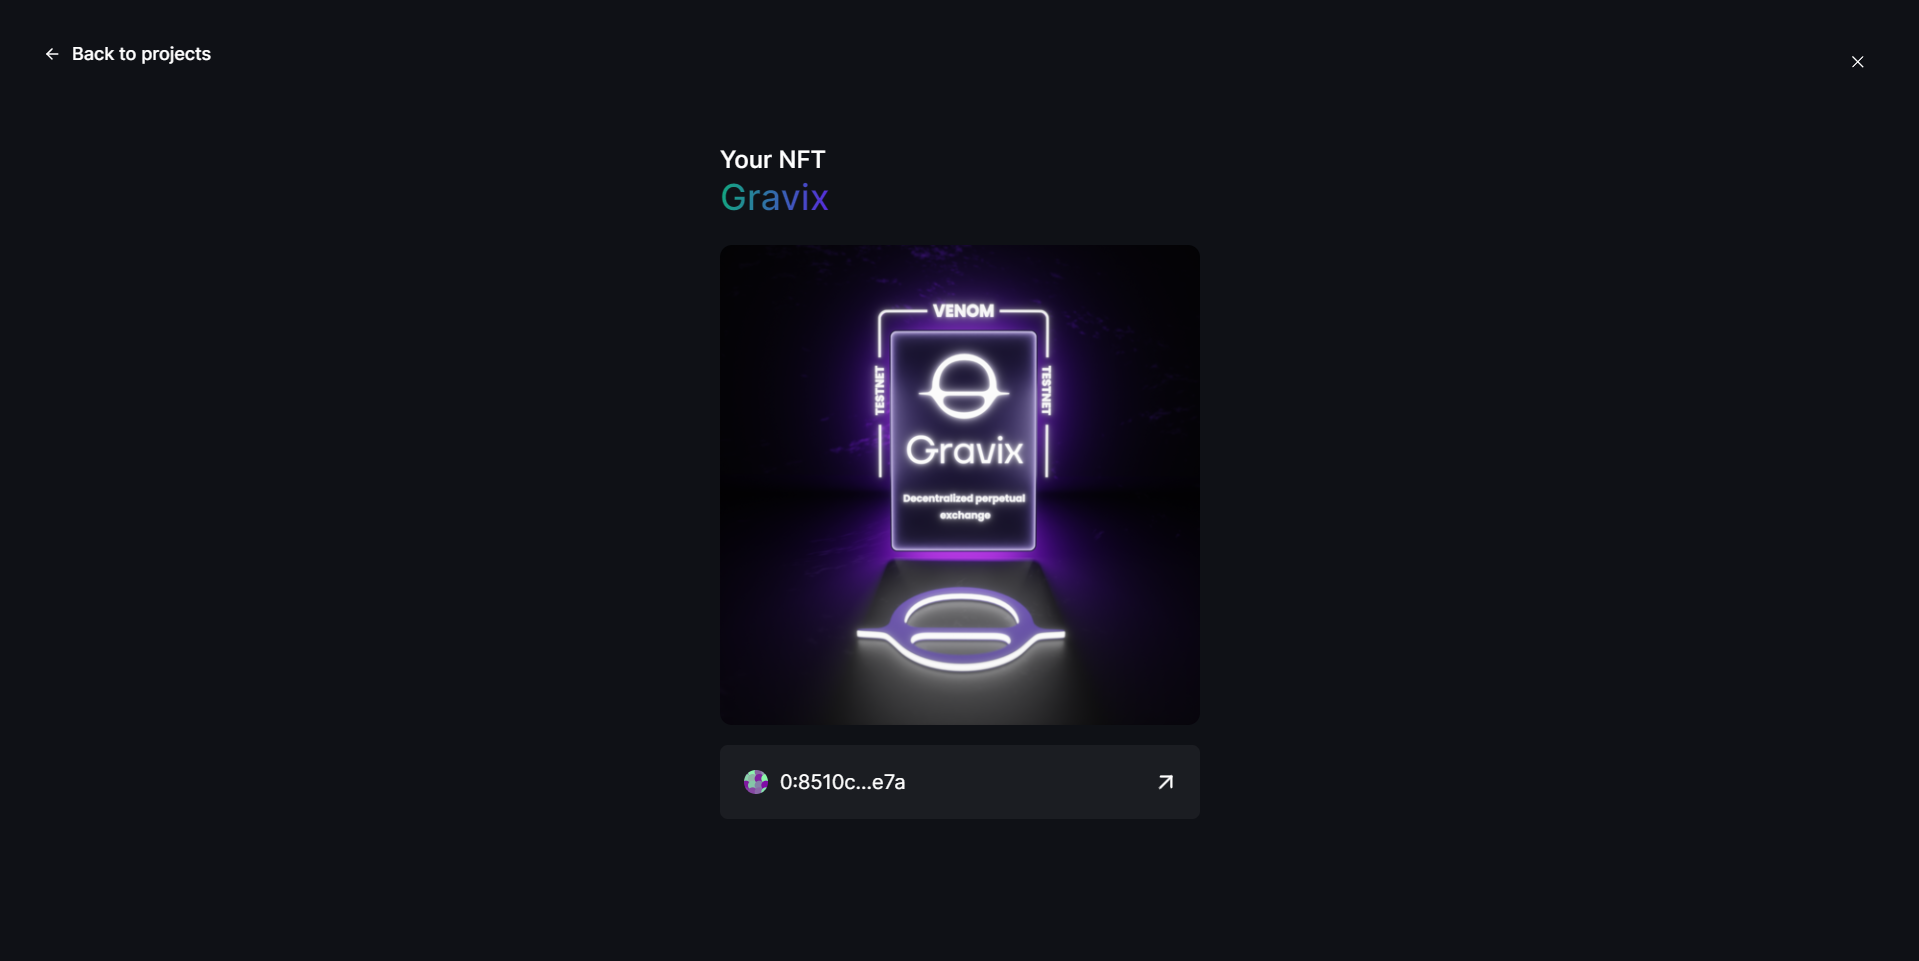
Once your position has been created you can head back to the Venom tasks to mint your NFT!
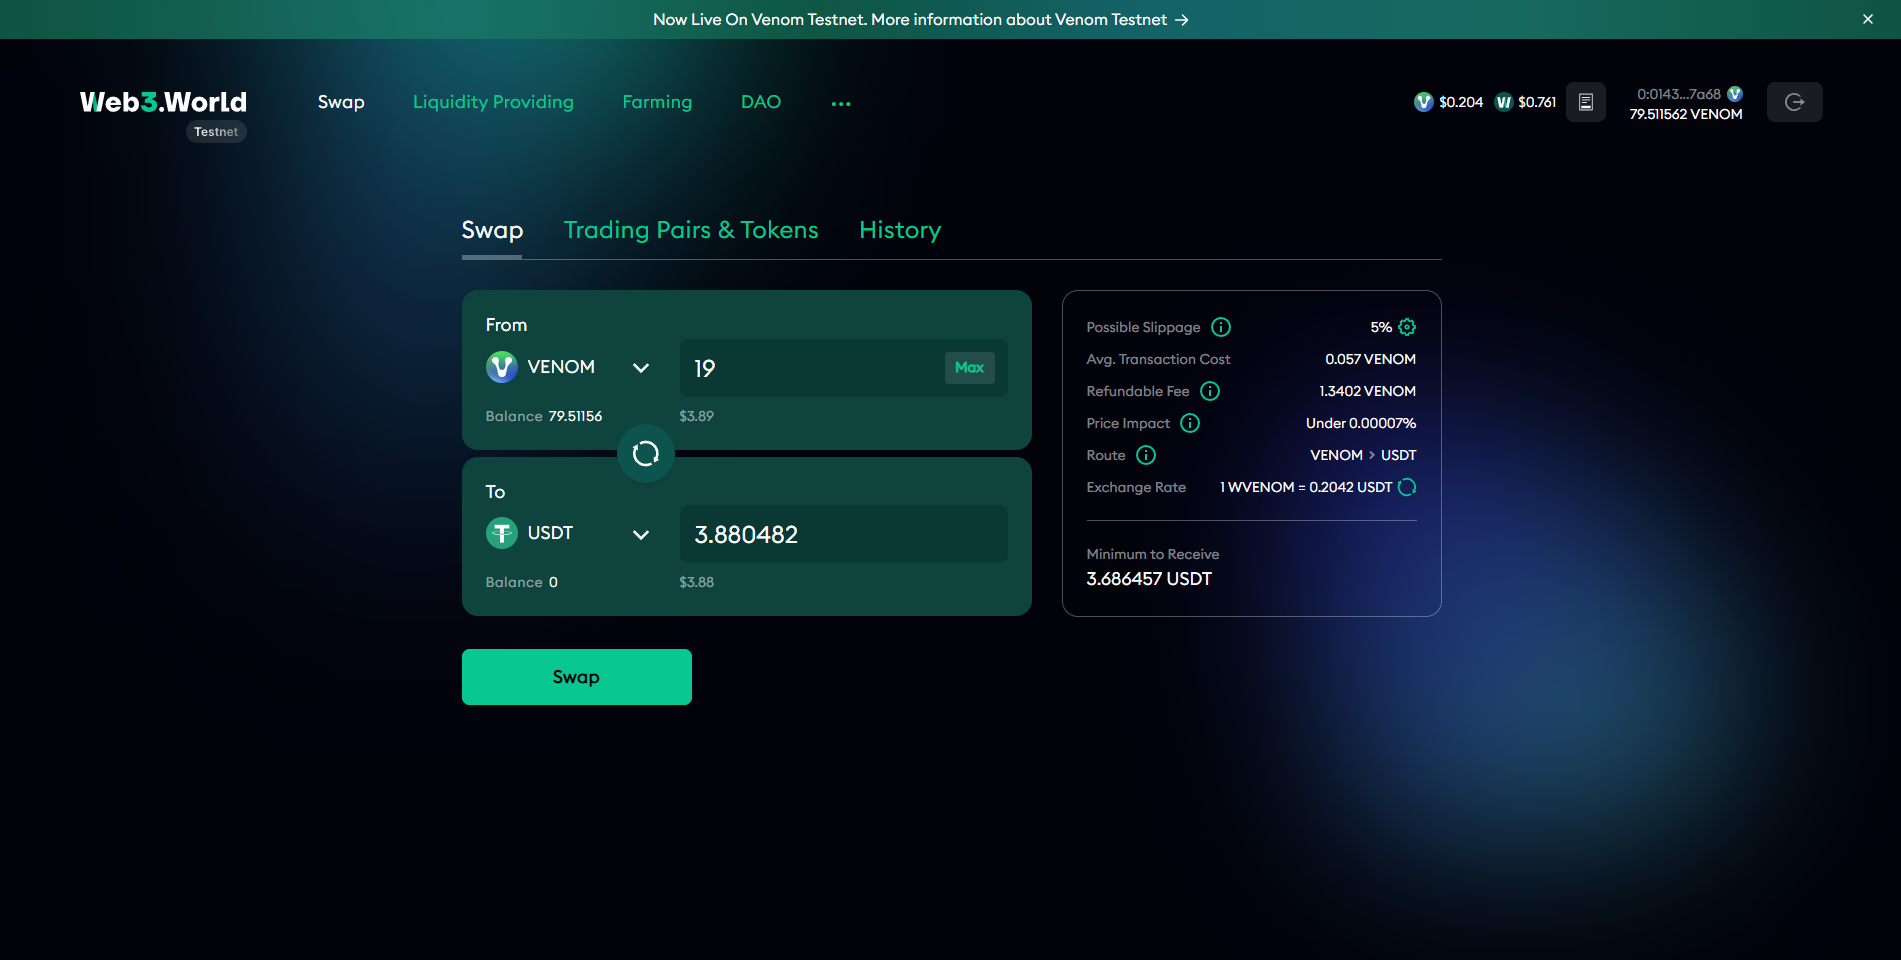
If you don't have any USDT on Venom network you can go to testnet.web3.world/swap to swap some test Venom for test USDT.
Step 17
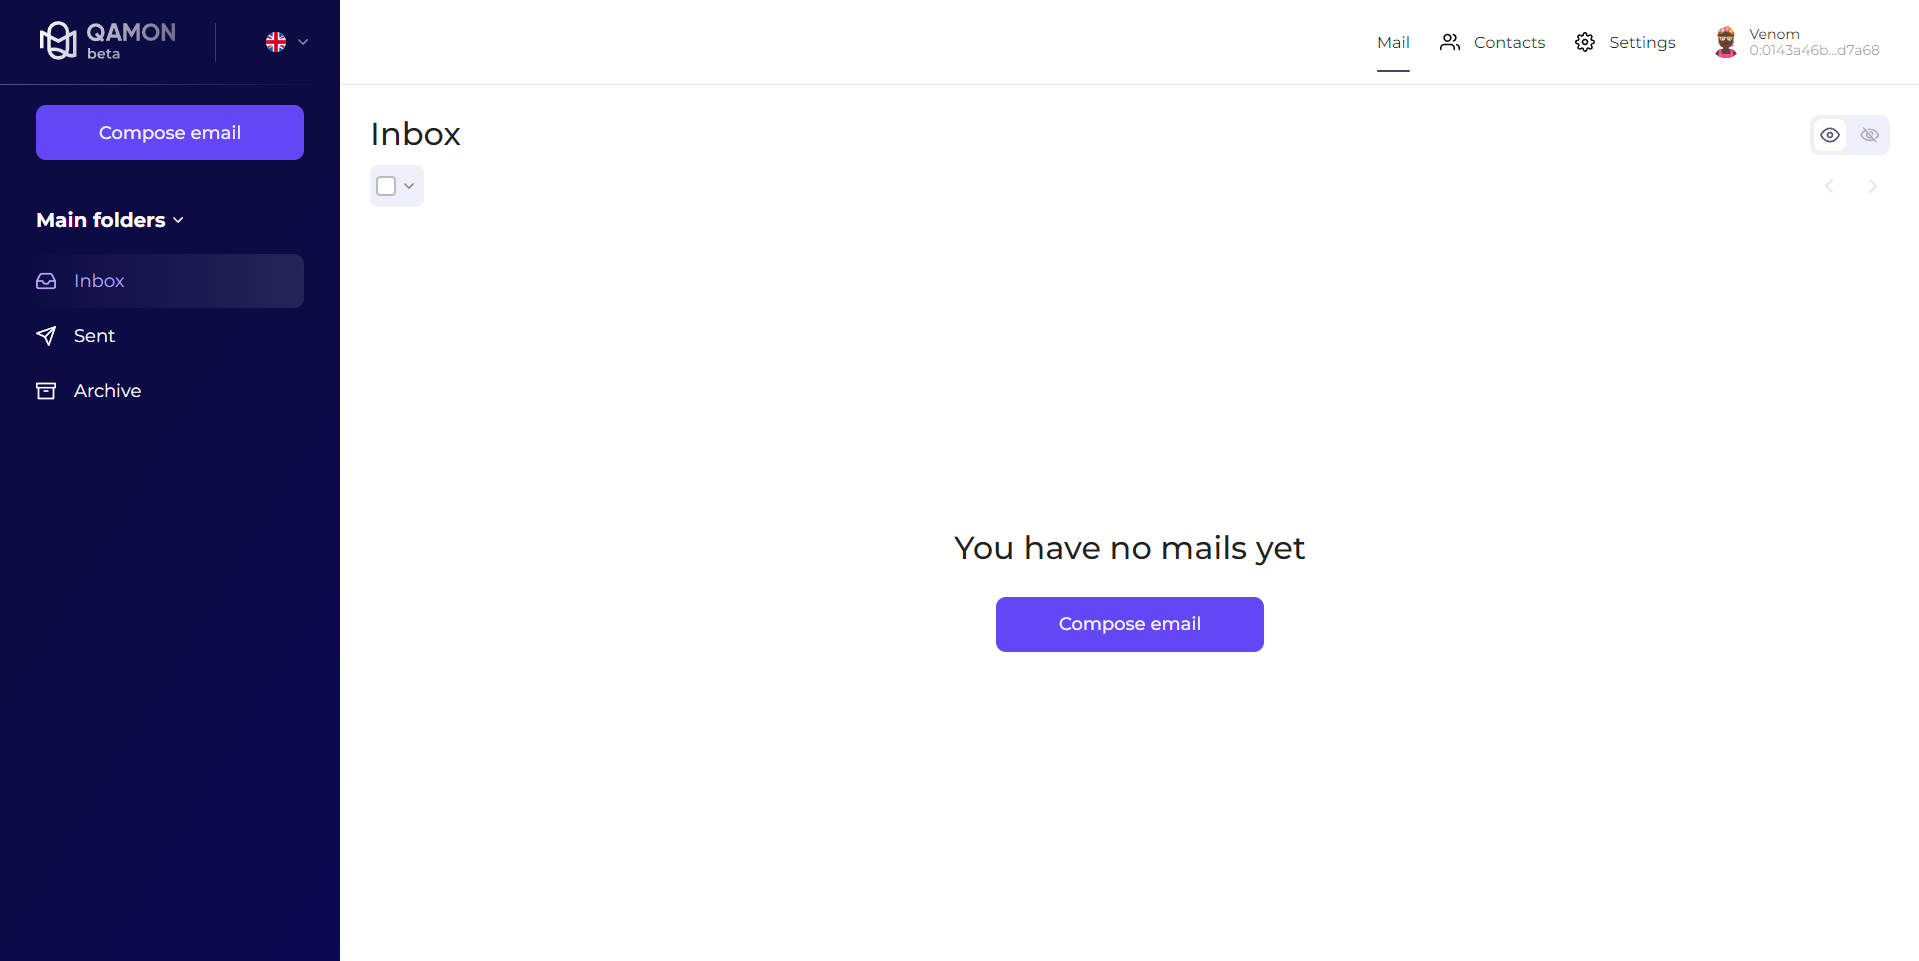
For this step, we're going to take a look at Qamon: A decentralized secure e-mail powered by blockchain.
- For the first task we just need to follow Qamon on X (Twitter).
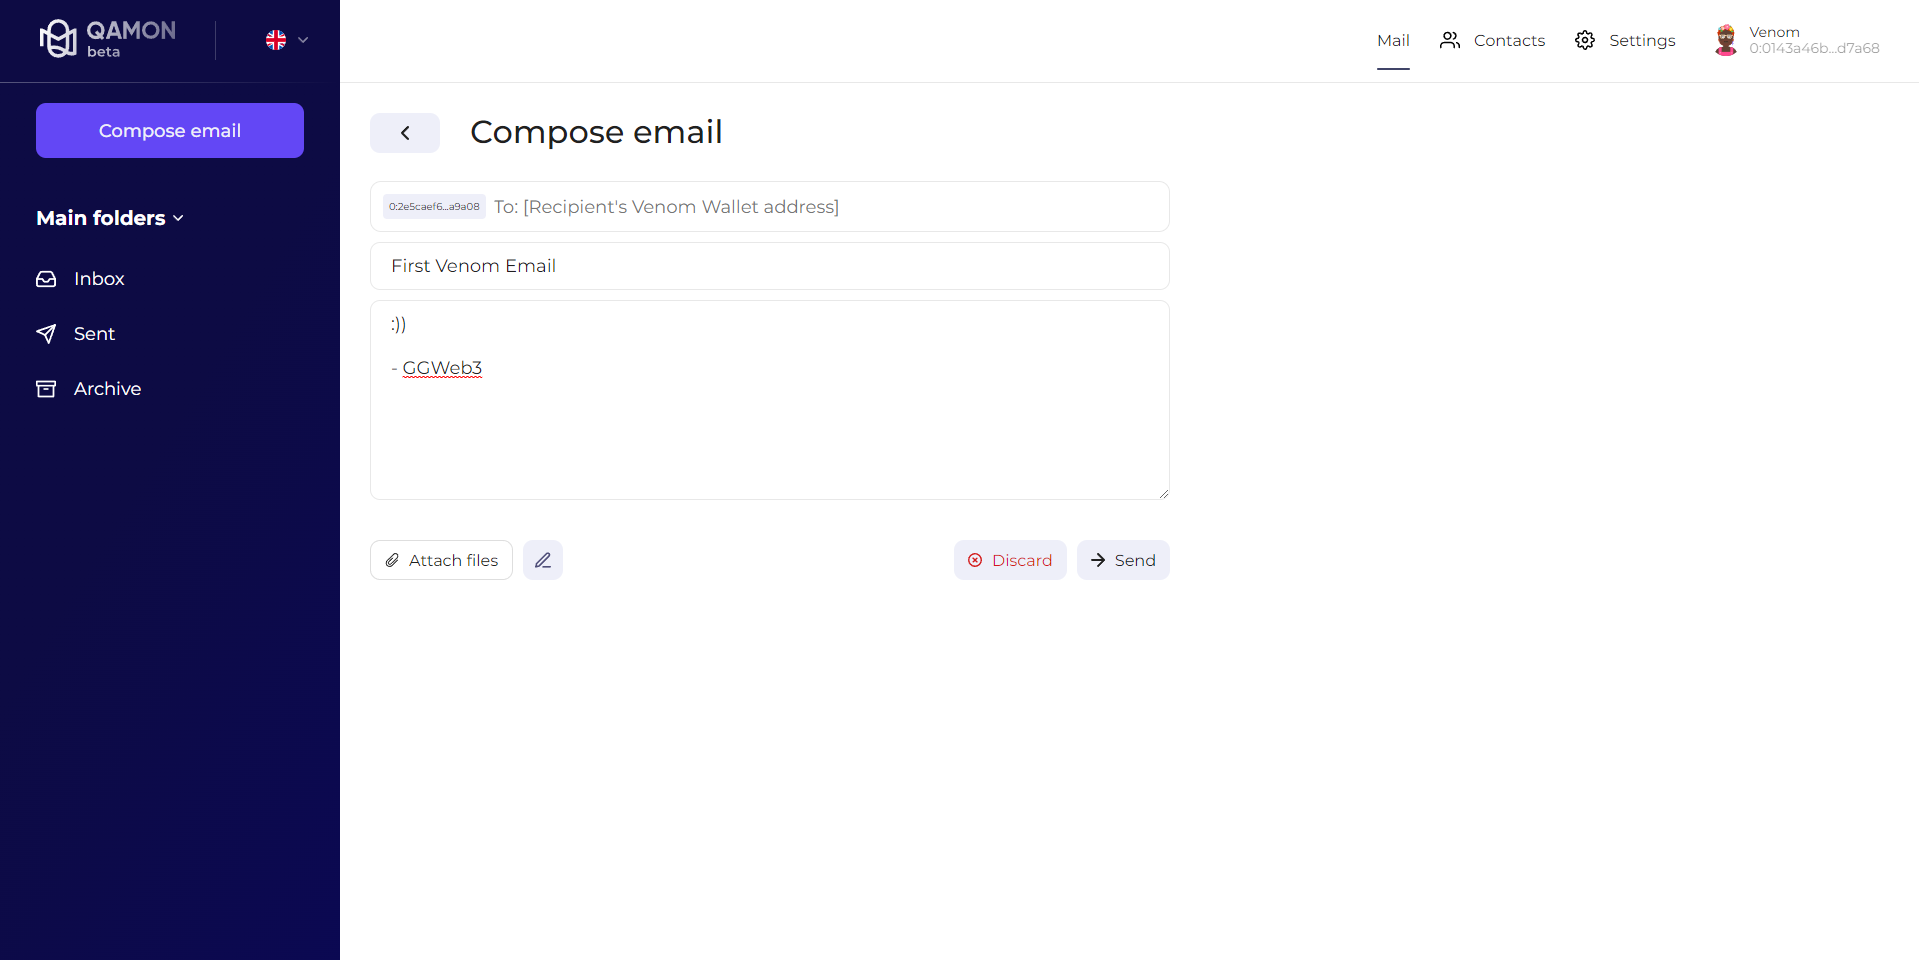
Next, we just need to compose & send an email on the Qamon platform.
- To do this, head over to Qamon & connect your Venom wallet. Now just compose an email and hit Send!
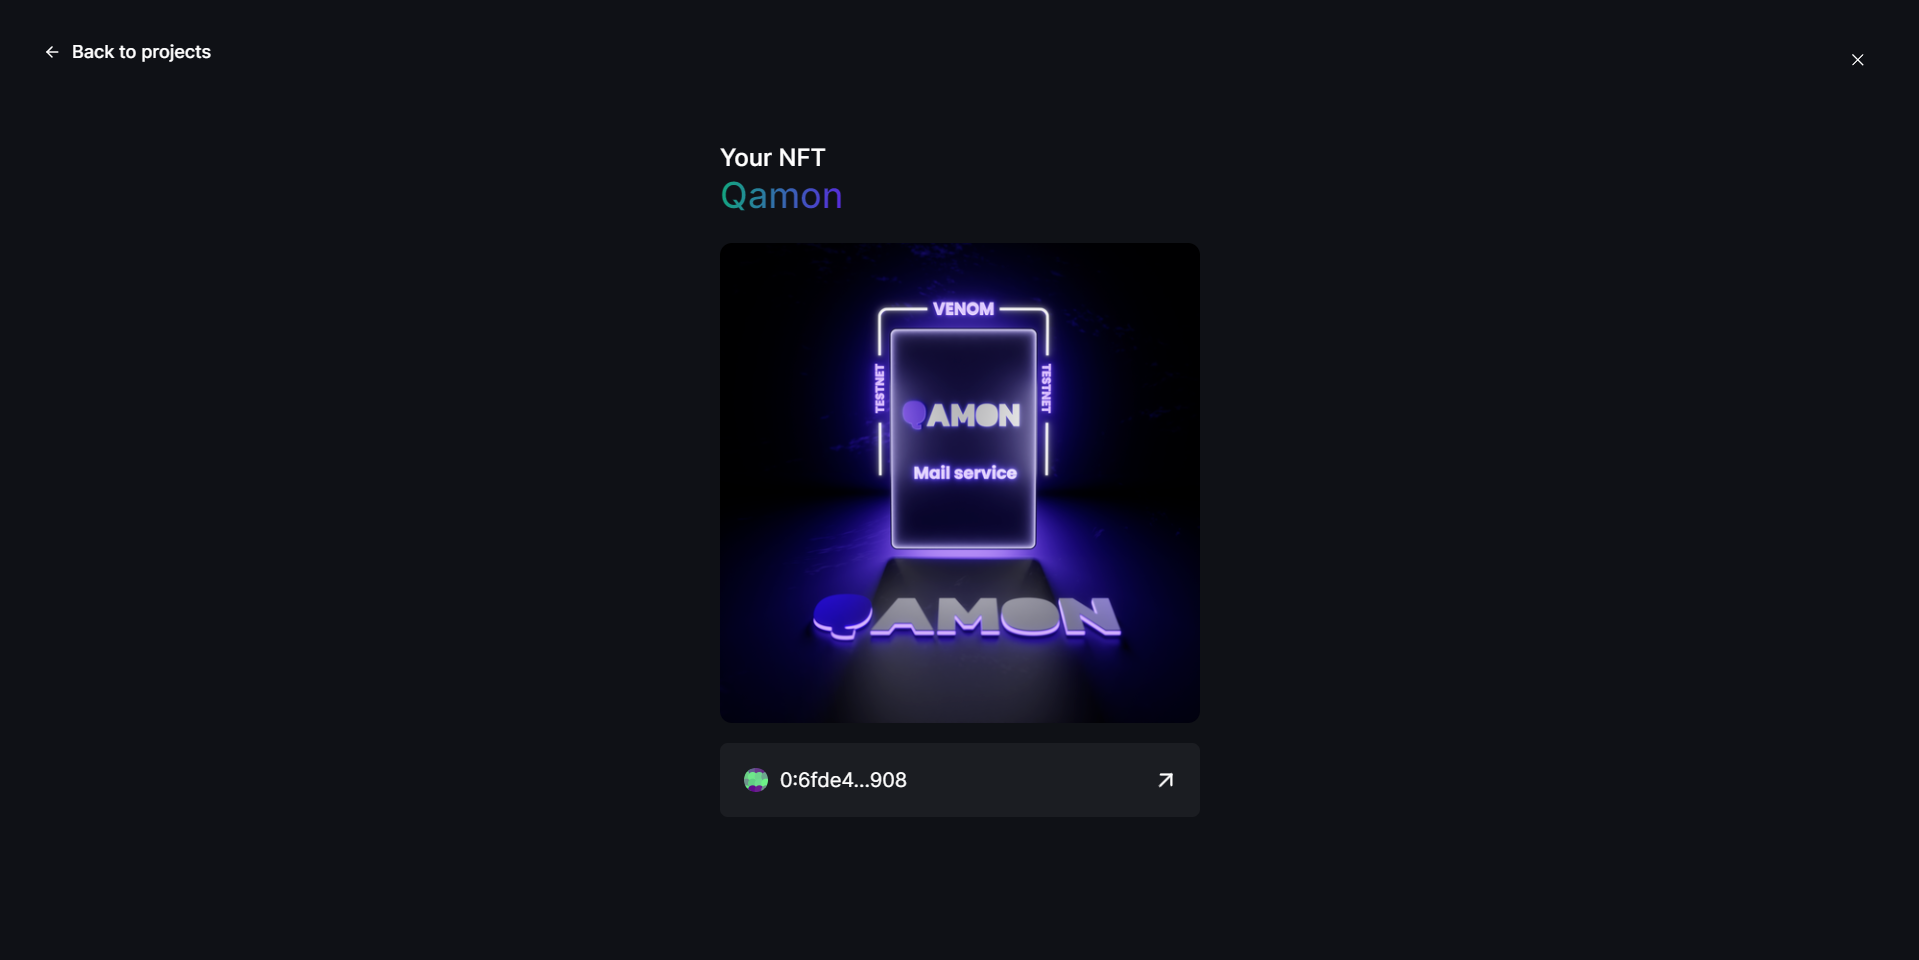
Once your email has been sent you can head back to the Quests & mint your NFT!
If you don't have a recipient for your email, you can send one to our address: 0:0143a46b4feee4188c989ced8703811025b528b5b45f3e52852fc343bdcd7a68
Step 18
For this step, we're going to take a look at Venom Burn: A tool that burns Venom to support project growth.
- For the first task we just need to follow Venom Burn on X (Twitter).
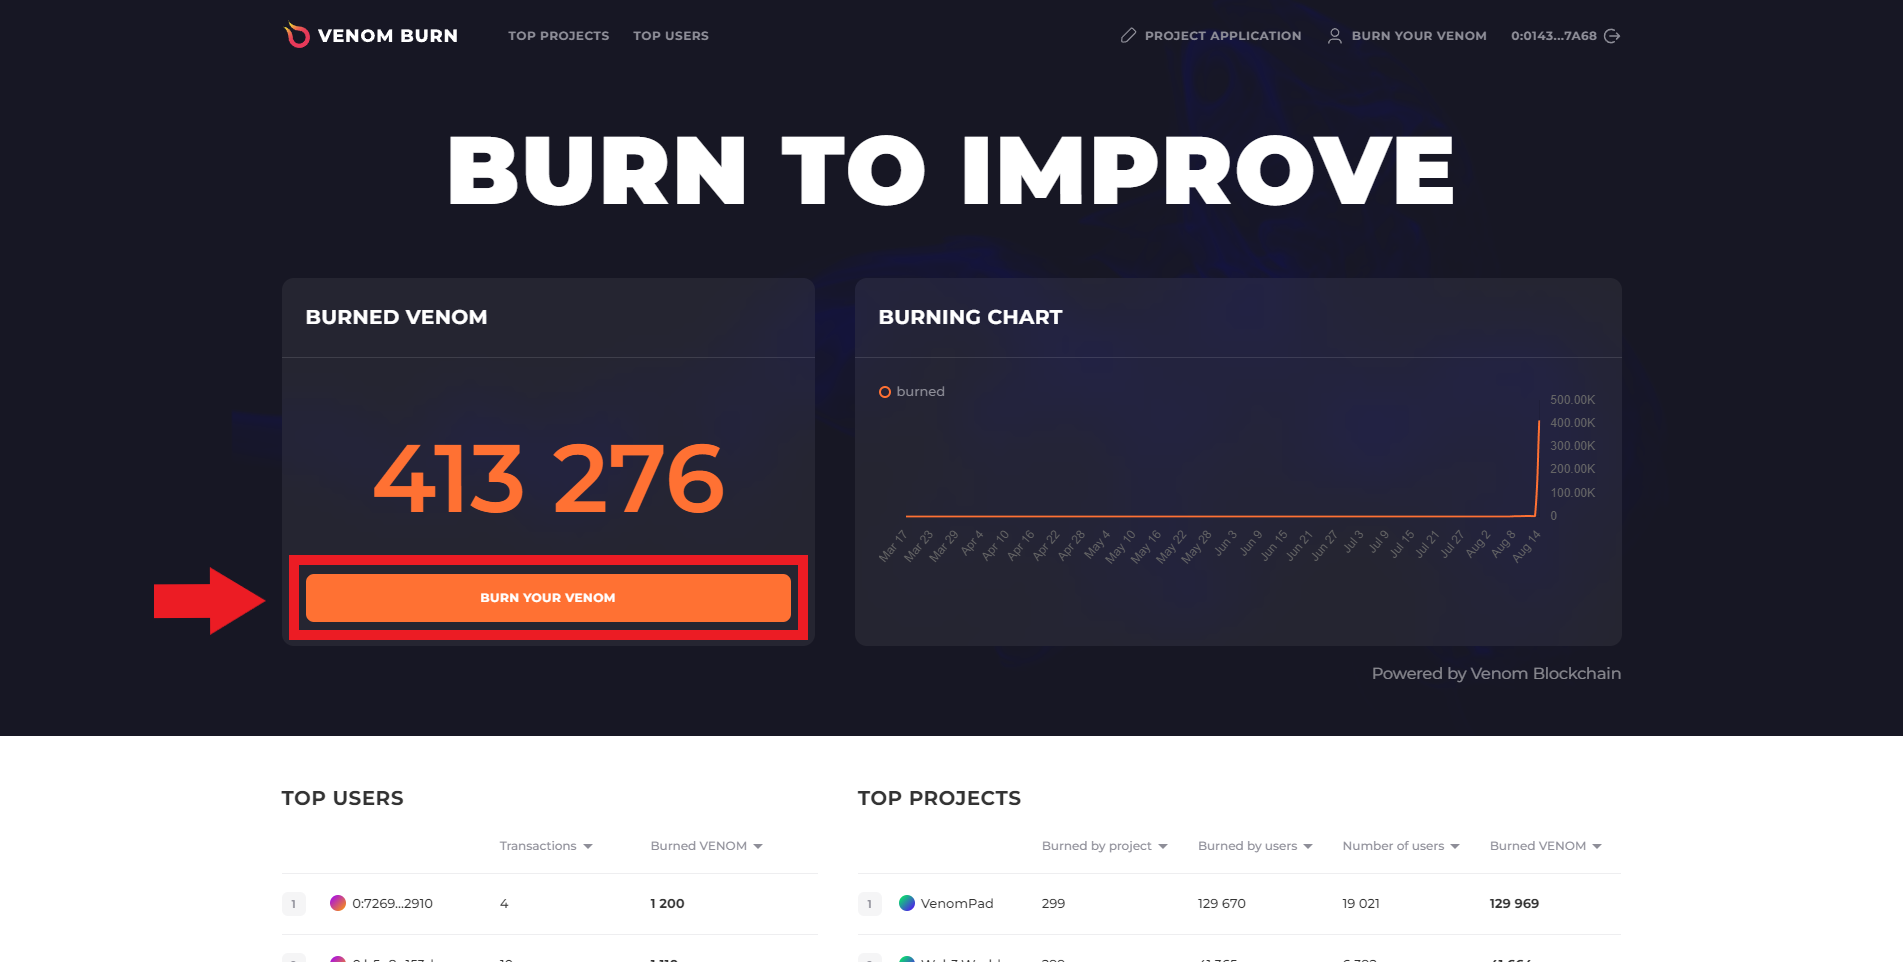
Next, we need to burn some Venom!
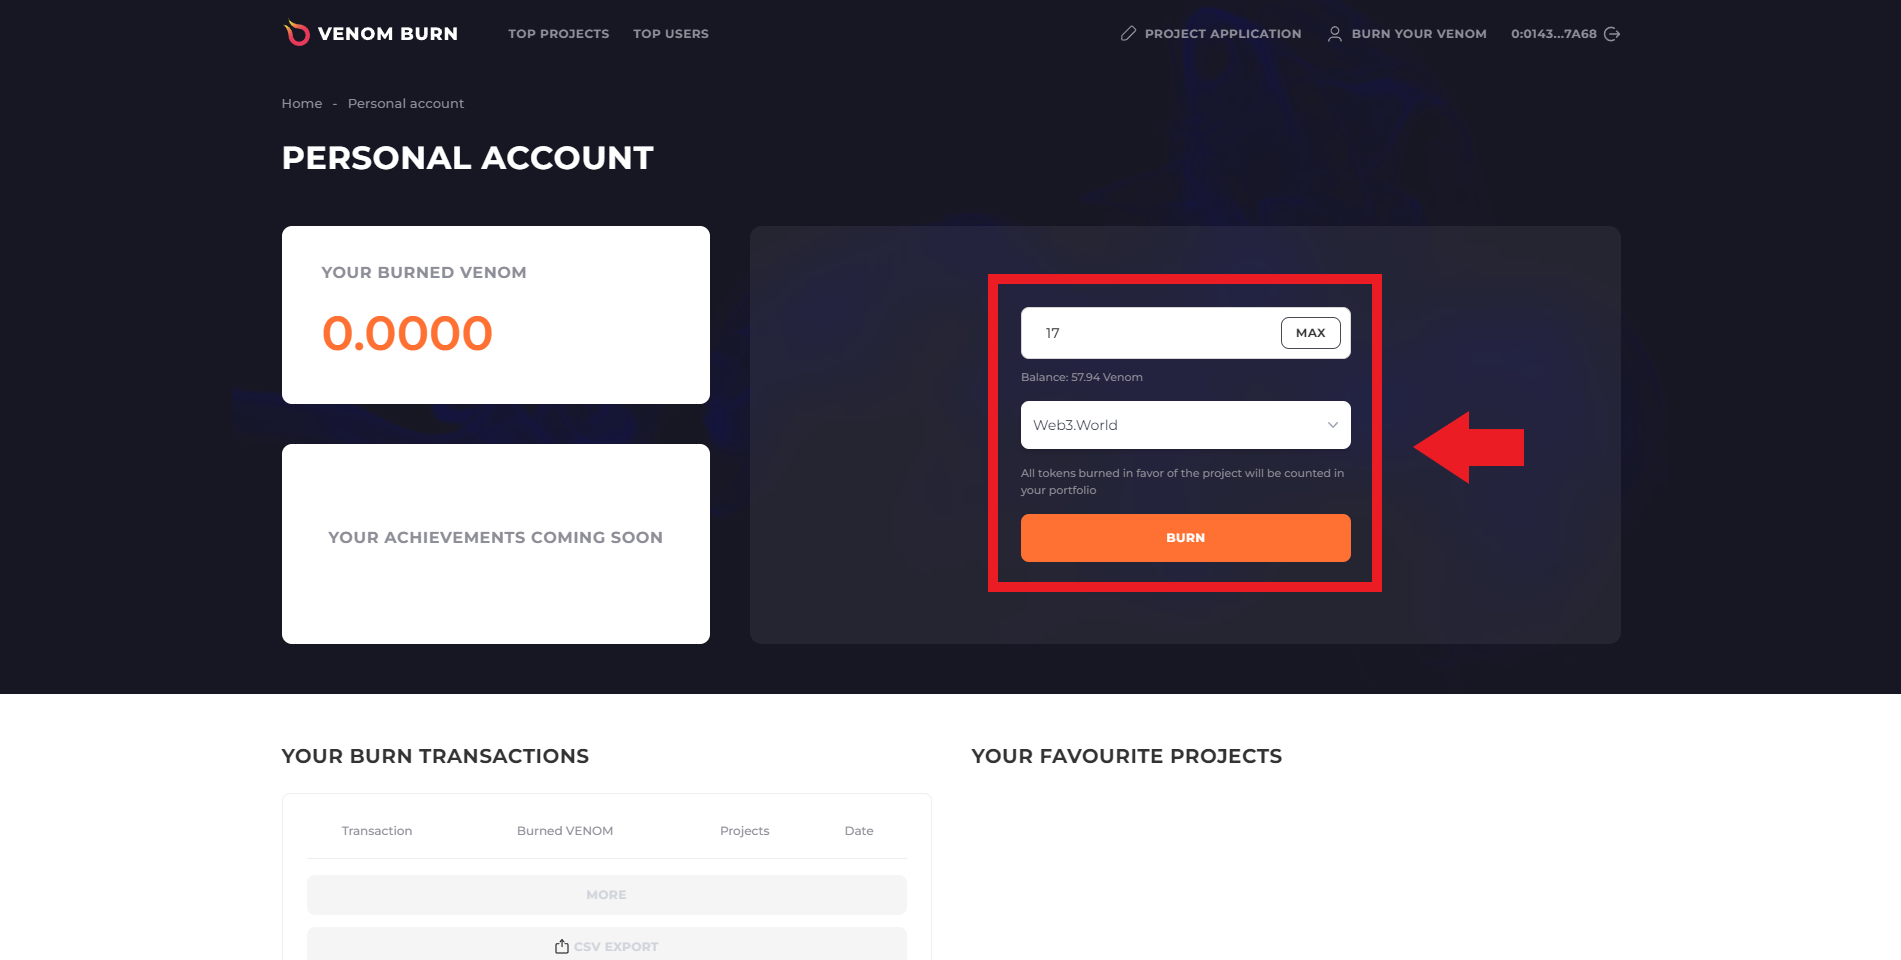
- To do this, head over to testnet.venomburn.com & connect your Venom wallet. Now press "Burn Your Venom", insert an amount, select a project to support & hit "Burn"!
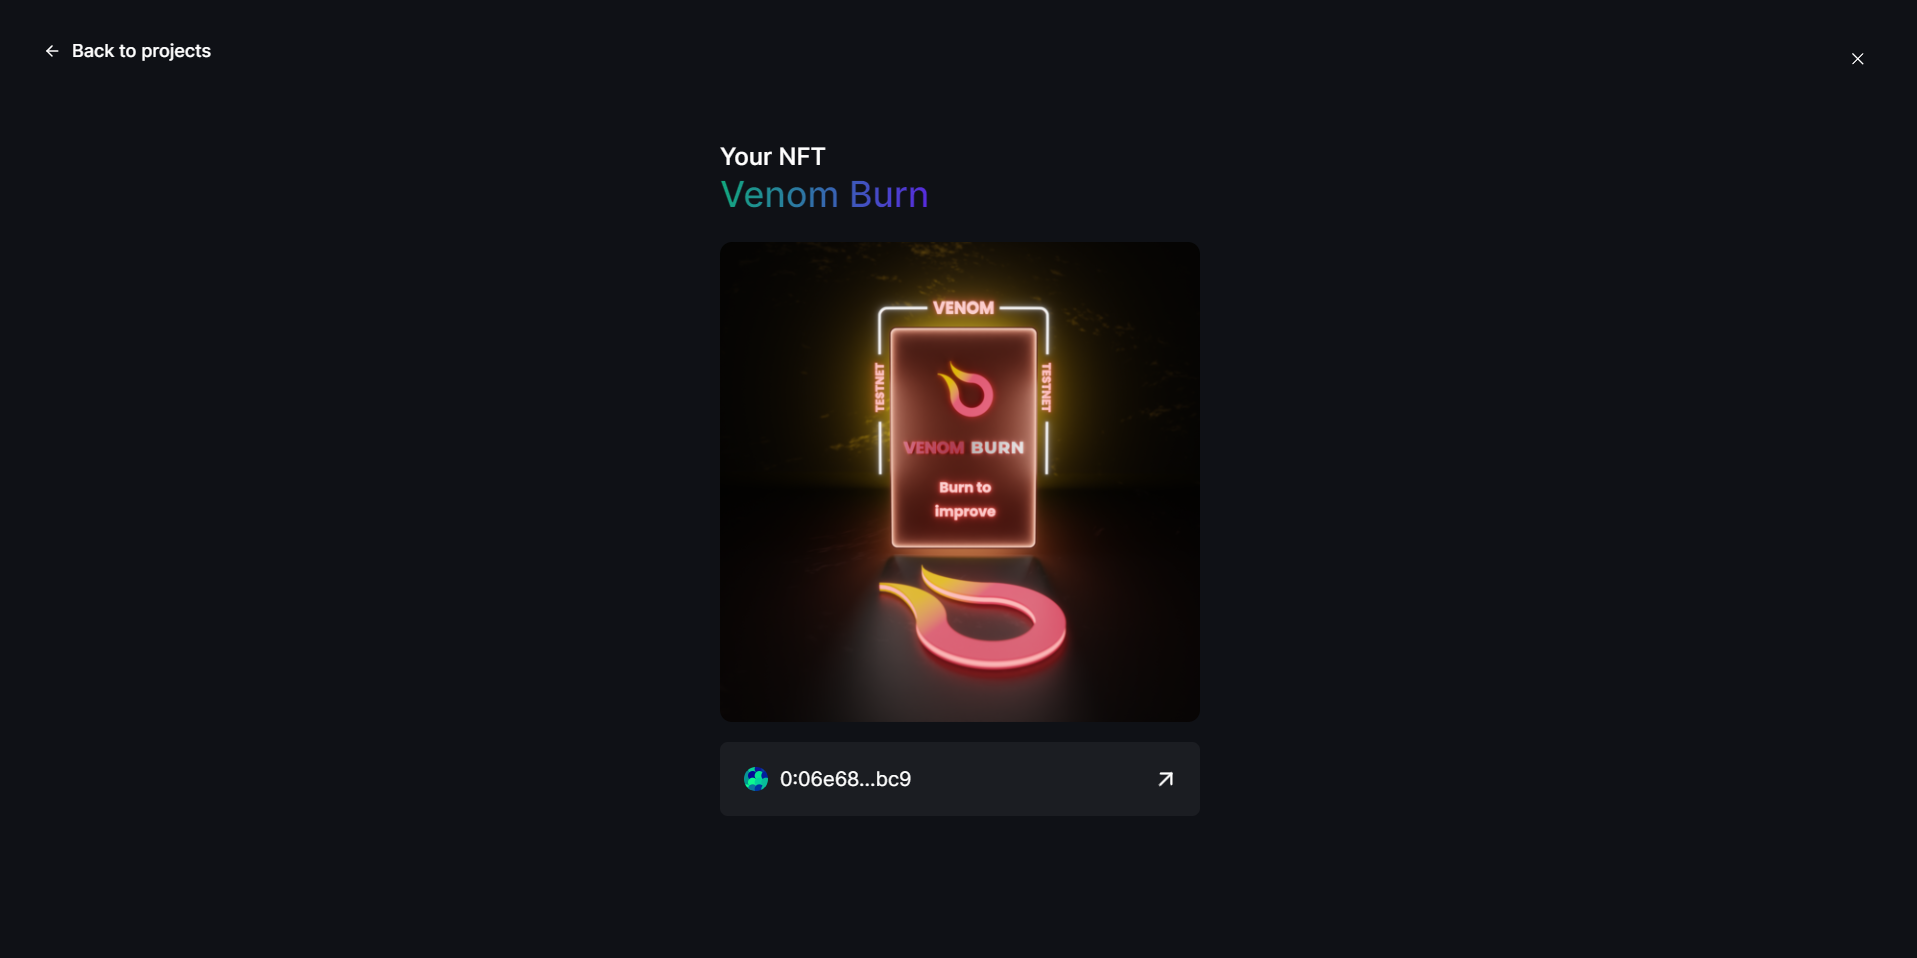
Once thats complete you can head back to the Quests & mint your NFT!
Step 19
For this step, we're going to take a look at One Art: A multi-functional wallet, offering a secure, user-friendly, and seamless experience for both Crypto and NFTs.
- For the first task we just need to follow OneArt on X (Twitter).
Next, we need to download & interact with the OneArt app!
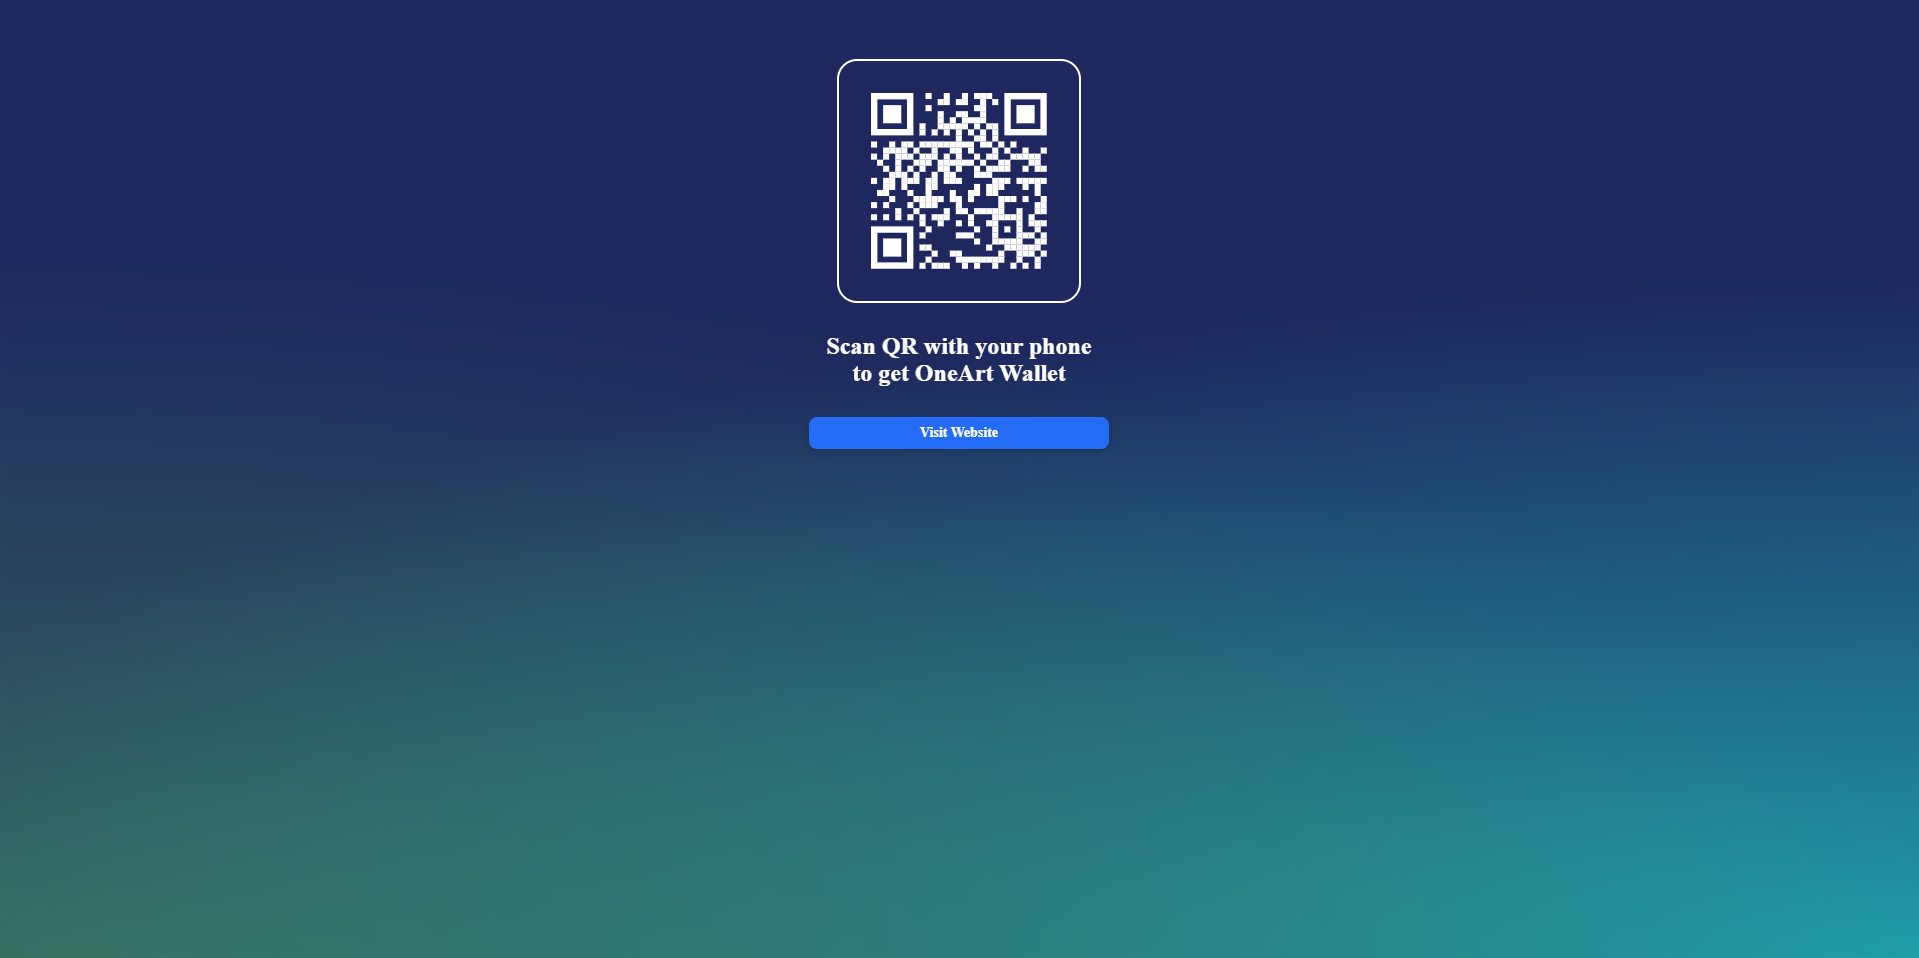
- Head over to OneArt & download the app.
- Once thats downloaded you need to access your Venom wallet from within the app.
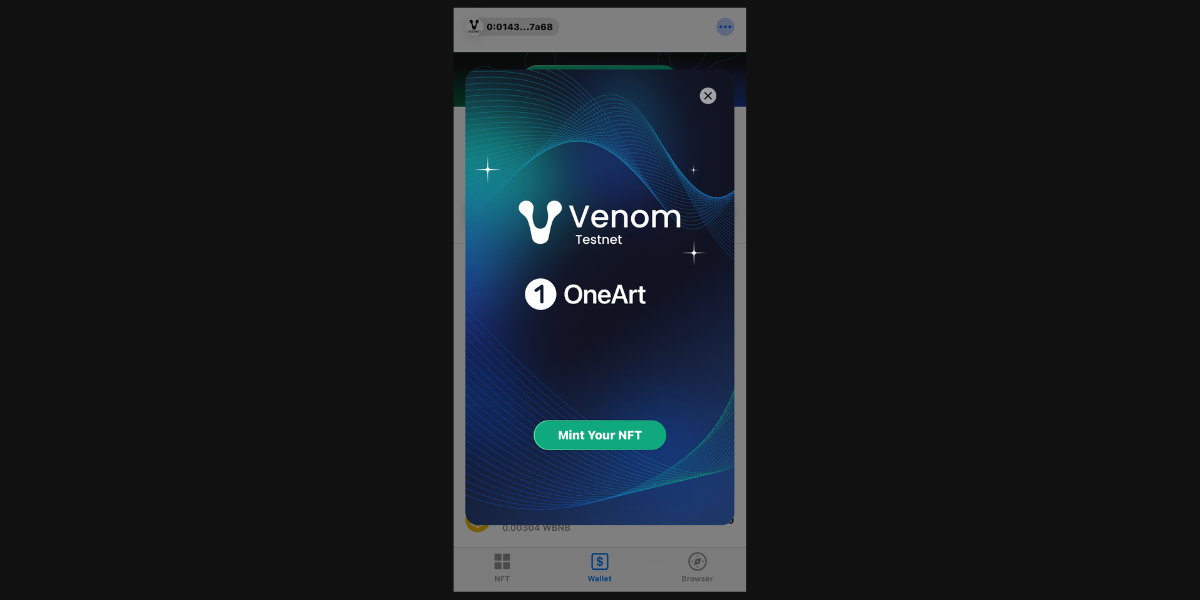
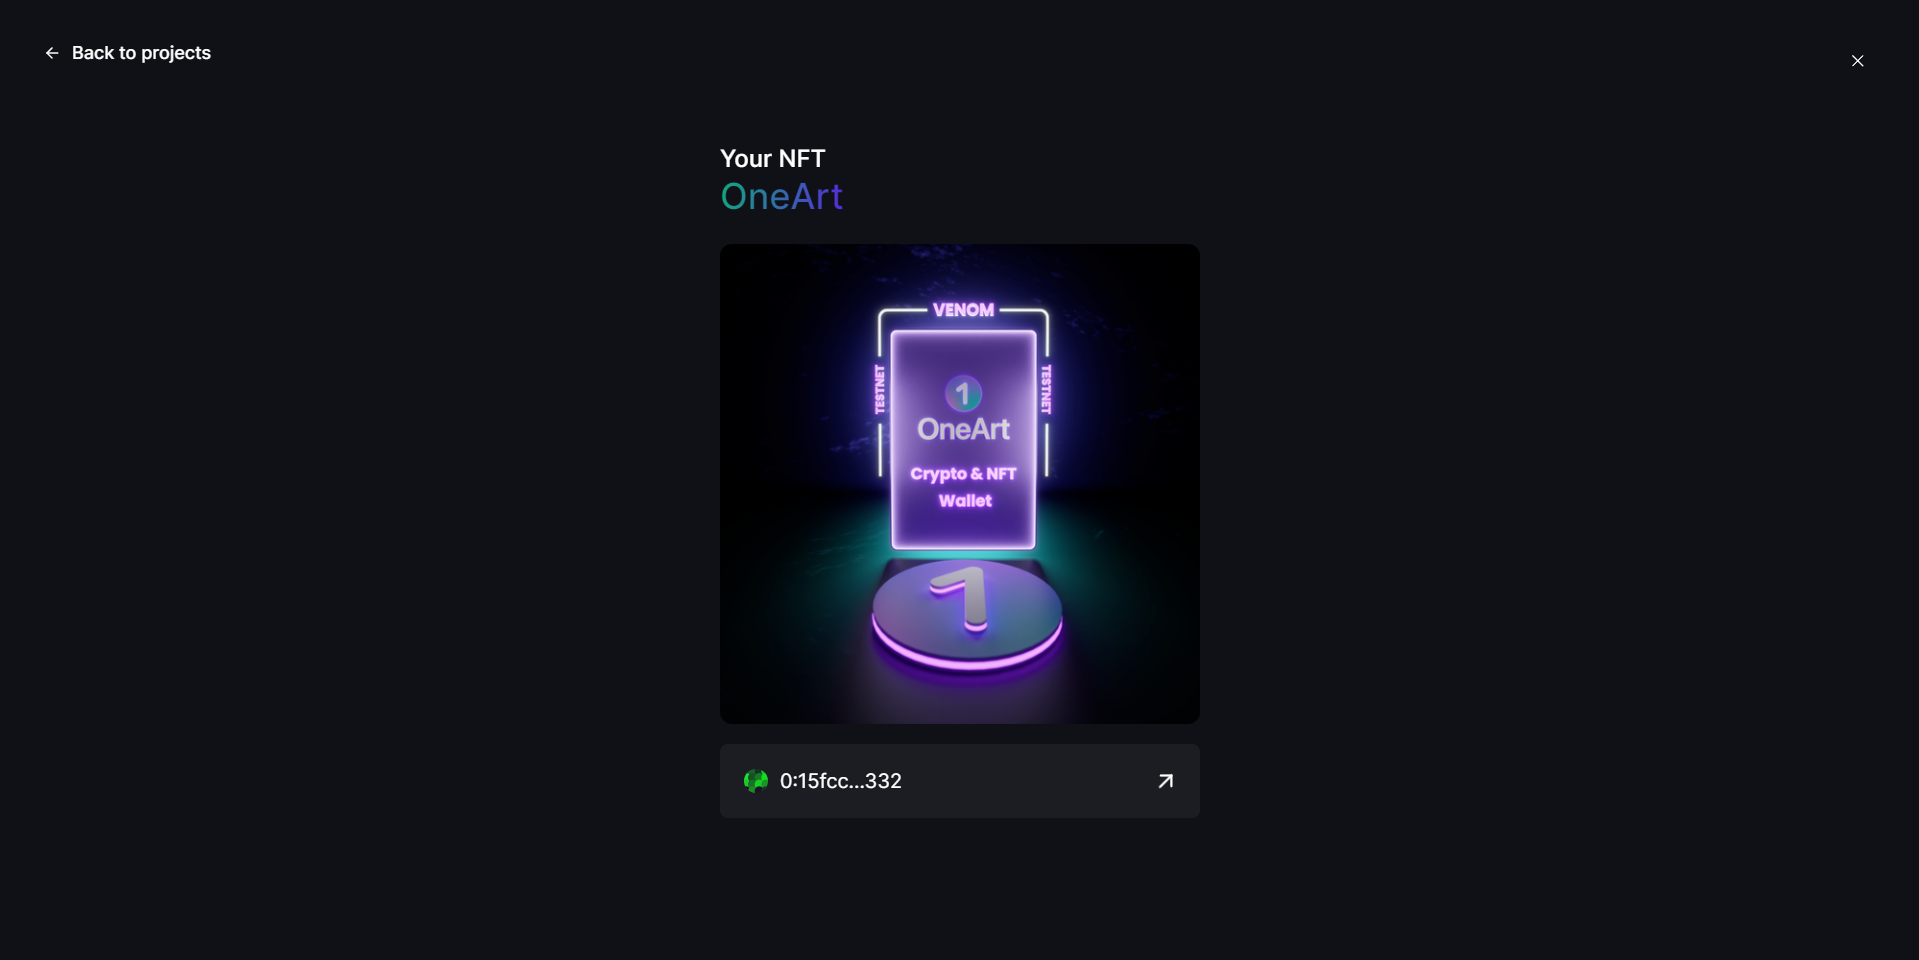
To do this, you'll need to access your normal Venom wallet & locate your Seed Phrase, then select "Export Seed" (you'll need to input your wallet password to display the Seed Phrase), now just enter your Seed Phrase into the OneArt wallet app and you should receive a pop-up allowing you to mint your NFT!
Step 20
Next, we're going to take a look at Valicit: A ticket marketplace for both original vendors and resellers.
- For the first task we just need to follow Valicit on X/Twitter.
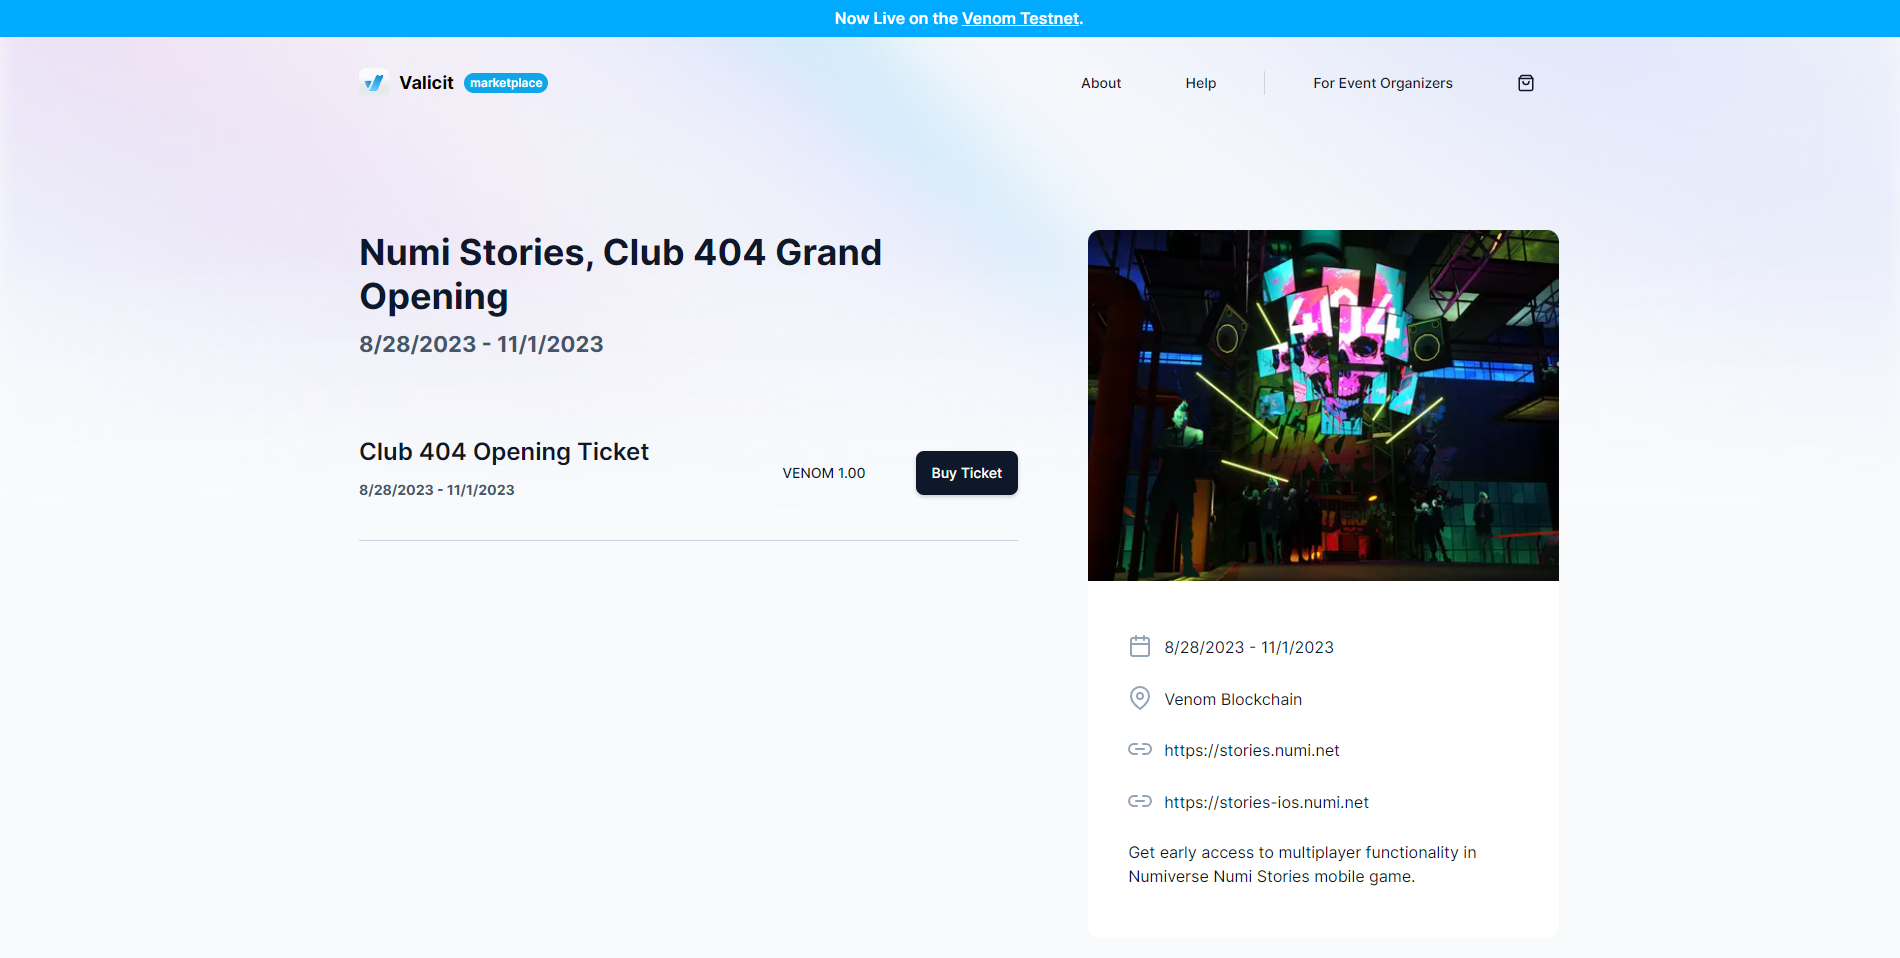
Next, we need to purchase a Club 404 Grand Opening event ticket!
- Head over to Valicit & click "Buy Ticket".
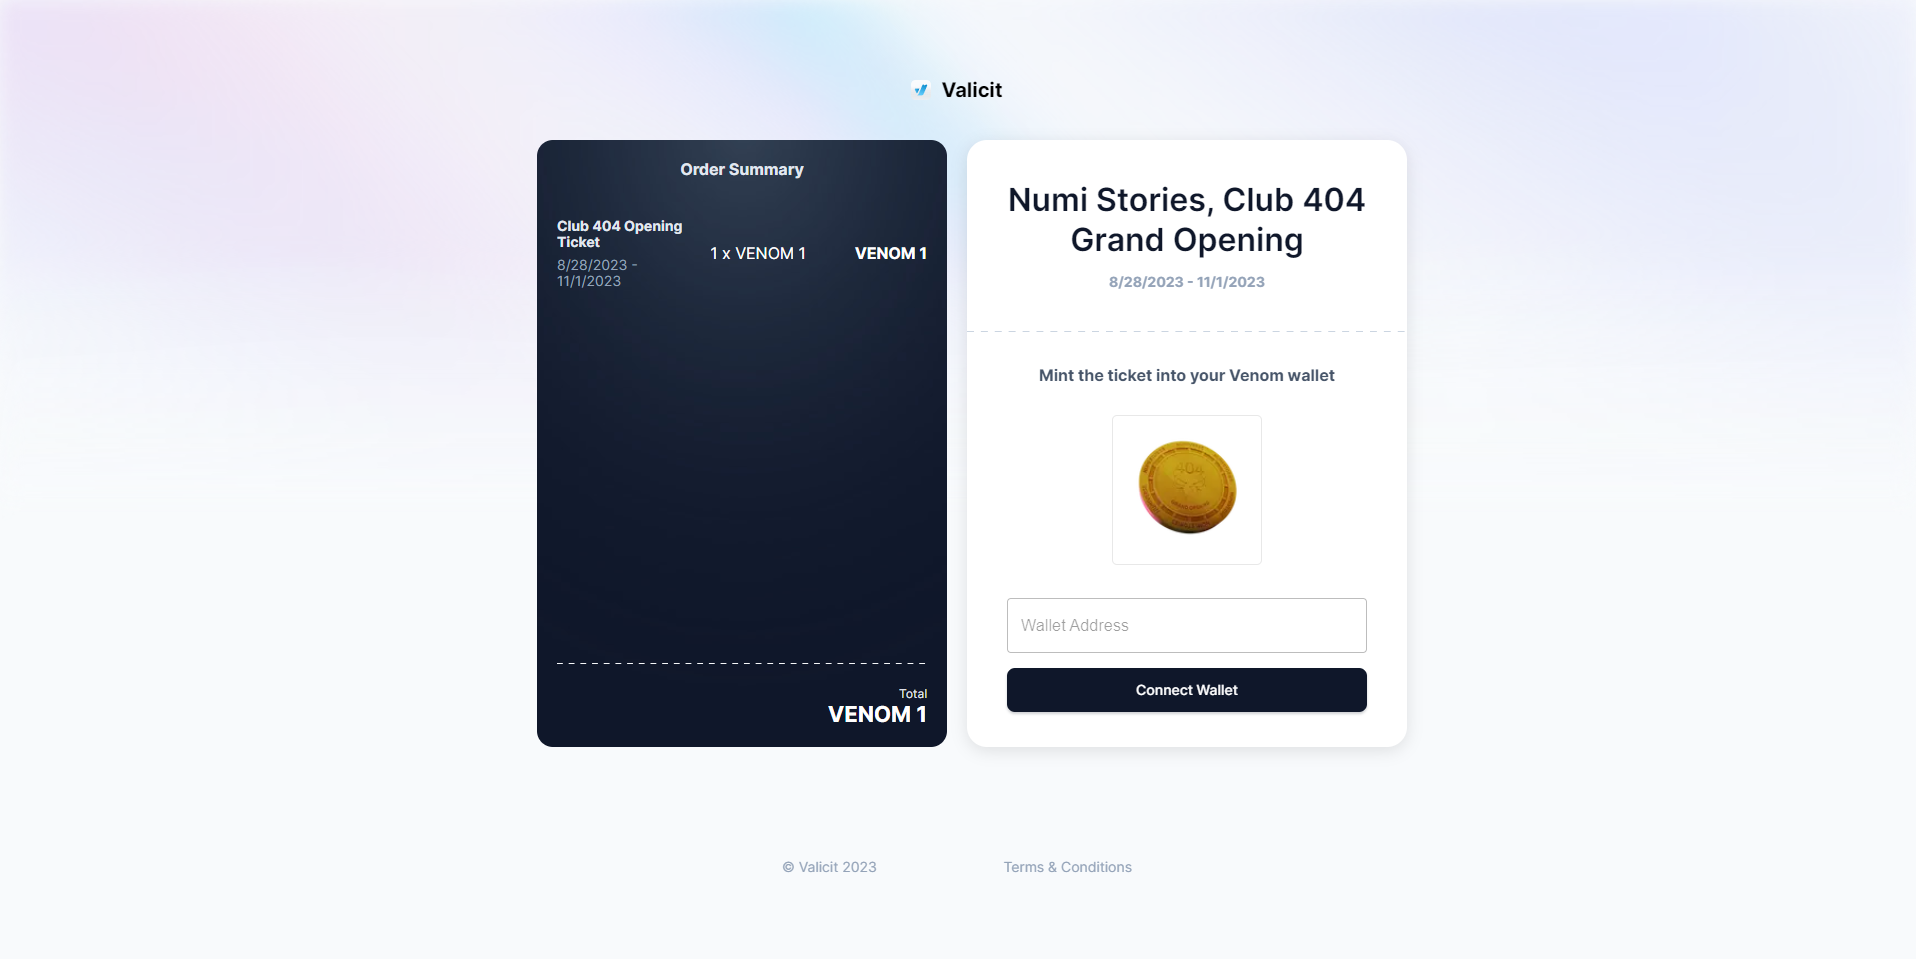
- Fill in your name and email, then click "Buy Now".
- Now we just need to connect our Venom wallet and click "Mint ticket".
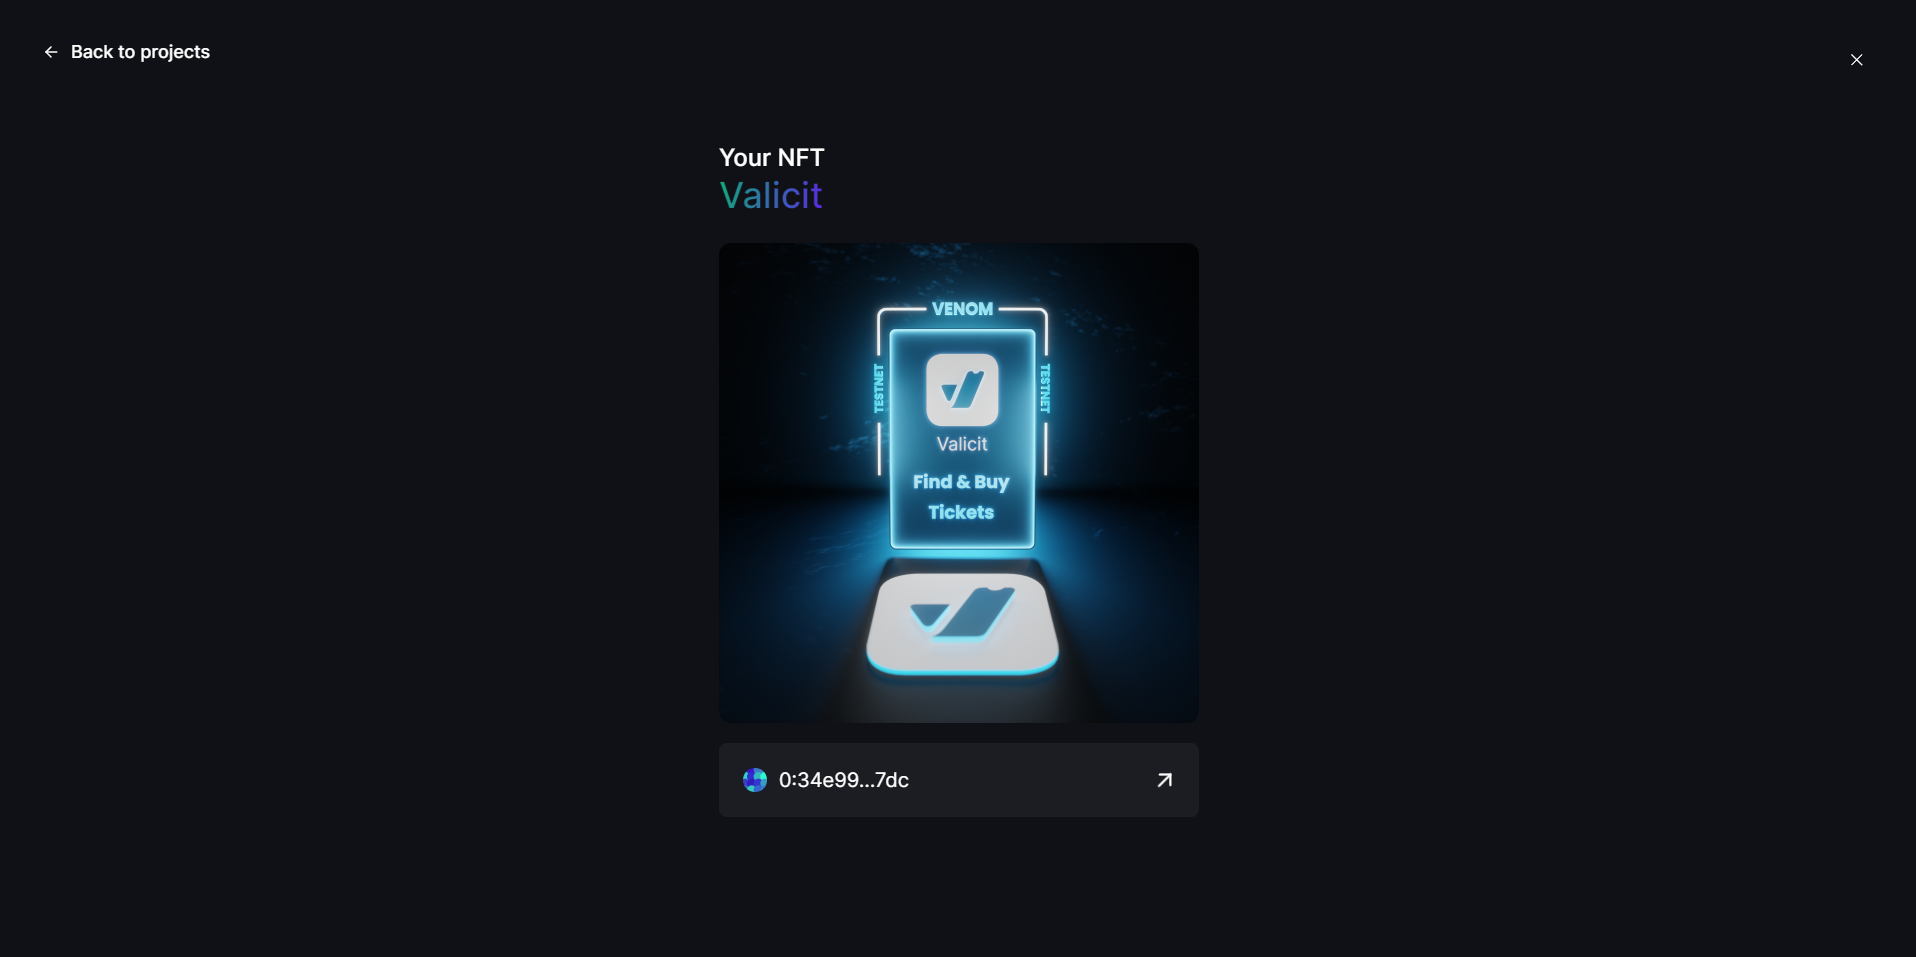
Now you can head back to the Venom tasks to claim your NFT!
Step 21
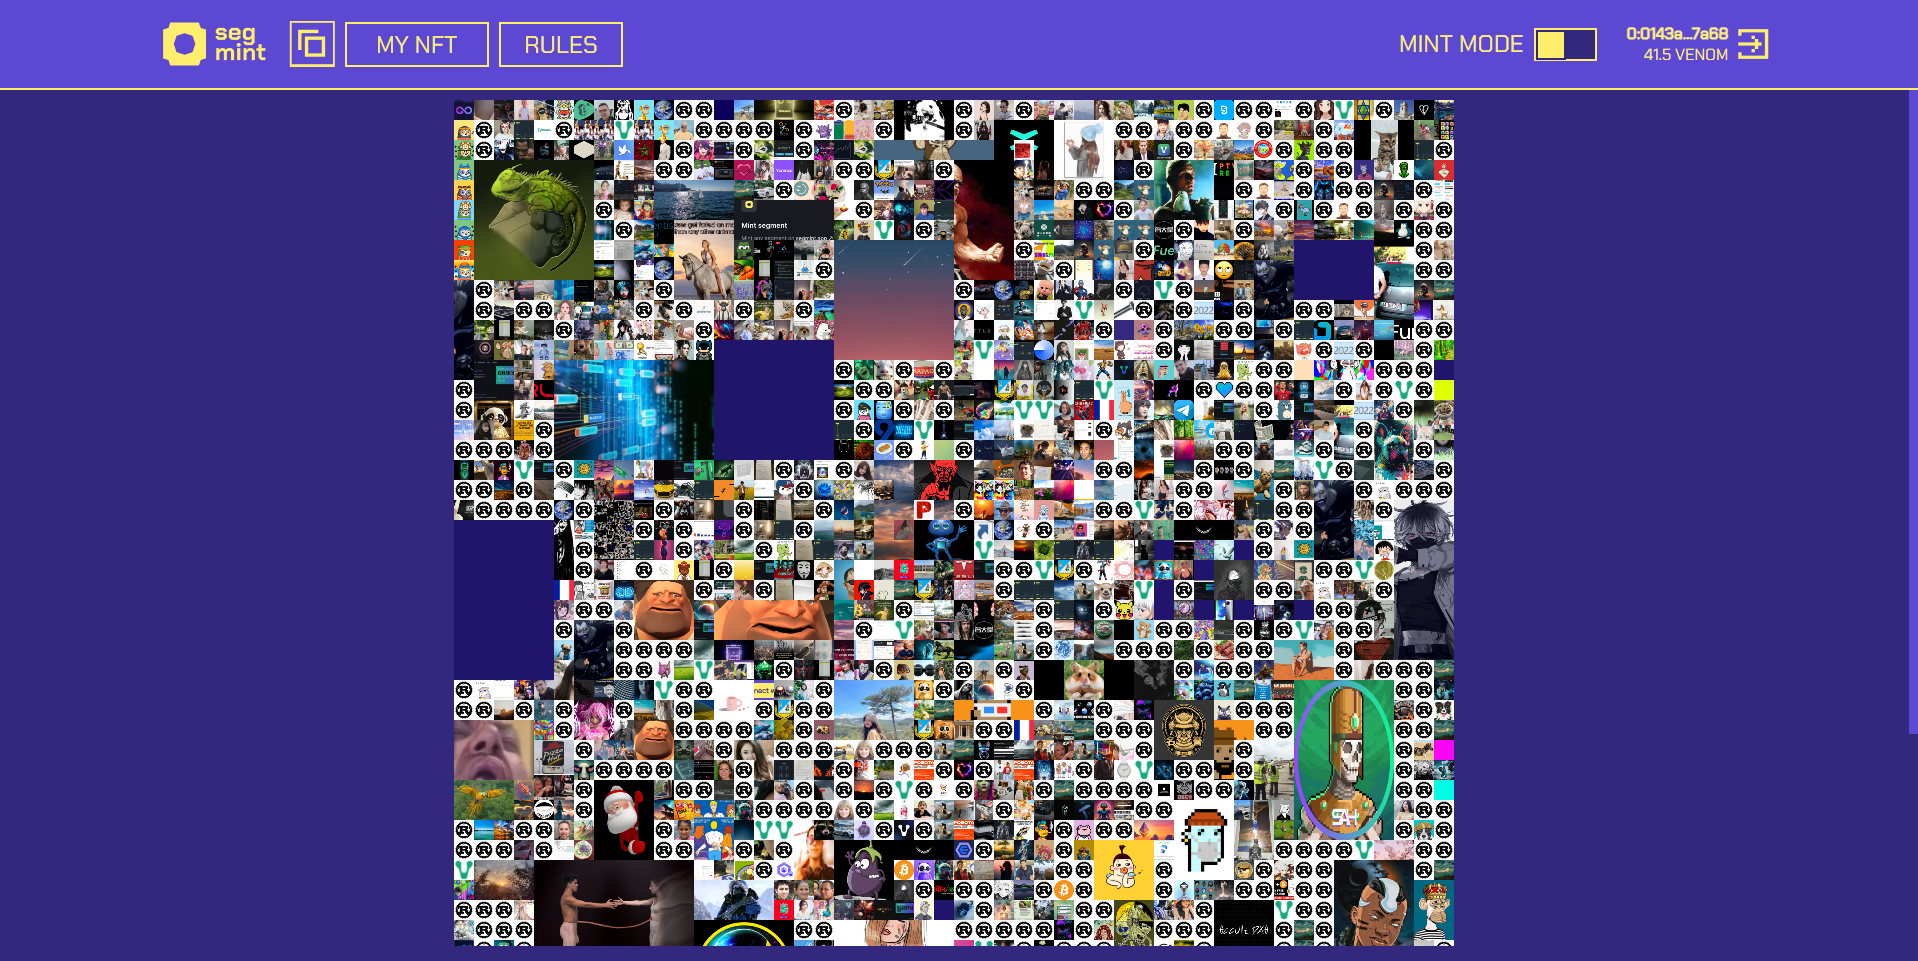
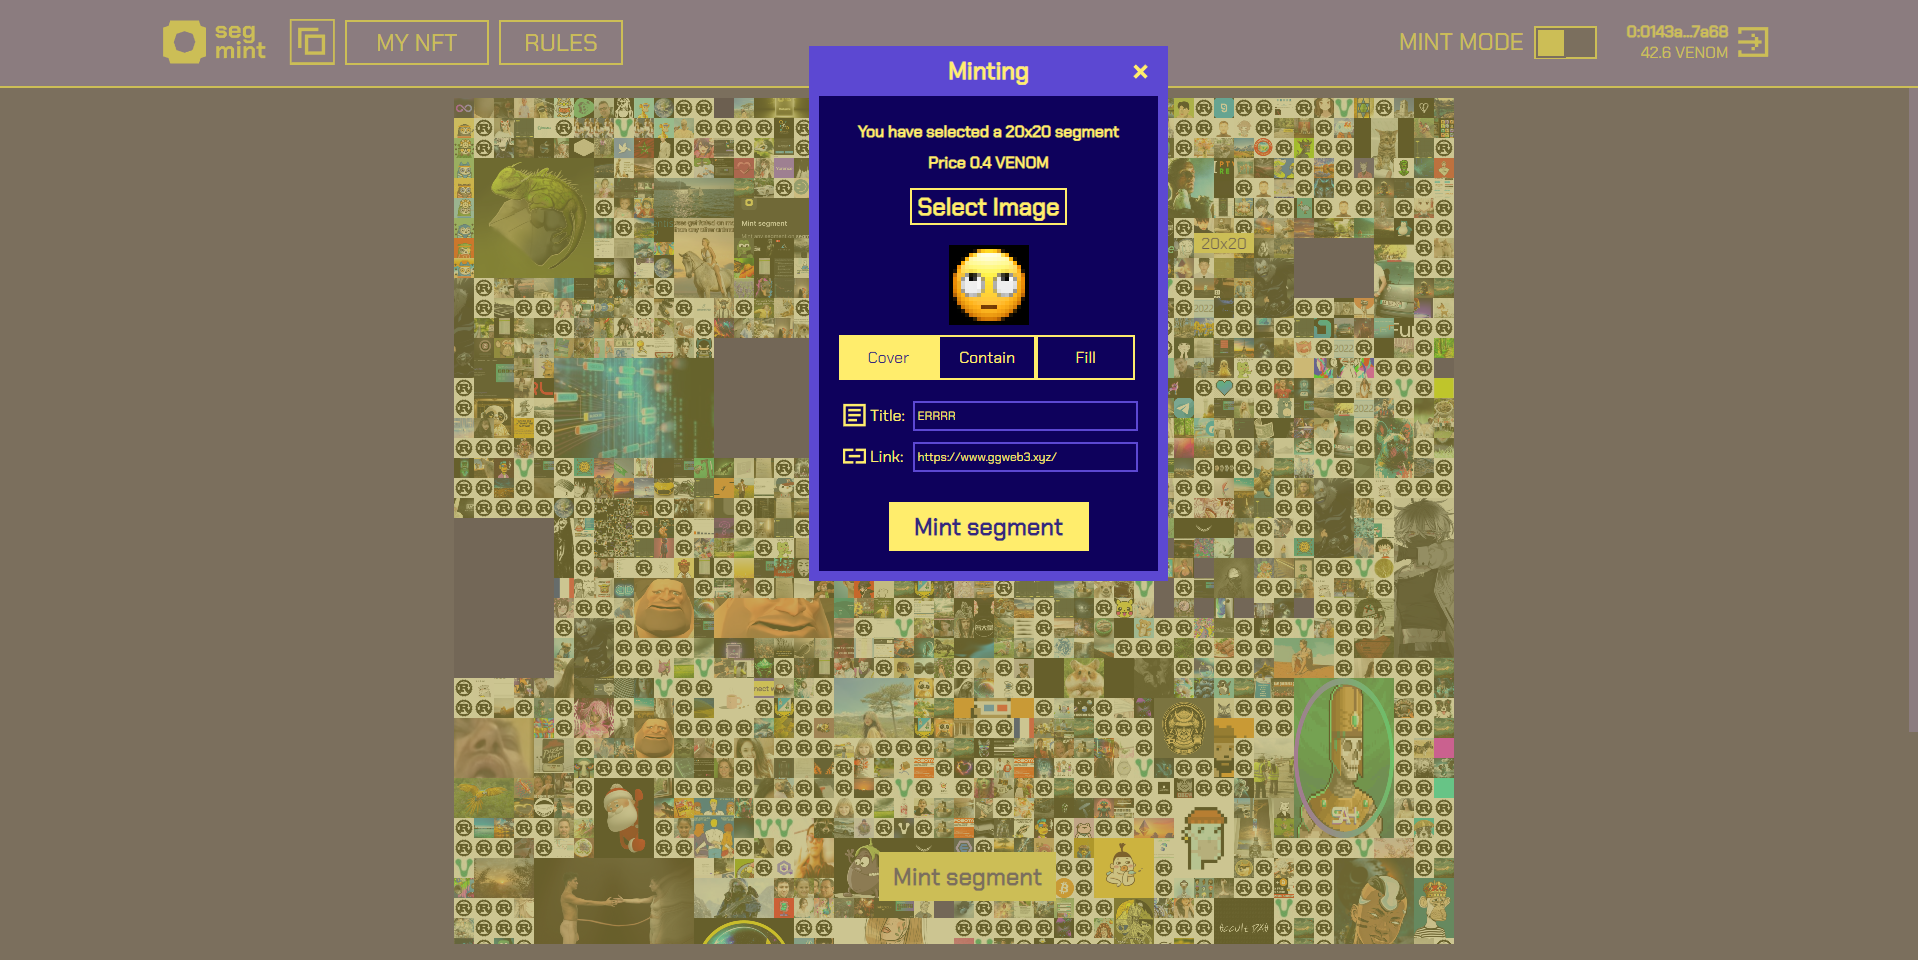
Next, we're going to take a look at Segmint: A pixel game built on blockchain!
- For the first task we just need to follow Segmint on X/Twitter
- Next, we need to head over to segmint.app, connect our Venom wallet & mint any NFT/segment.
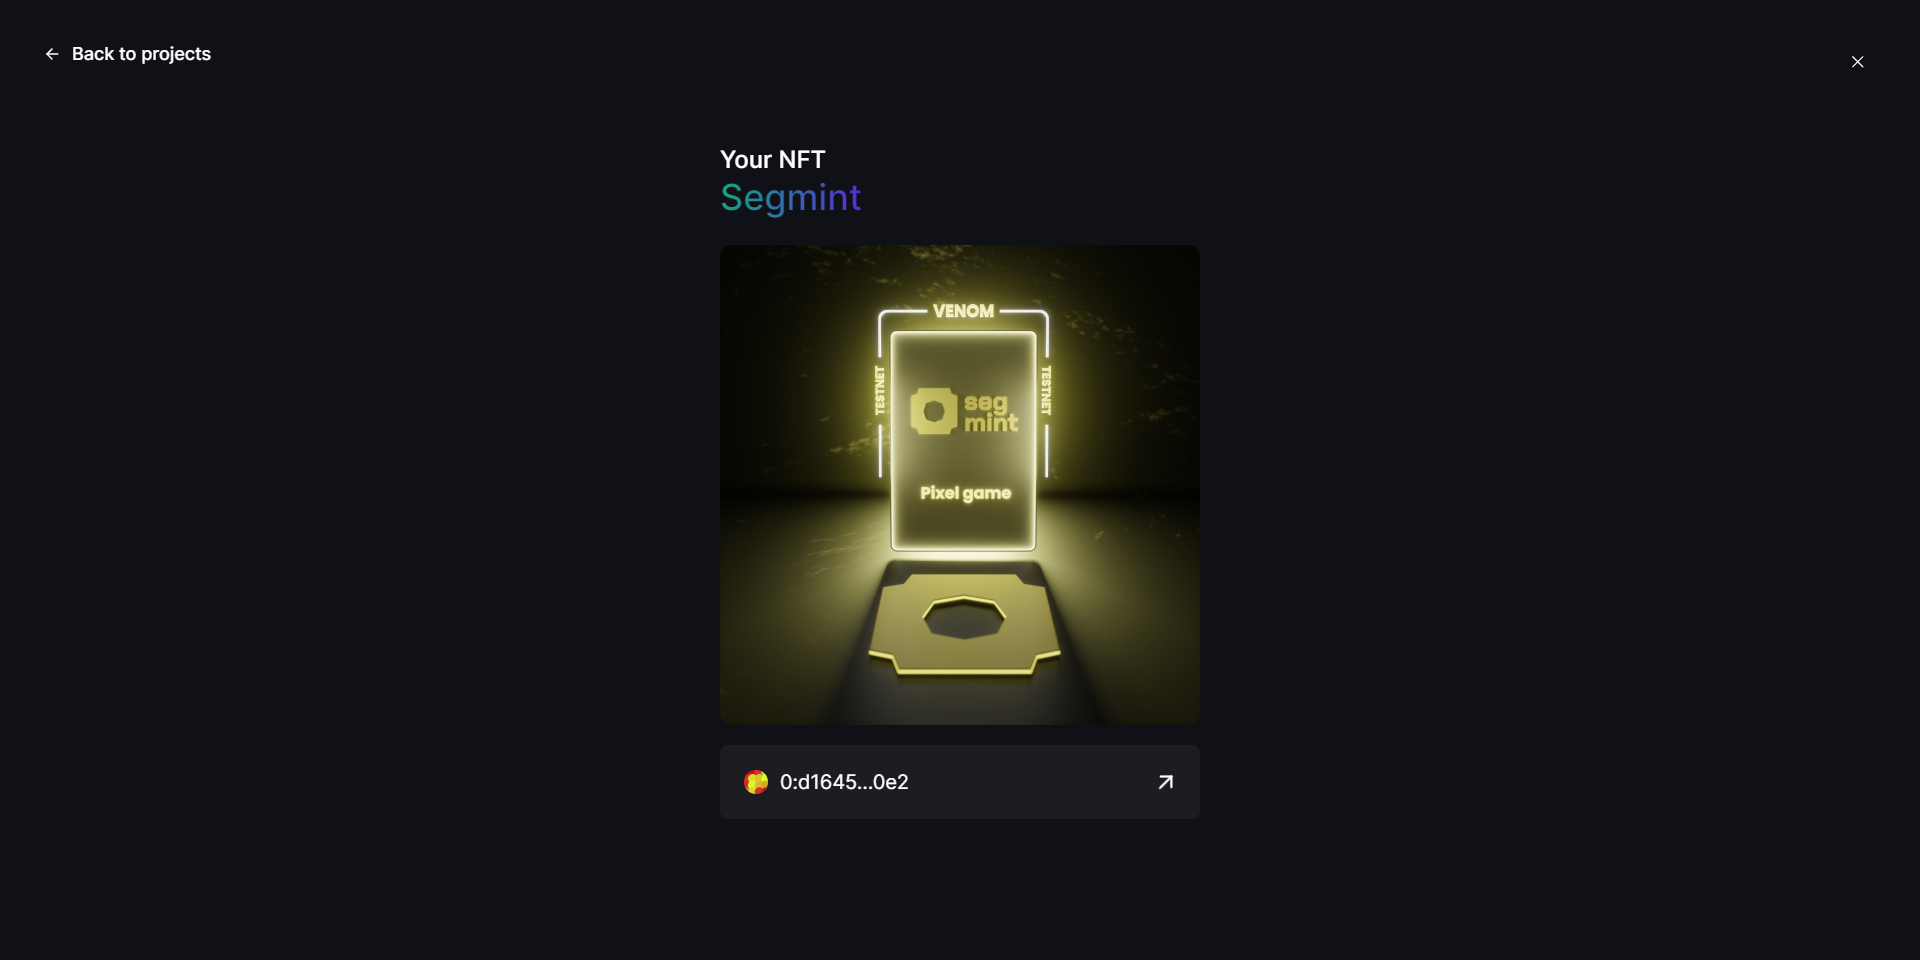
Now you can head back to the Venom tasks to claim your NFT!
Step 22
Next, let's take a look at EverPlay: An Esports tournament platform empowered by blockchain, offering fast-paced games and instant rewards!
- For the first task we just need to follow EverPlay on X/Twitter
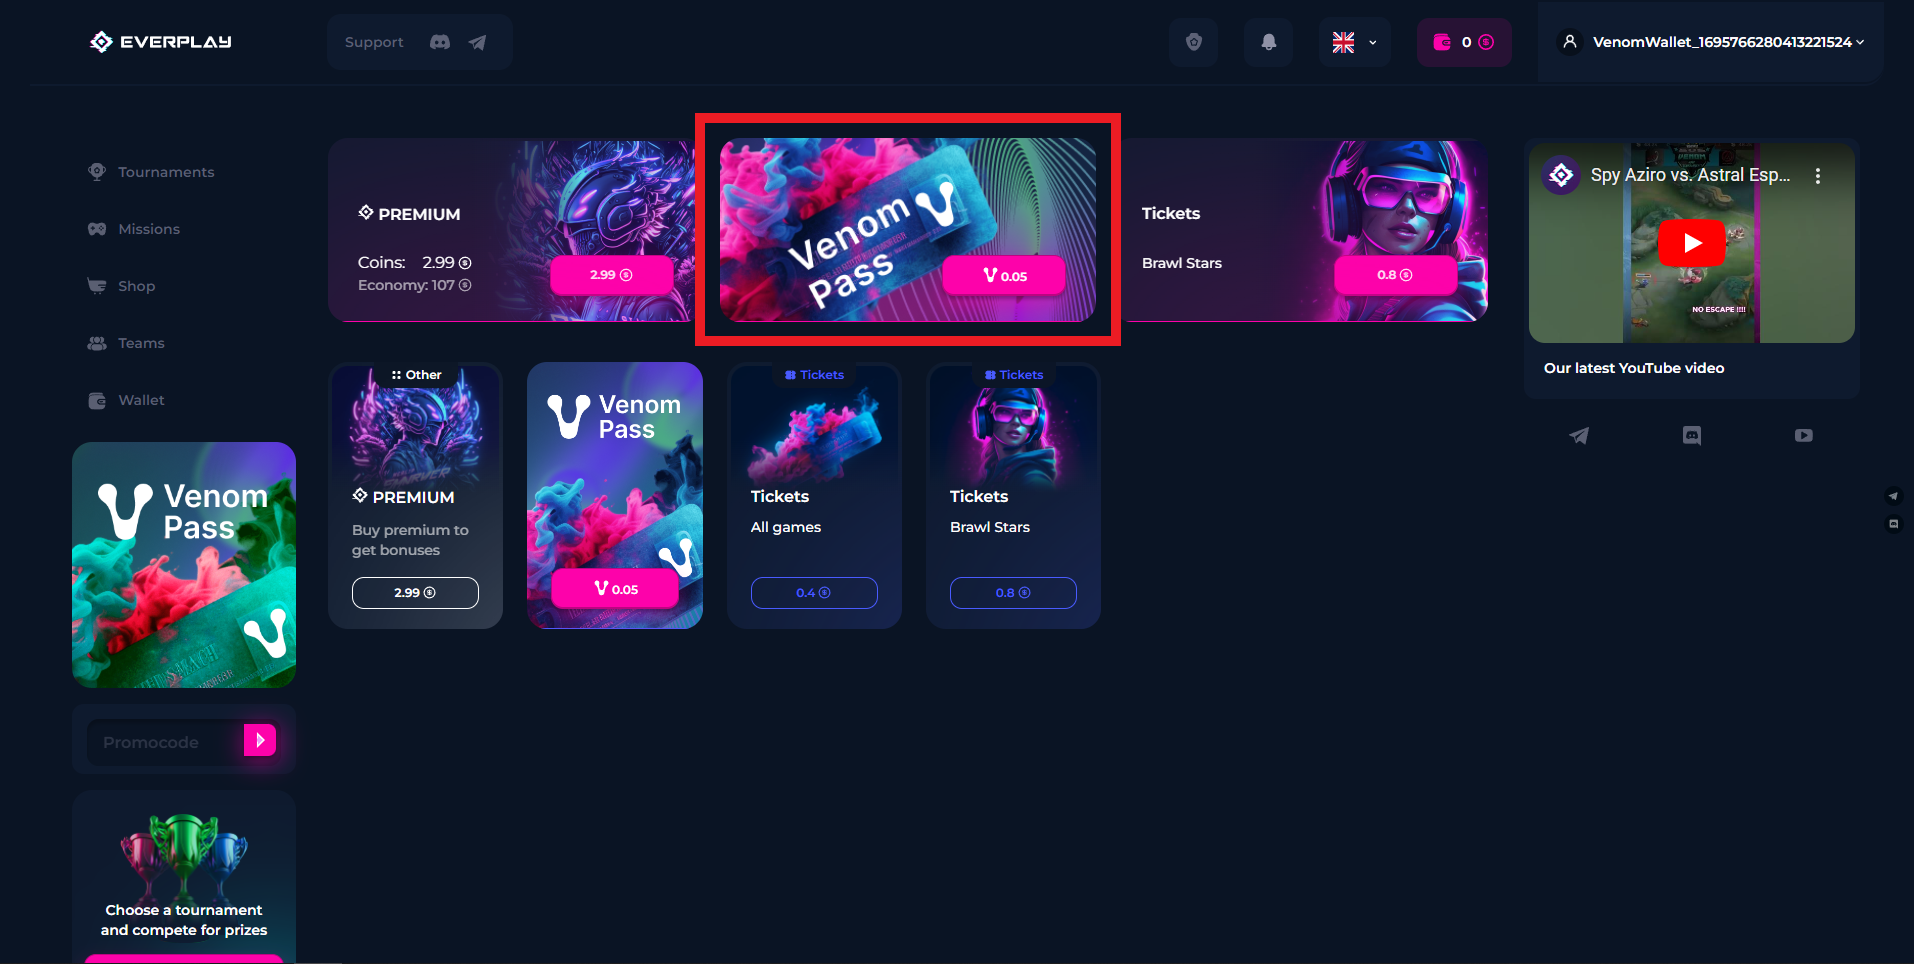
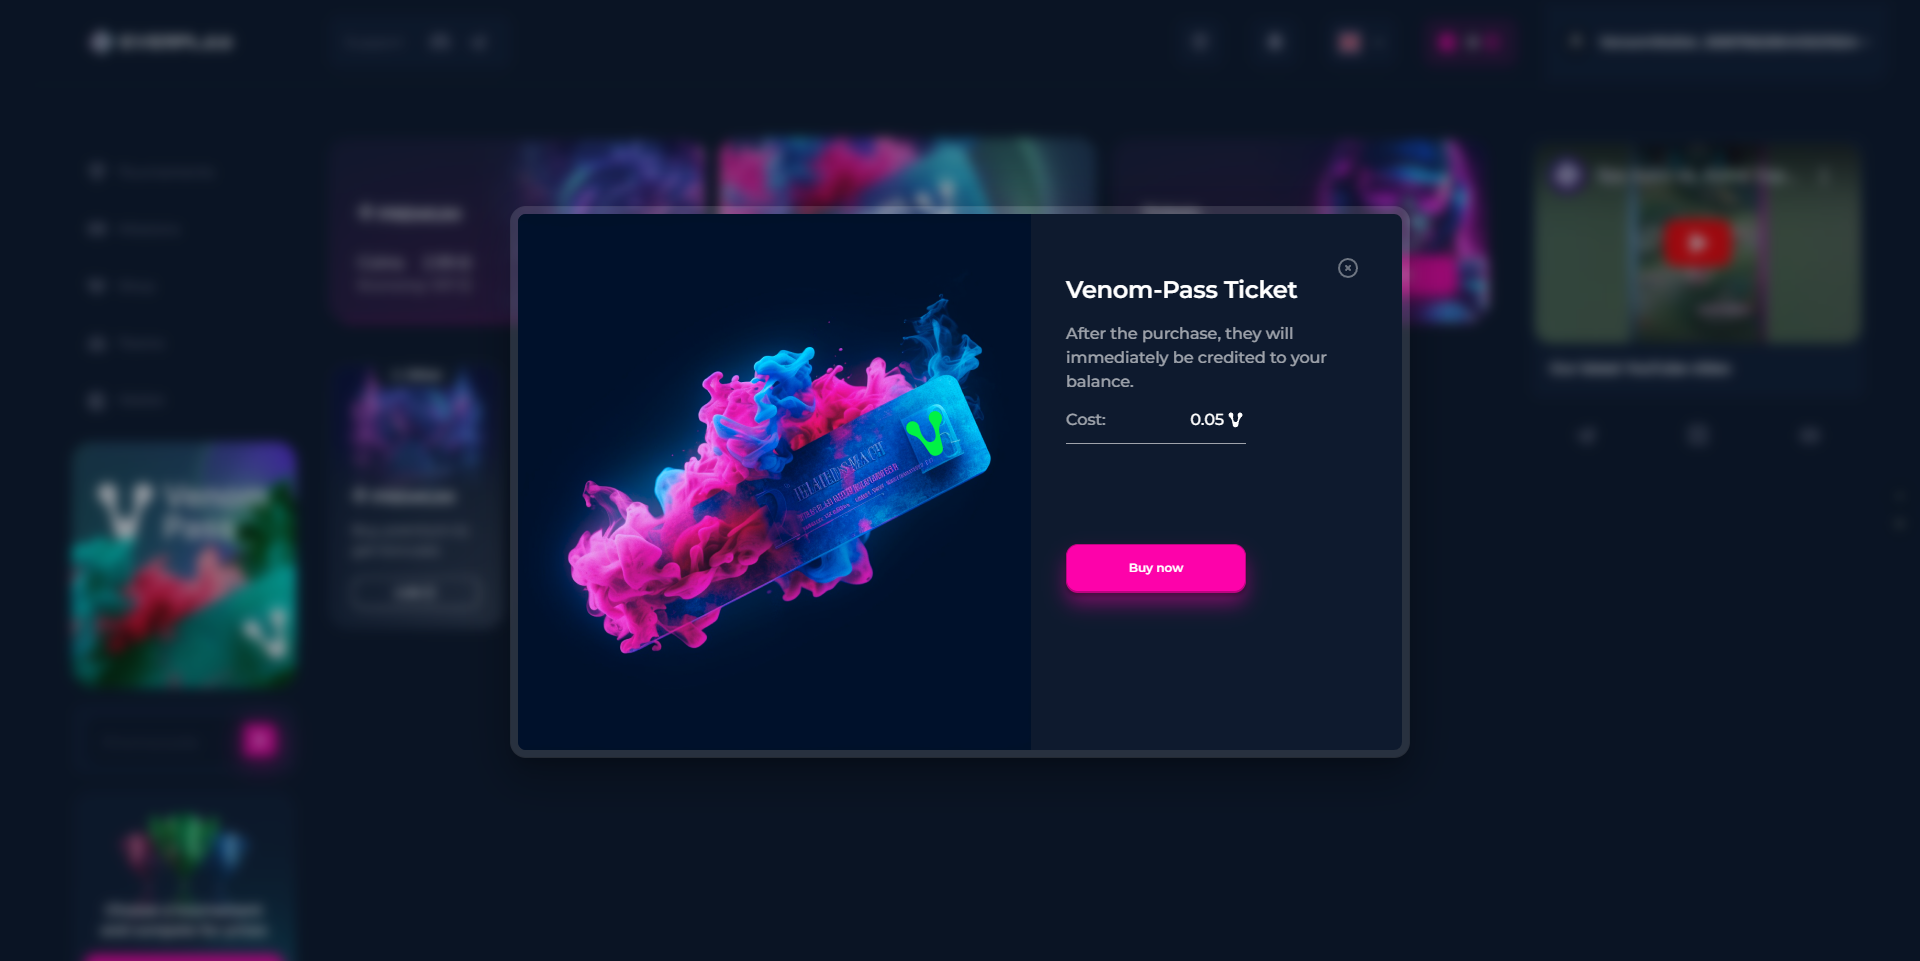
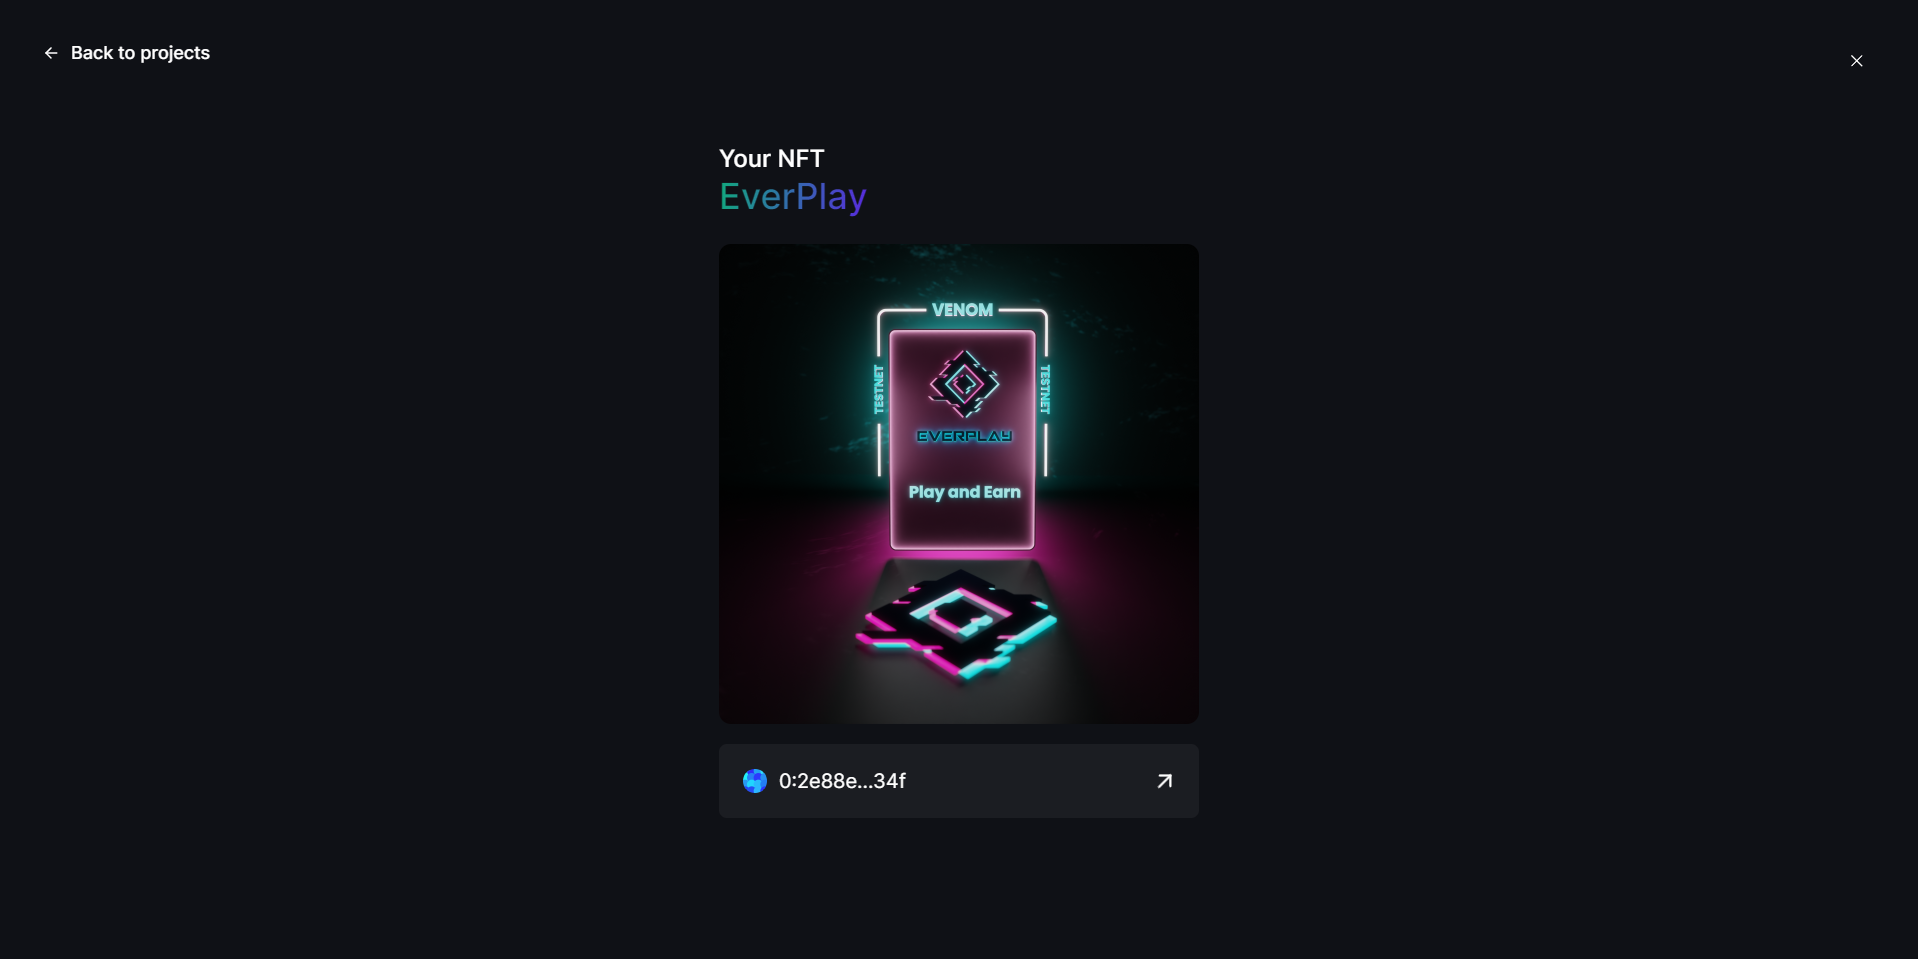
- Next, we need to head over to app.everplay.gg & connect our Venom wallet, then purchase the Venom Pass.
Now you can head back to the Venom tasks to claim your NFT!
If the ticket doesn't appear in your inventory on EverPlay, you should attempt the purchase again.
Step 23
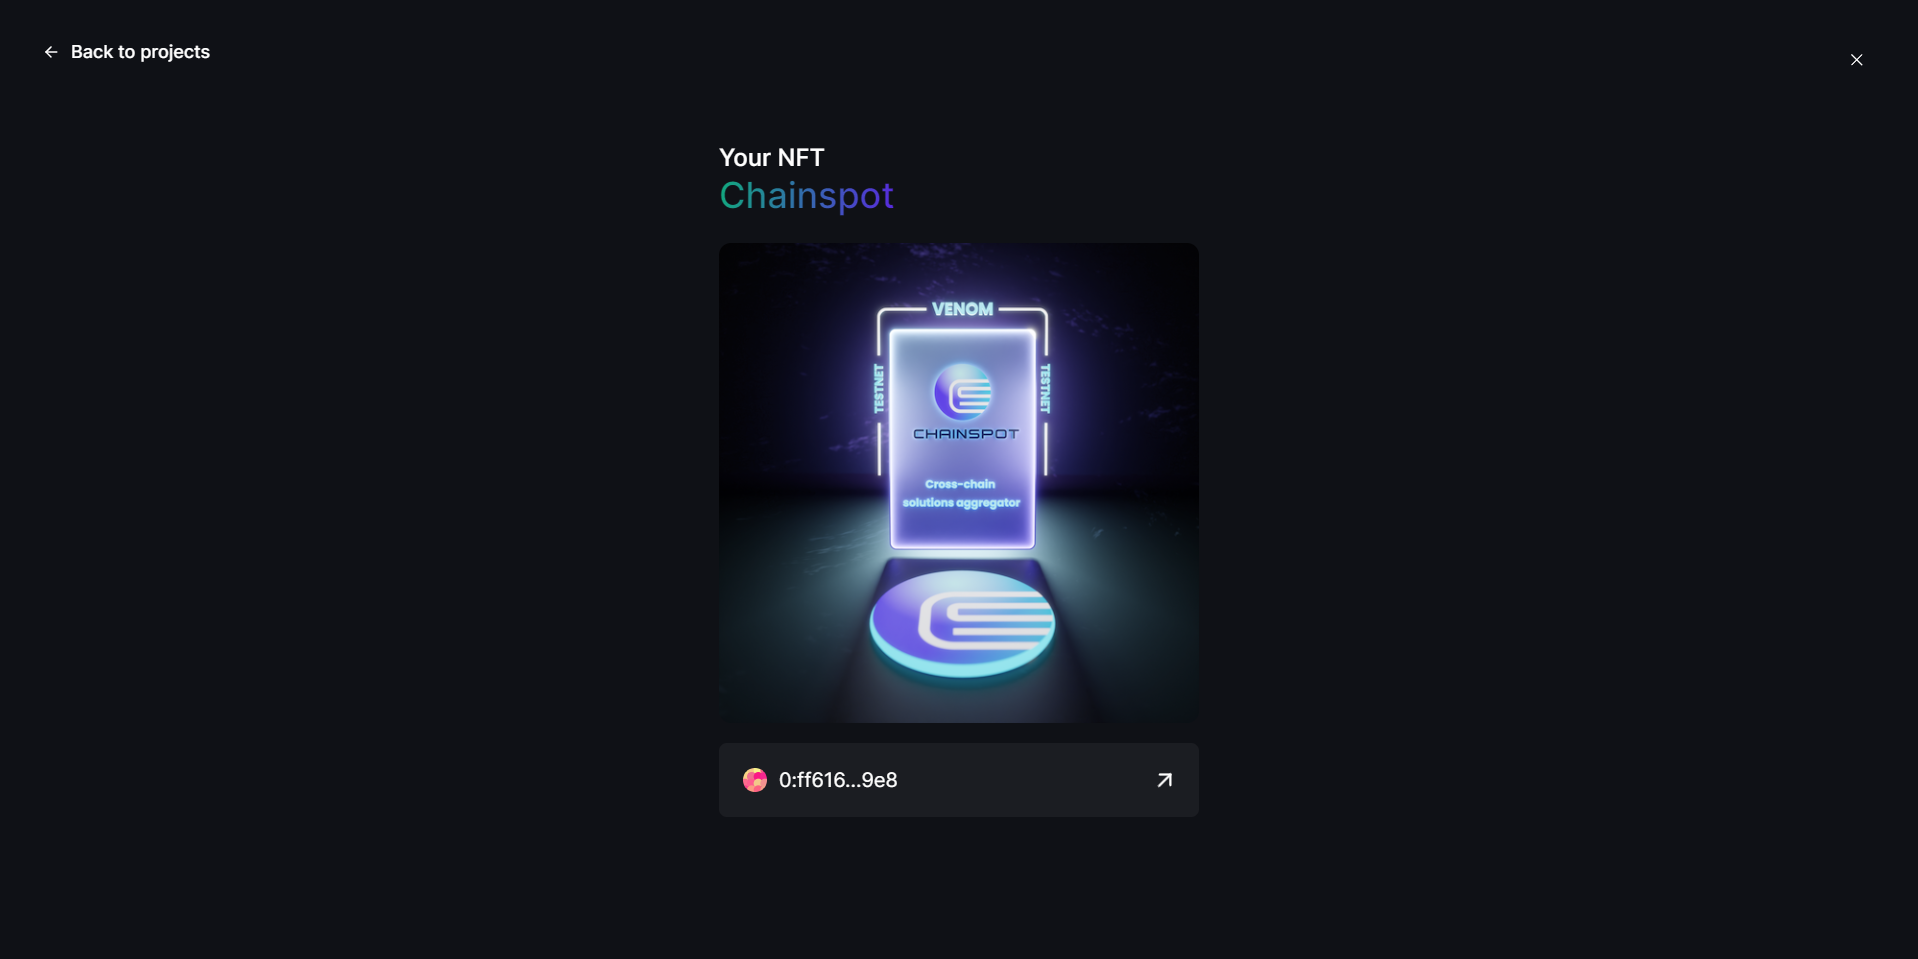
Next, let's take a look at Chainspot: A blockchain bridge aggregator!
- For the first task we just need to follow Chainspot on X/Twitter.
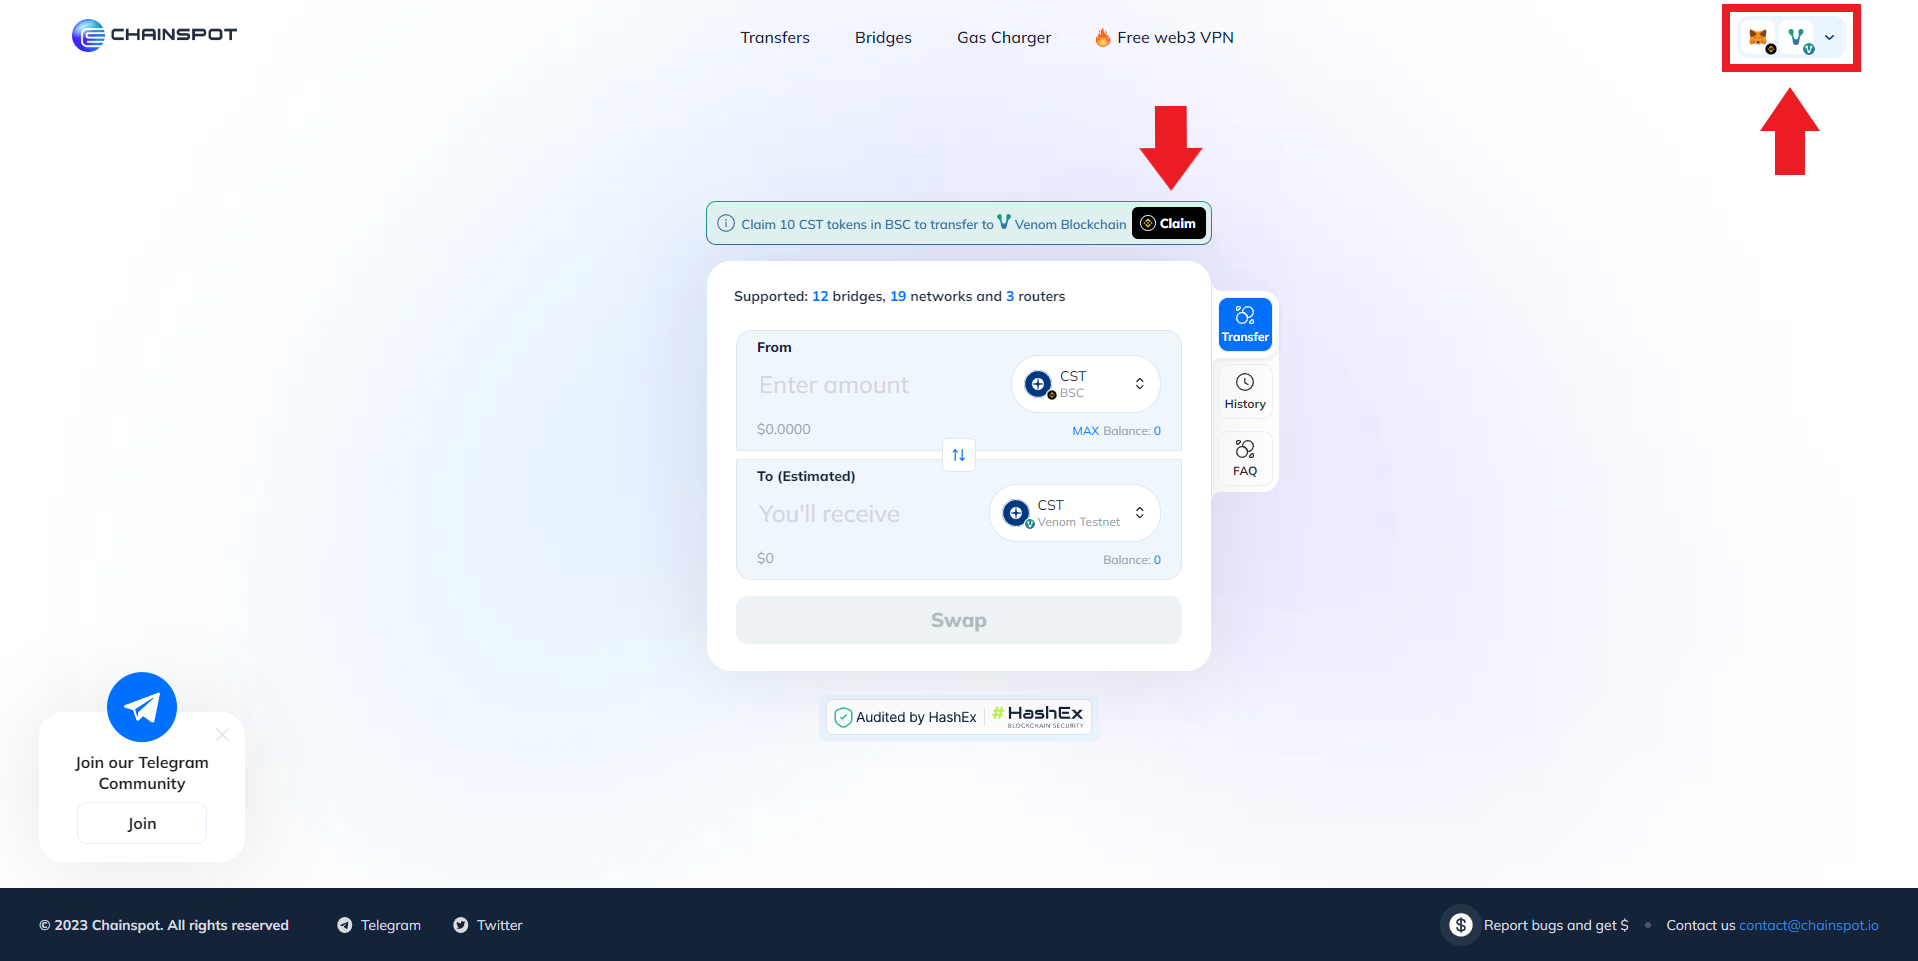
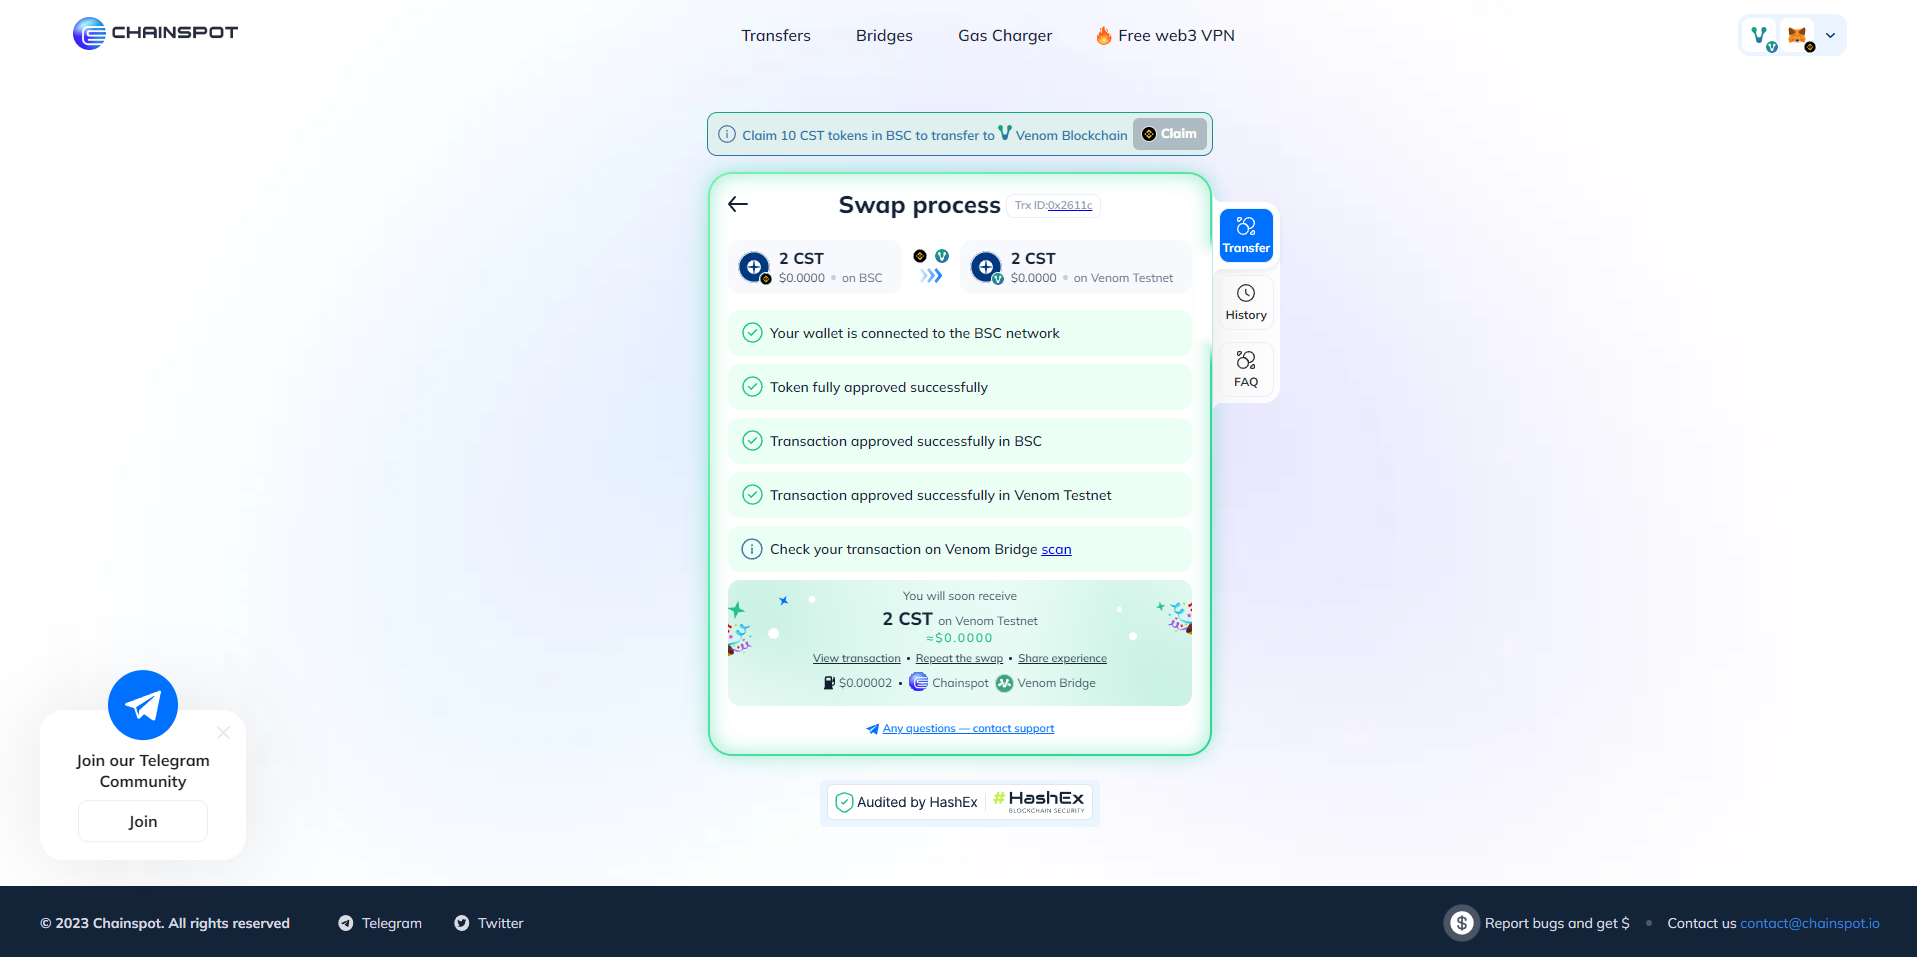
- Next, we need to perform some interactions with the Venom testnet through the Chainspot platform: app.chainspot.io/venomtest, & here we can connect both our MetaMask & Venom wallets, but we must switch our network in MetaMask to "Binance Smart Chain" (BSC).
Once thats done, we should be able to click the "Claim" button to claim 10 CST test tokens, after that you're ready to start interacting with the testnet!
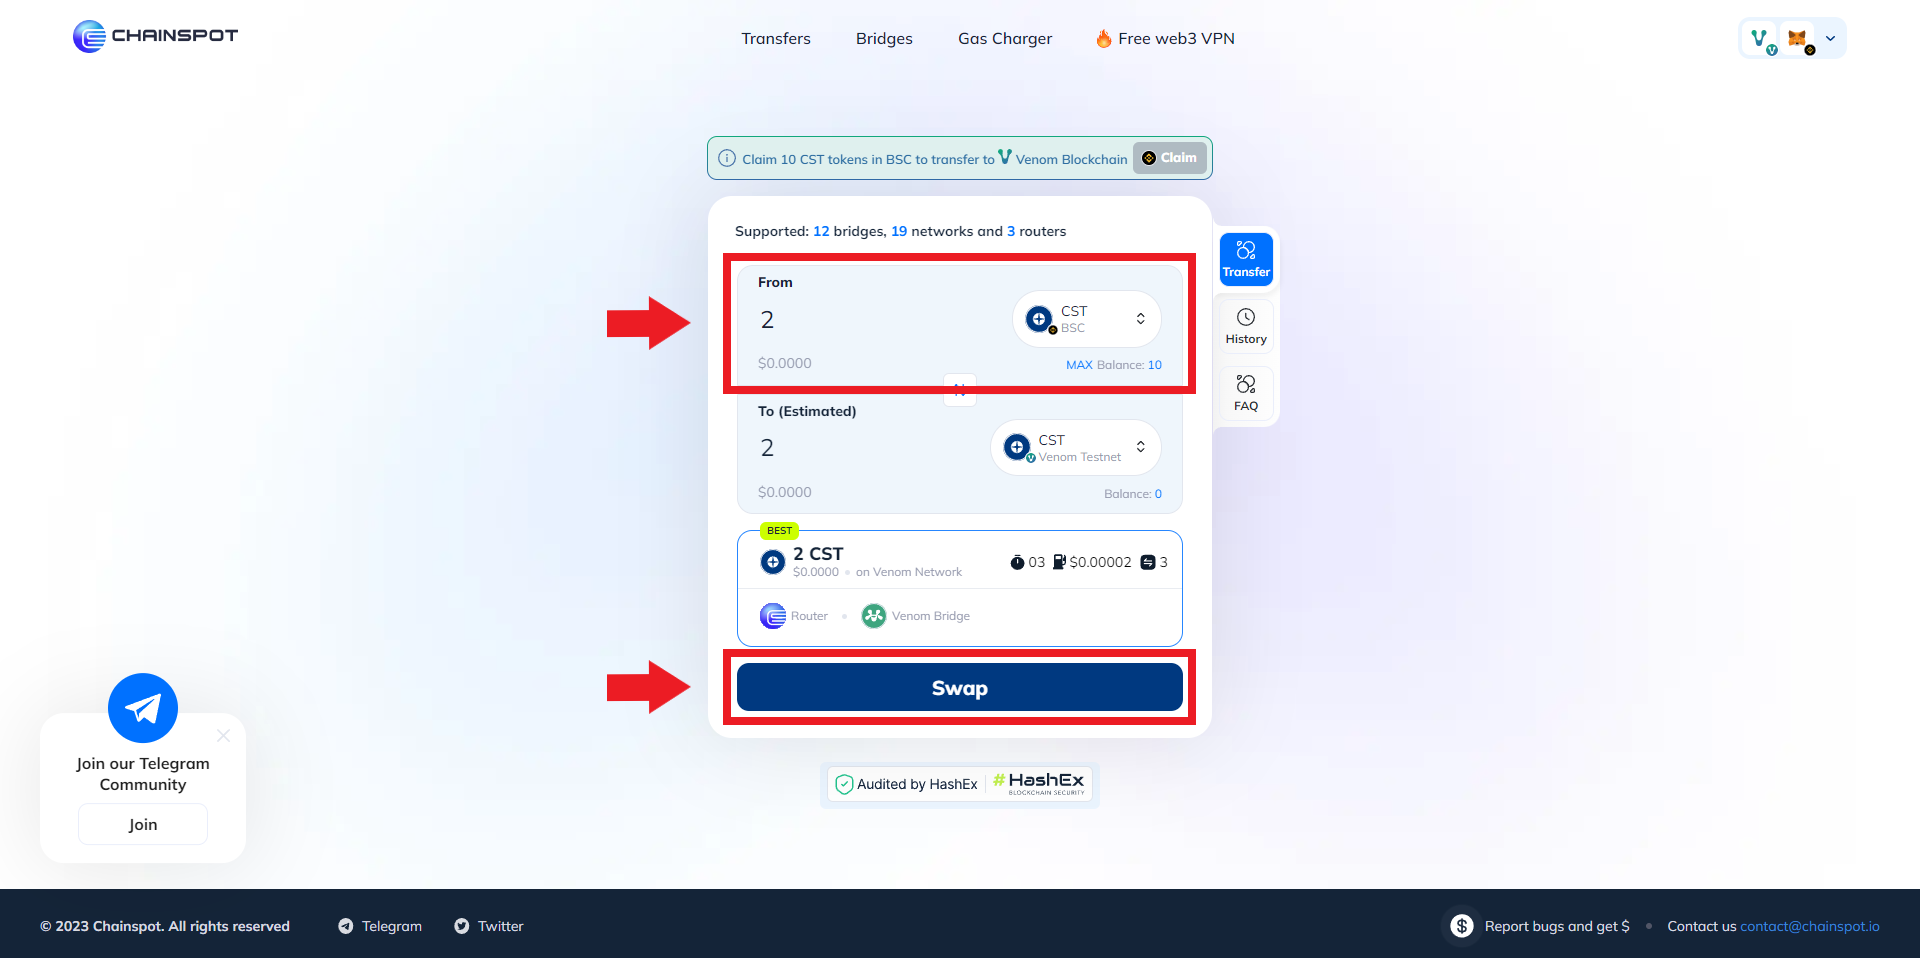
So first, let's make use of the bridge, check that the "From" is set to "BSC" & the "To" is set as "Venom Network", now enter a small amount of CST test tokens into the "From" box, for this guide I will just use 2 tokens. Now just click "Swap" and then approve the transaction in both Venom & MetaMask.
This step may require a small gas fee to claim CST test tokens!
Thats it! Now you can head back to the Venom tasks to verify the task and claim your NFT!
Step 24
Next, let's take a look at Ventory: An aggregated NFT Marketplace offering one-click NFT liquidity solutions!
- For the first task we just need to follow Ventory on X/Twitter.
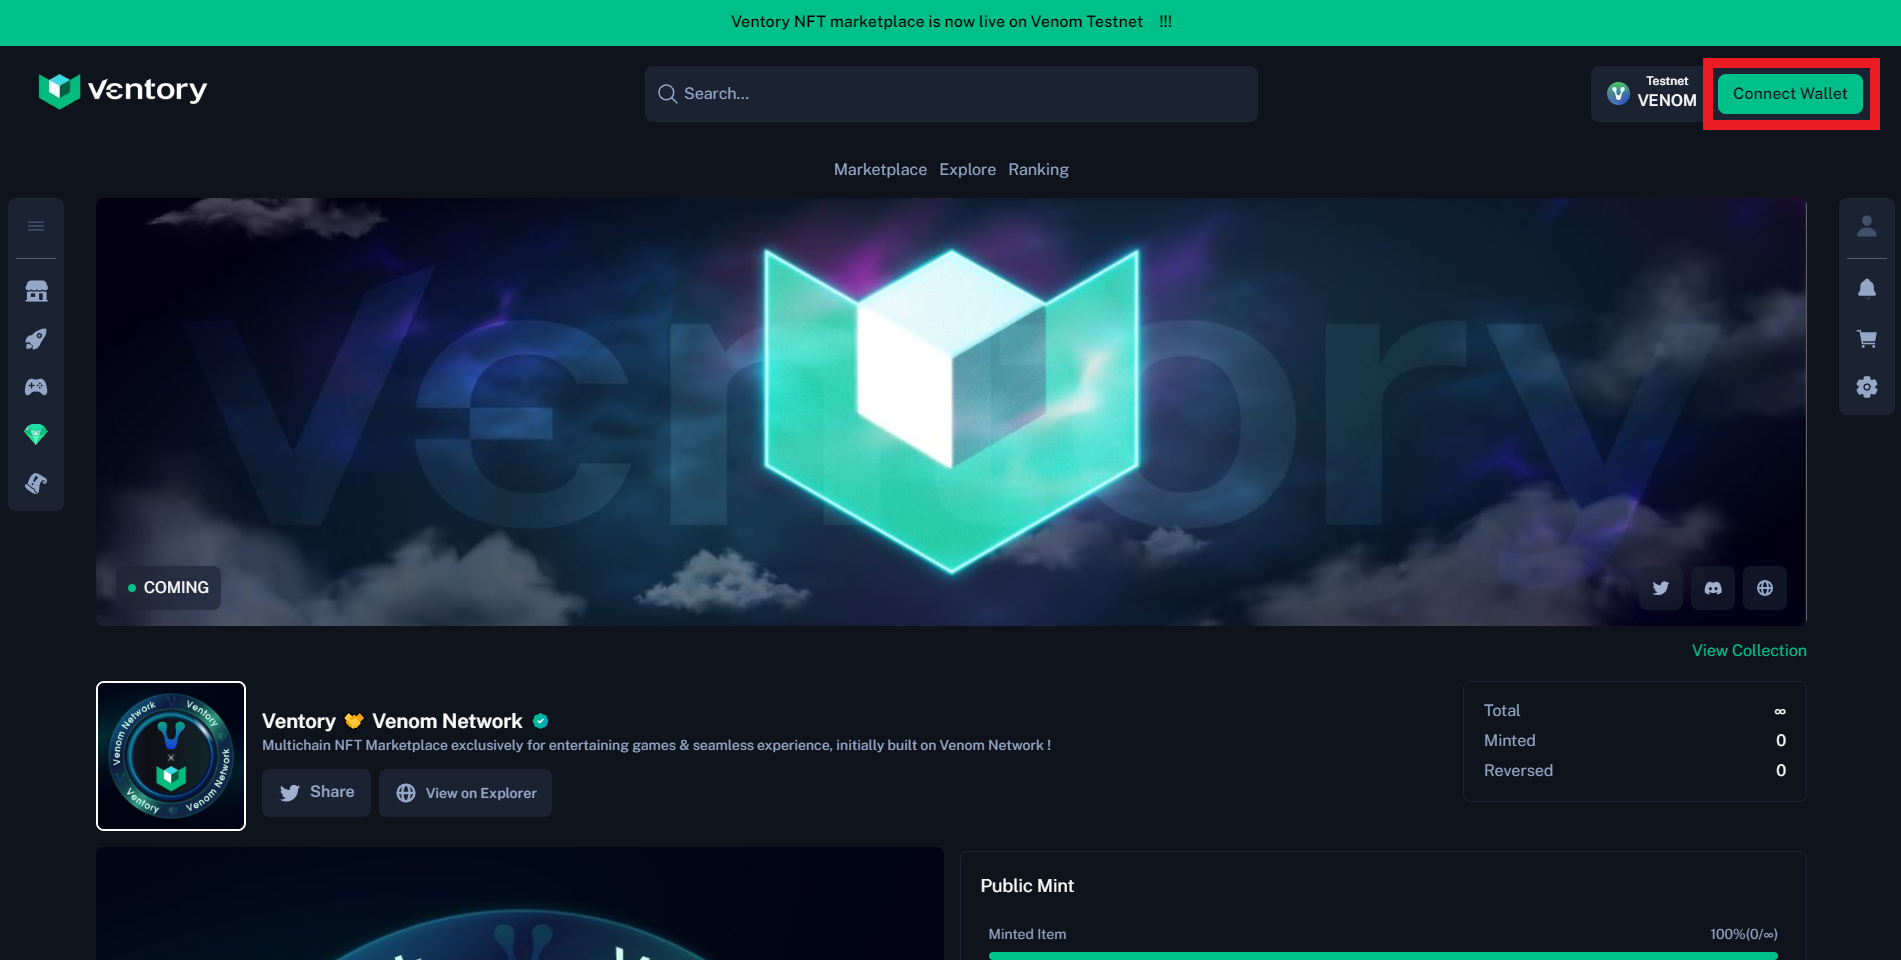
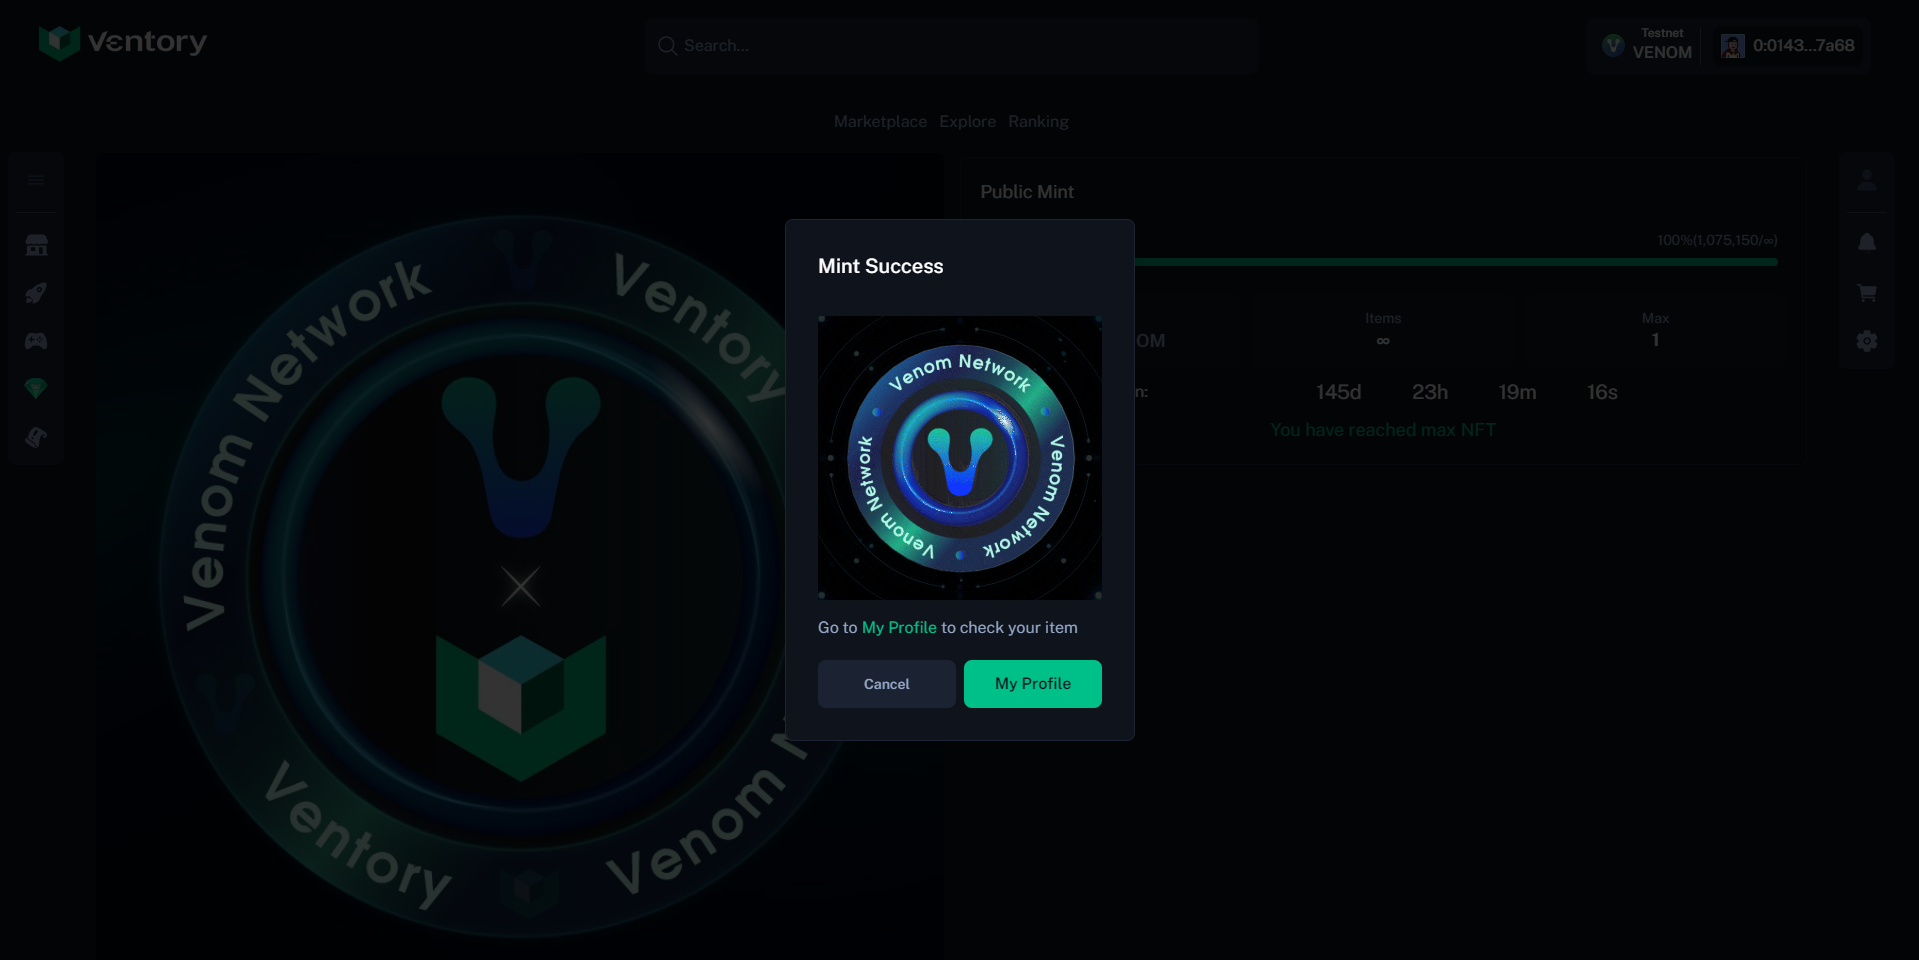
- Next, we need to mint an NFT on the Ventory platform, to do this, go to: ventory.gg & connect your Venom wallet.
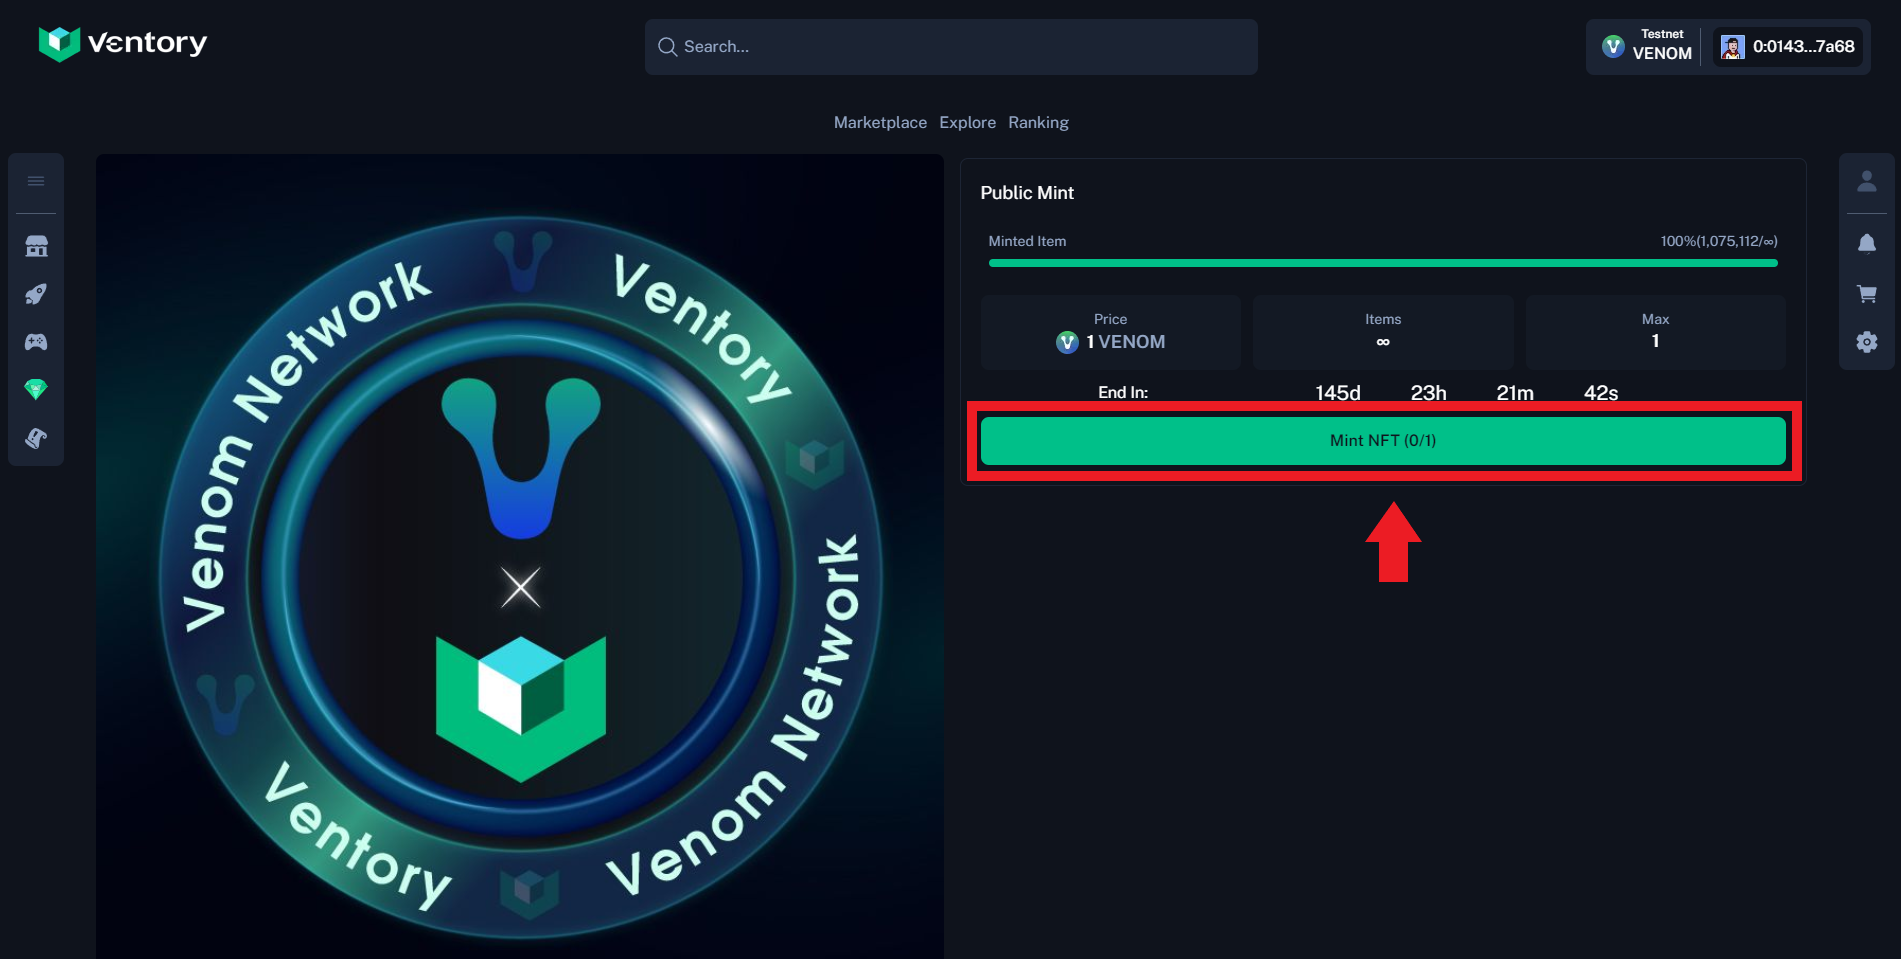
- Now scroll down and should see the Public Mint NFT, click "Mint NFT" & confirm the transaction.
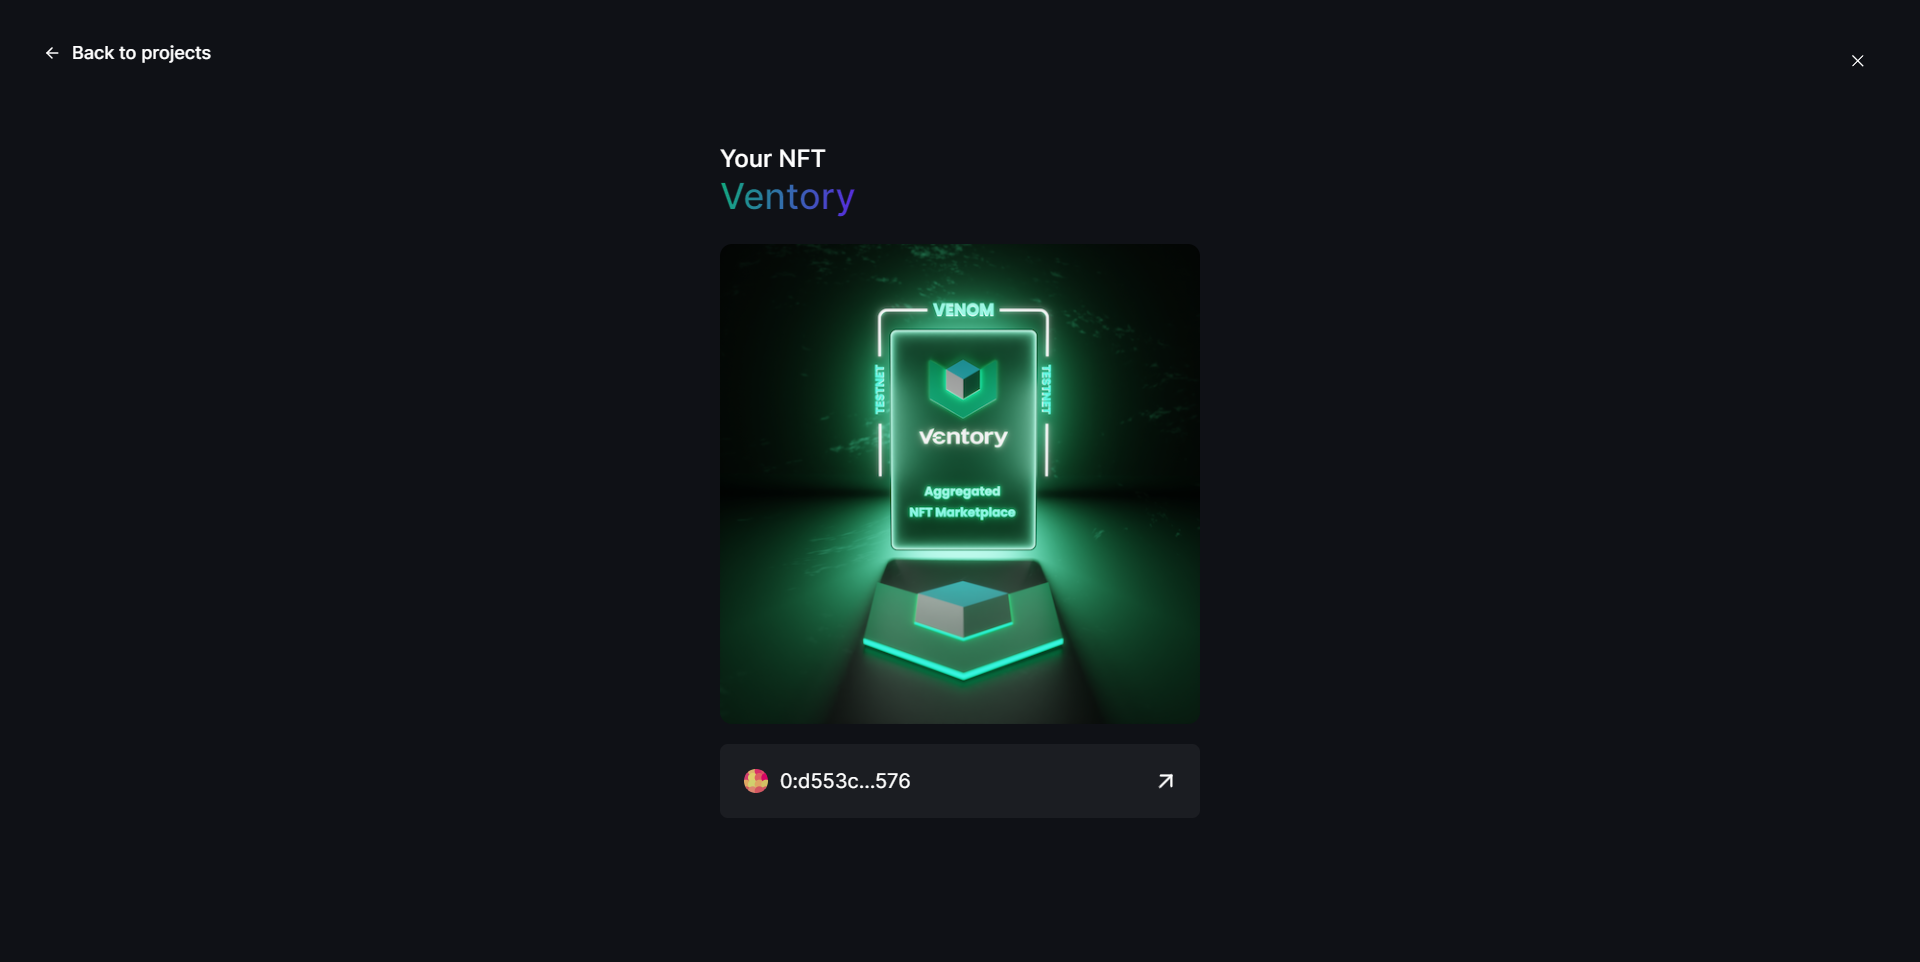
Thats it! Now you can head back to the Venom tasks to verify the task and claim your NFT!
Step 25
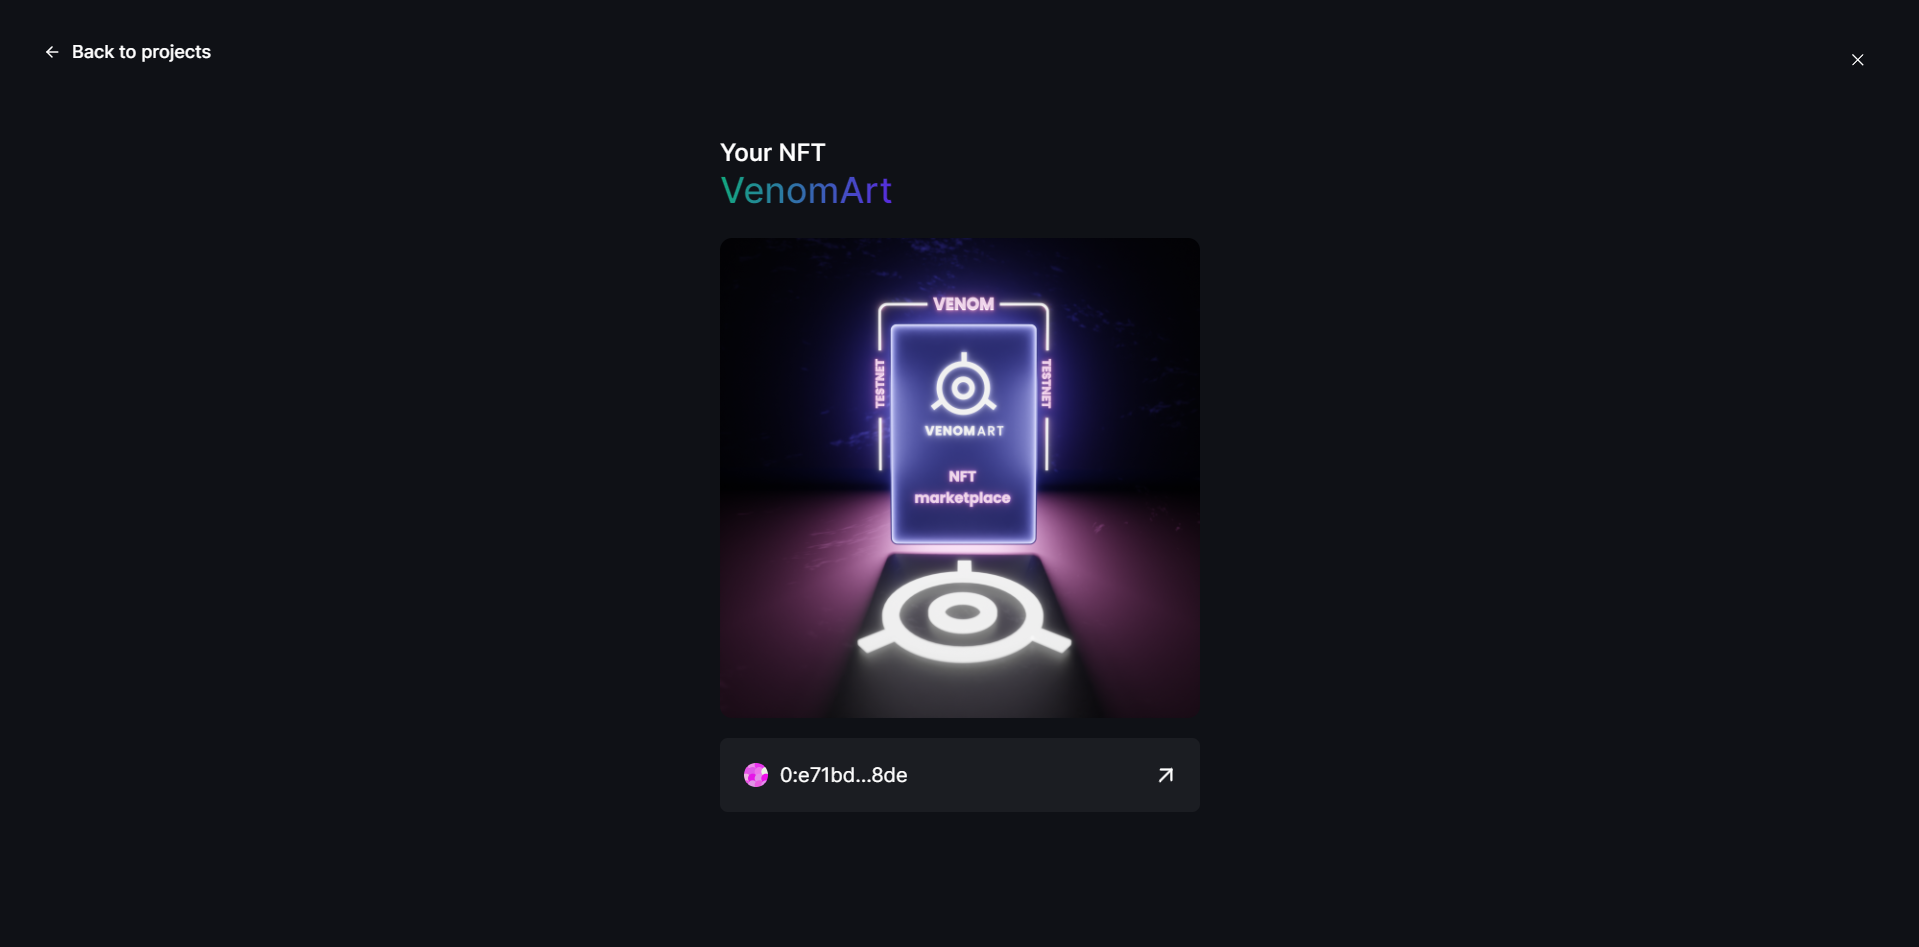
Now, let's take a look at VenomArt.
VenomArt stands as the premier NFT Marketplace within the Venom ecosystem, offering swift and effortless access to digital collectibles. Create, discover, and trade NFTs seamlessly!
- For the first task we just need to follow VenomArt on X/Twitter.
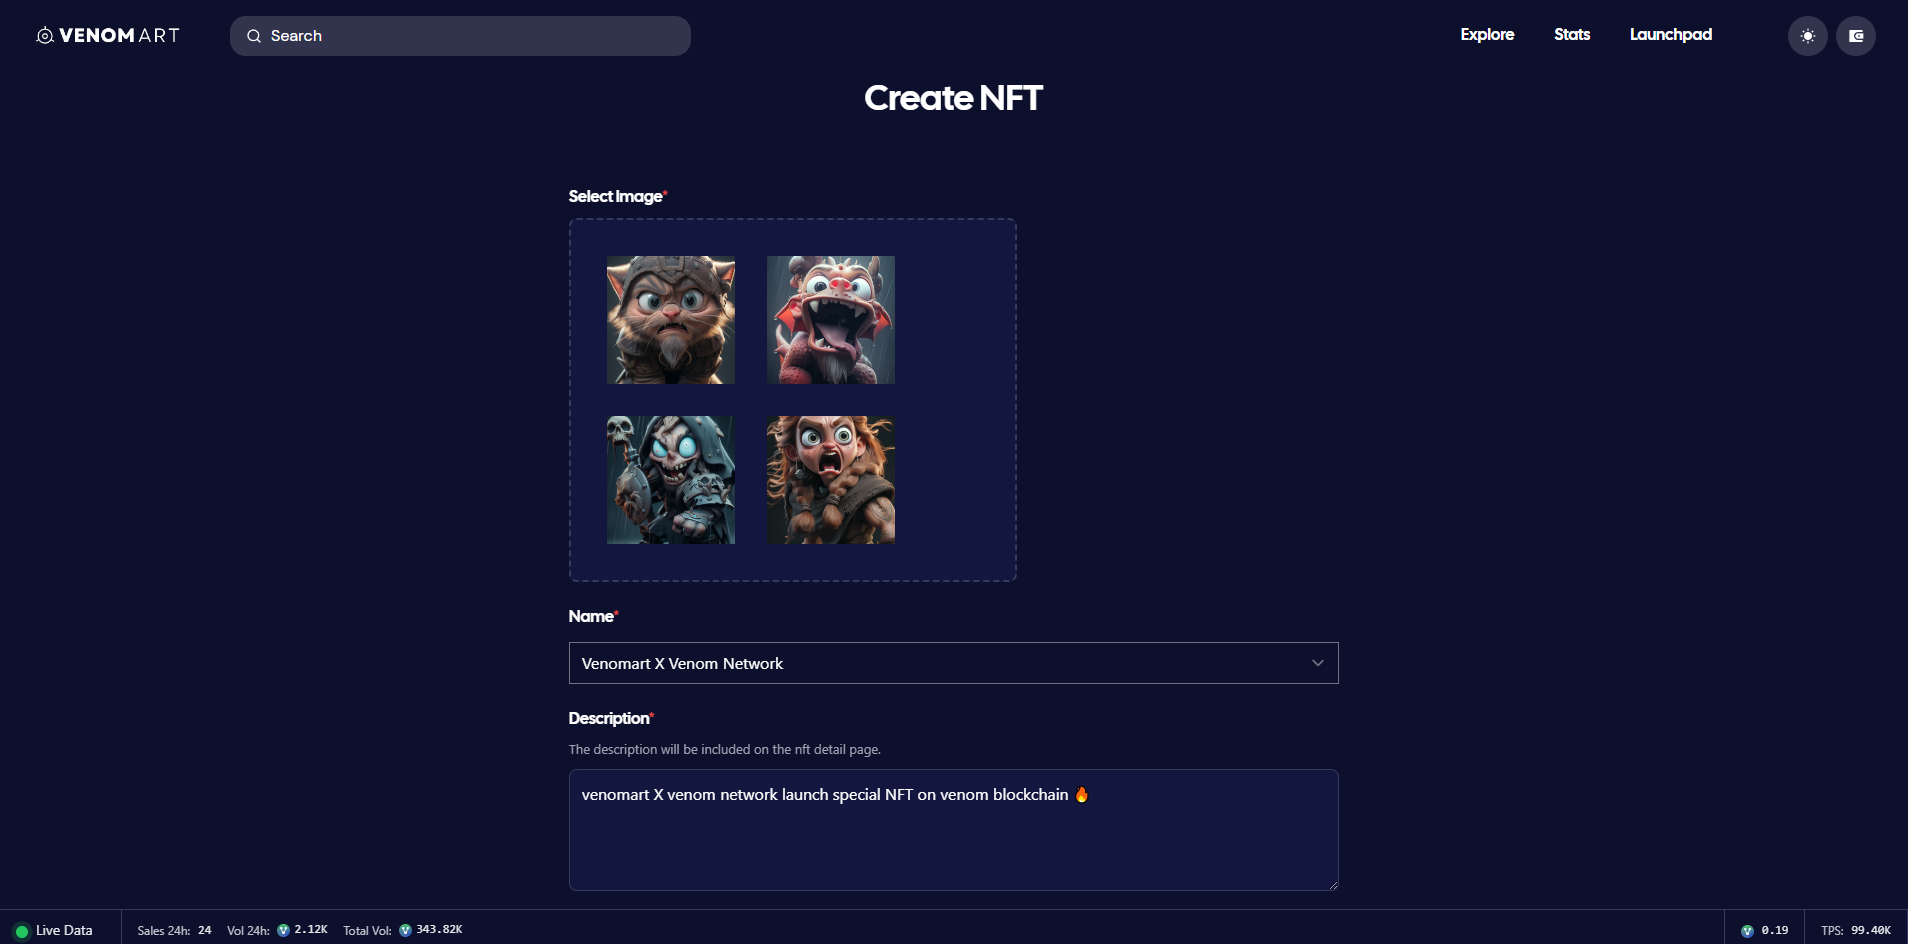
- Next, we need to create an NFT on the VenomArt platform, to do this, go to: testnet.venomart.io & connect your Venom wallet.
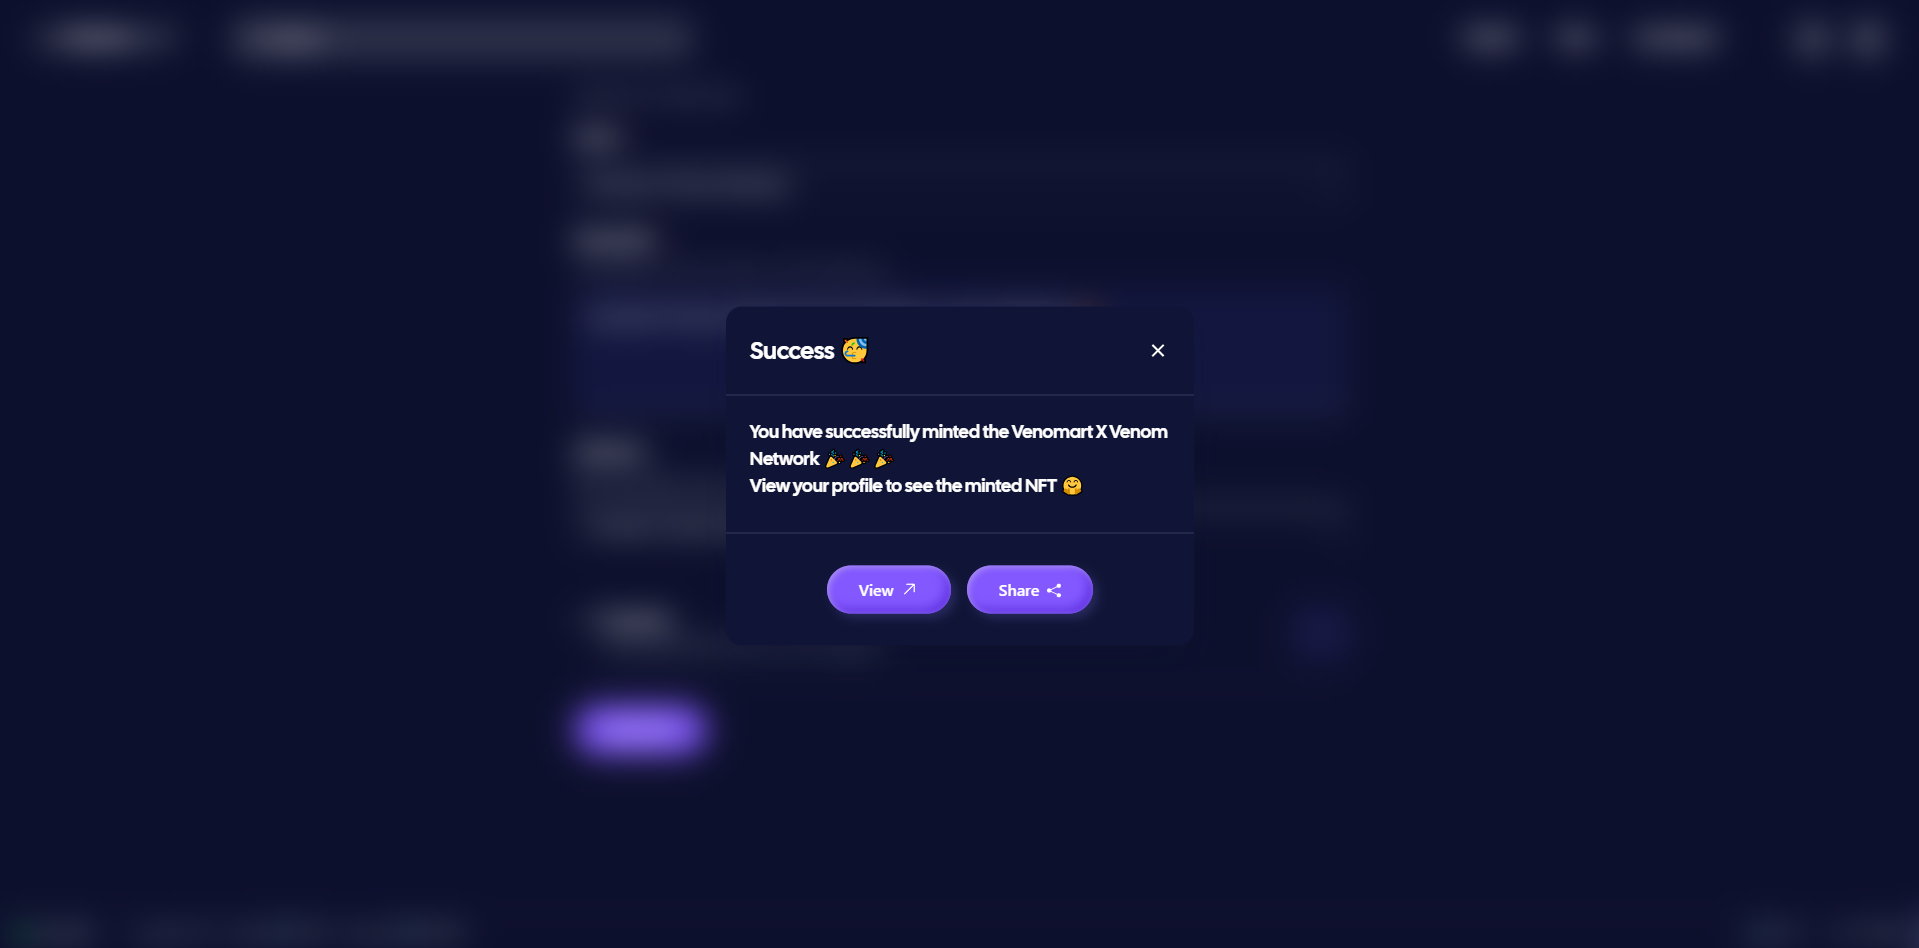
- Next, select one of the images and a name, then scroll down, click "Mint NFT", then "Confirm Mint" & confirm the transaction in Venom Wallet.
Thats it! Now you can head back to the Venom tasks to verify the task and claim your NFT!
Step 25
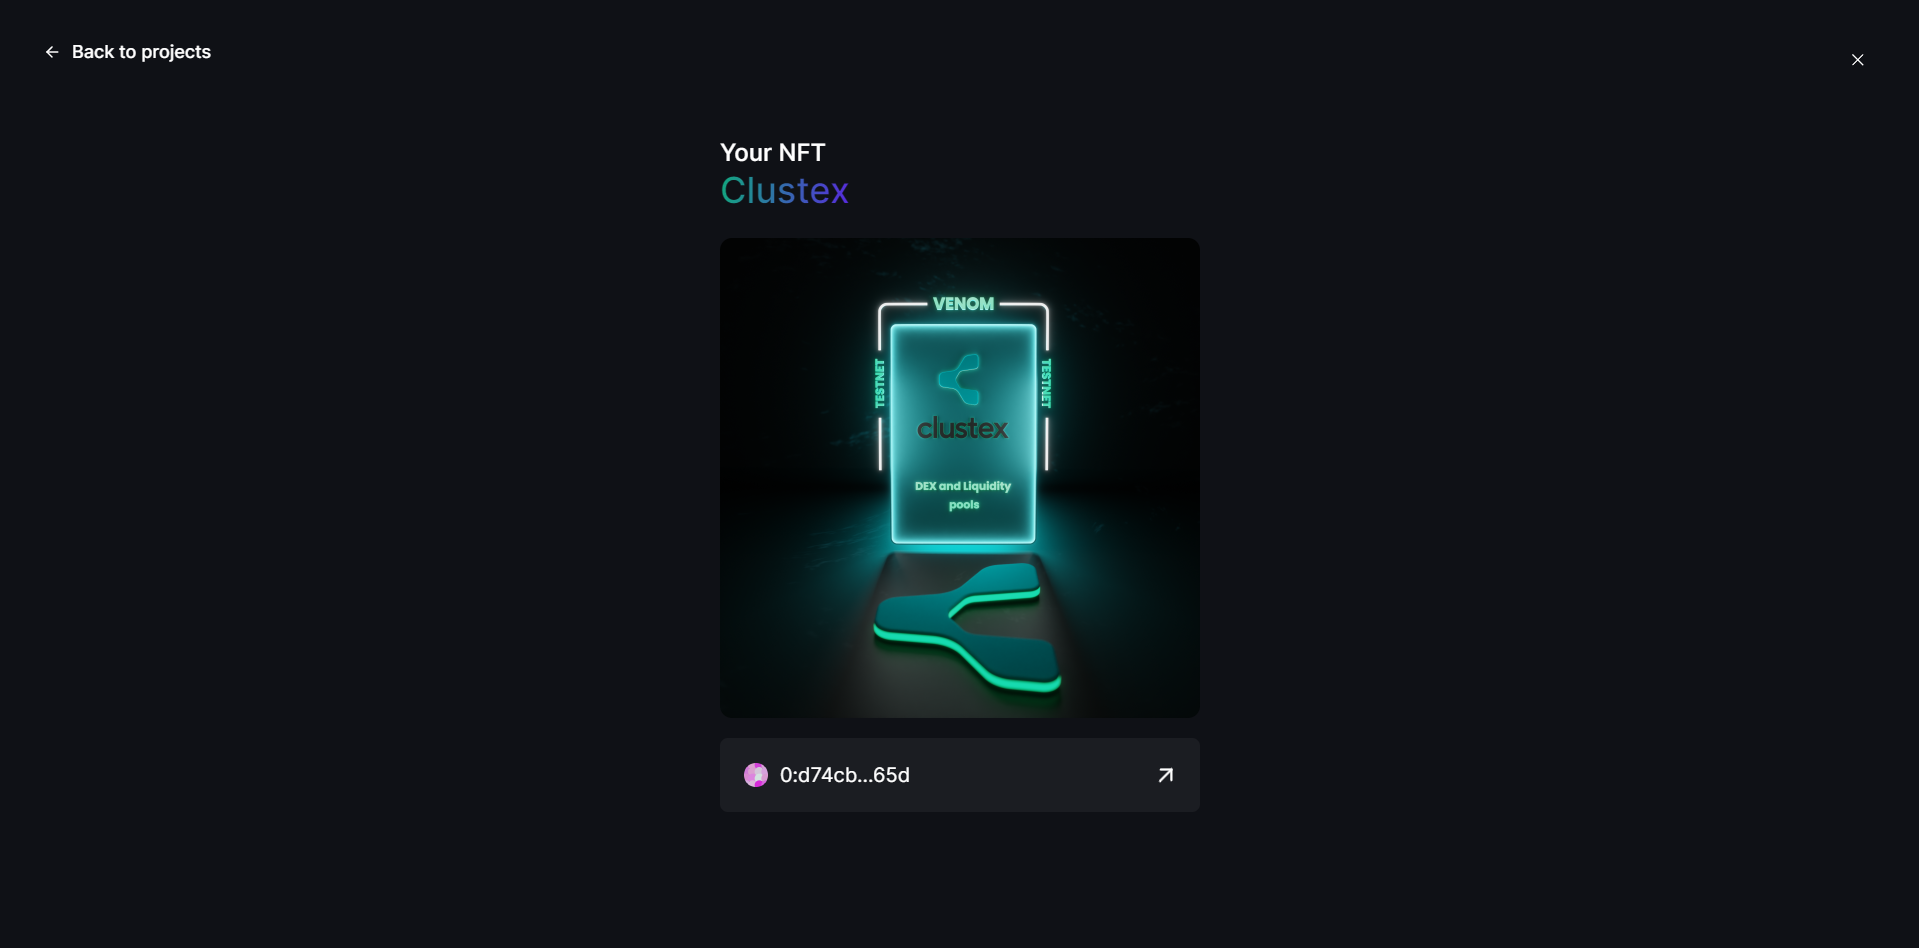
For this step, we're going to take a look at Clustex.
Clustex represents an inventive decentralized exchange (DEX) that harnesses the influential capabilities of contemporary mathematical concepts and smart contract structures tailored for Venom's needs!
- For the first task we just need to follow Clustex on X/Twitter.
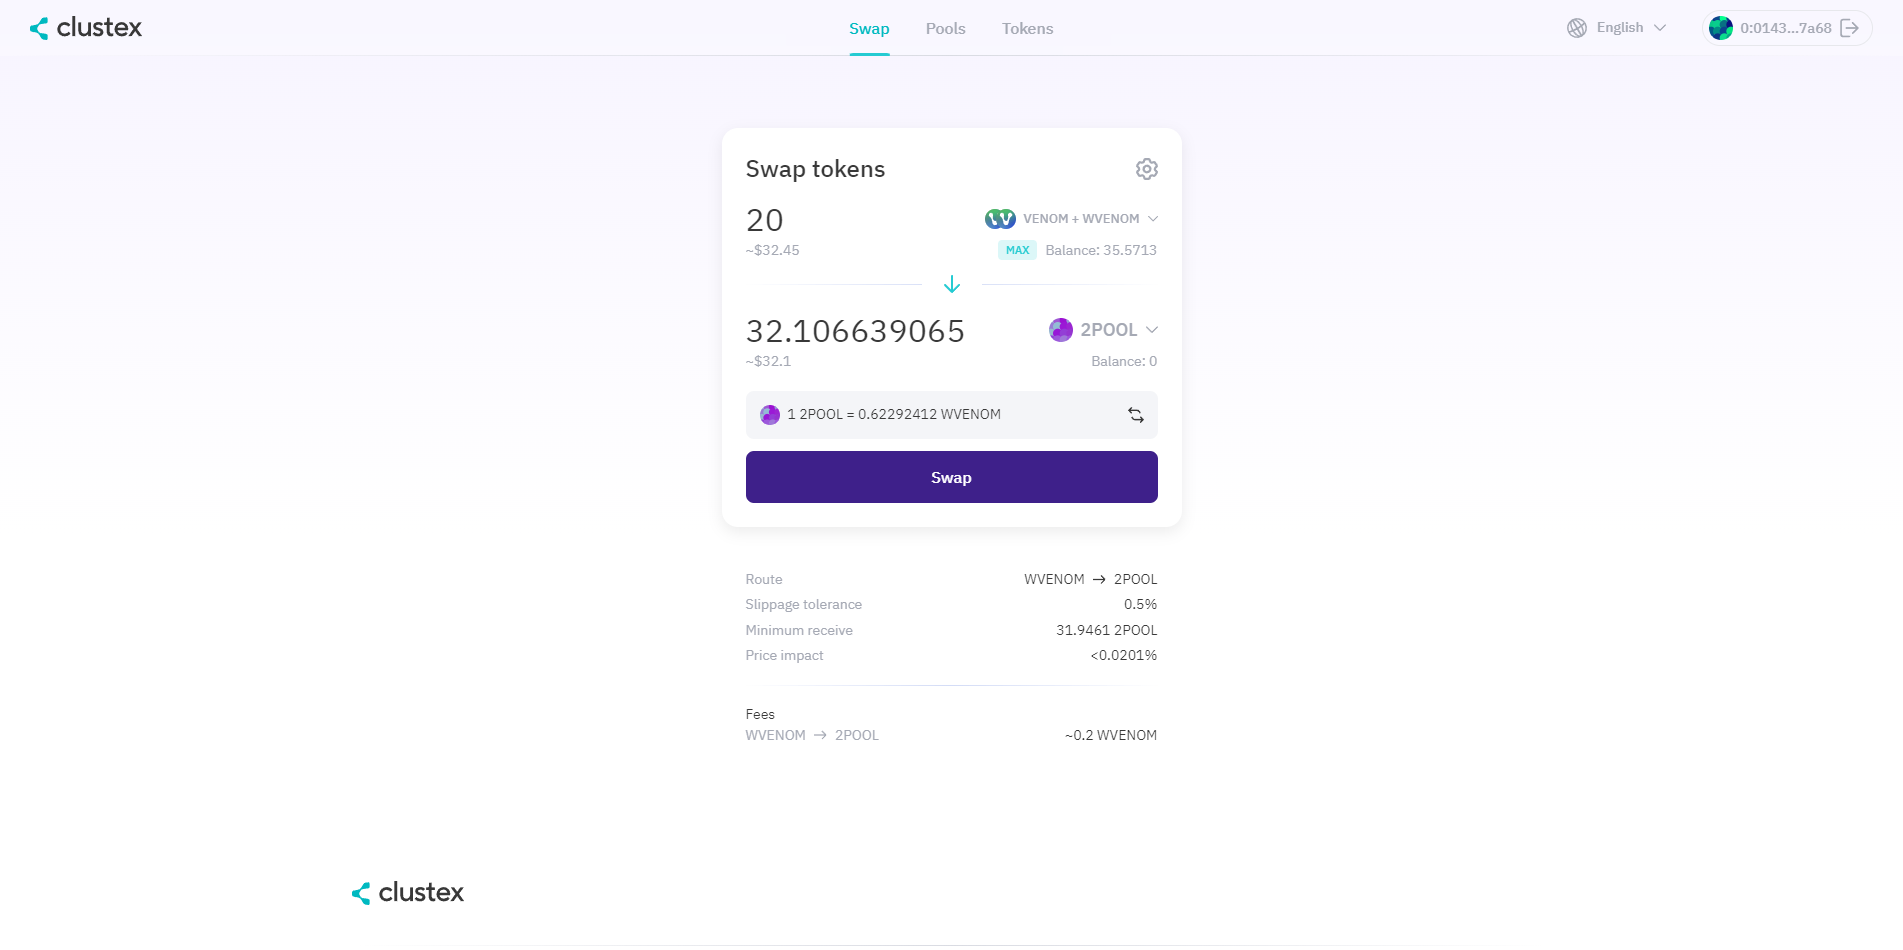
- Next, we need to perform some swaps on their platform, to do this, go to: beta.clustex.io/swap & connect your Venom wallet.
- Next, insert an amount of Venom & swap for any other token.
Thats it! Now you can head back to the Venom tasks to verify the task and claim your NFT!
It's a good idea to perform several swaps across different token pairs often to increase your chances of receiving a potential airdrop!
Step 26
For the final step of the Venom Testnet, we're going to explore Rooster Fights!
Rooster Fights is a Web3 mobile gaming experience centered on nurturing and combatting roosters, possessing distinctive NFTs, participating in 'winner takes all' clashes, and seizing your rival's avian contender!
- For the first task we just need to follow Rooster Fights on X/Twitter.
- Now, we need to install the app but it doesn't appear to be available yet, so if we just click the "install" button it should auto-complete the task.
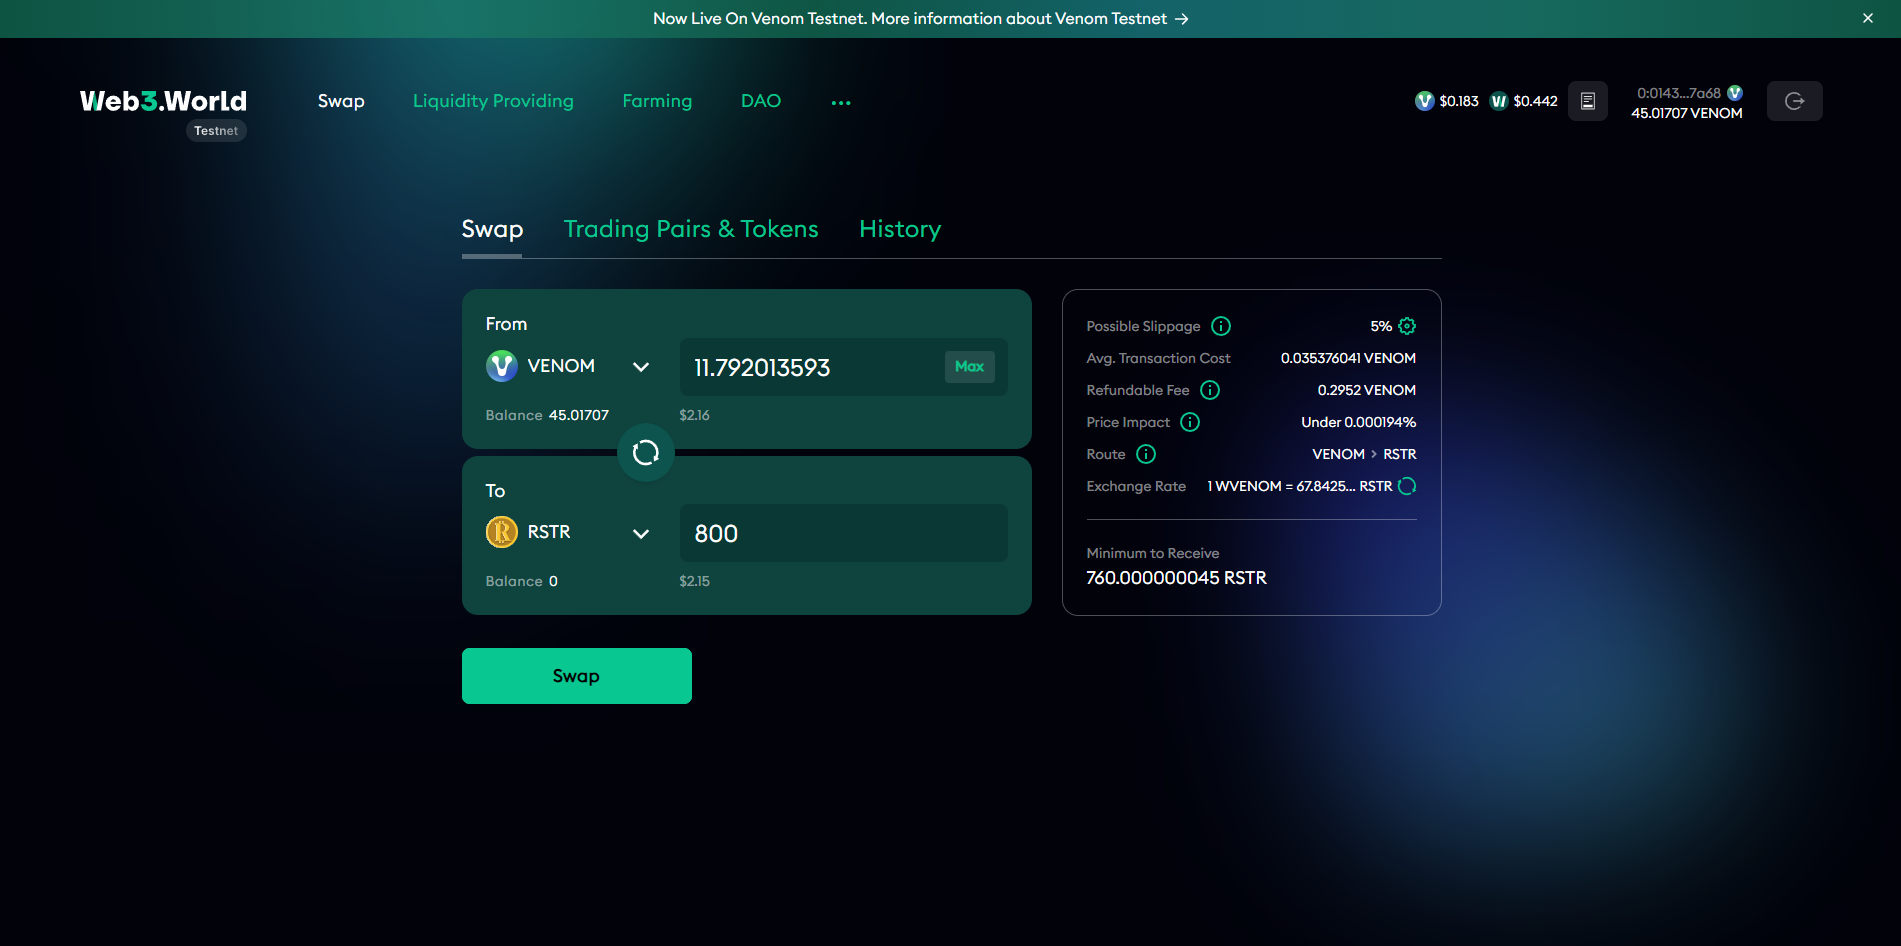
- Next, we need to swap some VENOM for a minimum of 750RSTR at Testnet.Web3.World
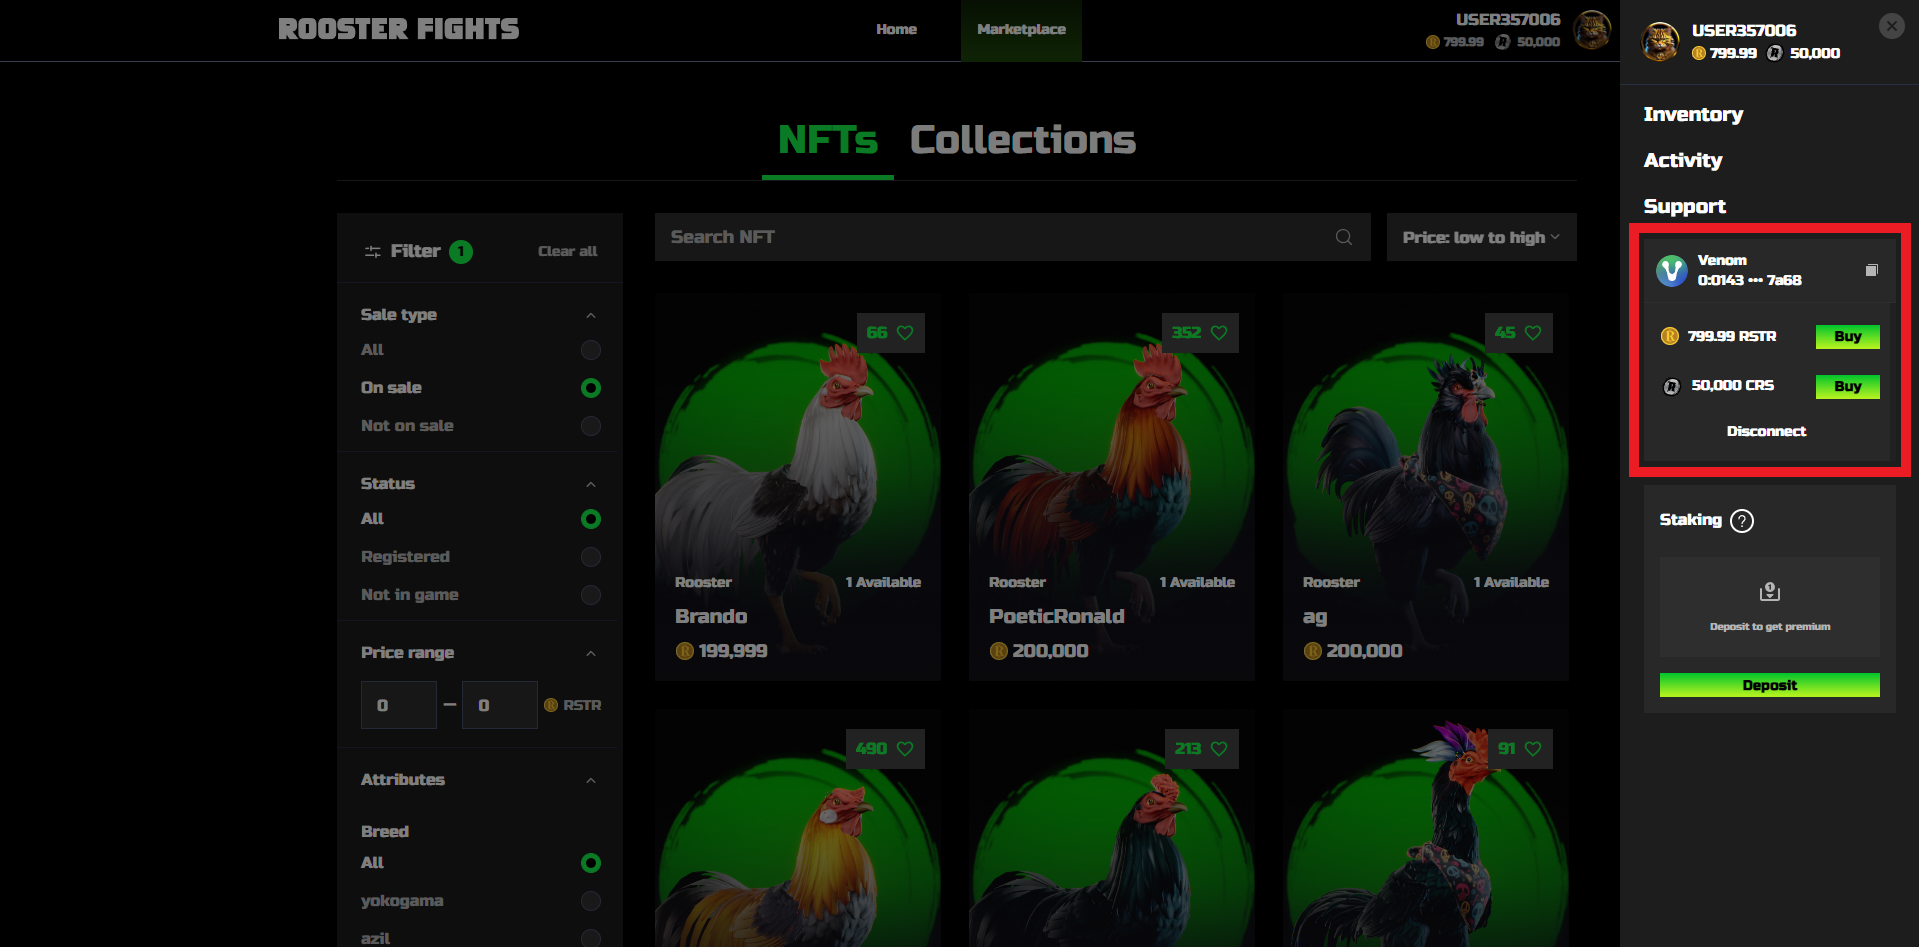
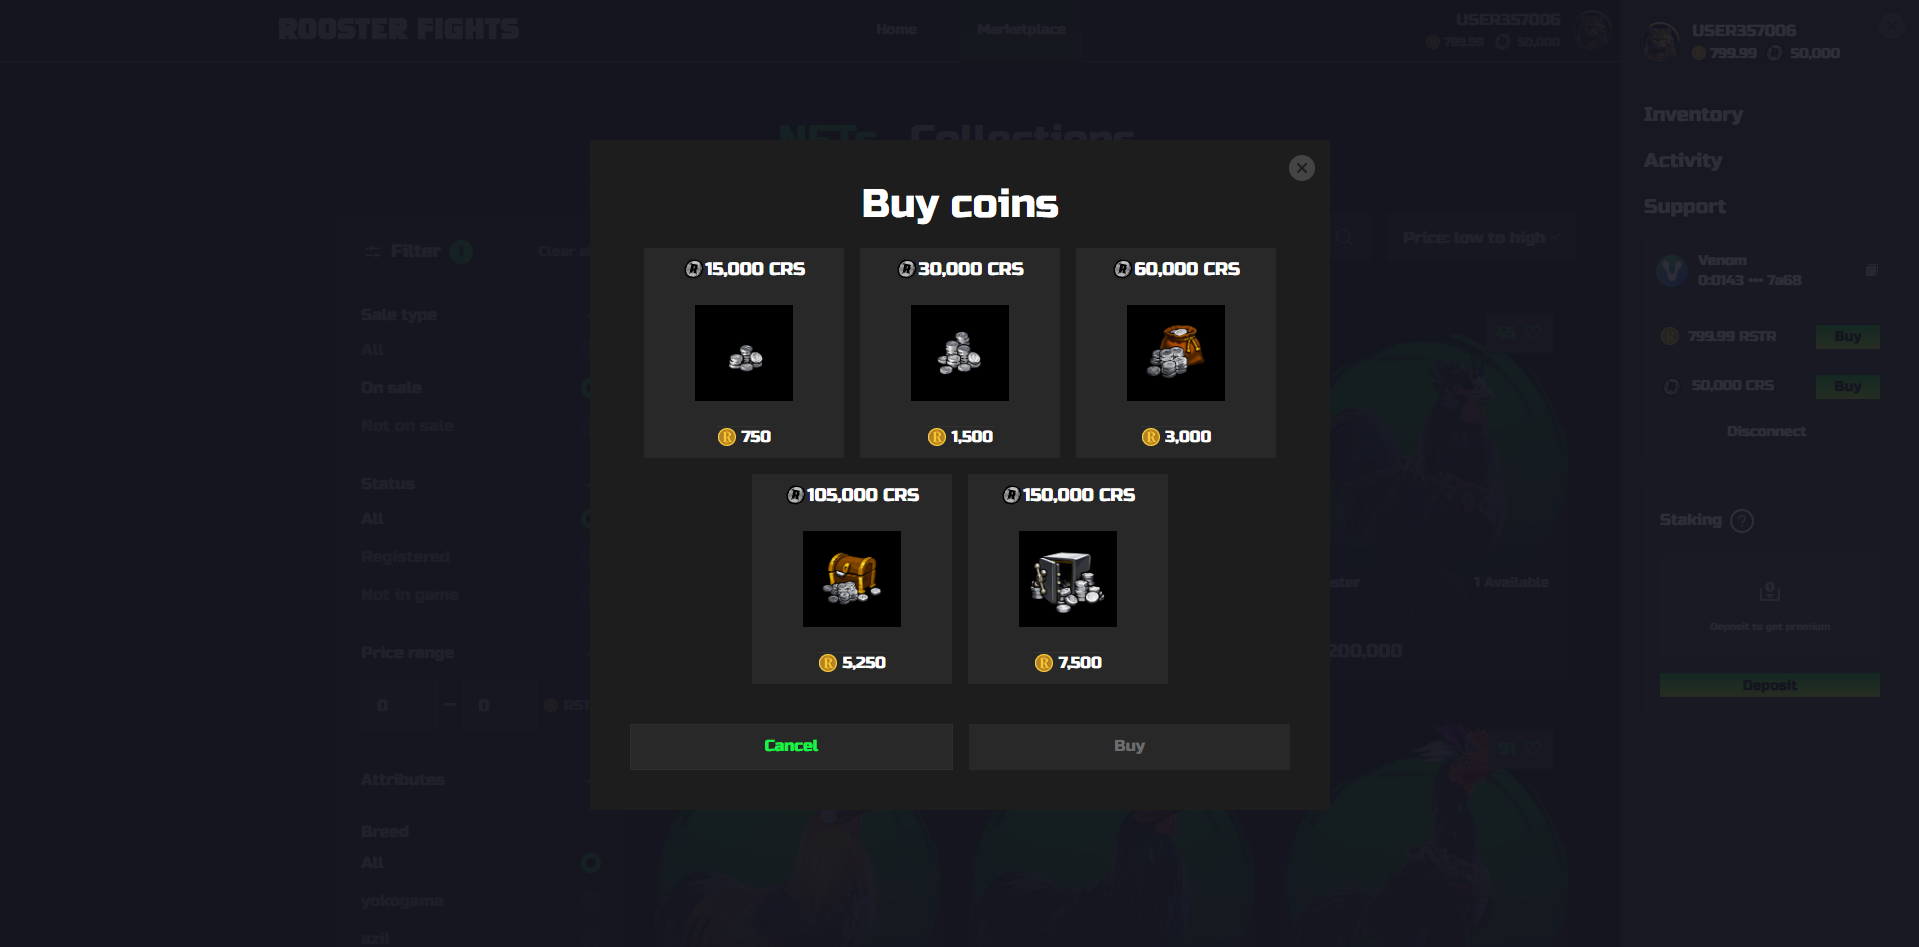
- Lastly, we need to head over to testnet.roosterfights.win & login with our Venom wallet, then just buy any amount of CRS tokens, this is located in the side-menu.
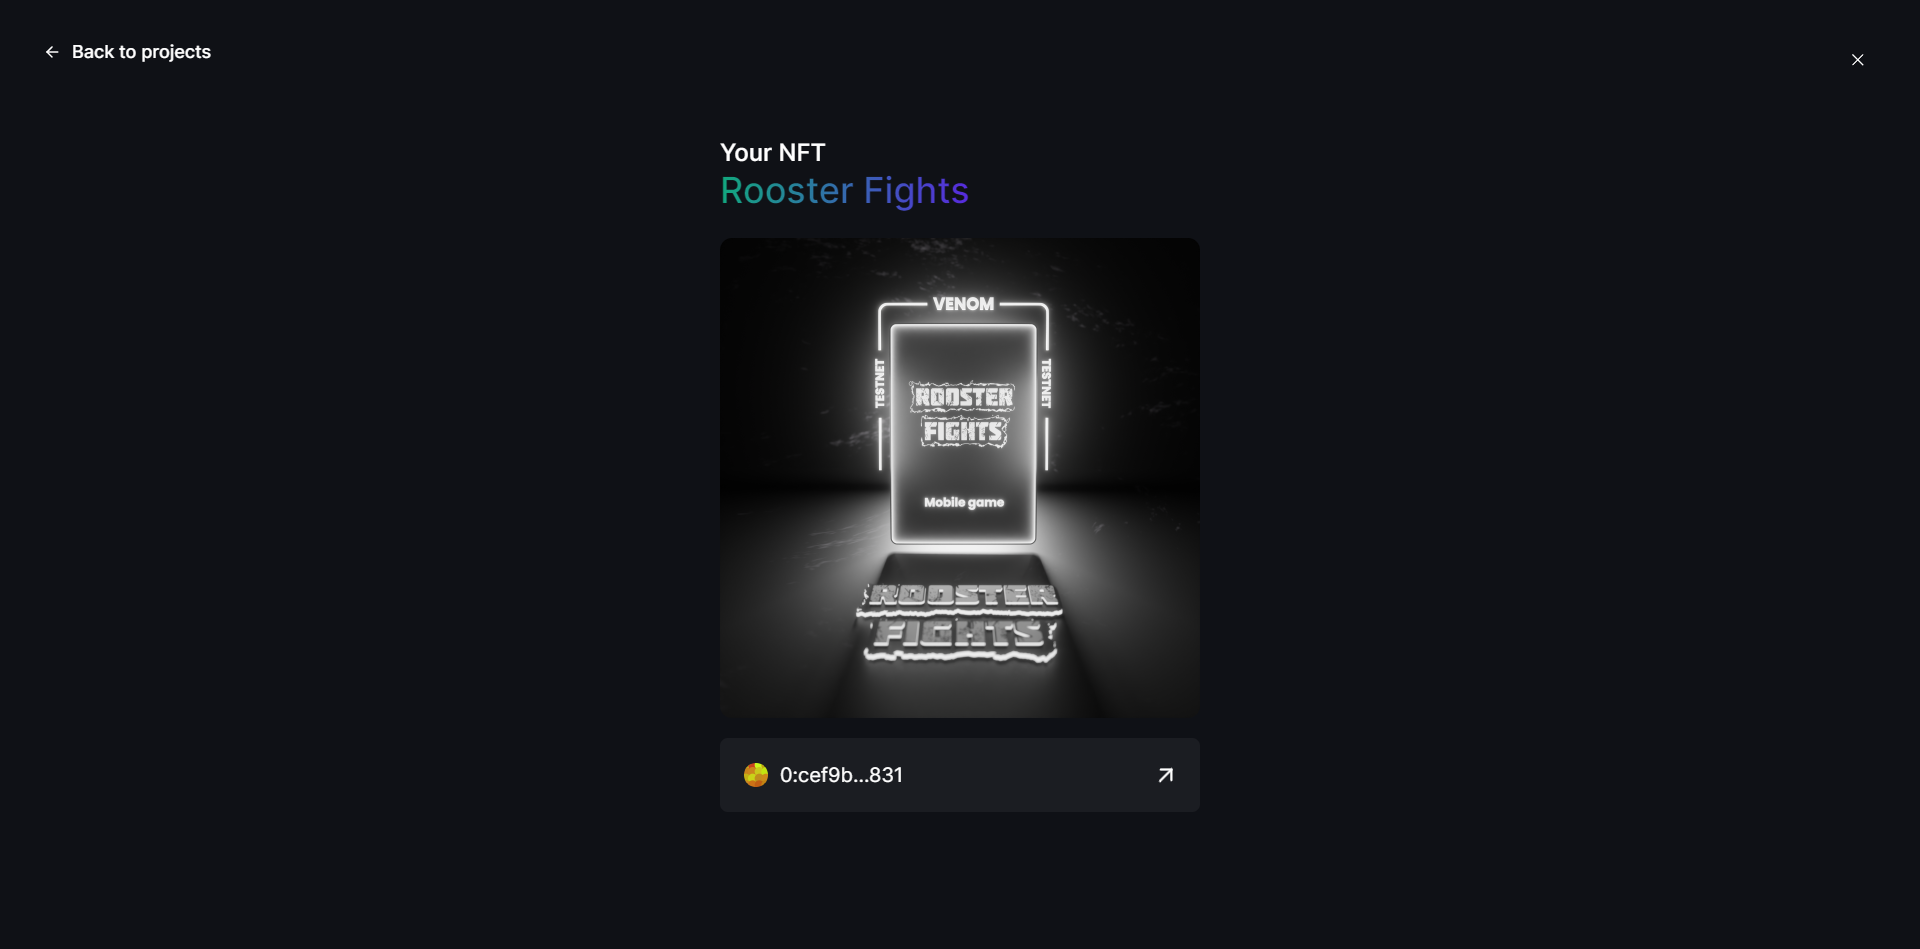
Thats it! Now you can head back to the Venom tasks to verify the task and claim your NFT!
It's a good idea to perform several swaps across different token pairs regularly through Web3.World in order to increase your chances of receiving a potential airdrop!
Outro
If you found this guide helpful and informative, consider sharing it on social media. You can also stay updated on the latest content and discussions by following us on X (formely Twitter): @BitBlogxyz
Disclaimer: This guide is provided strictly for educational purposes and should not be considered financial advice. The content is designed to offer insights into various web3 topics & projects.
We do not recommend putting real money into random projects without conducting plenty of your own research first. It is crucial to make informed decisions based on your own understanding and risk tolerance.