Introduction
In this guide, we’ll dive into Phase 2 of the Liqfinity Testnet! If you followed our Phase 1 guide, you should already be familiar with the Liqfinity platform and how it works. But don’t worry if you’re new, we’ll walk you through everything step-by-step, so you can jump in and start participating right away!
Step 1
First, we need to head over to Liqfinity: app.testnet.liqfinity.com
* You will notice your login no longer works, so you will need to just sign-up using the same email you used in Phase 1, if you did not participate in Phase 1, no problem, just sign-up to get started!
Once you're in, press "Let's Rock" to begin!
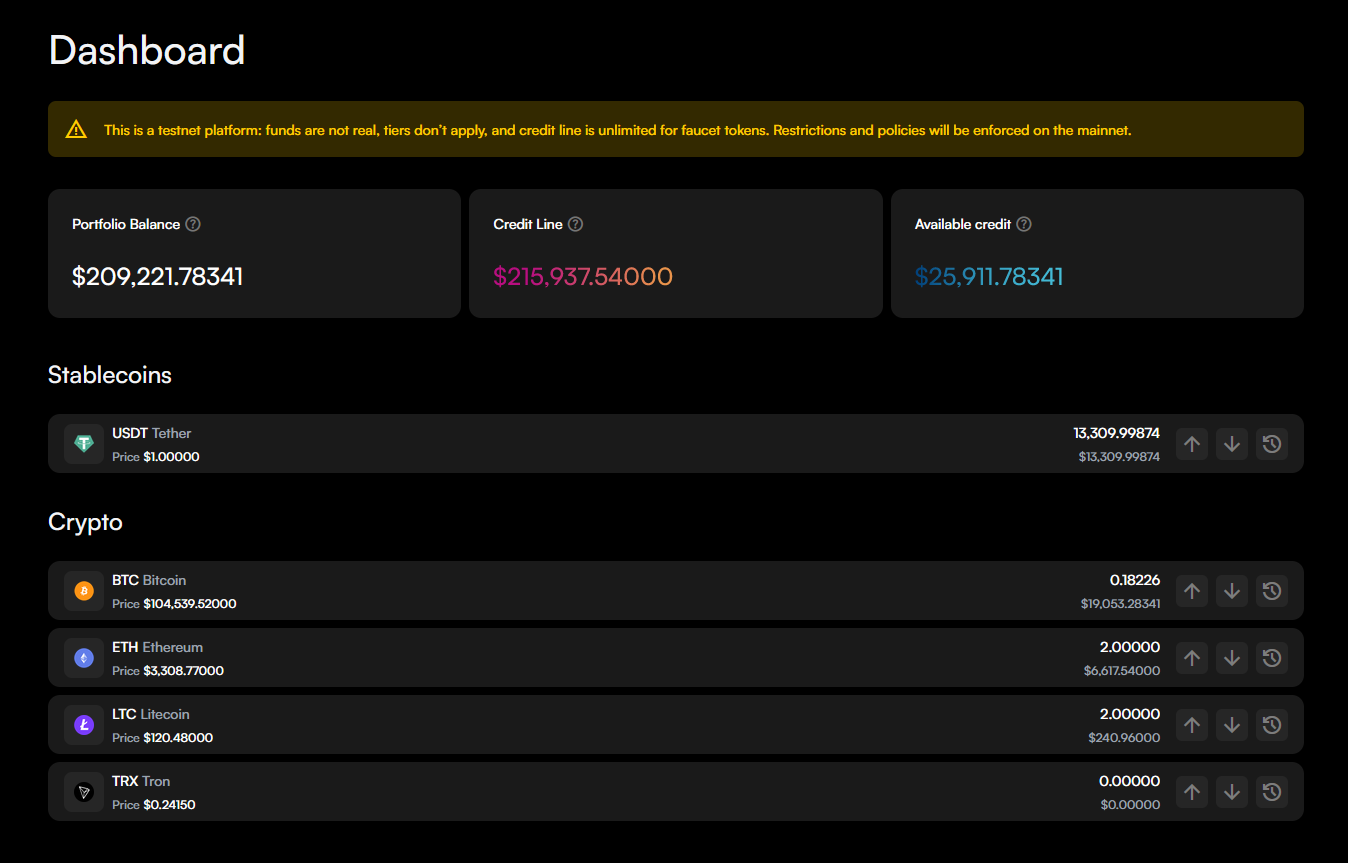
You should immediately see some test assets available in your dashboard.
Step 2
Now head over to the Borrow page & press the "Borrow" button on Bitcoin.
Insert any amount of USDT that you want to borrow, press Borrow, then Confirm.
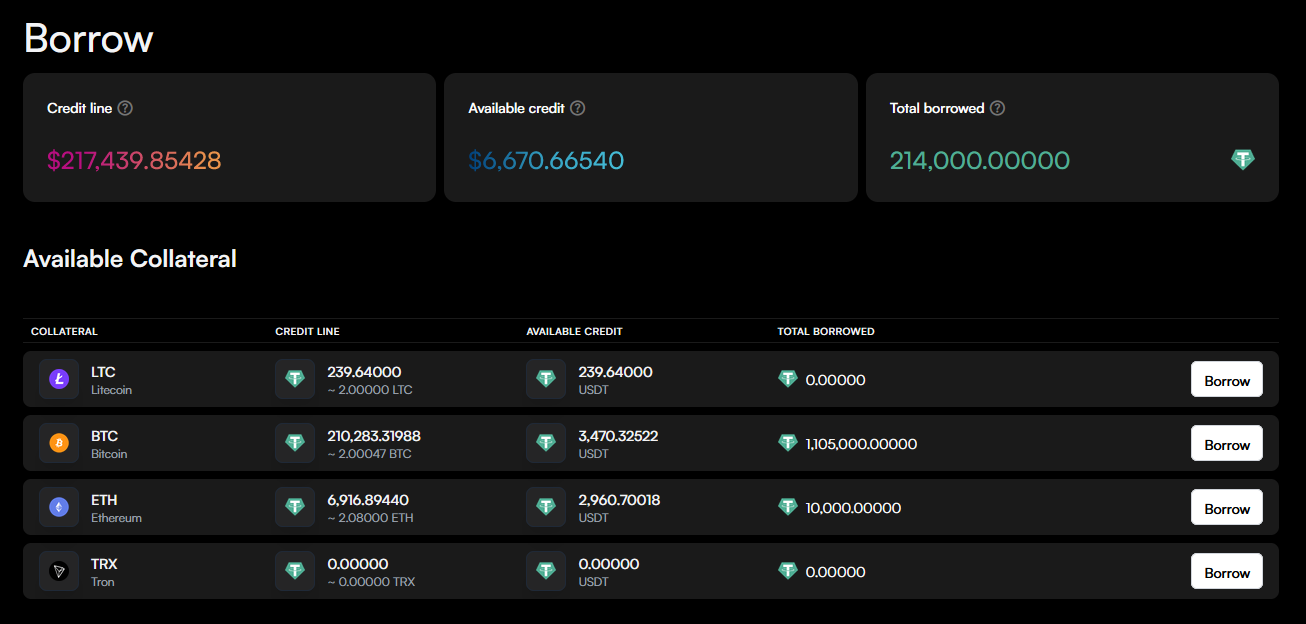

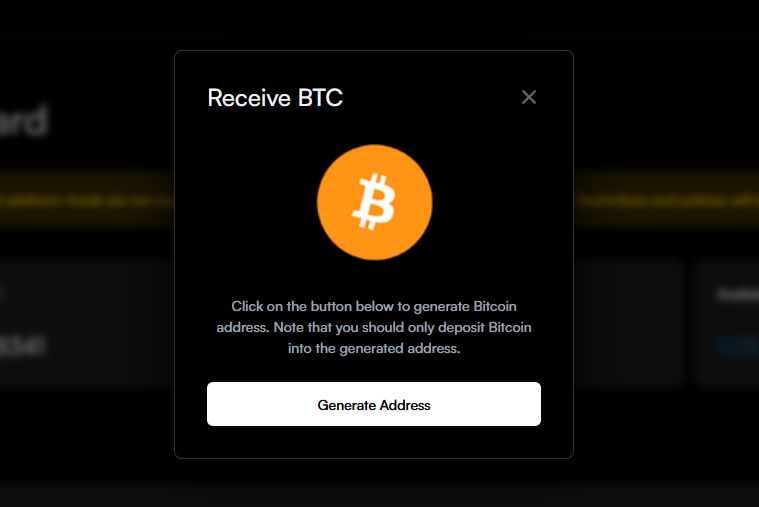
* If you have tBTC from previous Bitcoin testnets, you can send some to Liqfinity by going to the Dashboard and pressing the down arrow to receive, then press "Generate Address", use this address to send tBTC from an external wallet such as UniSat or XVERSE.
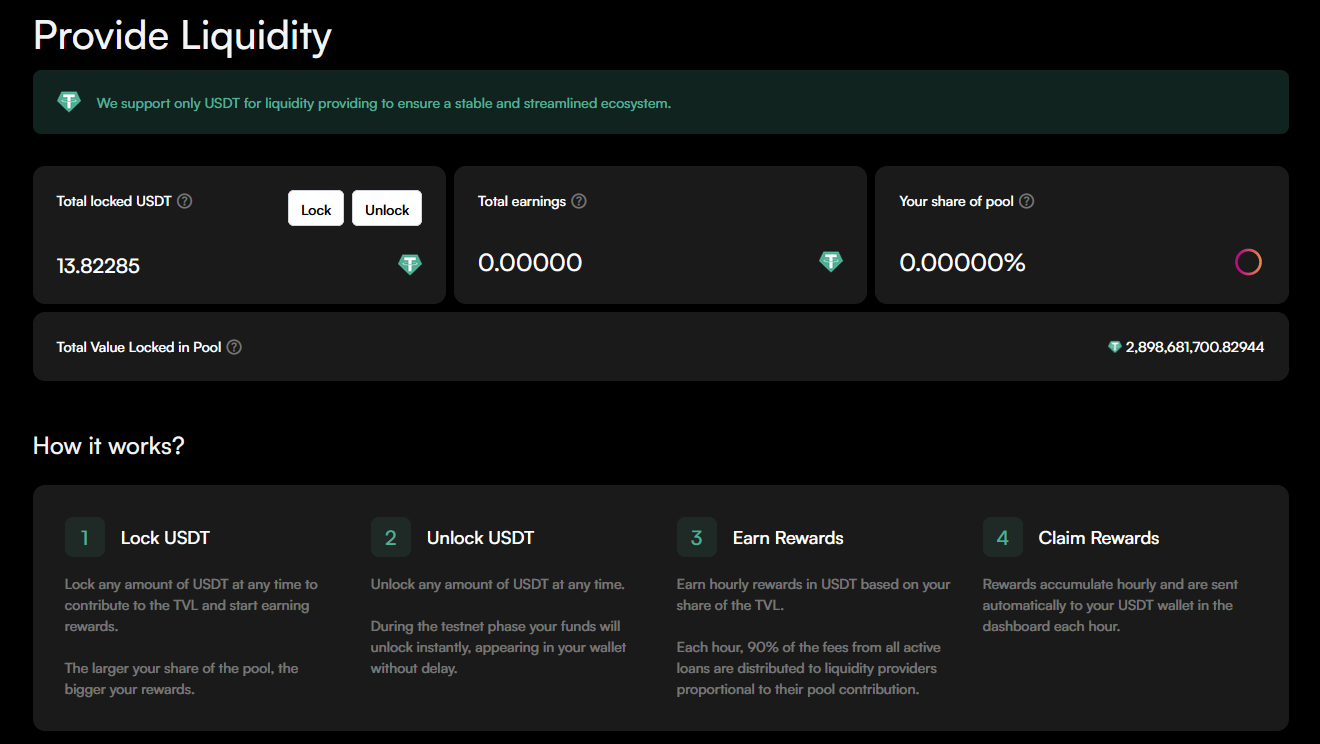
Step 3
Now head over to the Provide Liquidity page, here you can lock & unlock your USDT. If you want to maximise your points for the leaderboard, then you should aim to lock/unlock as much as possible.
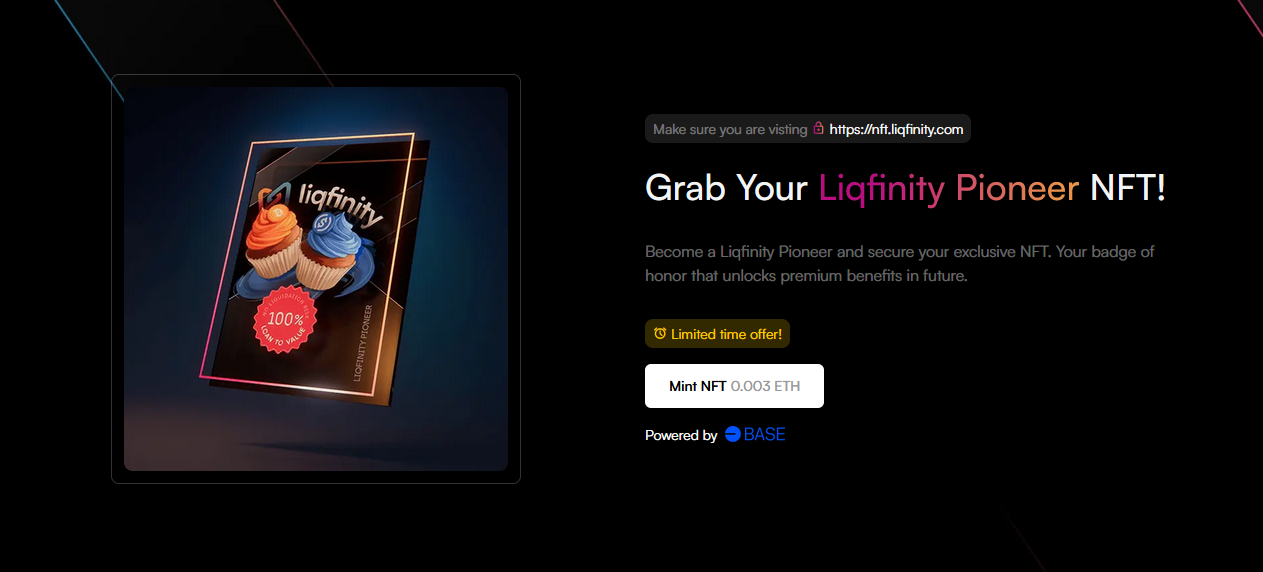
Step 4
Now let's mint the Liqfinity Pioneer NFT!
To do this, we need to head over to: nft.liqfinity.com & press "Mint NFT".
Minting this NFT will require around $10-15 worth of ETH on Base for the gas fee (less than a penny). The easiest way to do this is by buying the ETH on an exchange such as Coinbase, and then send it to your wallet using the Base network (No fees).
After minting your NFT, you can go to the Liqfinity Discord server and use the verify-your-nft channel to verify that you own the NFT which will grant you the Pioneer role on Discord.