Introduction
In this guide, we're going to explore the beta platform for F-Assets on Flare Network.
What is Flare Network?
Flare is an EVM-compatible smart contract platform built to meet the high data demands of advanced blockchain applications like machine learning, real-world asset (RWA) tokenization, gaming, and social platforms. Uniquely optimized for decentralized data acquisition, Flare expands blockchain’s capabilities by enabling access to a wide range of decentralized data at scale, with low latency and minimal cost. Its goal is to broaden blockchain’s total addressable market, empowering developers to create more complex and data-intensive applications.
What are F-Assets?
The F-Assets system, developed by Flare Labs, enables non-smart contract tokens like BTC, DOGE, and XRP to be used securely with smart contracts on the Flare network. By converting these tokens into FAssets, users can leverage them to earn yield or rewards within decentralized applications on Flare.
Step 1
First, head over to: fasset-beta-minting.flarelabs.org/connect & press "Connect Bifrost Wallet".
You should now see a QR code.
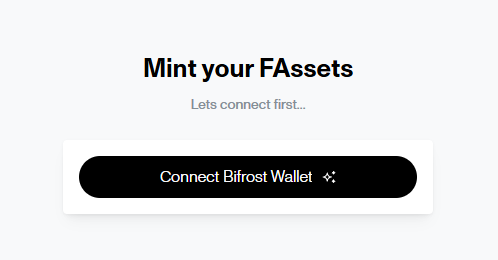
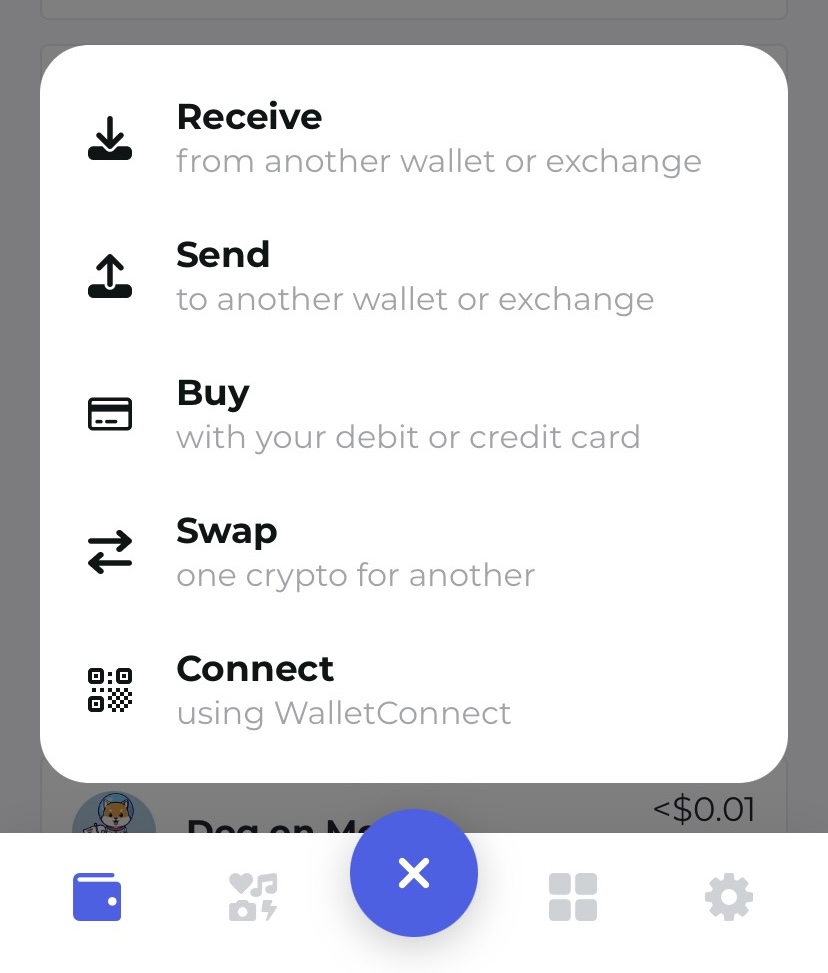
In the mobile app, press "Connect using WalletConnect" & then scan the QR code.
If you receive an error, then you may need to enter the Bifrost Settings and enable the "Developer Mode" toggle switch. This will set your wallet to testnet mode rather than mainnet which allows us to interact with testnets and claim test tokens etc.
Step 2
Now let's mint some test tokens.
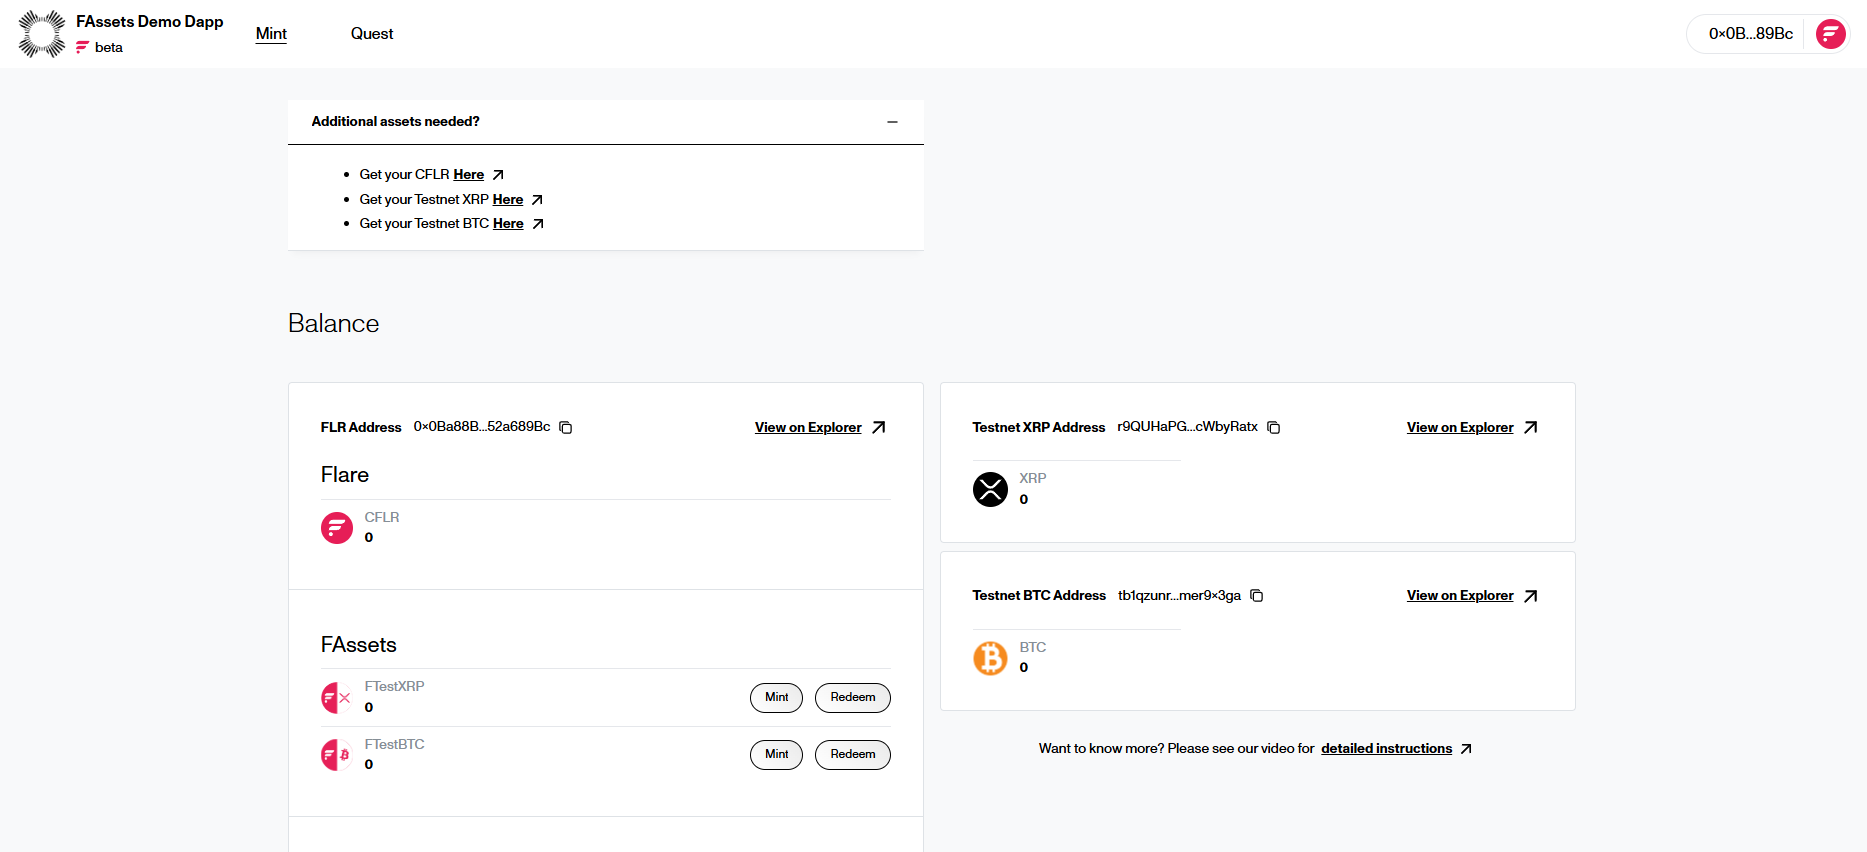
First, go to: faucet.flare.network/coston to get CFLR test tokens.
Now go to: test.xrplexplorer.com/en/faucet for test XRP.
and finally, let's get some test BTC: coinfaucet.eu/en/btc-testnet
You can get your wallet addresses from the dashboard.

Step 3
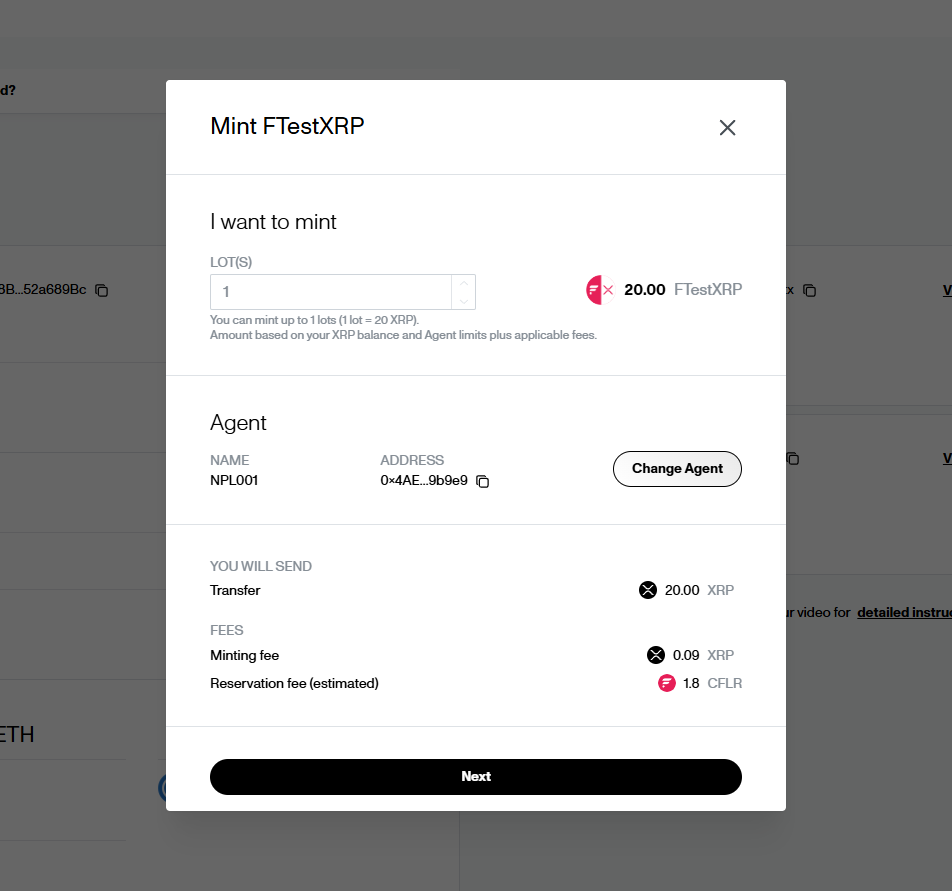
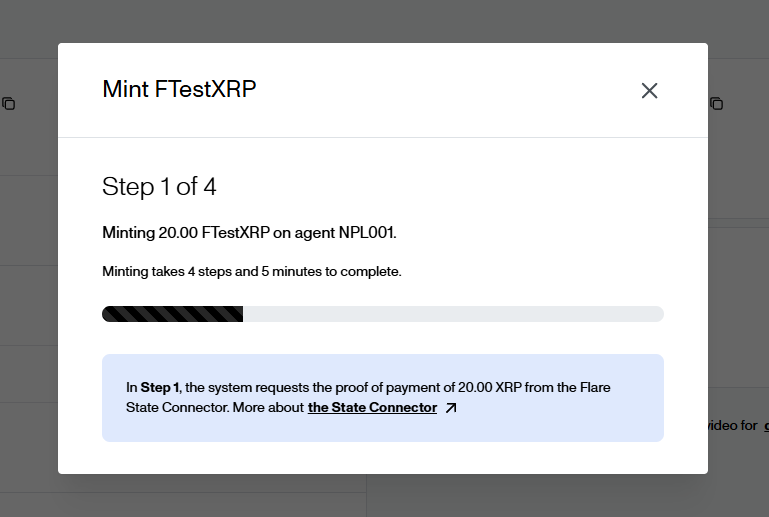
Now we can mint FTestXRP & FTestBTC tokens in the dashboard.
If you can't mint either tokens, it means the system is capped for now and we'll need to wait some time and try again later.

Step 4
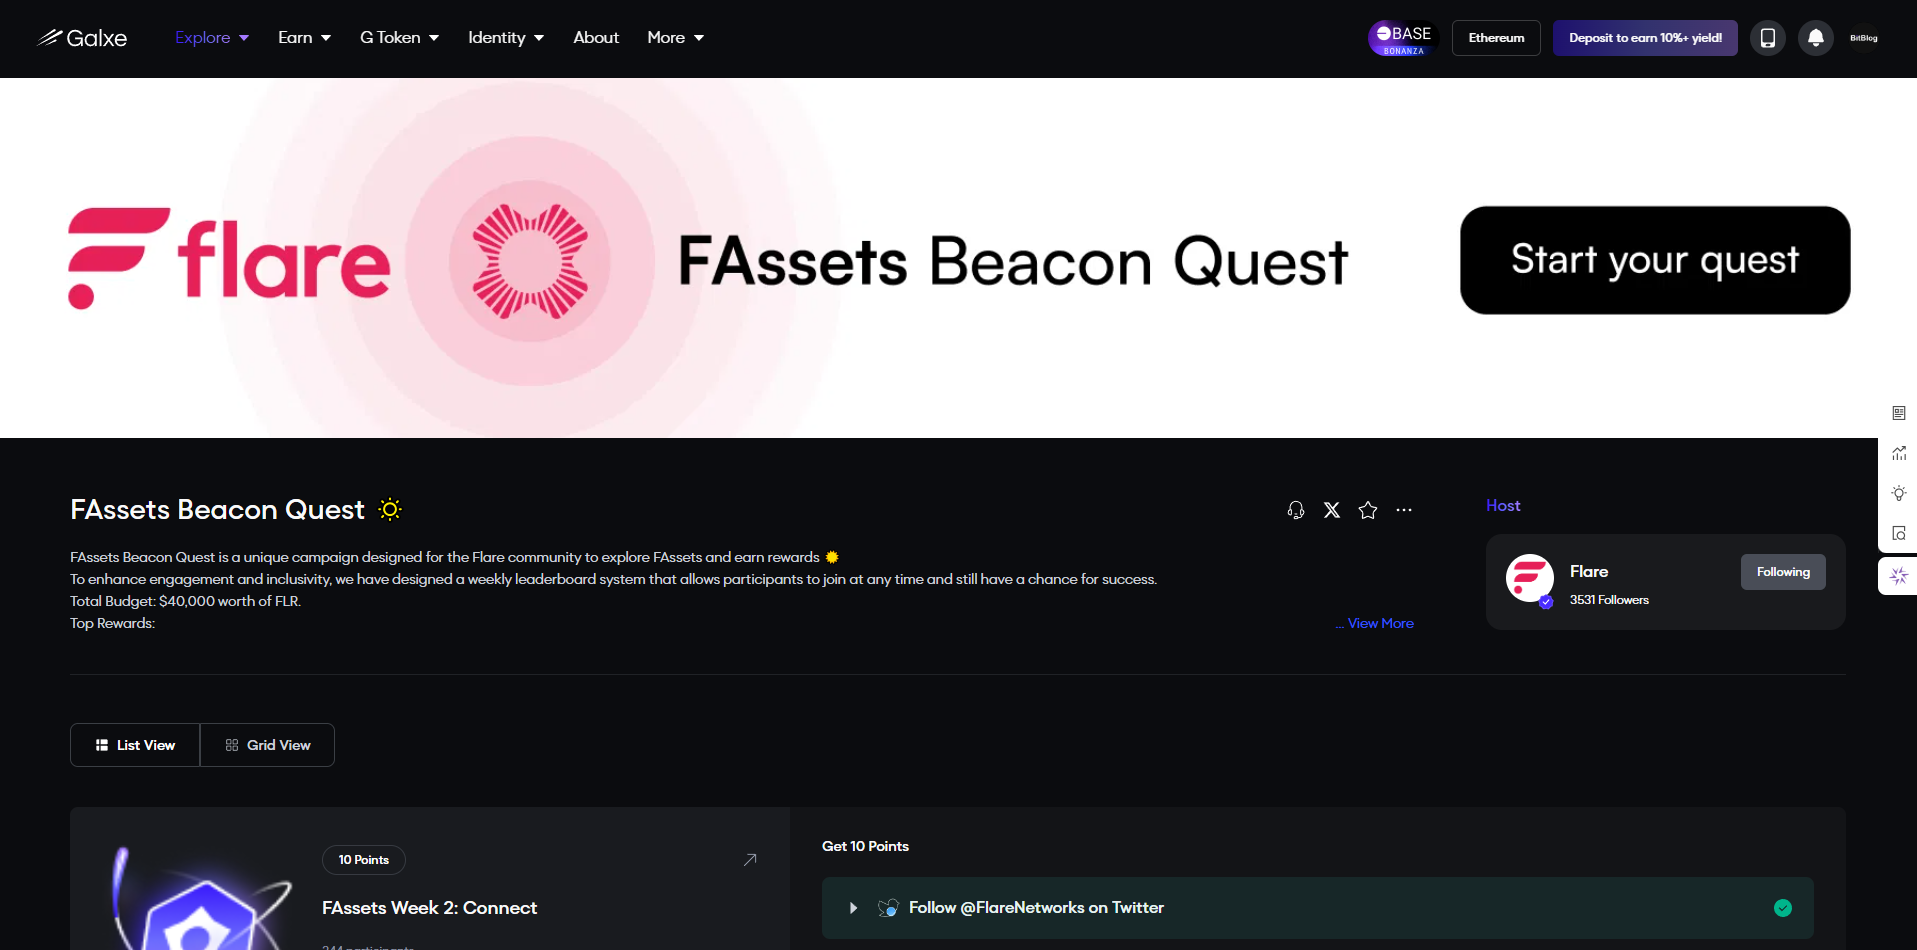
Finally, head over to the Galxe campaign: app.galxe.com/quest/flare/GCTdbtKxRH and claim all your points for completing the previous tasks!
Outro
That's all for this guide!
If you found this tutorial helpful and informative, consider sharing it on social media. You can also stay updated on the latest content and discussions by following us on X (formely Twitter): @BitBlogxyz
Disclaimer: This guide is provided strictly for educational purposes and should not be considered financial advice. The content is designed to offer insights into various web3 topics & projects.
We do not recommend putting real money into random projects without conducting plenty of your own research first. It is crucial to make informed decisions based on your own understanding and risk tolerance.