

Introduction
In this guide, we’ll walk you through the Incentiv testnet, showing you how to claim test tokens and unlock every available badge along the way.
What is Incentiv Testnet?
Incentiv testnet is designed to make blockchain more accessible and user-friendly. It introduces account abstraction for smoother interactions, simplified onboarding with passkey-based wallets or existing EOAs, and a portal for easy transfers, contact management, and smart contract deployment. It’s a flexible, powerful testnet built to streamline the Web3 experience, with more features coming soon.
Guide
Step 1 - Getting Started
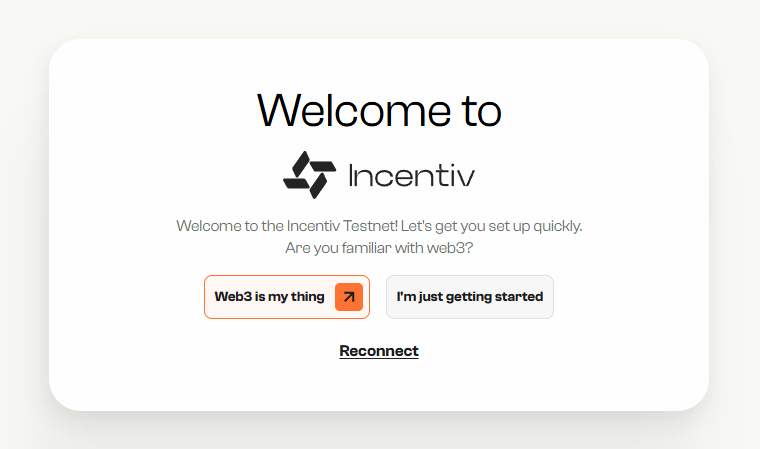
For the first step we need to head over to Incentiv testnet & press I'm just getting started.
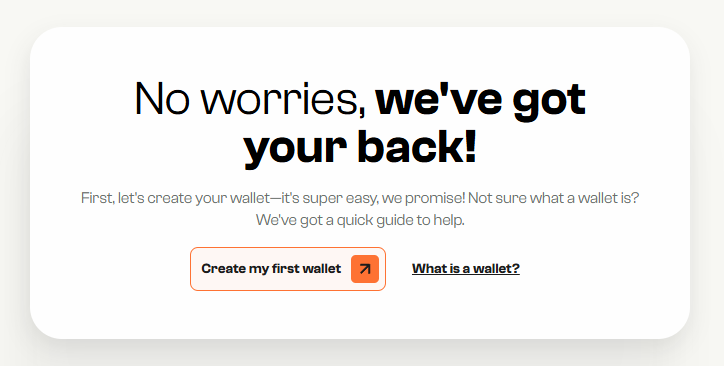
Now press Create my first wallet.
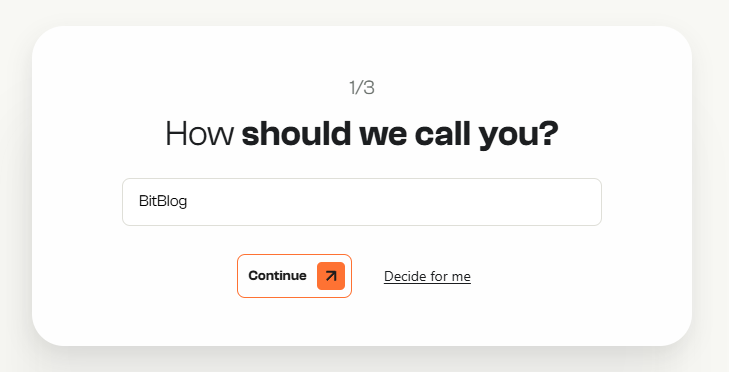
Enter a name & press Continue.
Now setup a passkey.

Step 2 - Get Test Tokens
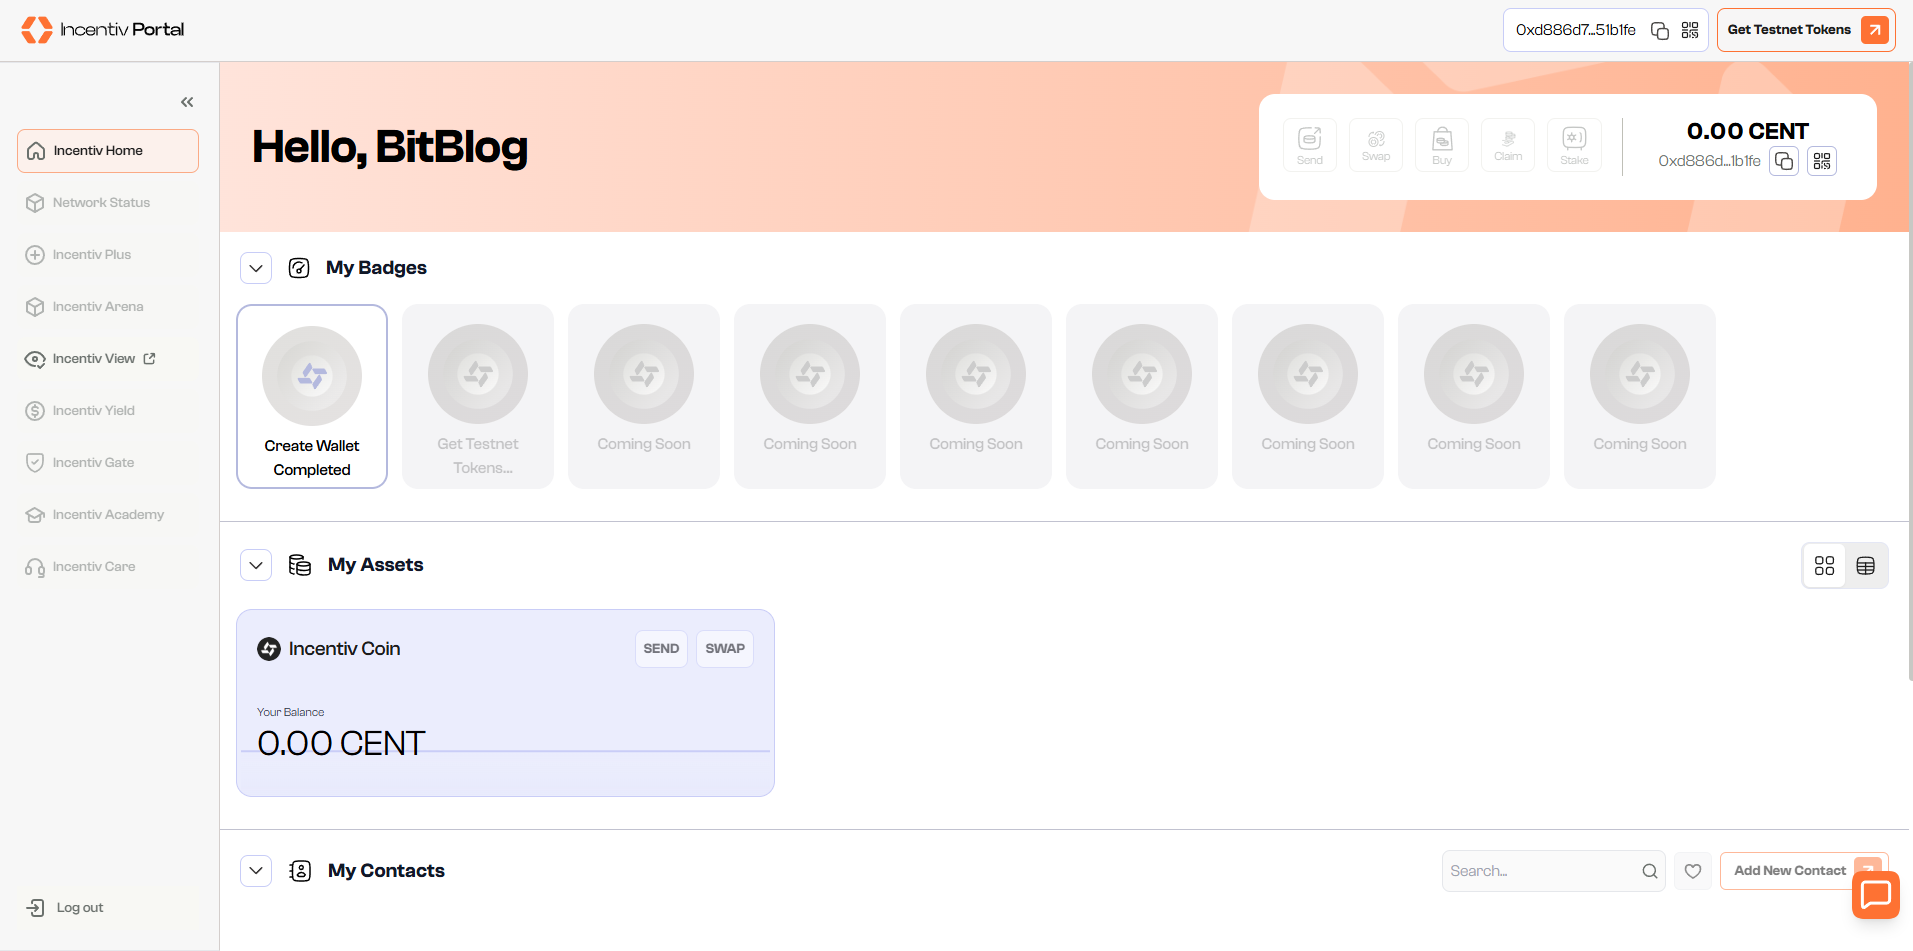
Now you should be in the Portal. The first thing we should do is claim some testnet tokens.
To do this, press the "Get Testnet Tokens" button in the top-right corner.
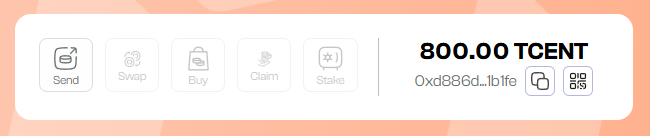
You should receive 100 CENT tokens. Claims are available every 4 hours.
Step 3 - Add Contact
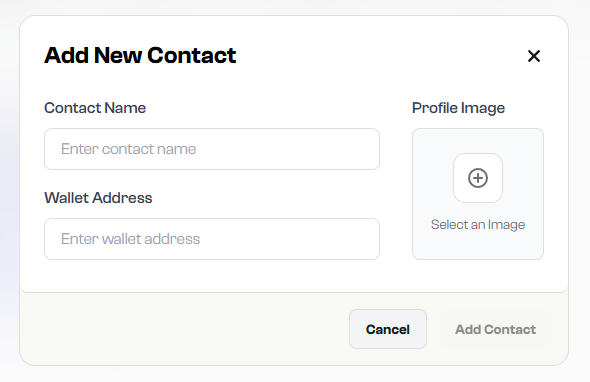
Next, let's add a new contact, to do this scroll down to the Contacts section, and press "Add New Contact".

Provide a name and wallet address.
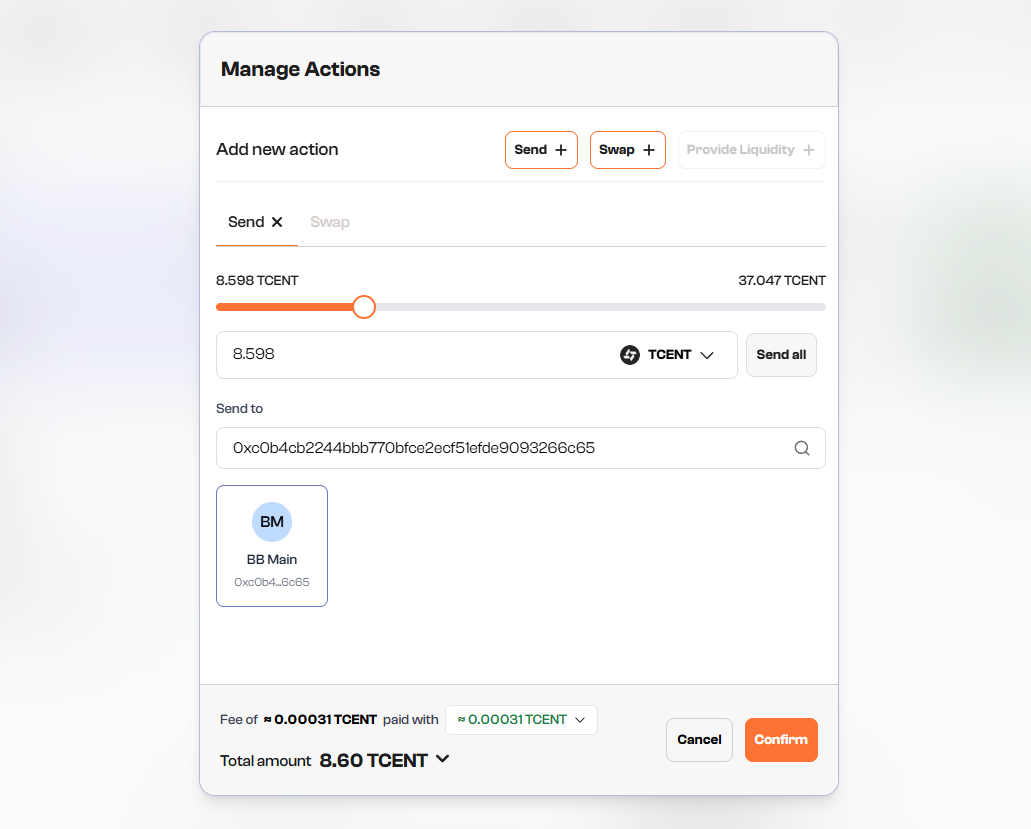
Step 4 - Send Tokens
Now let's send some test tokens to another address, this will unlock the Send Tokens badge.
To do this, just press the Send button, then enter any amount of TCENT tokens that you want to send, & finally enter the wallet address you want to send the tokens to.
You can send the tokens to one of your contacts if you like.
Step 5 - Perform a Swap
Now we need to press the Swap button to bring up the token swap interface.

Here we can swap our TCENT for FLIP & BULL tokens.
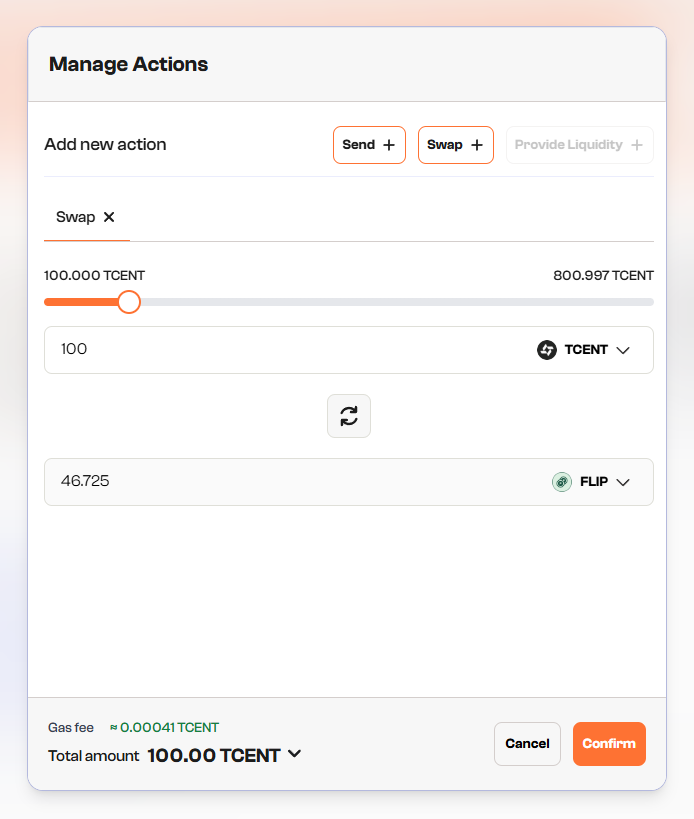
Step 6 - Bundle Actions
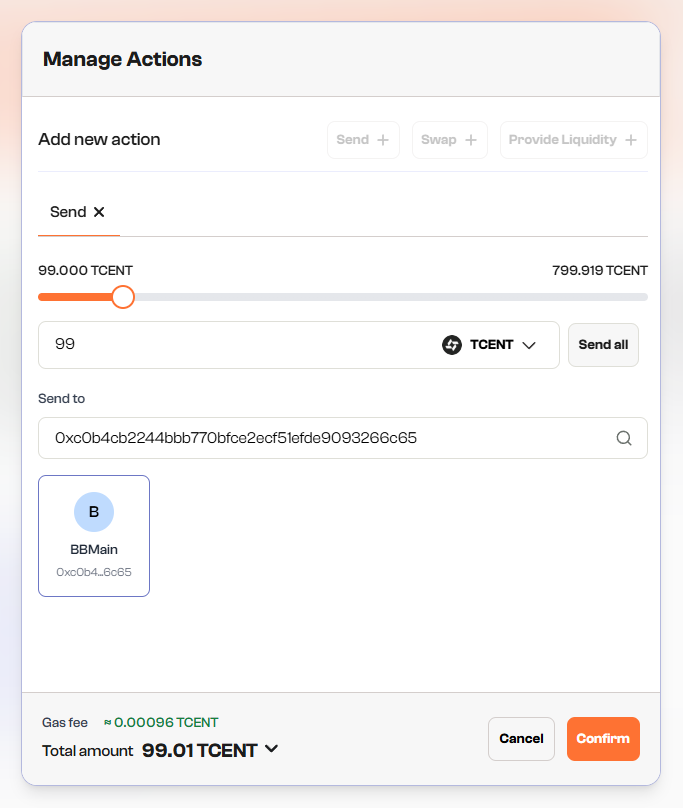
To earn this badge we need to bundle actions.
For example, we can setup a Send and a Swap and then combine those actions into one by simply adding a new action.
So input your send amount and address you want to send to, and then press +Swap this will create a second tab where you can then set your Swap amount and which tokens to swap.
Then just press Confirm and the Send & Swap should both trigger at the same time and you will earn your badge!
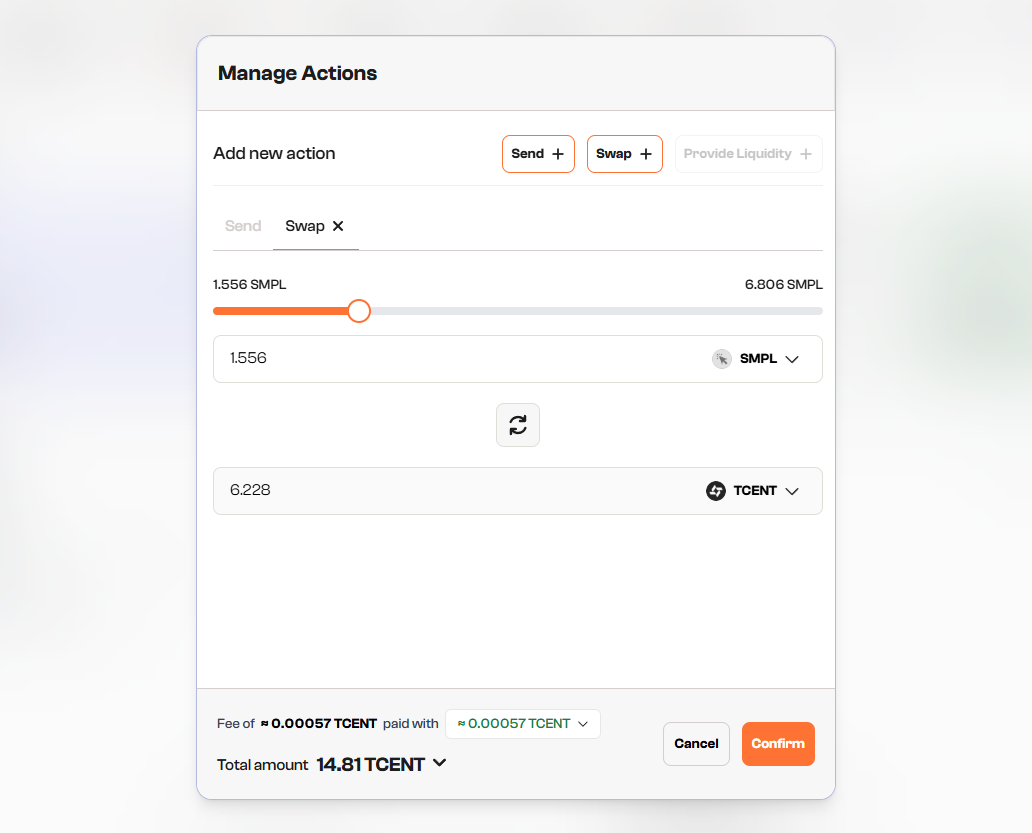
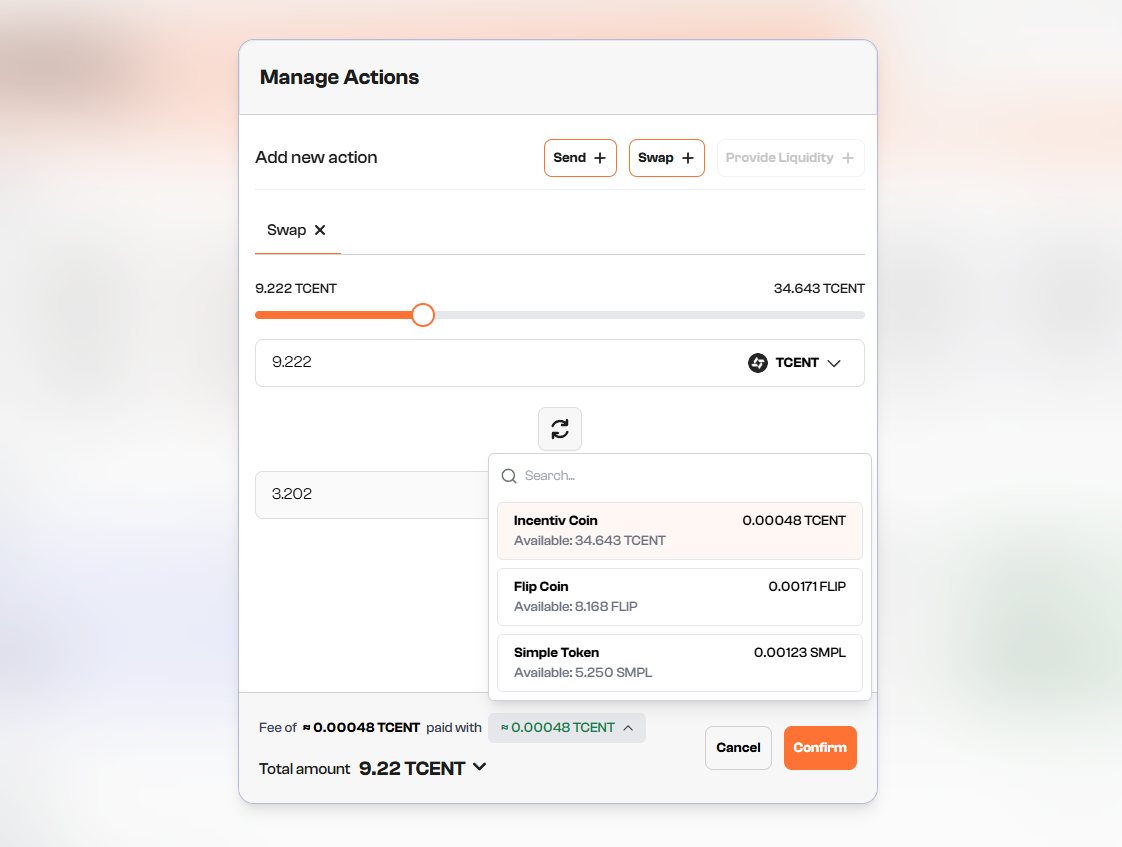
Step 7 - Unified Token Badge
For this next badge, we need to perform a swap, but we need to set the fee token as a different token.
For example, I will do a swap from TCENT to FLIP, but I will set the fee token as SMPL.
Outro
That's all for this guide!
If you found this tutorial helpful and informative, consider sharing it on social media. You can also stay updated on the latest content and discussions by following us on X (formely Twitter): @BitBlogxyz
Disclaimer: This guide is provided strictly for educational purposes and should not be considered financial advice. The content is designed to offer insights into various web3 topics & projects.
We do not recommend putting real money into random projects without conducting plenty of your own research first. It is crucial to make informed decisions based on your own understanding and risk tolerance.
Want to support the platform? 👉 Support Us