


Introduction
In this guide, we're going to explore Pharos Testnet and learn how to participate in the ecosystem.
What is Pharos?
Pharos is a modular and full-stack parallel Layer 1 blockchain network designed to deliver high performance, scalability, and flexibility for Web3 applications.
It is structured into three main layers: L1-Base, which provides industry-leading data availability and hardware acceleration; L1-Core, a globally distributed, high-throughput blockchain with sub-second finality; and L1-Extension, which enables expansion through Special Processing Networks (SPNs), native restaking, and seamless cross-SPN interoperability.
Together, these layers create a composable ecosystem where SPNs can support diverse workloads—from blockchain networks to advanced use cases like AI and ZKML—while leveraging shared security and validator resources. Complemented by Pharos’ ecosystem architecture for cross-chain transactions, adaptive restaking, and decentralized data exchange, the testnet serves as a foundation for building next-generation decentralized infrastructure and applications.
Step 1
First, head over to Pharos website & connect your wallet.

Step 2
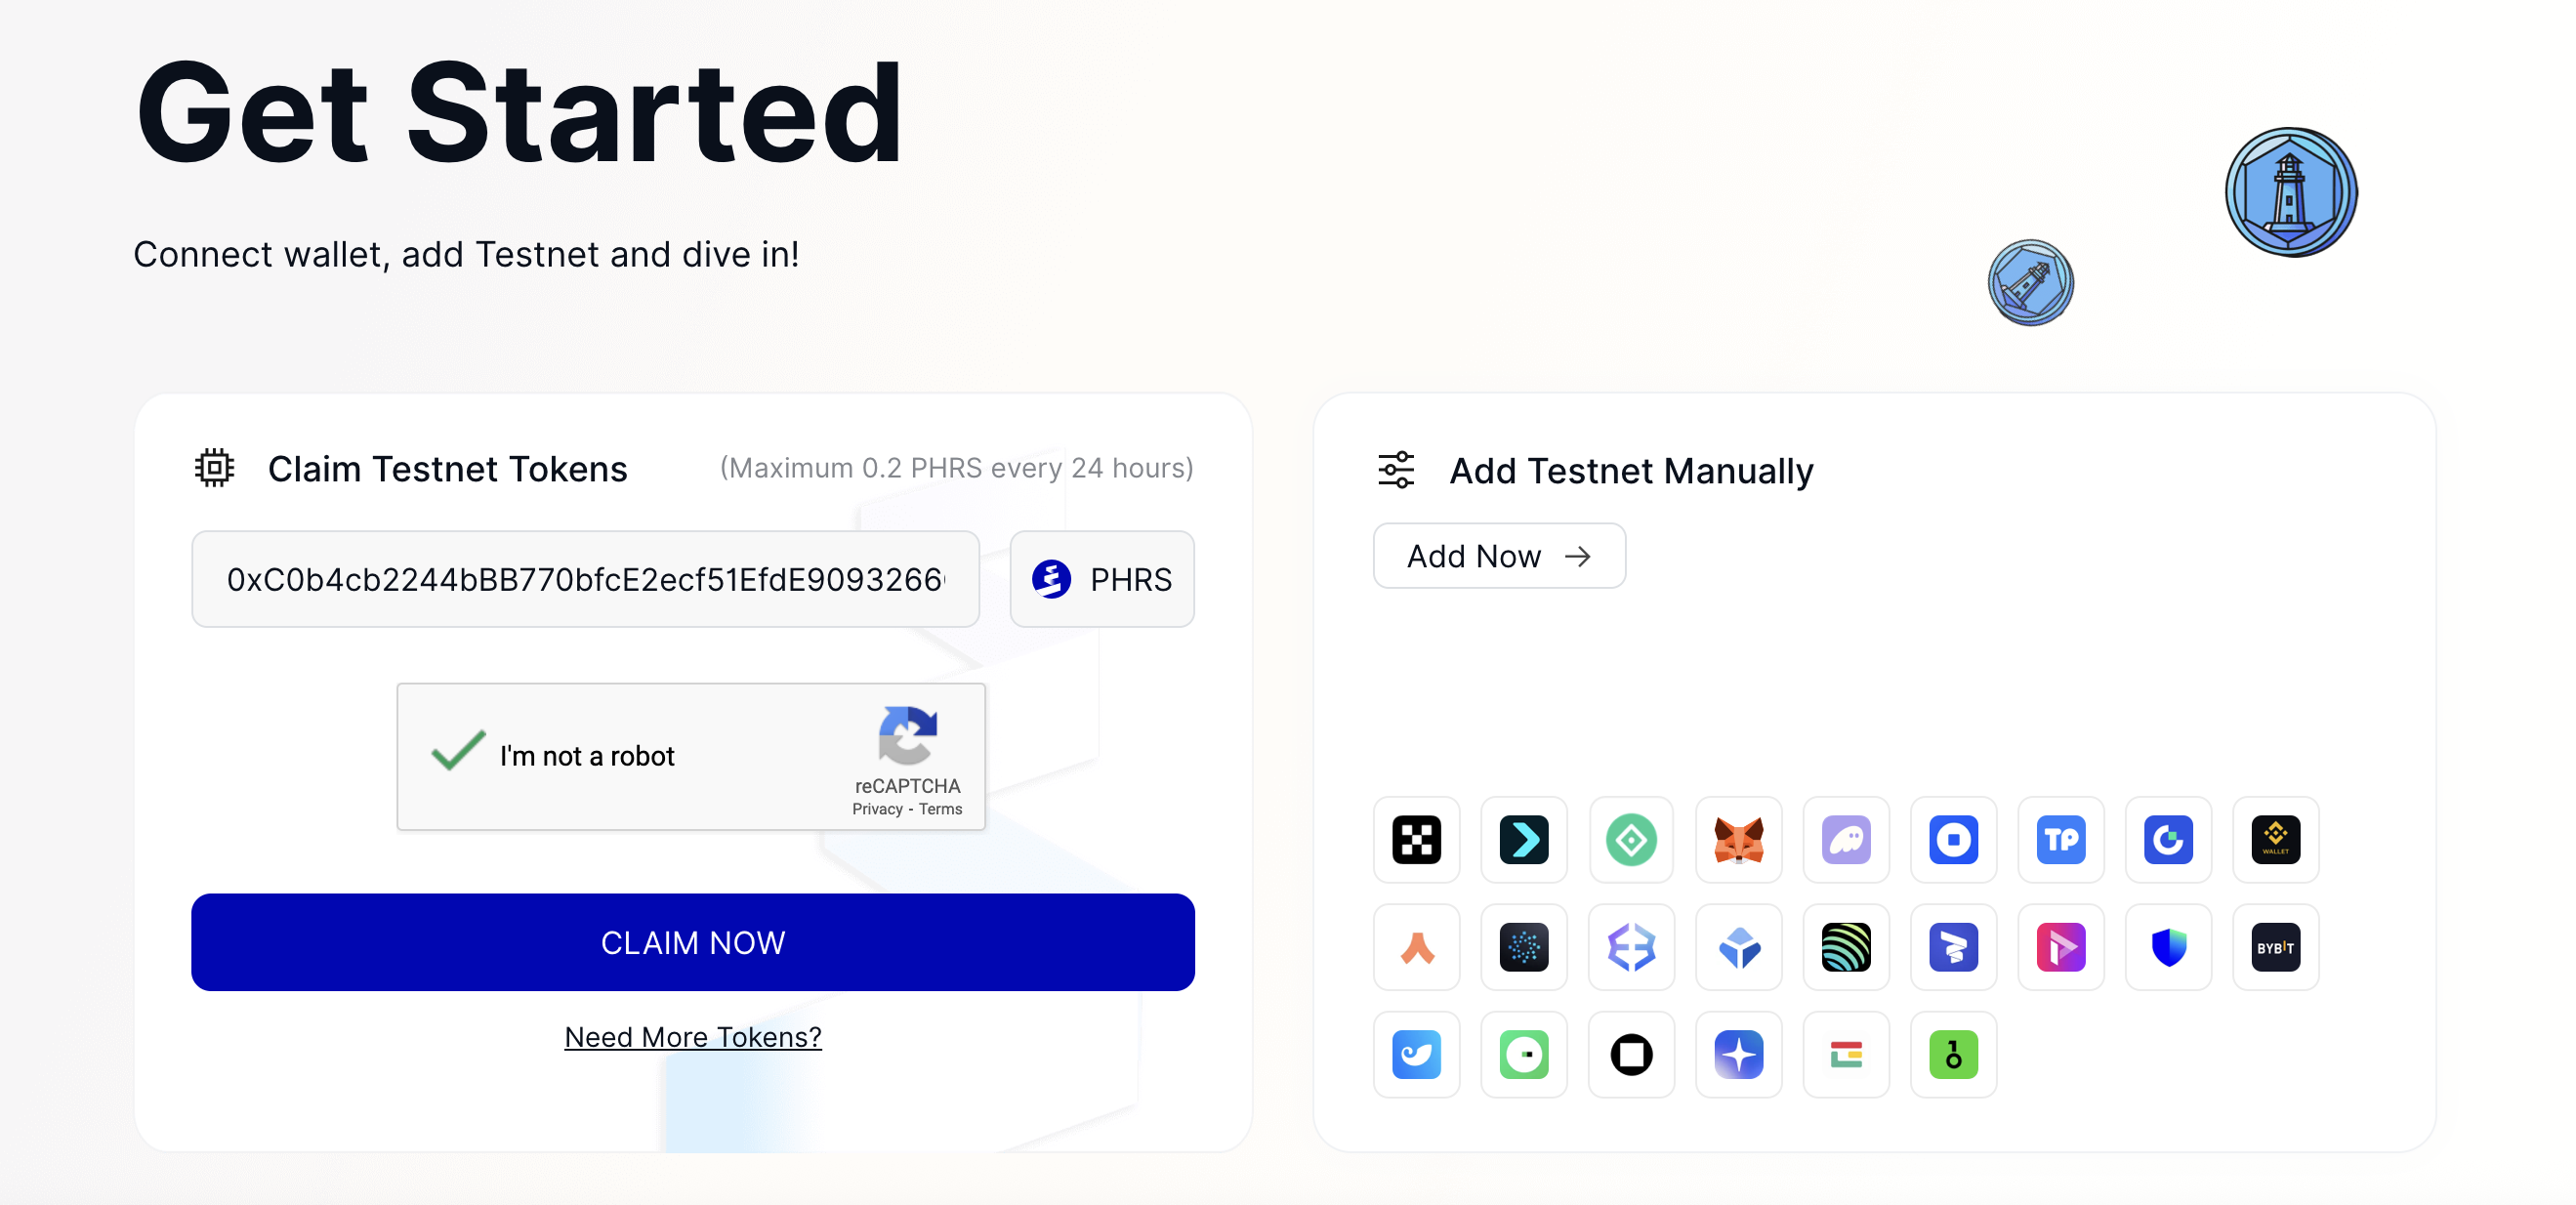
After connecting wallet, scroll down to the Get Started section, insert your wallet address and link your X account.
After that, press Claim Now to receive test tokens.
If you want more tokens, you can go to these faucets:
- zan.top/faucet/pharos - Sign-up, login, and claim an additional 0.2 PHRS every 24 hours!
- newshare.bwb.global/en/earnCoinsTasks - Scan QR code with Bitget Wallet mobile app, complete tasks to get another 0.3 PHRS every 24 hours!
- testnet.zenithswap.xyz/faucet - Get 1000 USDC or USDT every 24 hours!
Step 3
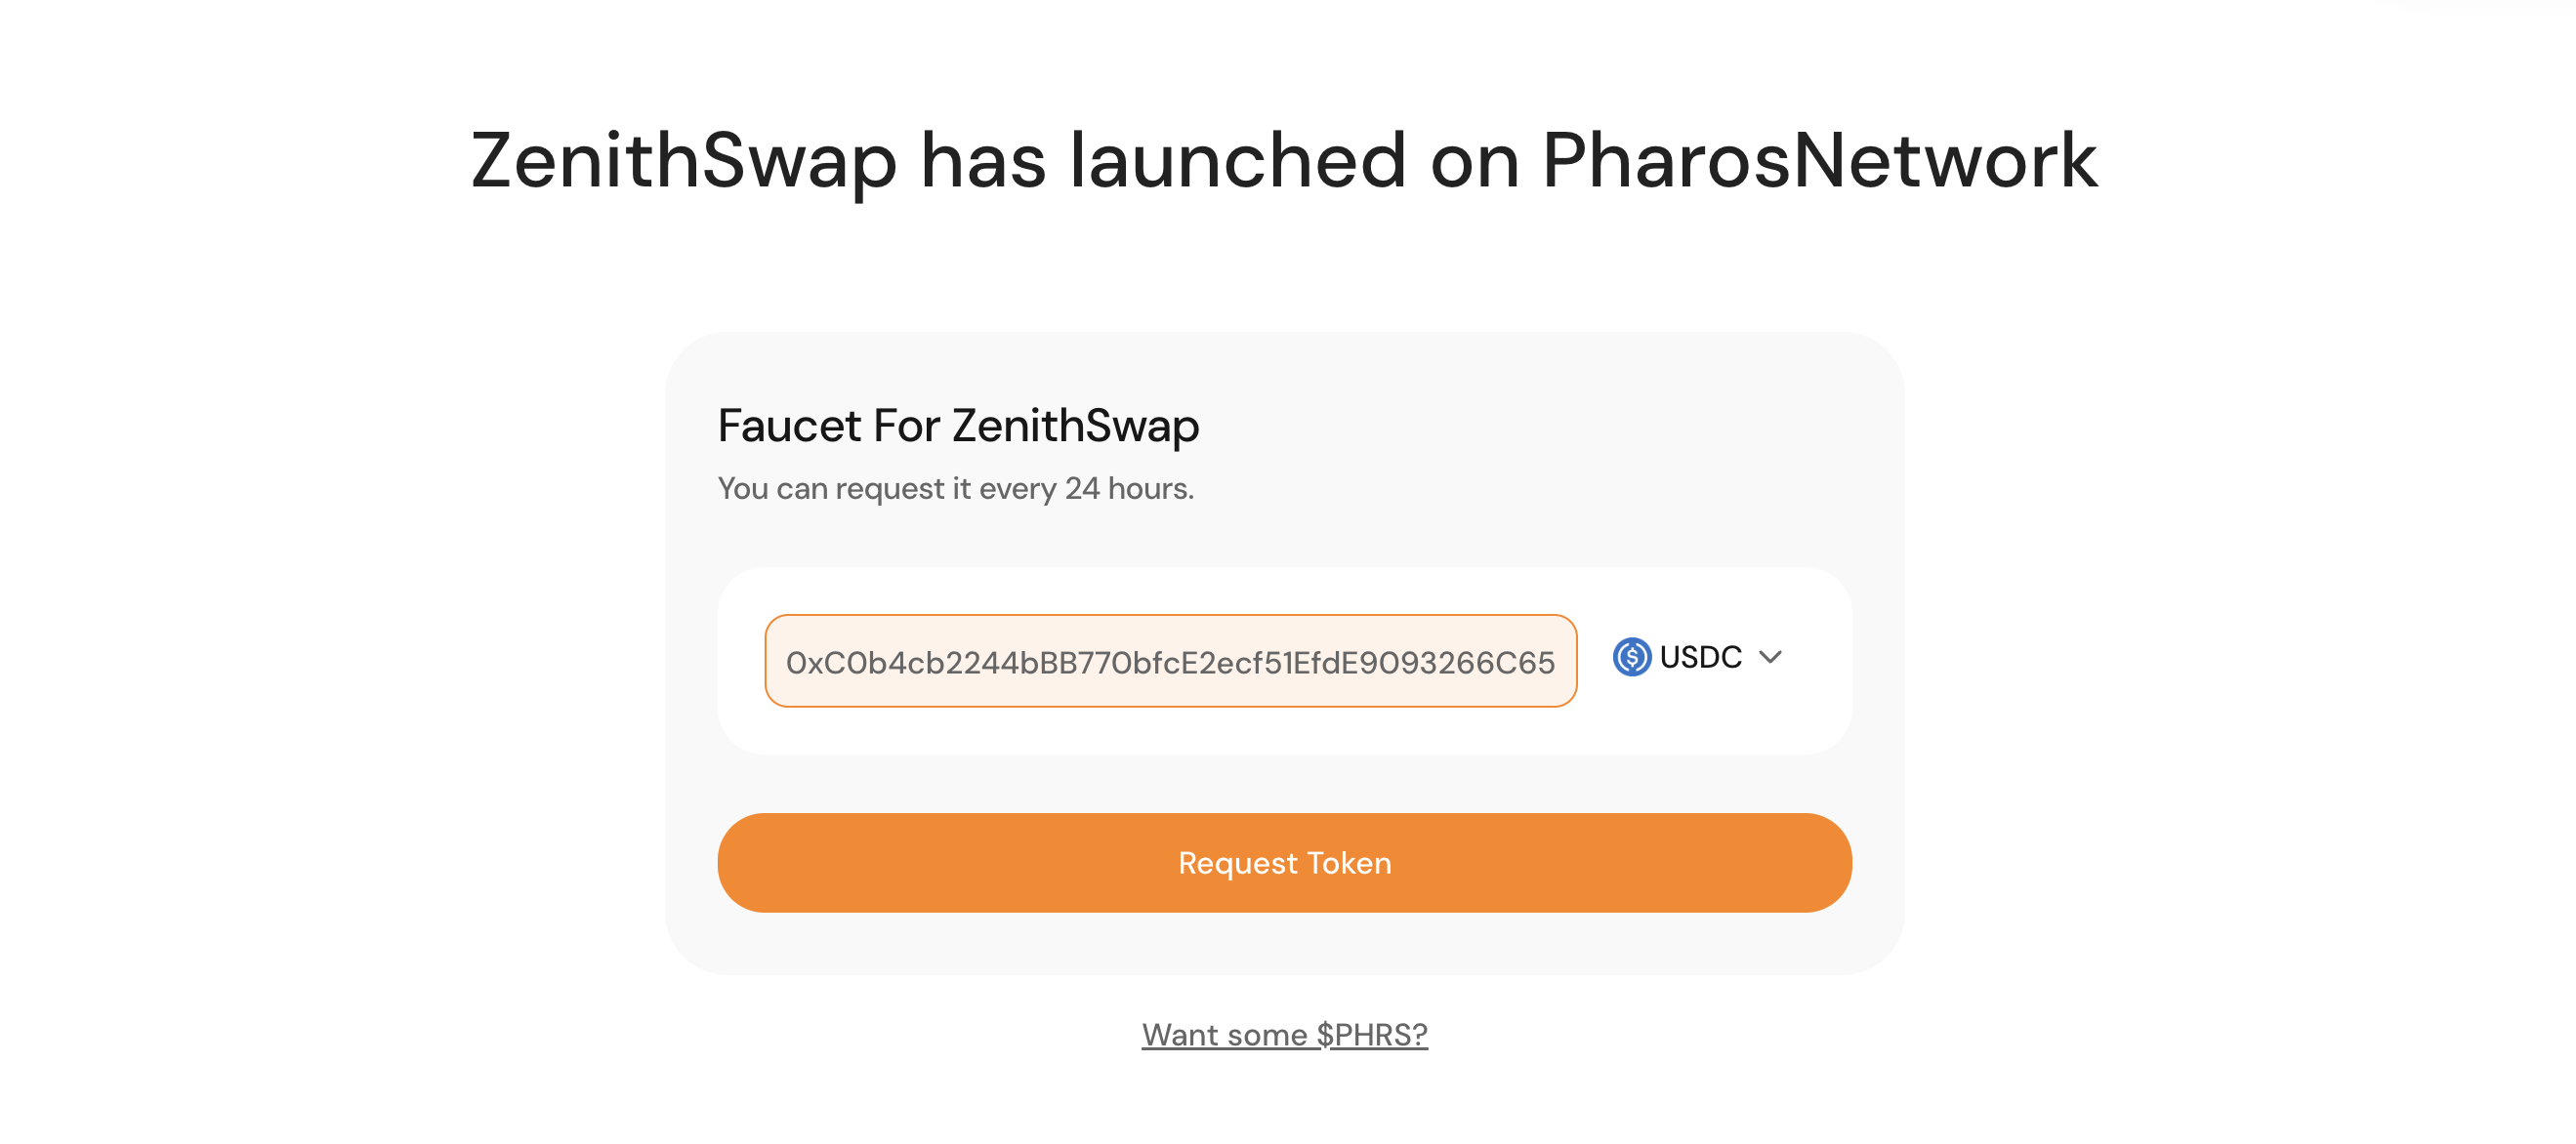
Now let's claim some other test tokens. Head over to: testnet.zenithswap.xyz/faucet & connect wallet & X account.
After that, press Request Token.
You can do the same for USDT too but you will need to wait 24 hours for this.
Step 4
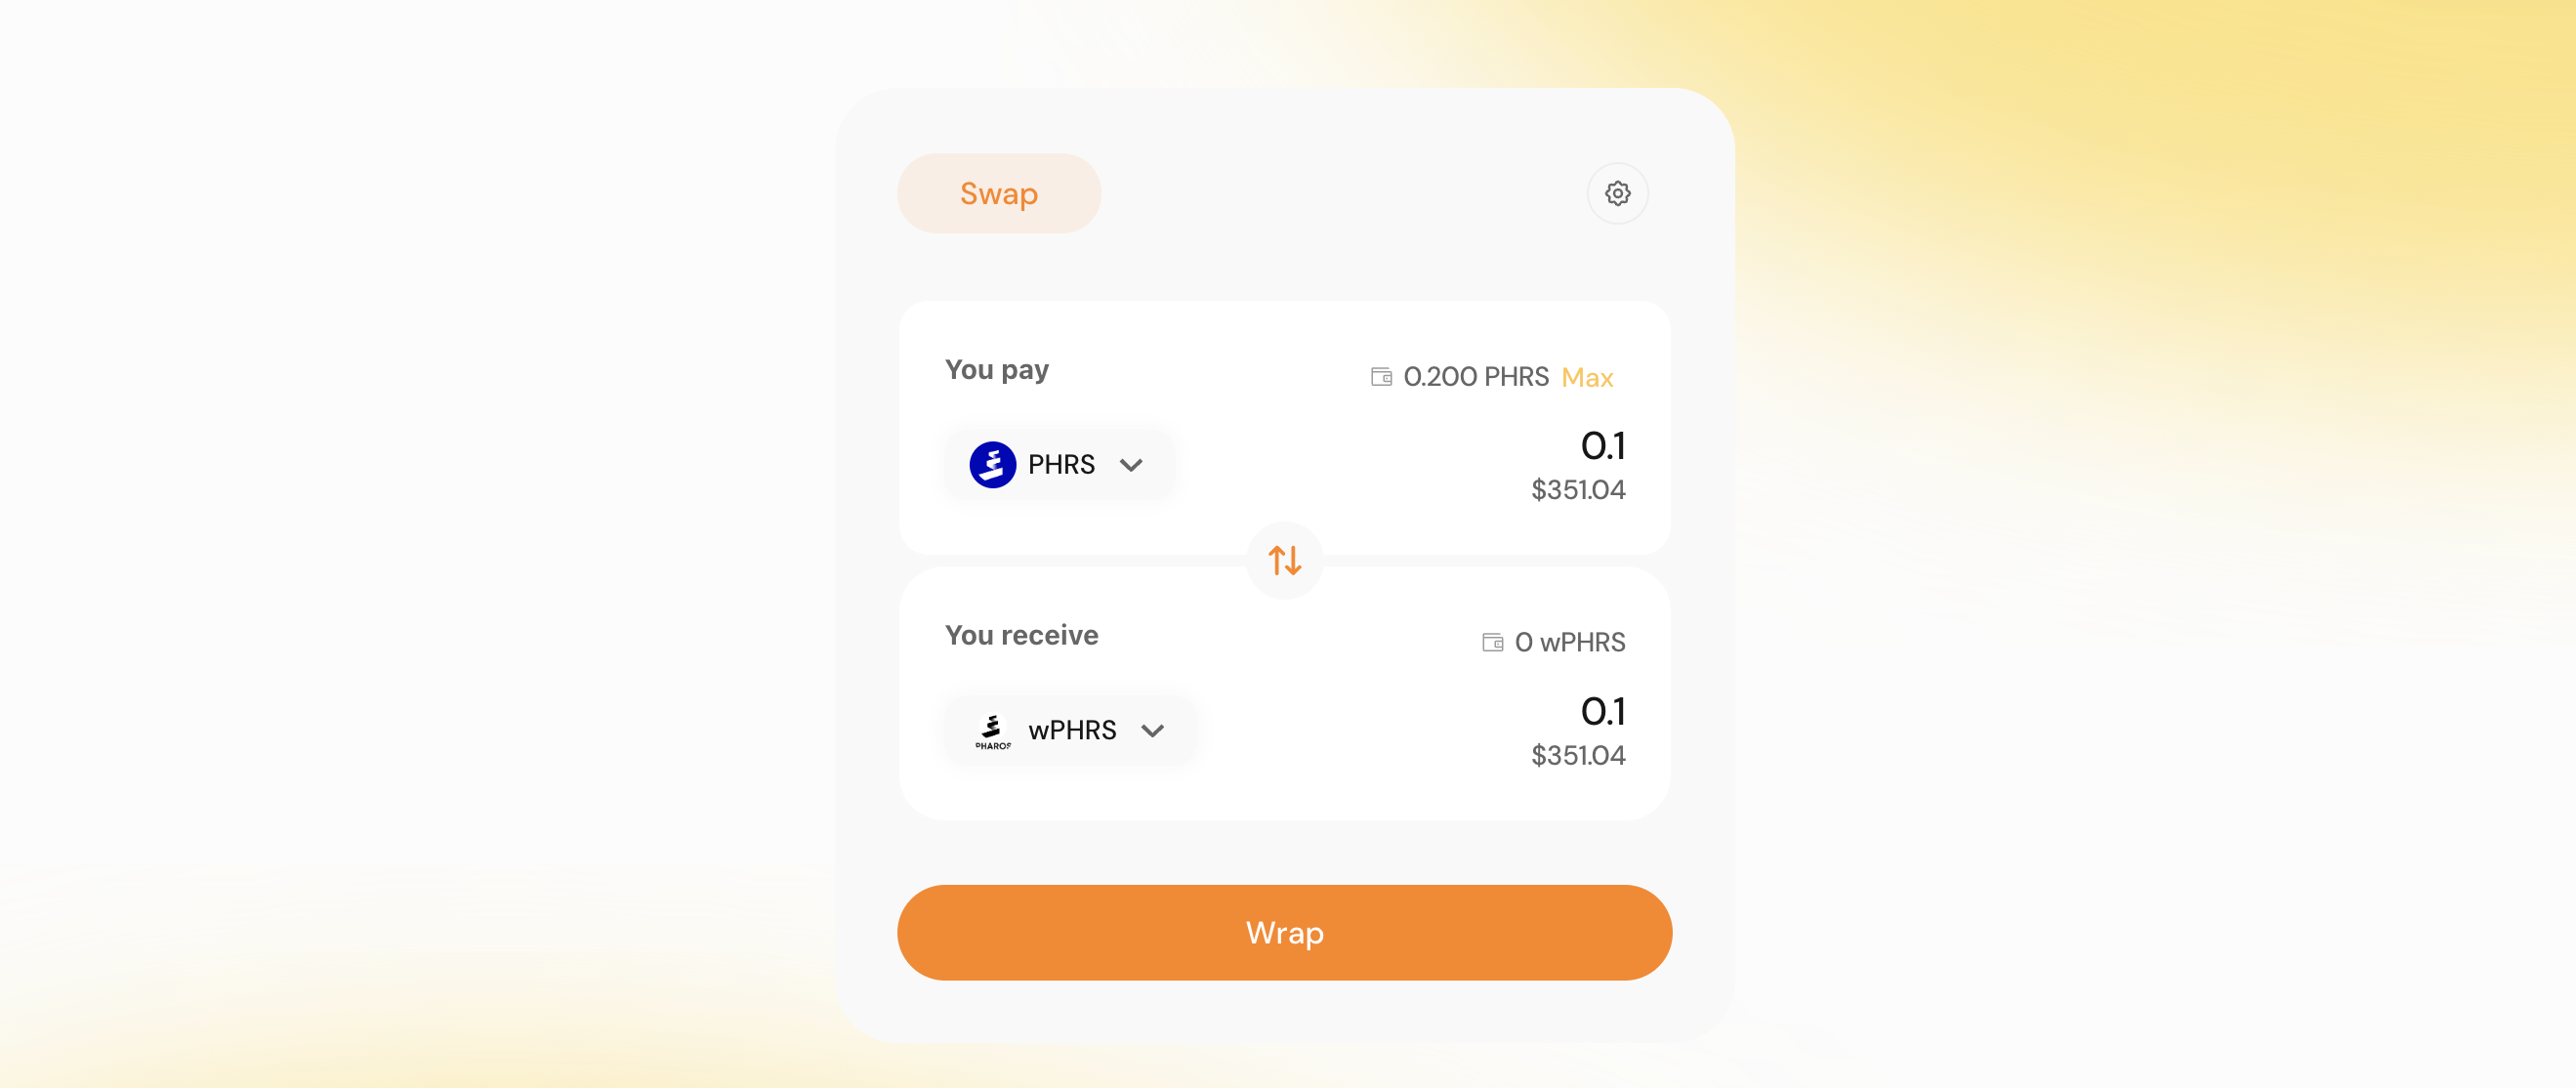
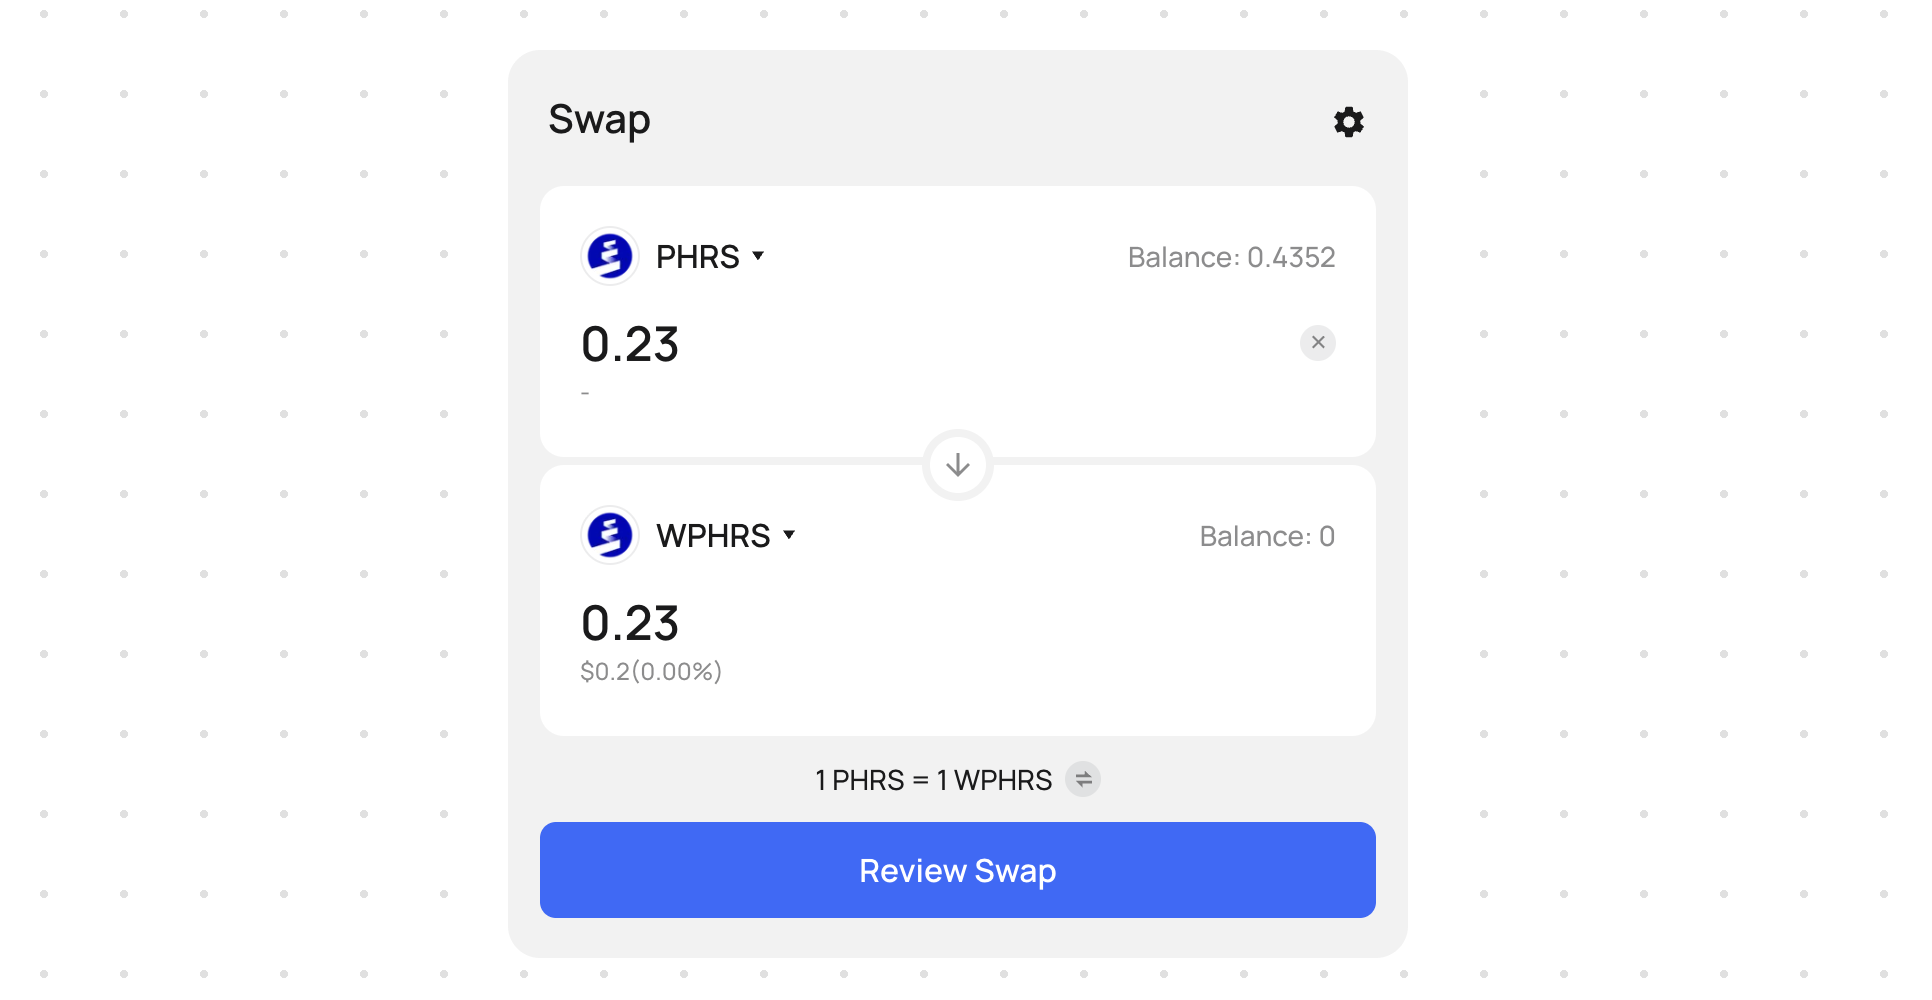
Now head to the Swap tab and perform some swaps between PHRS/USDC & PHRS/USDT.
You can also wrap PHRS to wPHRS and vice versa.
Step 5
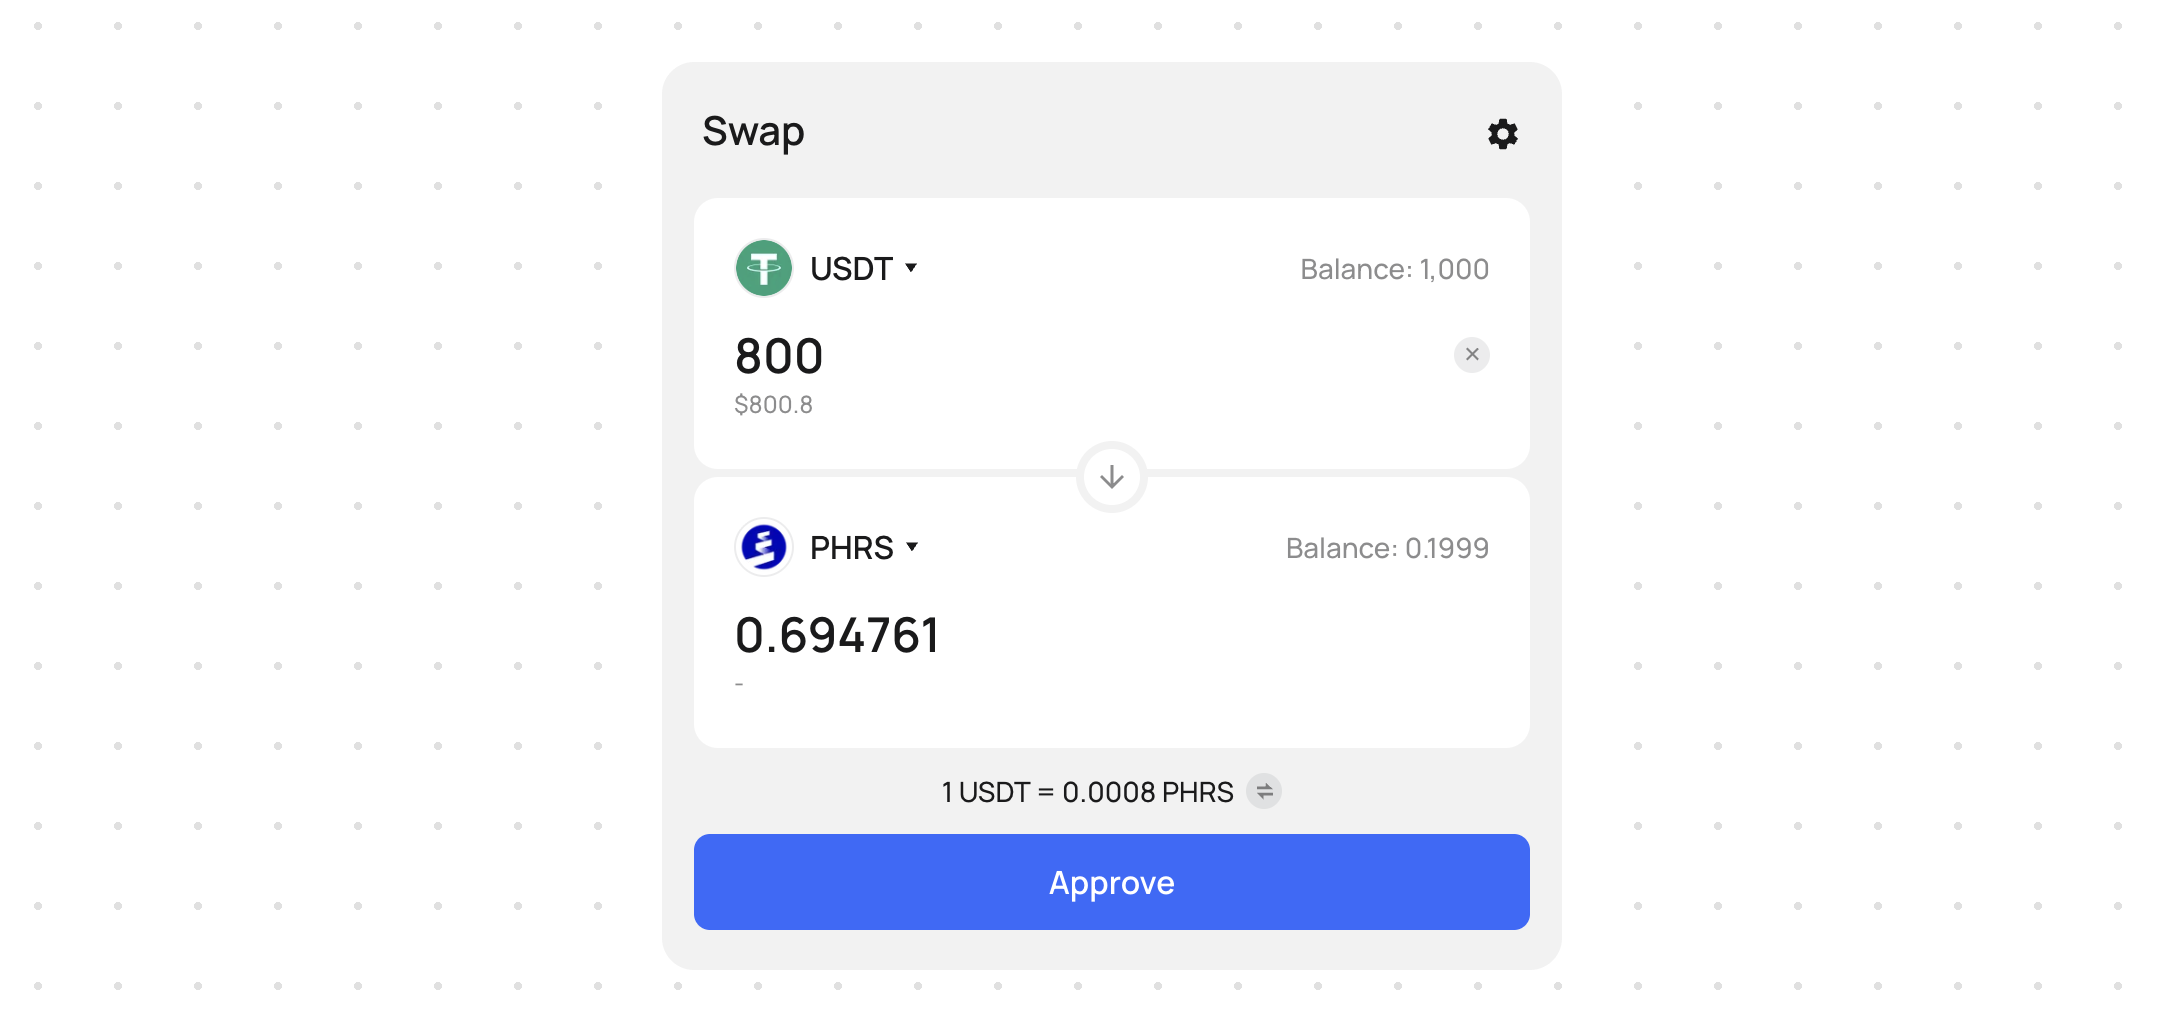
Now let's check out faroswap.xyz/swap
Here we can perform more swaps, and it's a lot more reliable than the previous site.
Just input any token and amount, hit Approve, then Review Swap and finally Confirm Swap.
Step 6
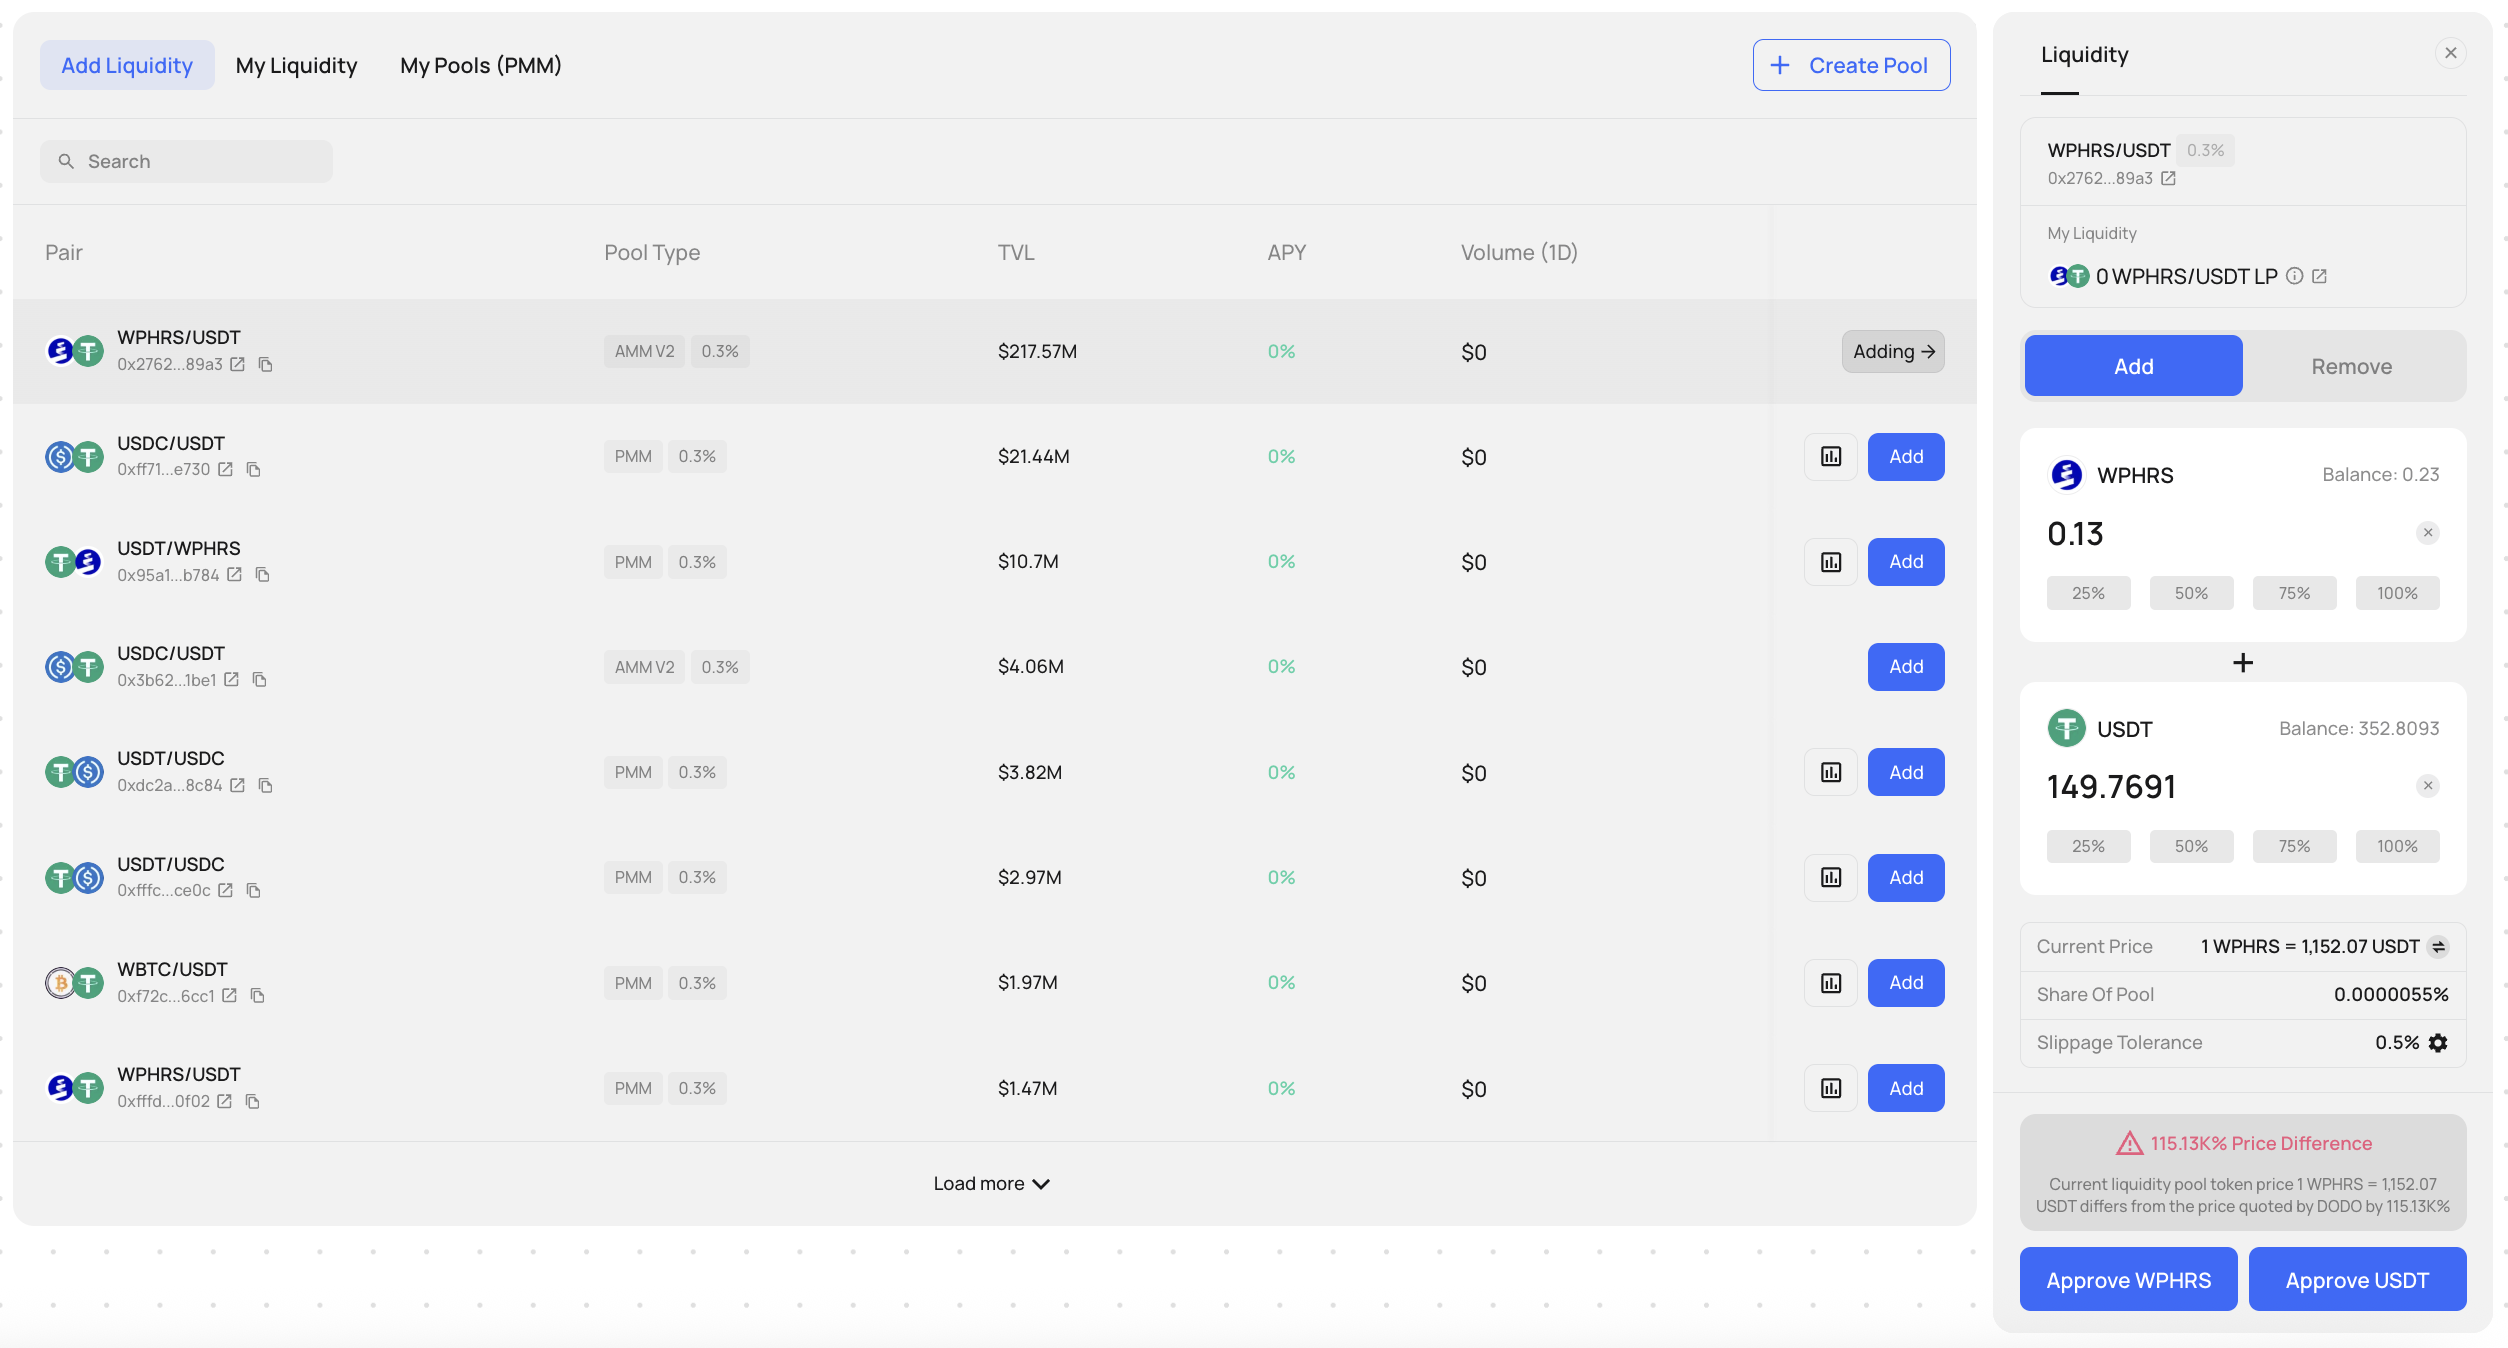
Now let's provide liquidity to the wPHRS/USDT pool.
To do this, we need to first wrap some PHRS.
After that, we can go to the Pool section and press Add on the WPHRS/USDT pool.
Now on the right side you can insert an available amount, Approve both tokens, and finally press Supply.
Step 7
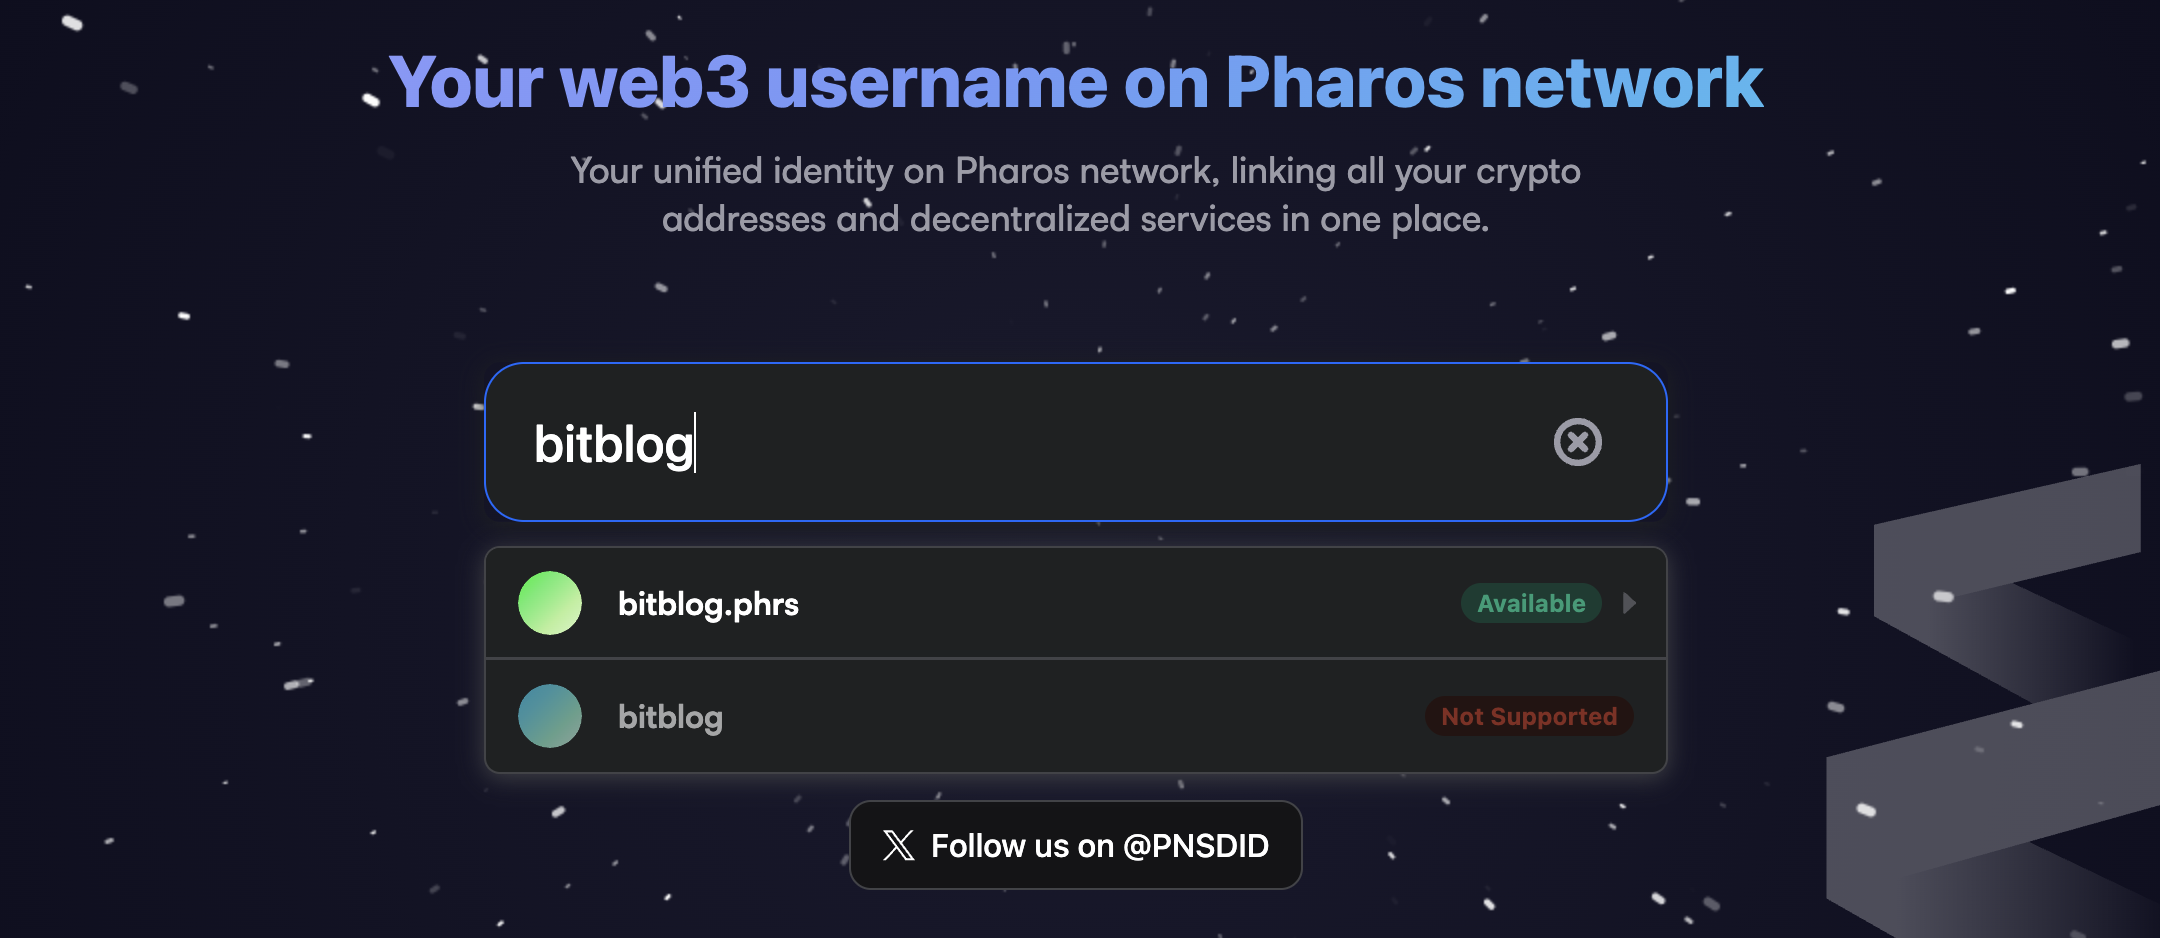
Another important on-chain activity for Pharos would be to purchase and claim a .phrs username.
To do this, head over to: test.pharosname.com & connect wallet.
Input a name of your choice and select it from the results.
Choose how long you want it to be registered for and hit Next.
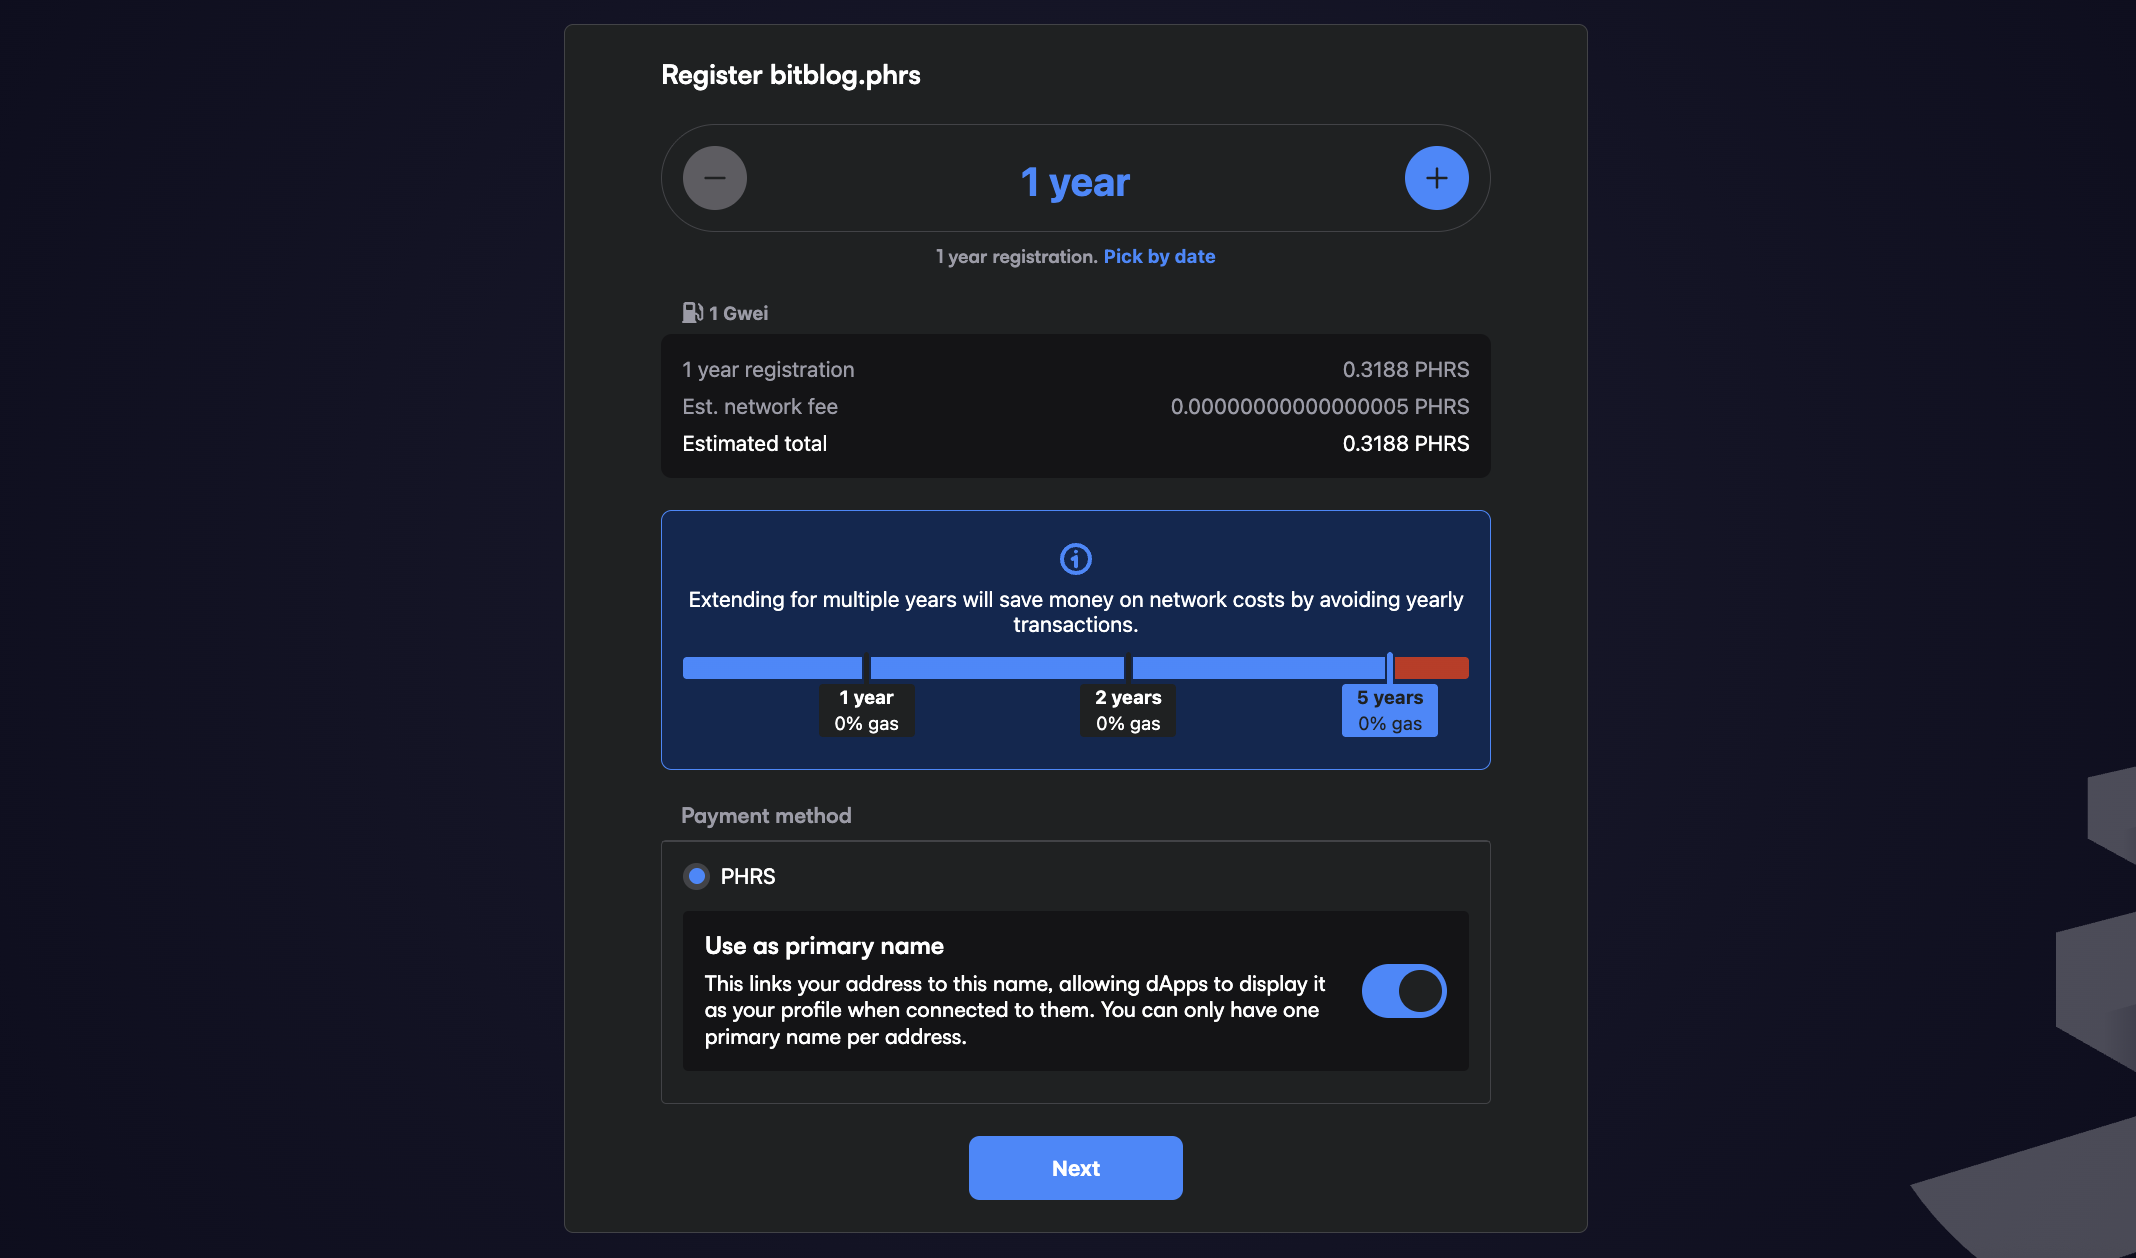
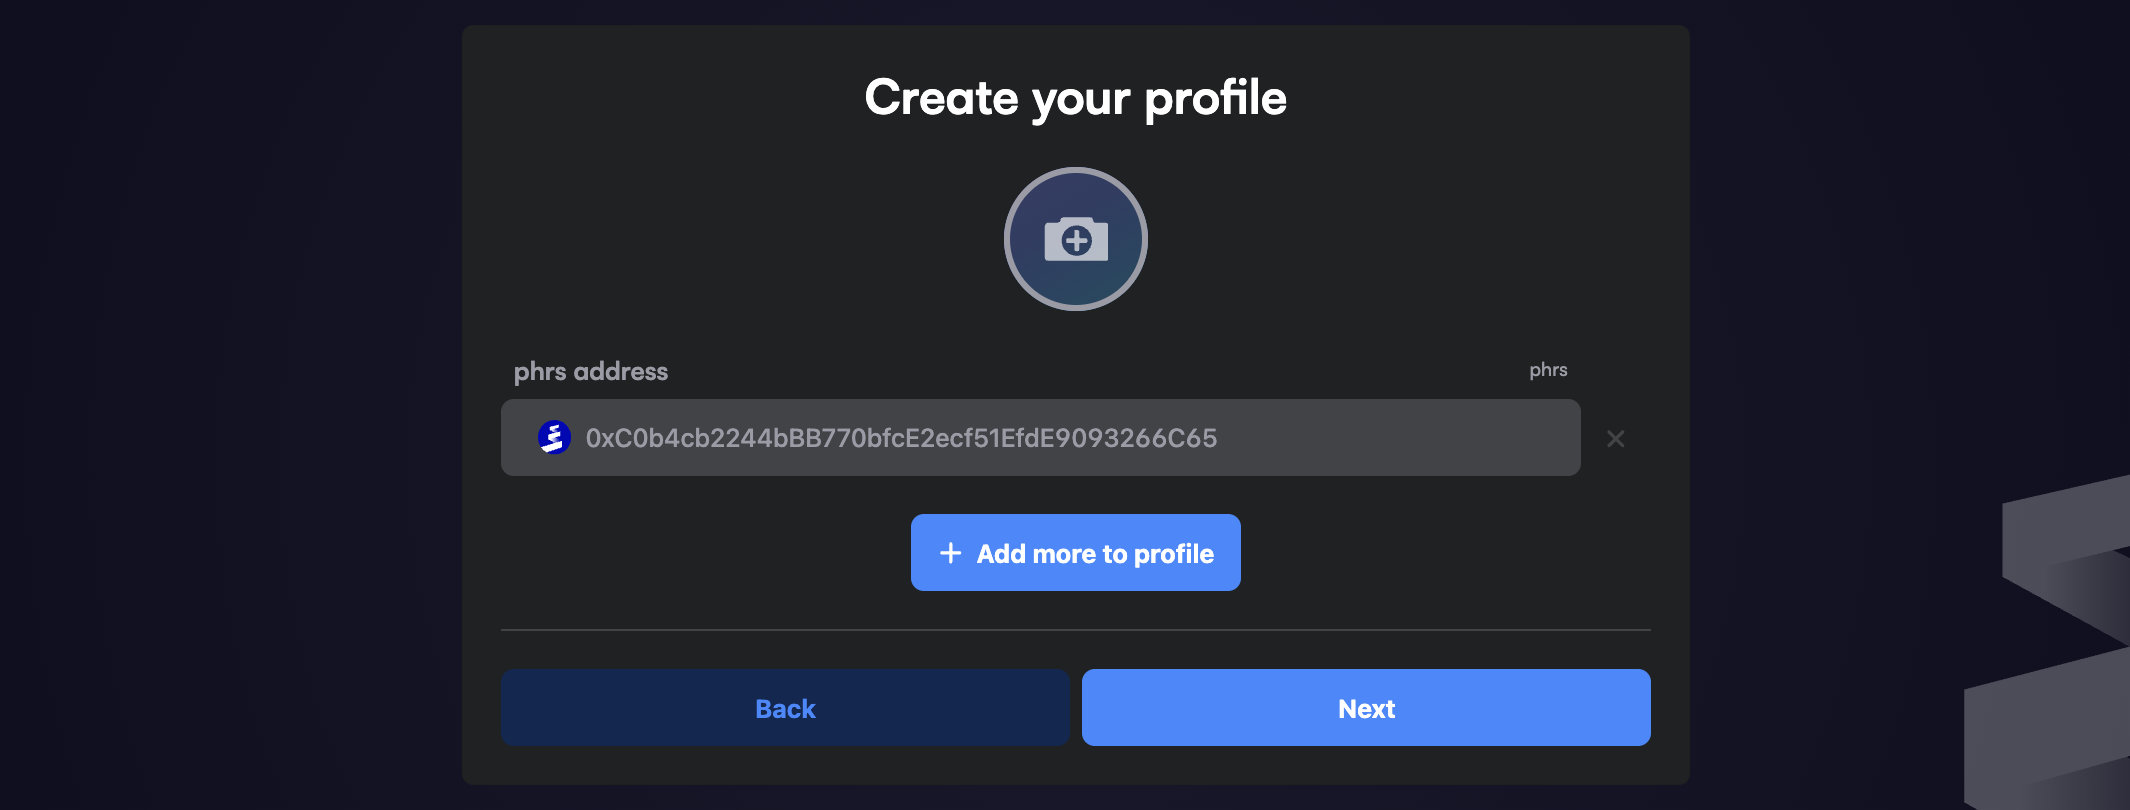
Now just create profile, hit Next.
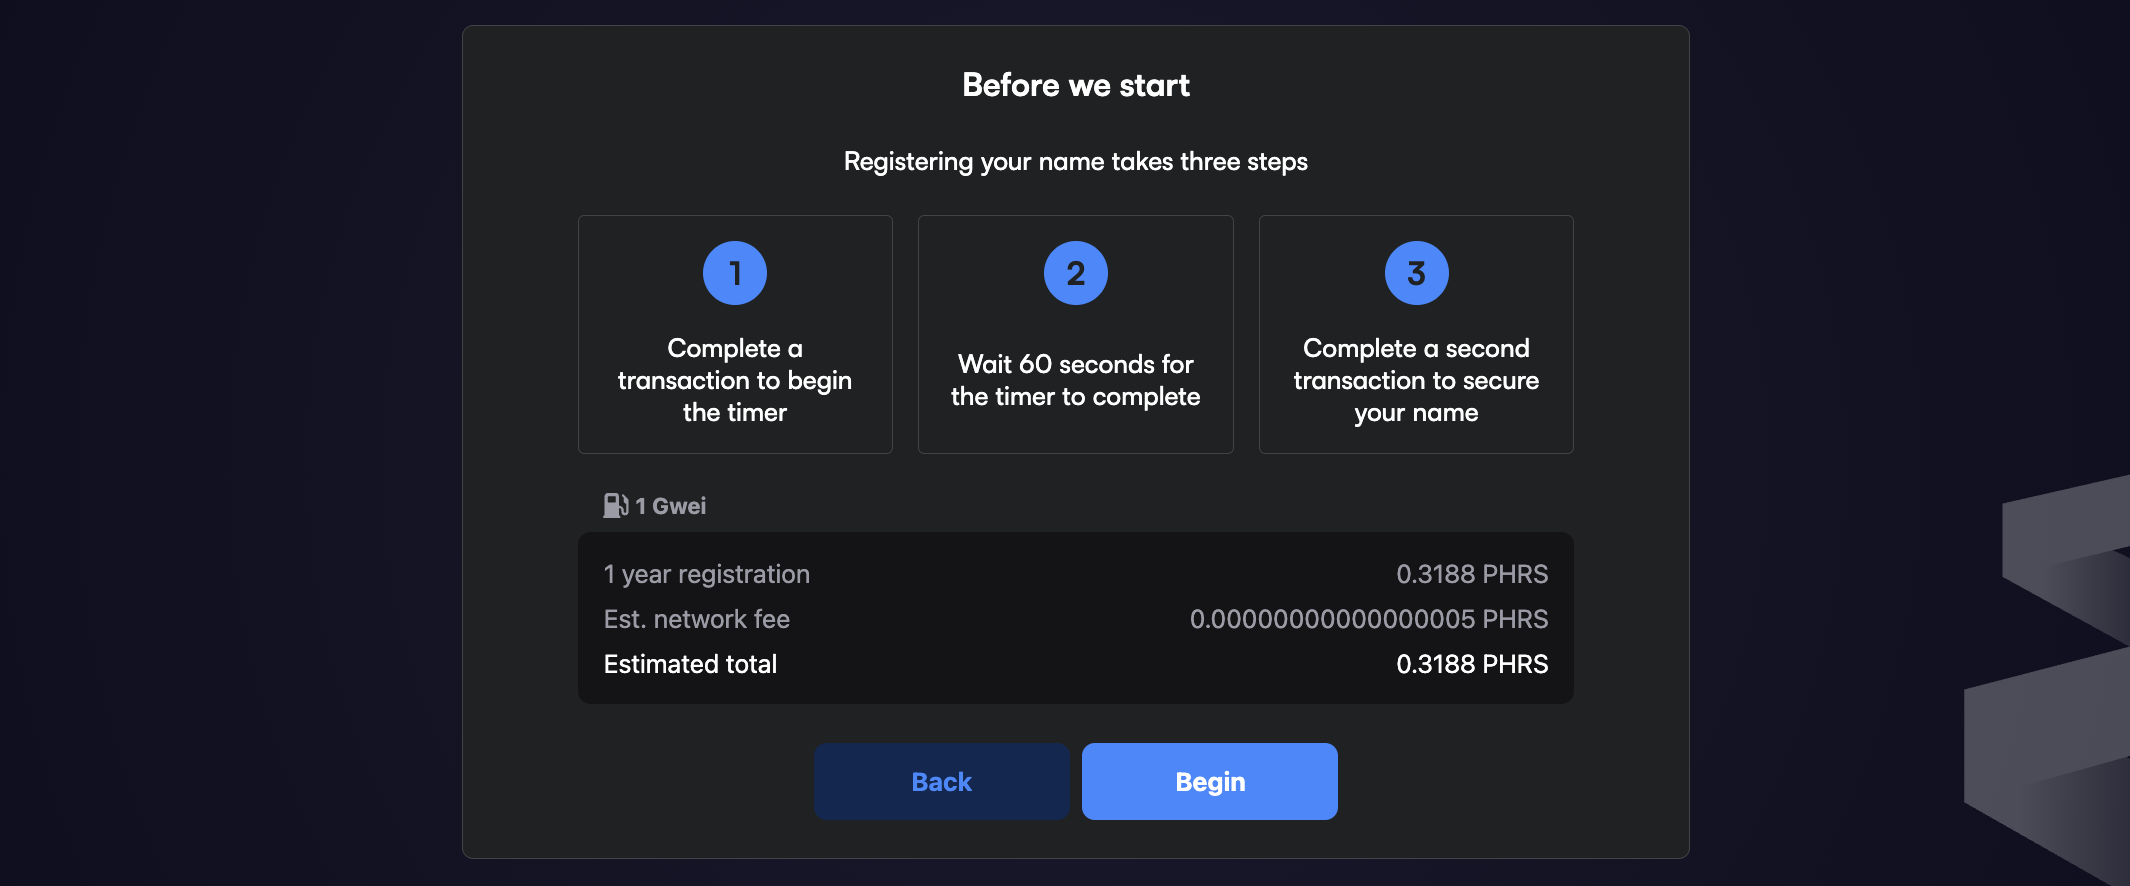
Now just press Begin.
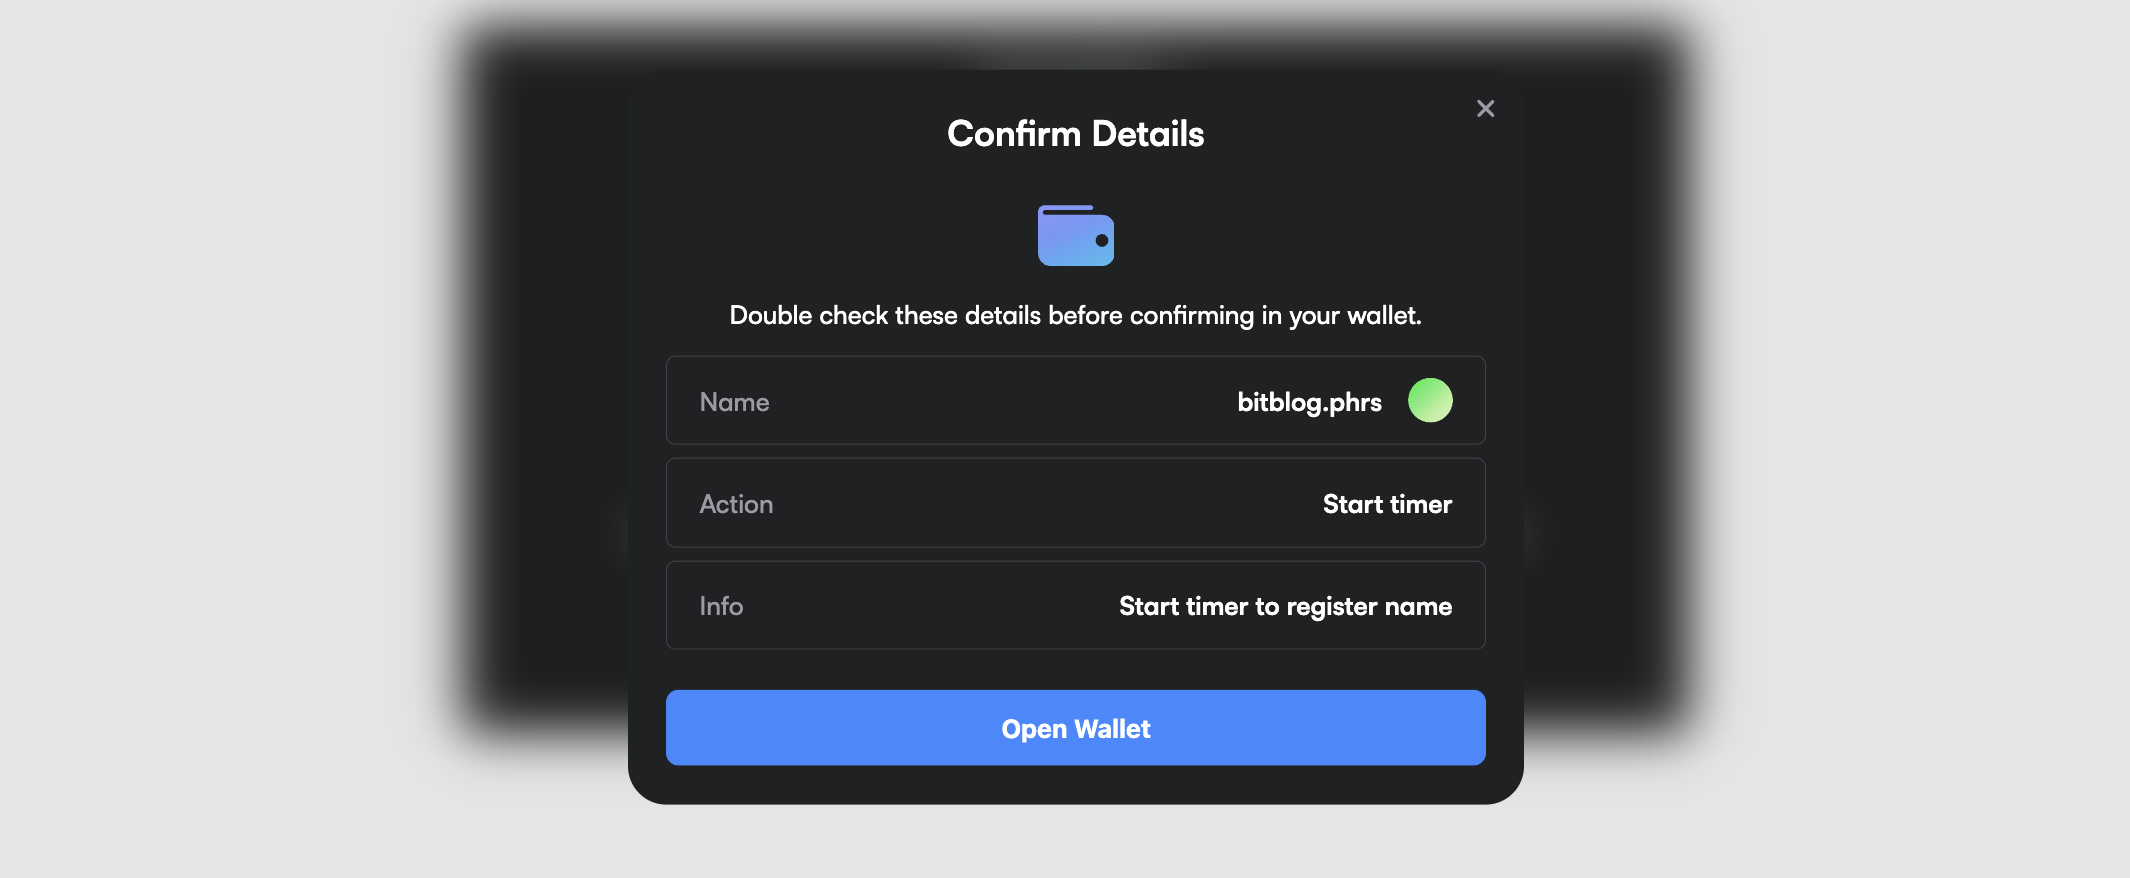
Open Wallet & Sign to start the registration timer.
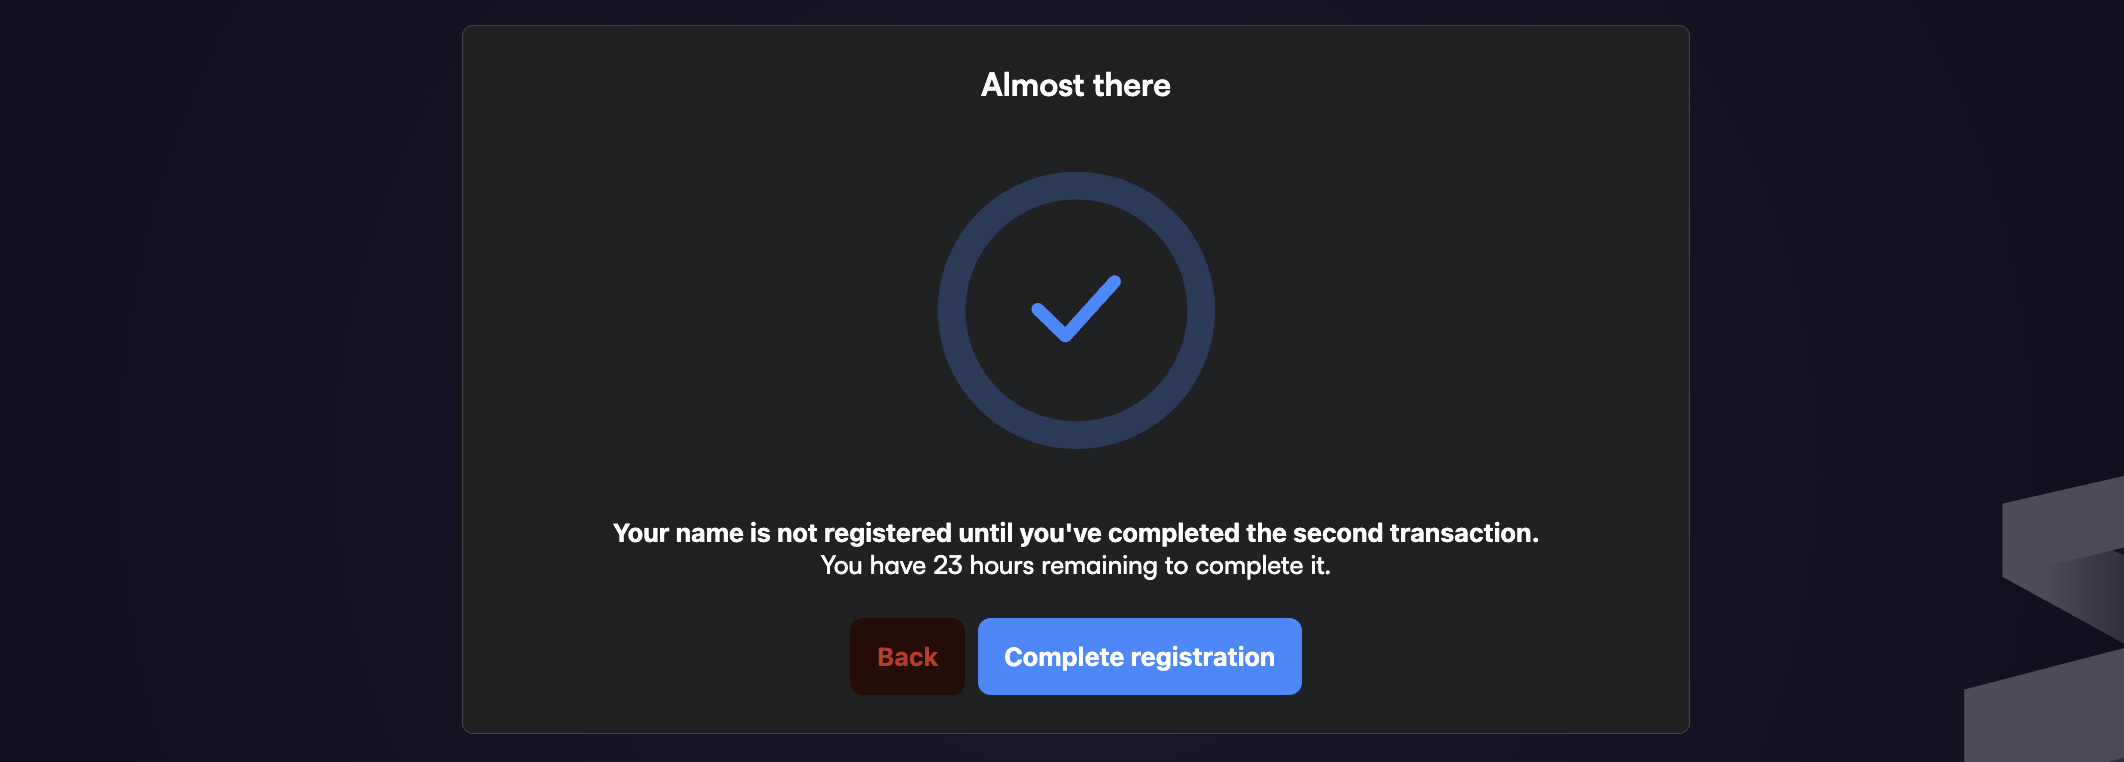
Now complete a second transaction within the registration timeframe to complete the process.
Step 8
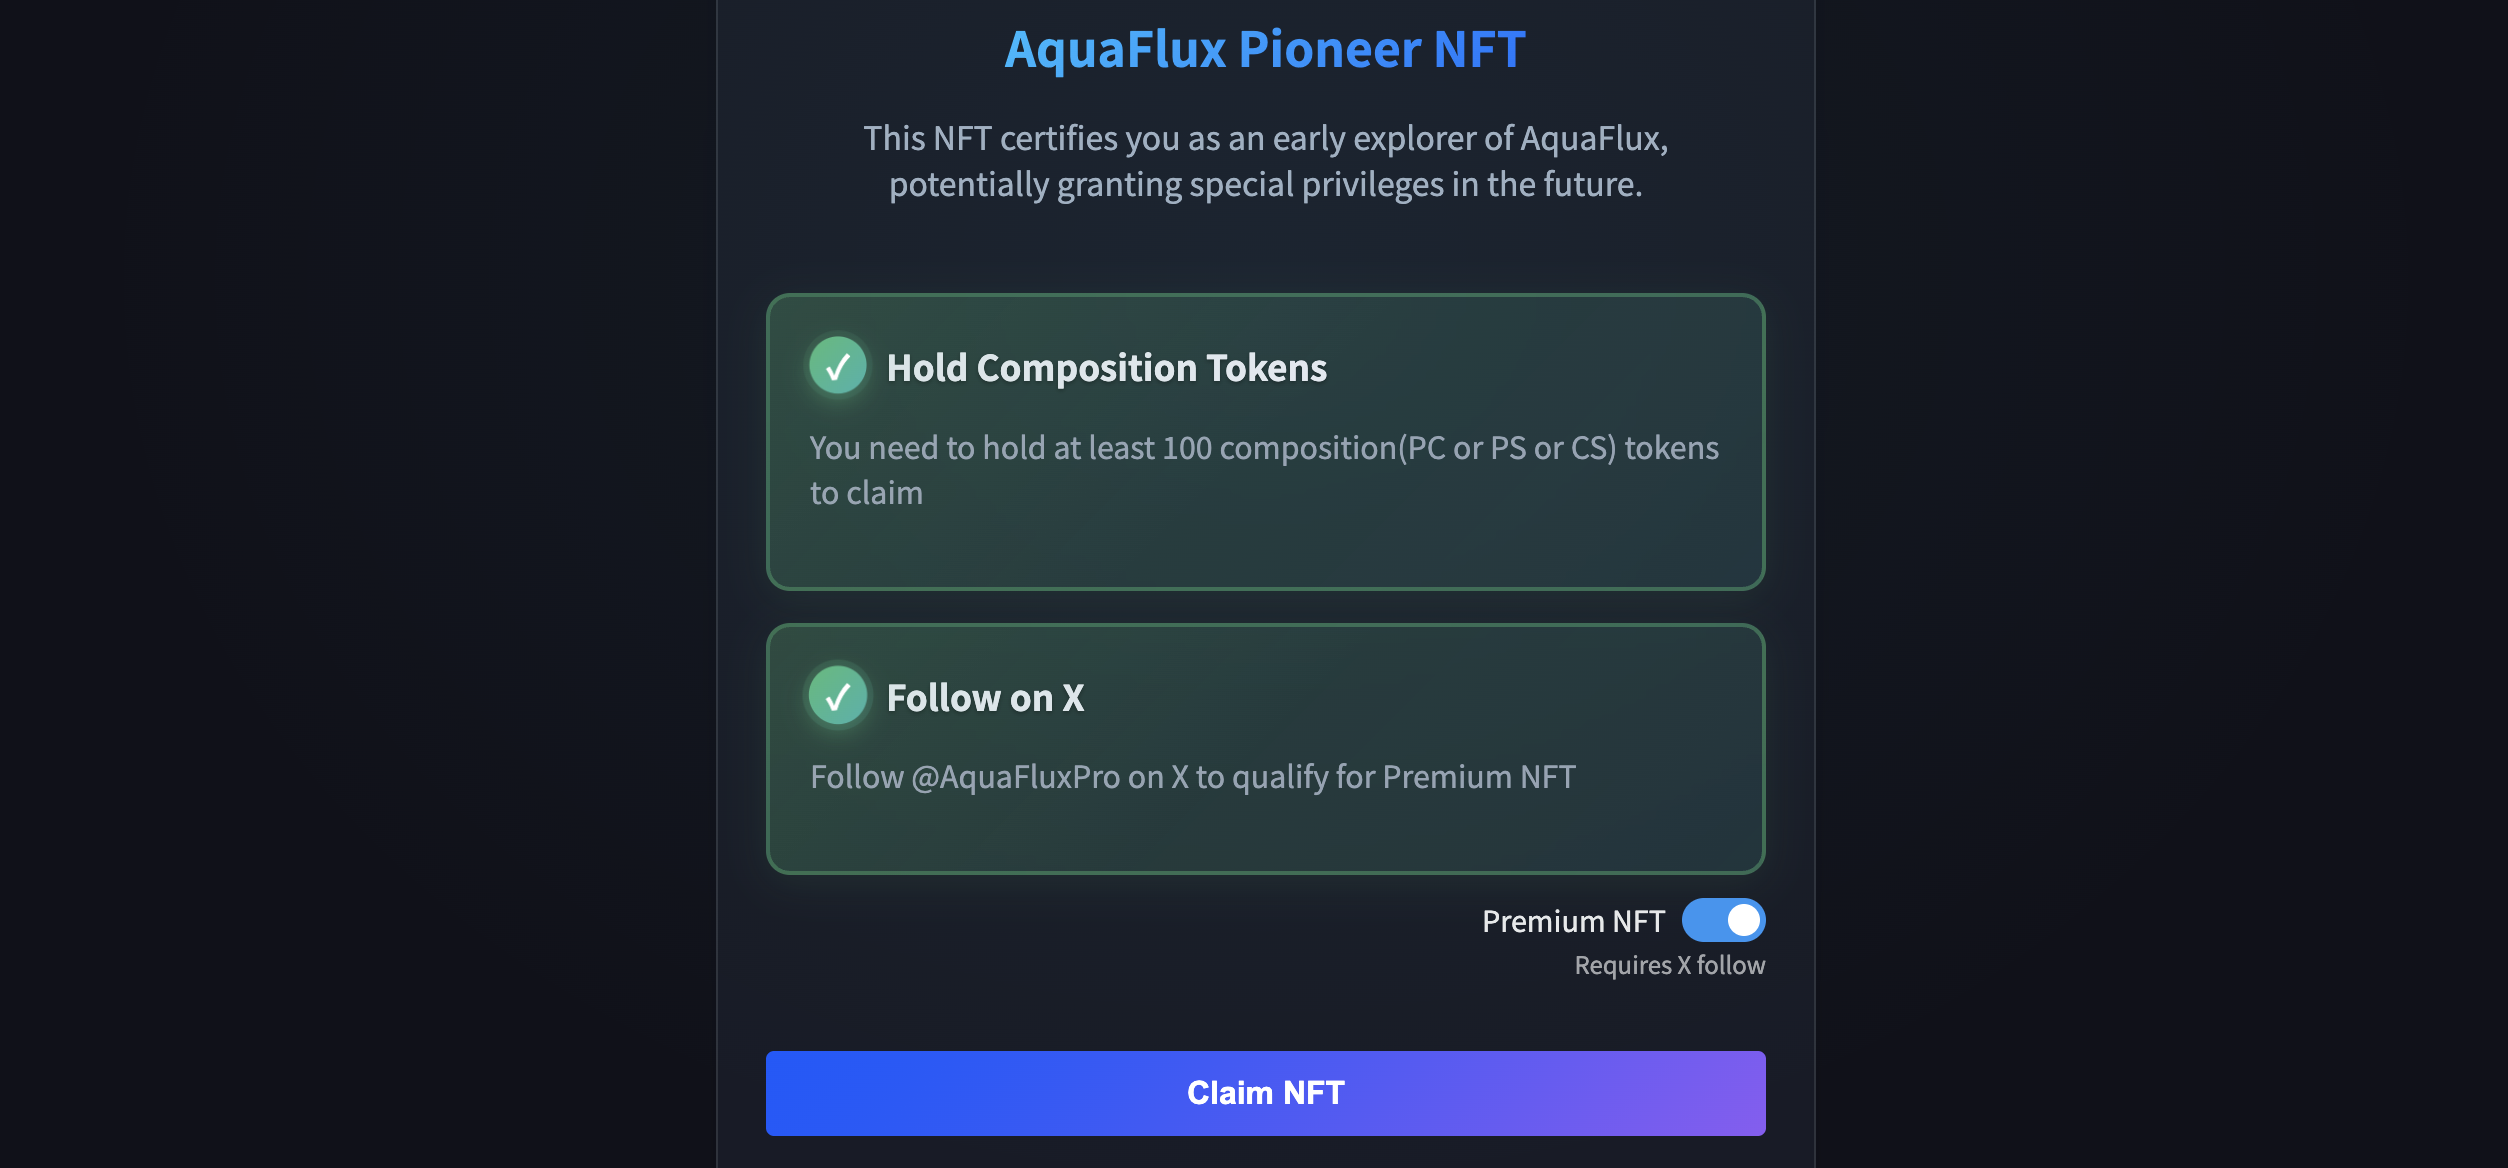
You can also head over to: playground.aquaflux.pro & complete the 4 simple steps which will allow you to mint the AquaFlux Pioneer NFT.

Now go through the steps again, and this time you should select the toggle switch to activate the Premium NFT mint, this one is very important for earning points within the Pharos ecosystem. Just connect your X account, follow @AquaFluxPro and then press Claim NFT.
Step 9
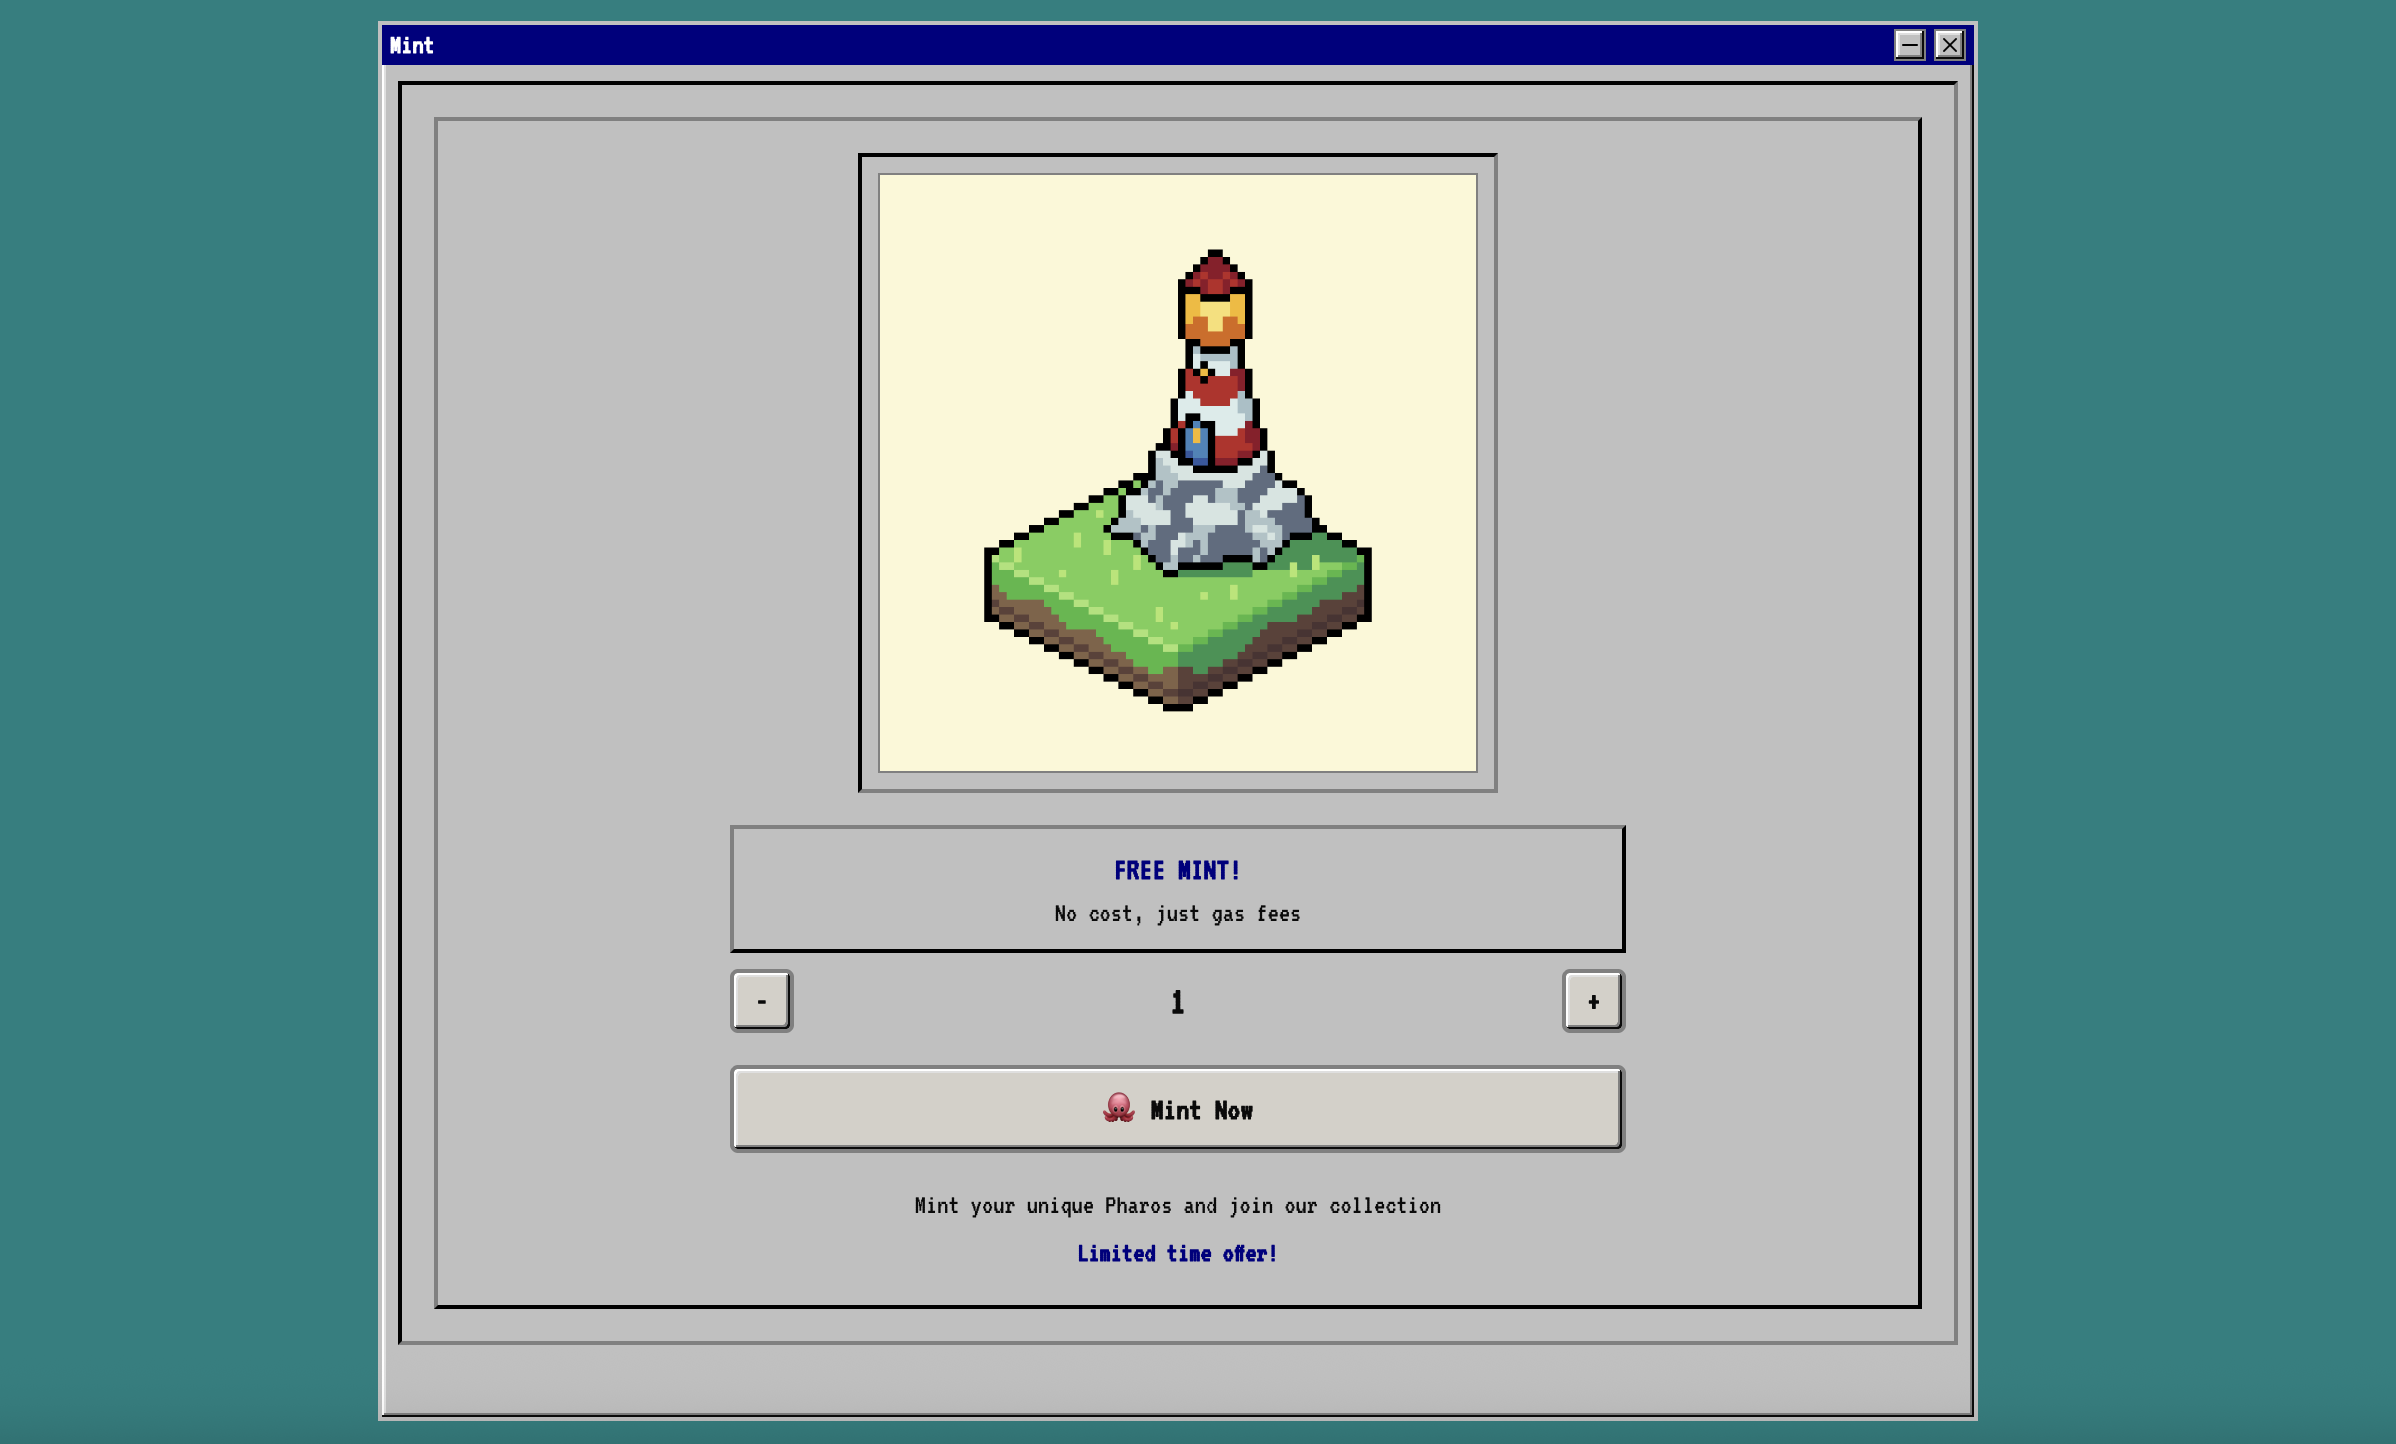
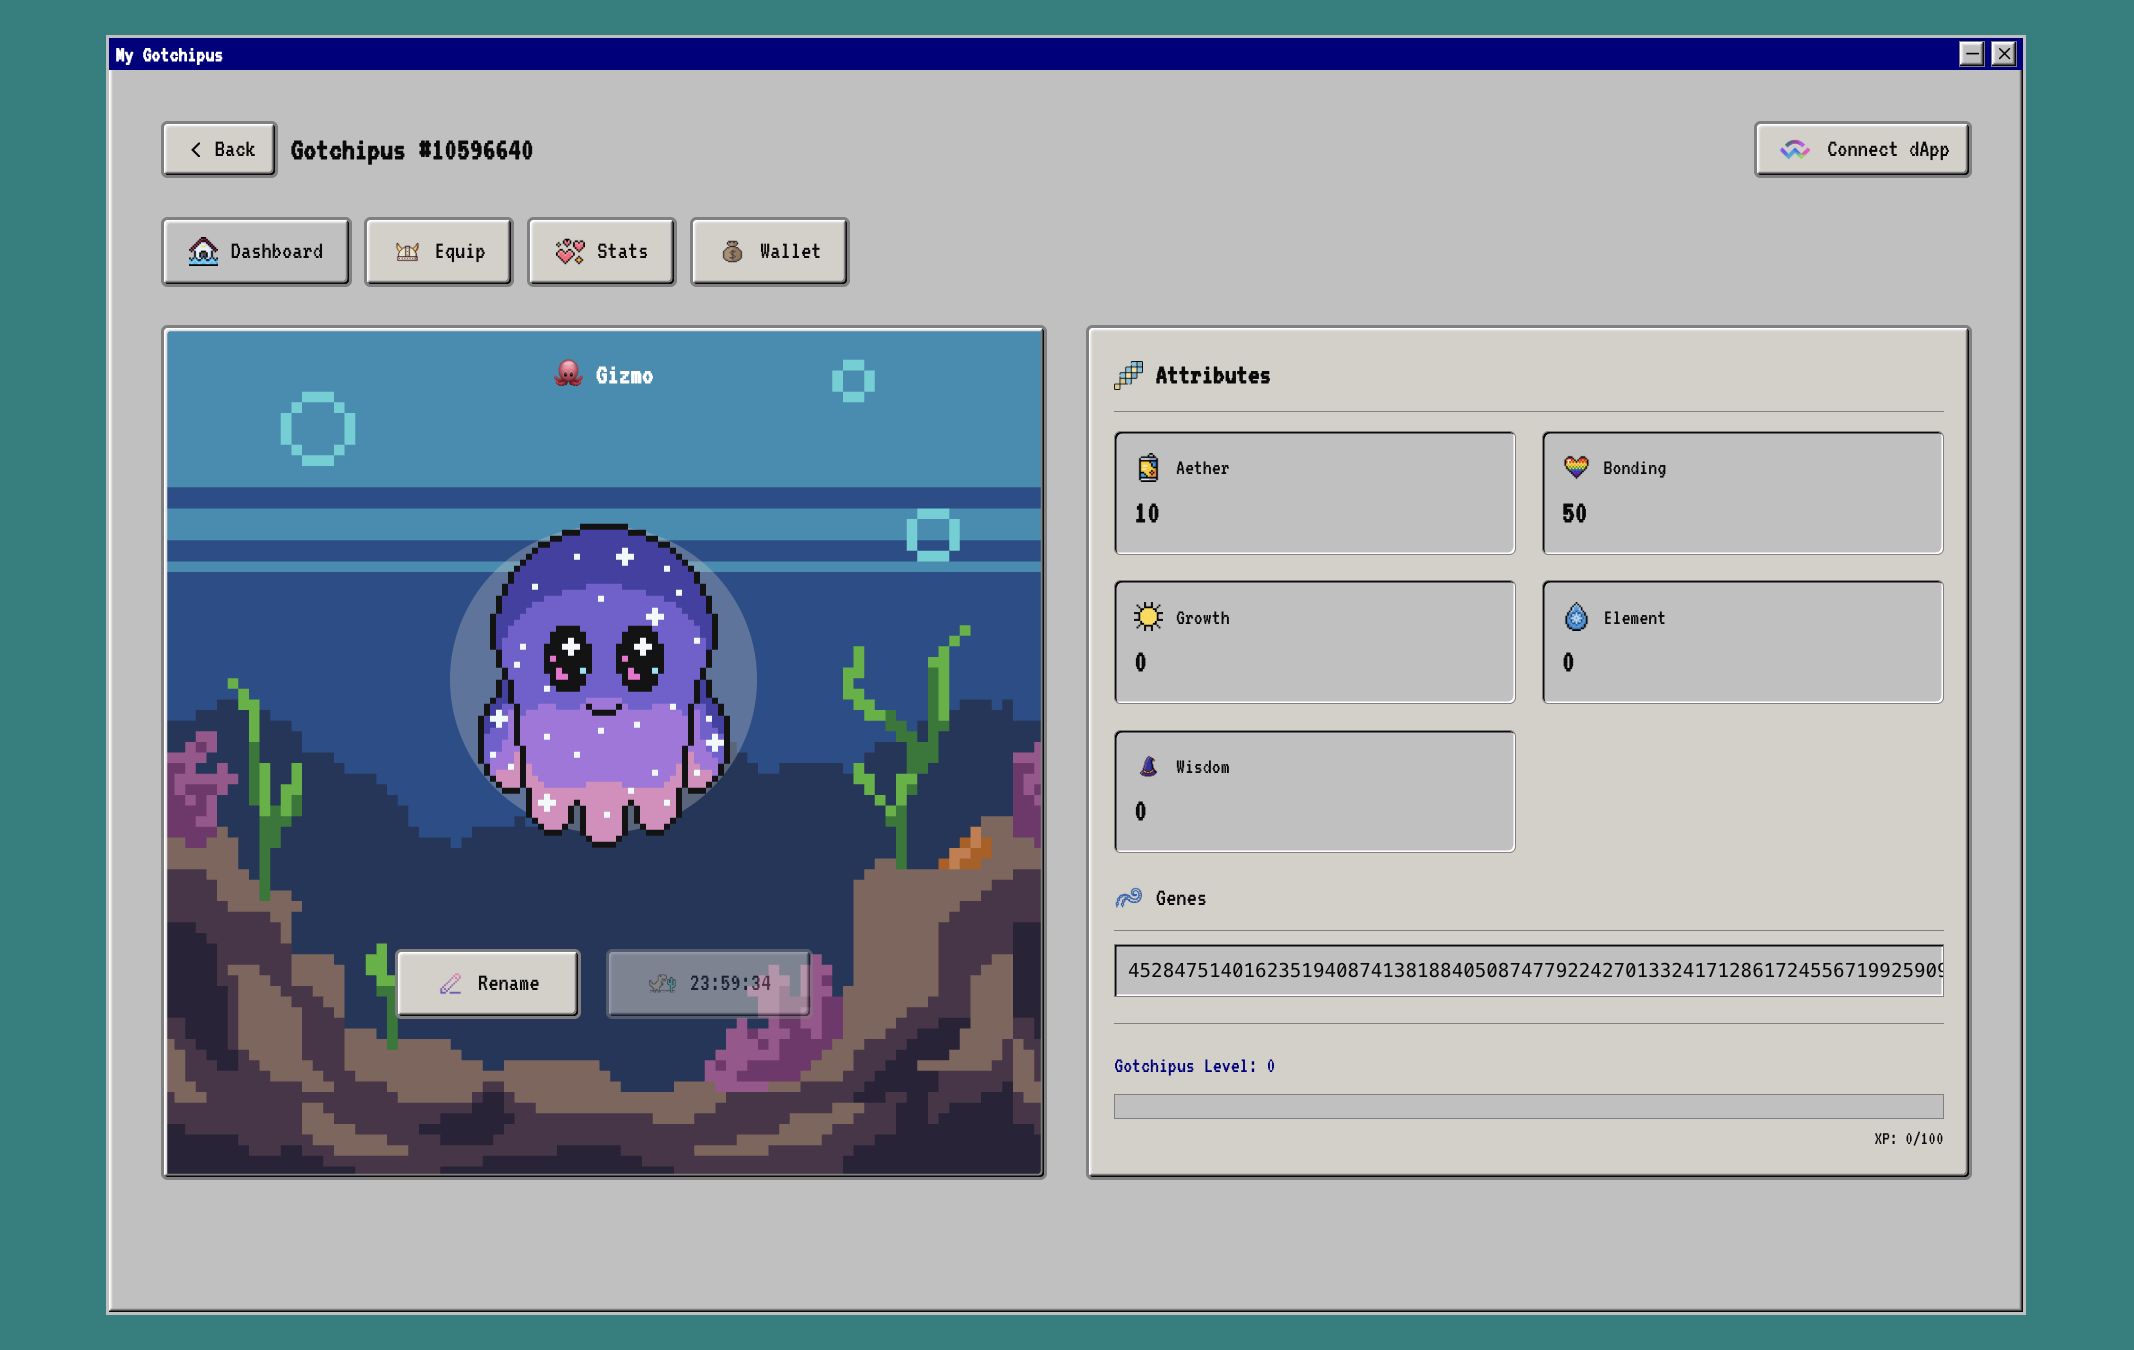
Now let's take a look at Gotchipus. Here we can mint NFTs, complete tasks, earn XP etc.
First, select Mint from the left side-menu and mint a Pharos NFT.
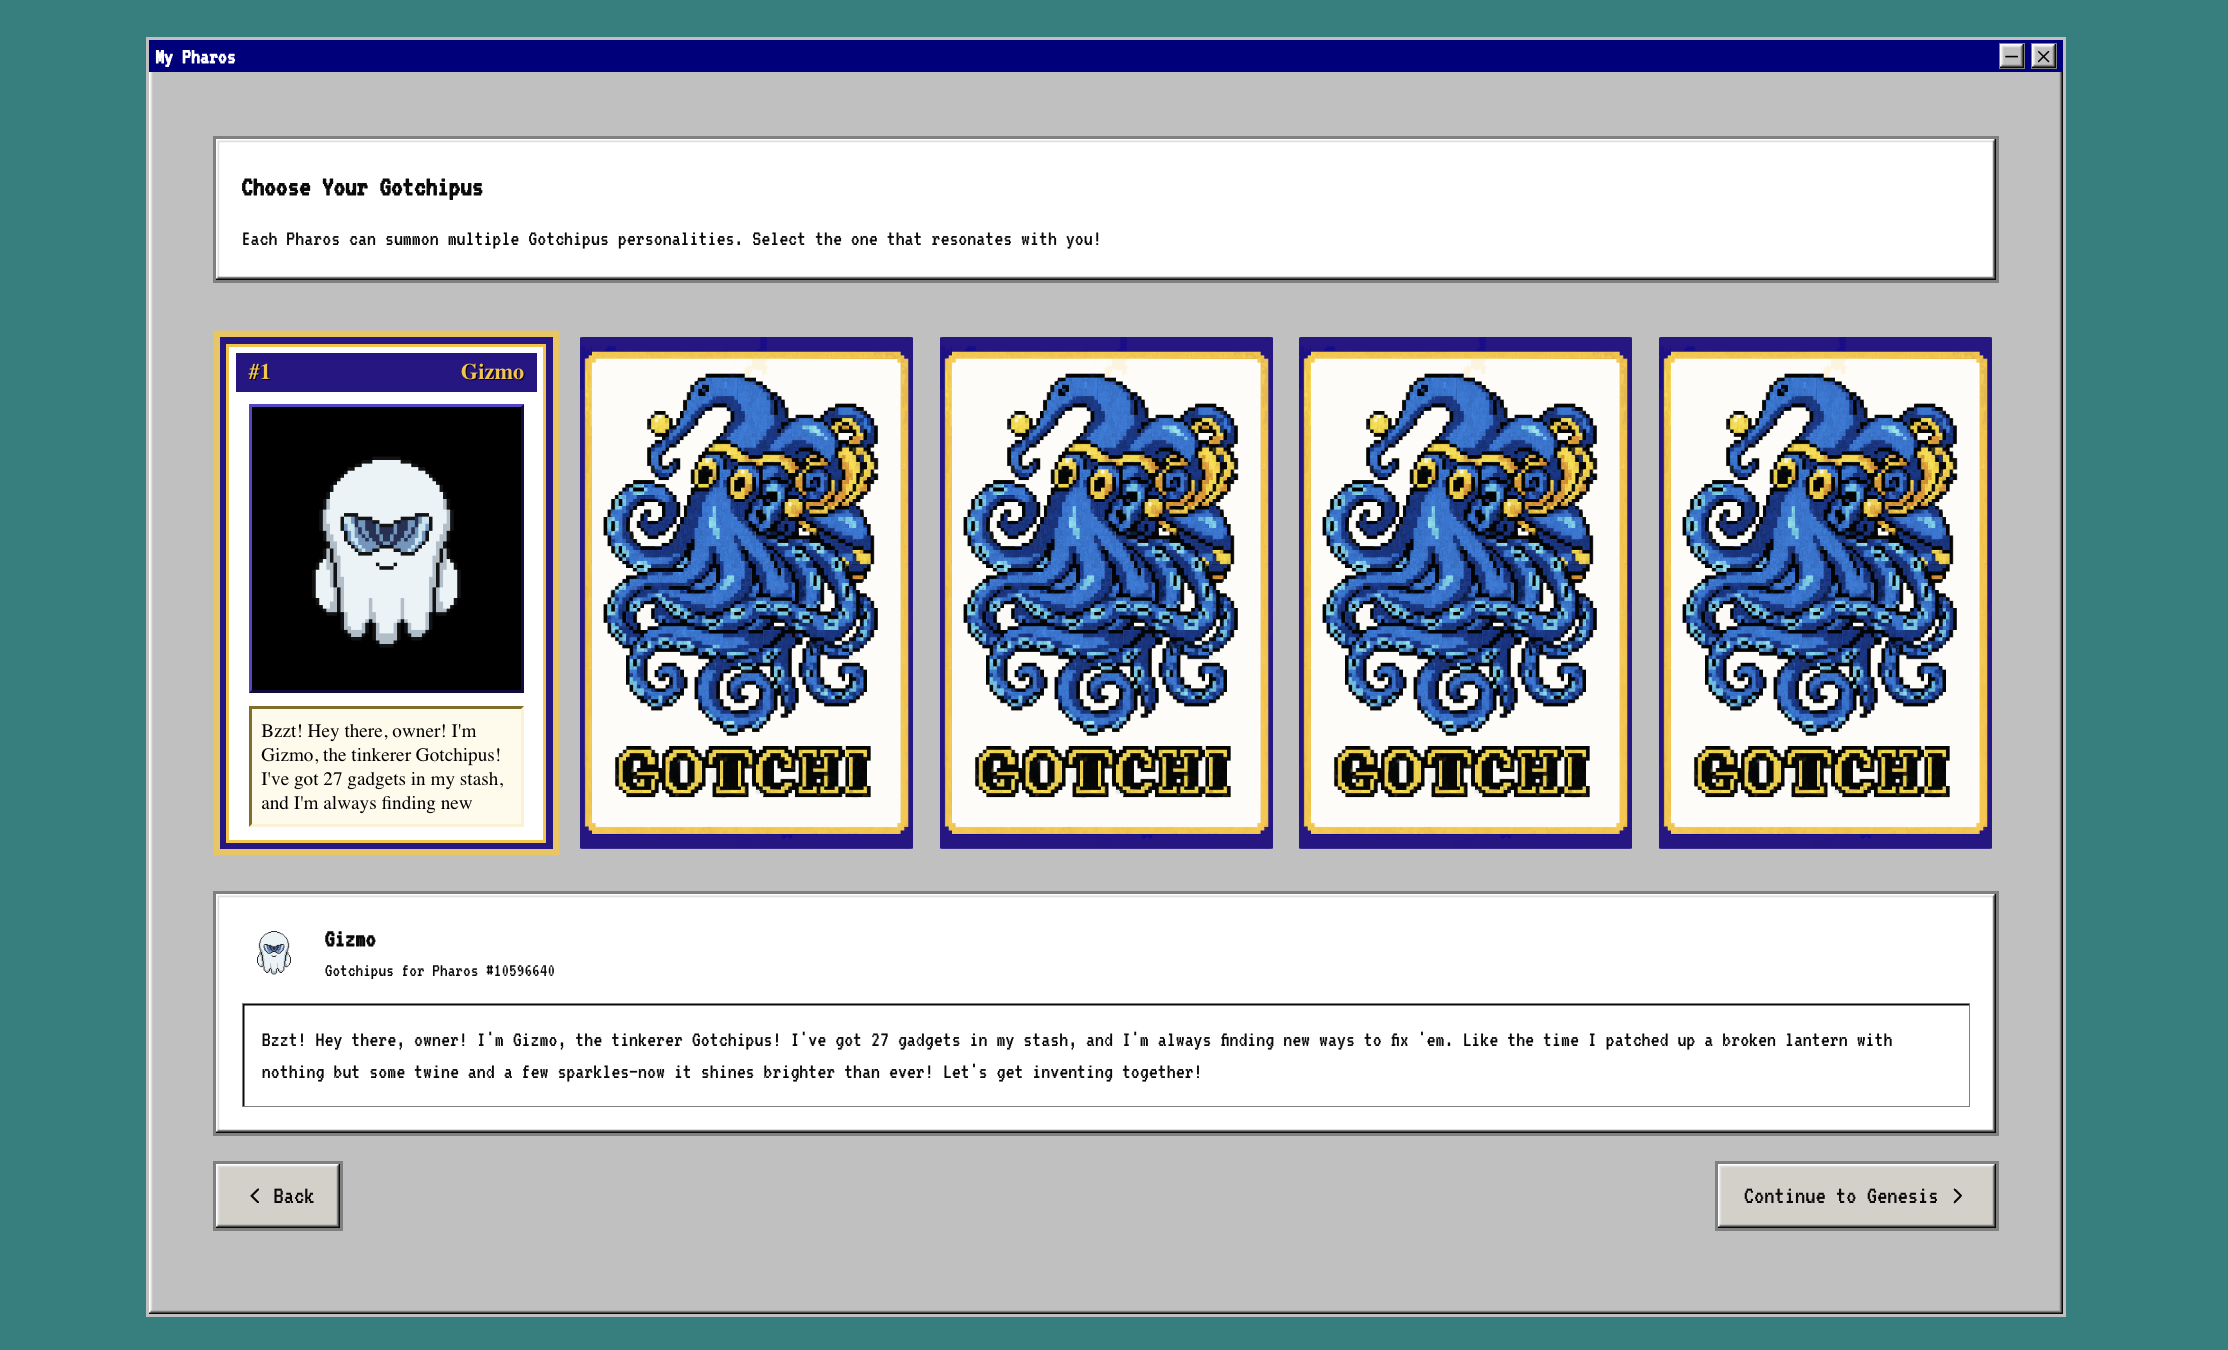
Next, we can use our Pharos NFT to mint a Gotchipus NFT.
Just head to the My Pharos tab and select your Pharos NFT, then select a Gotchi card and press Continue to Genesis.
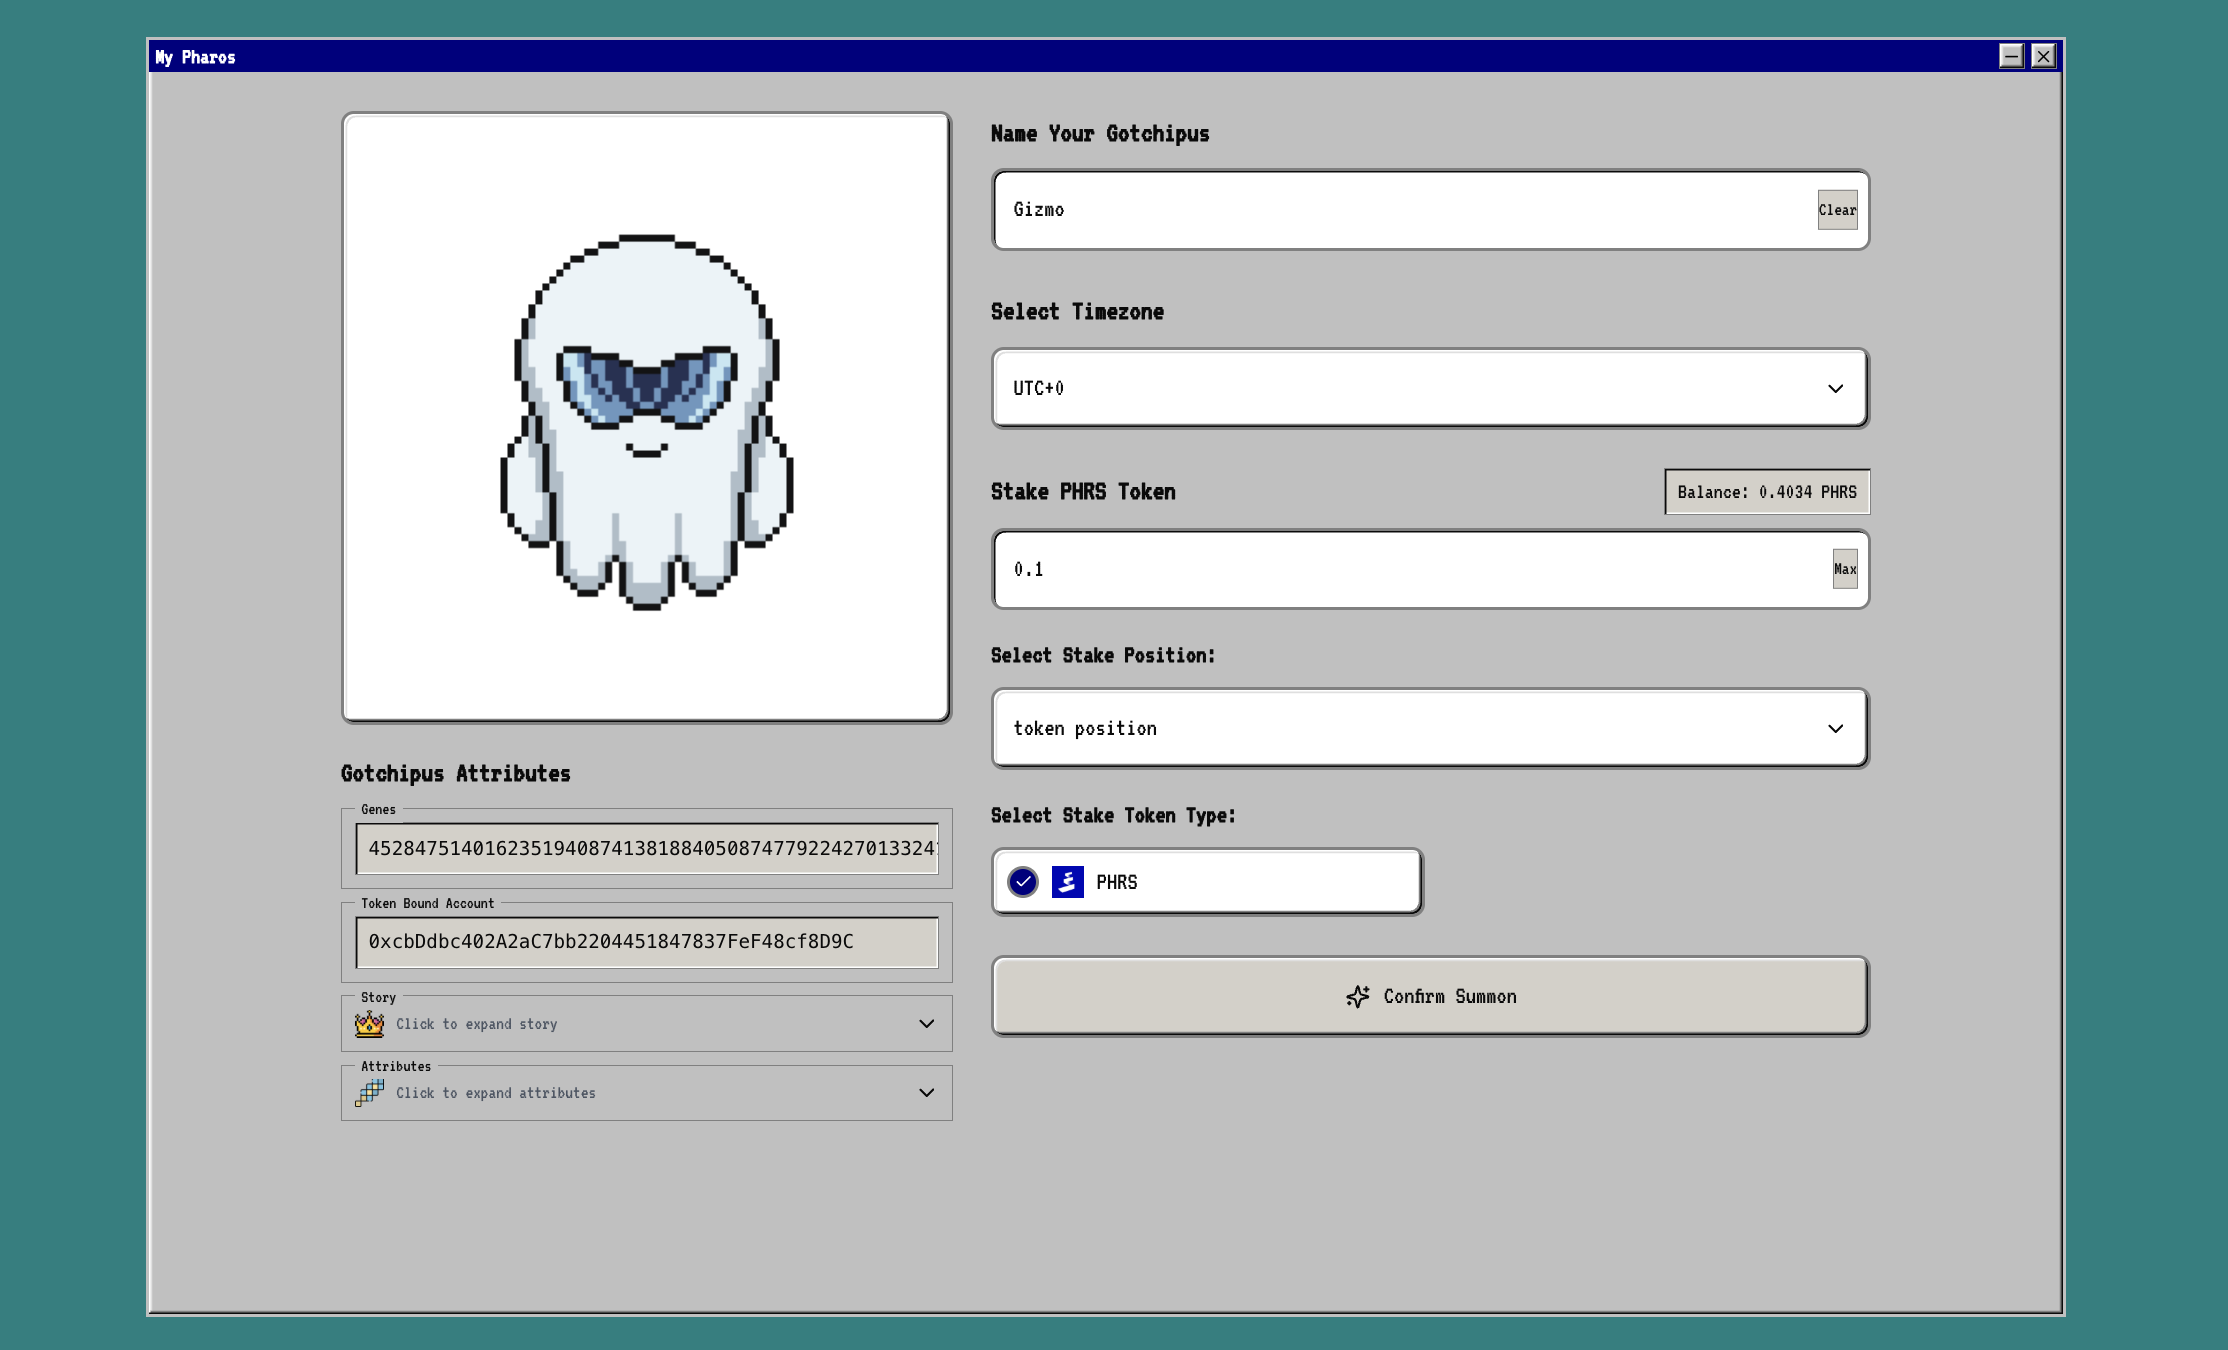
Now you can setup your Gotchipus, just select an amount of PHRS to stake then Confirm Summon.
Now view your Gotchipus and Pet it, this can be done every 24 hours.
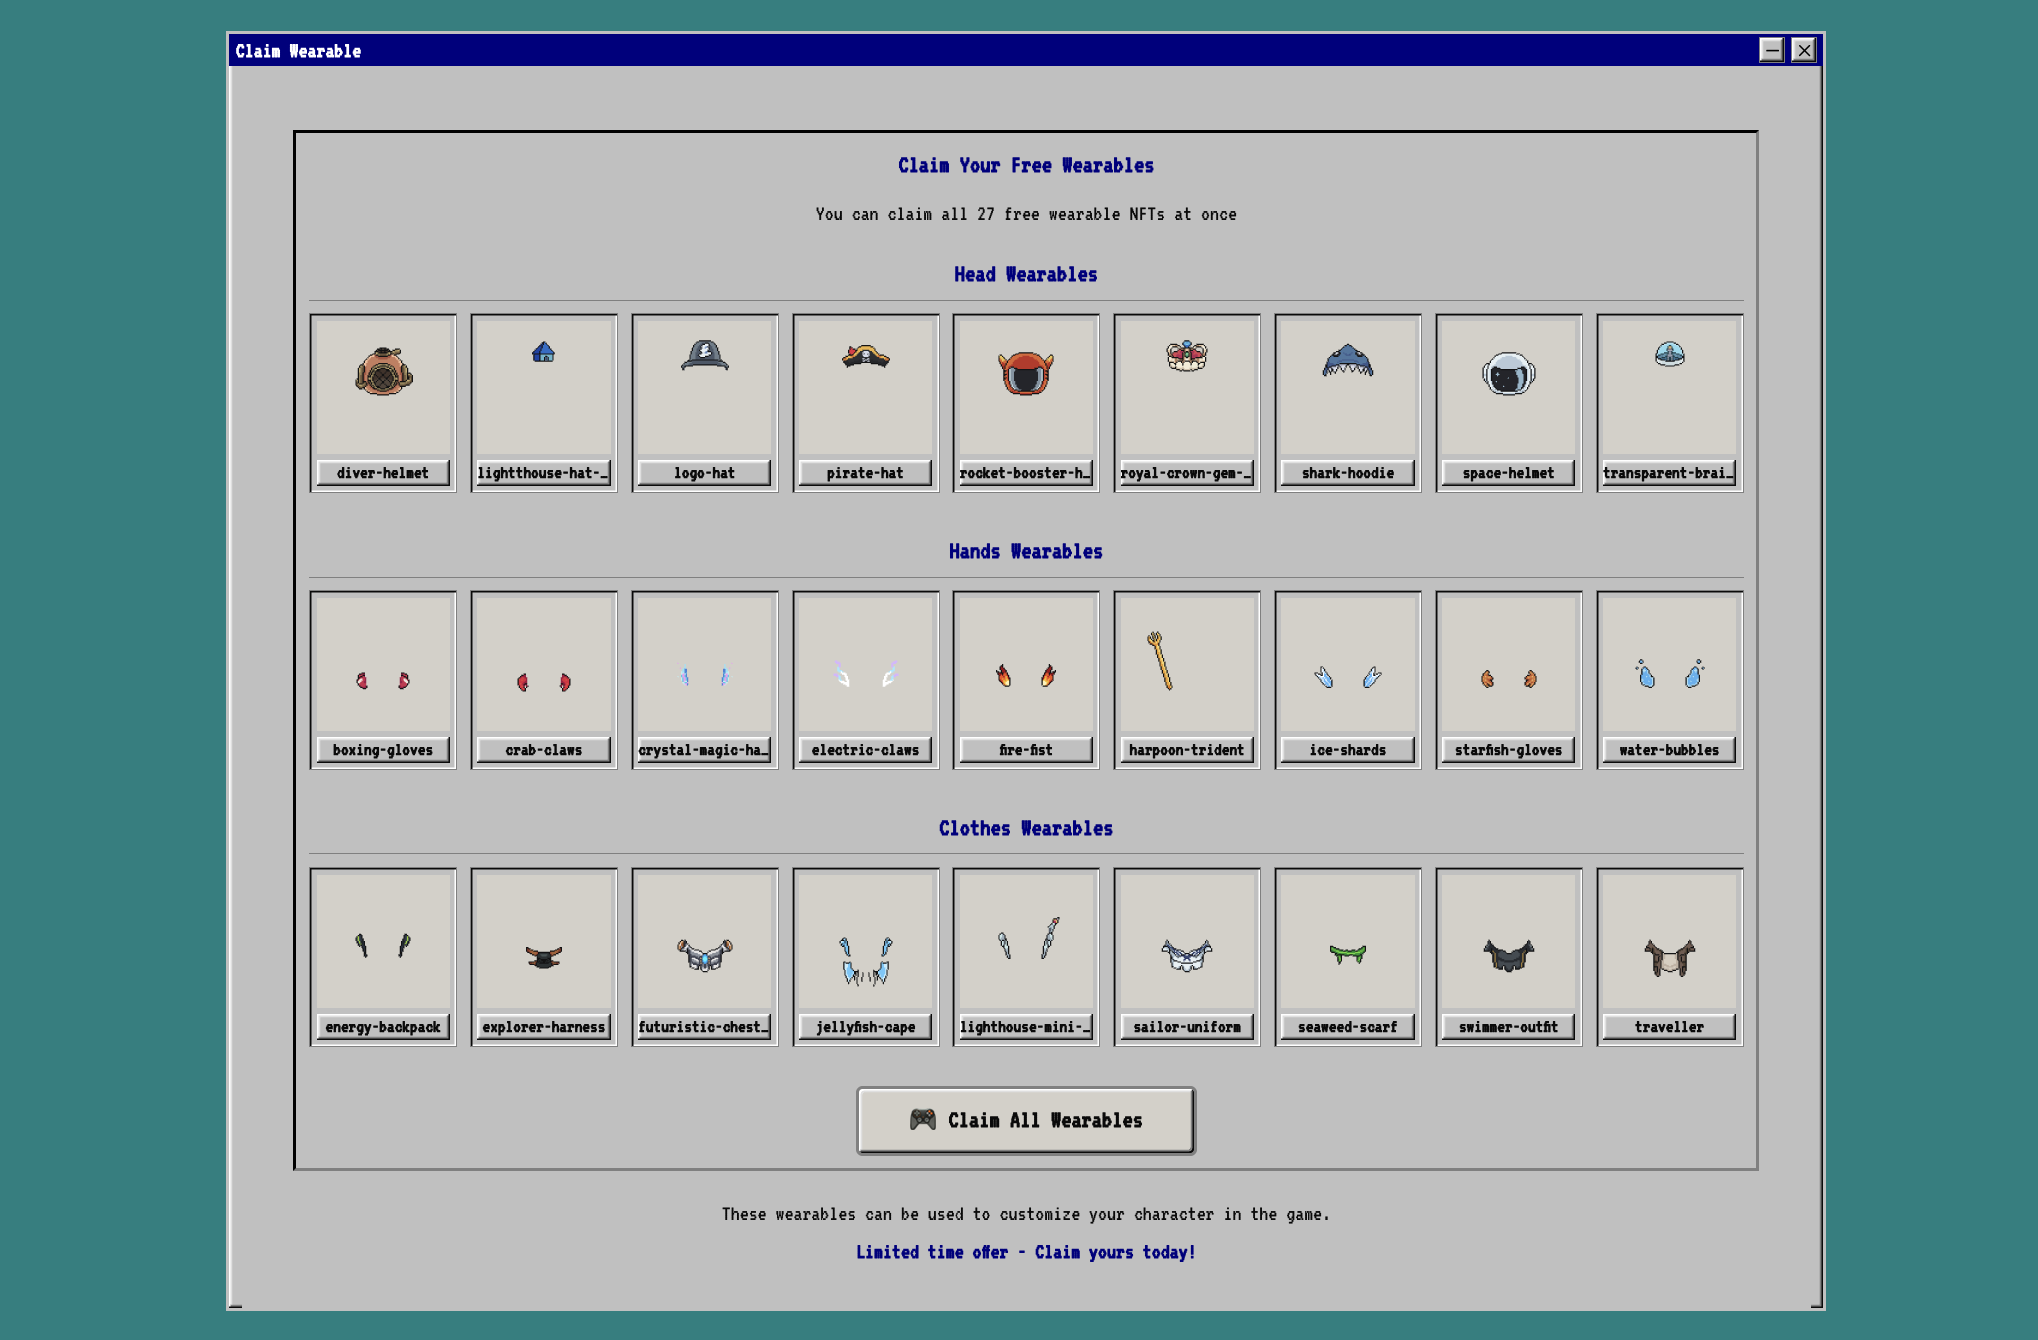
Now go to Claim Wearable on the left side-menu. Here you can claim all wearables for your Gotchipus.
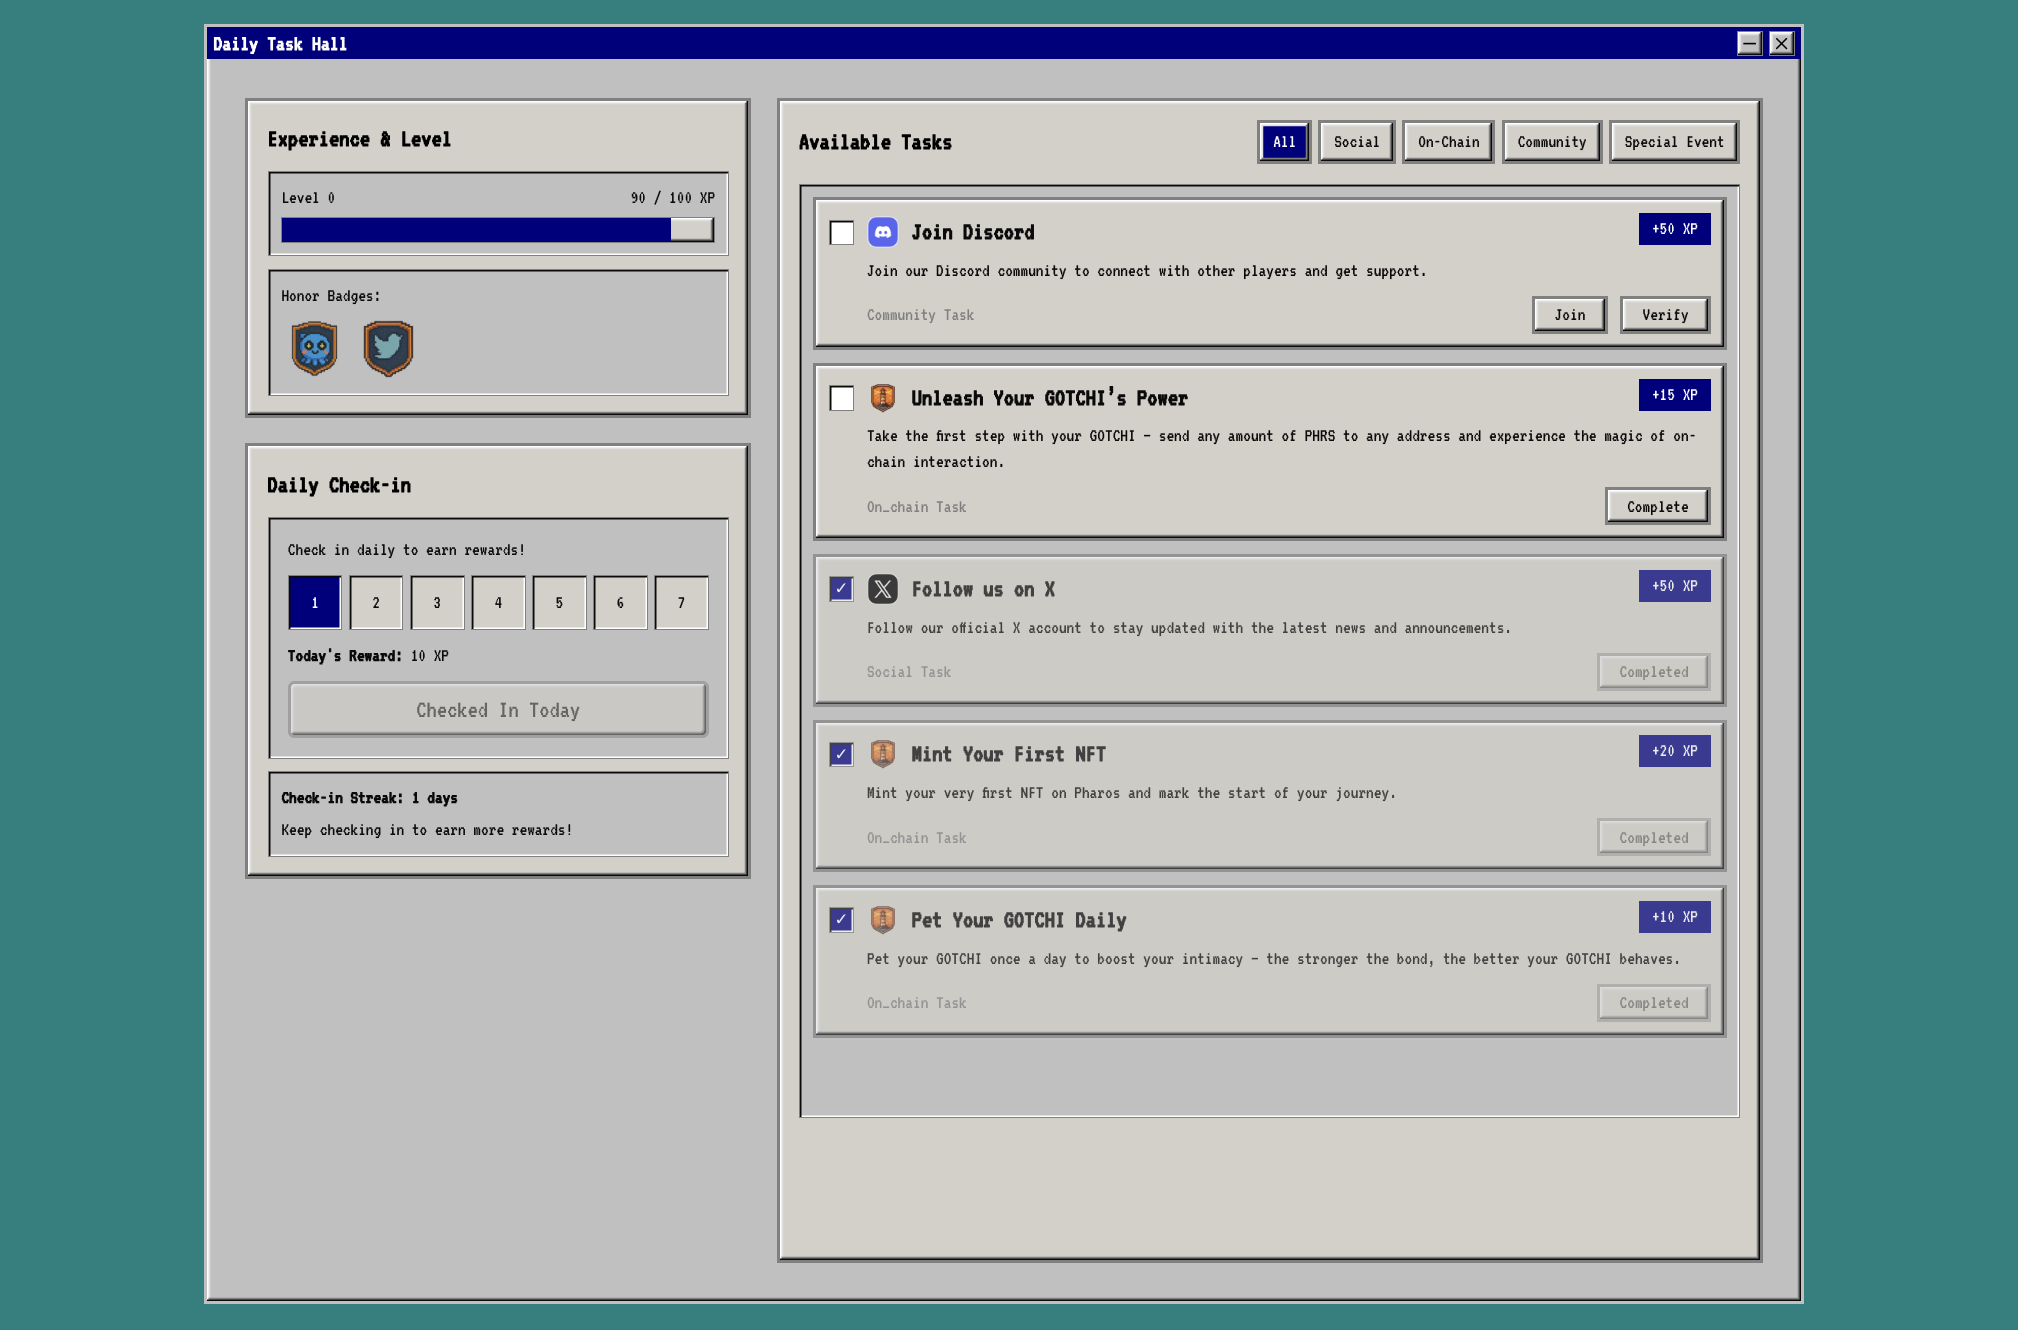
Lastly, head to the Daily Task Hall and try to complete as many tasks as possible for more XP.
Step 10
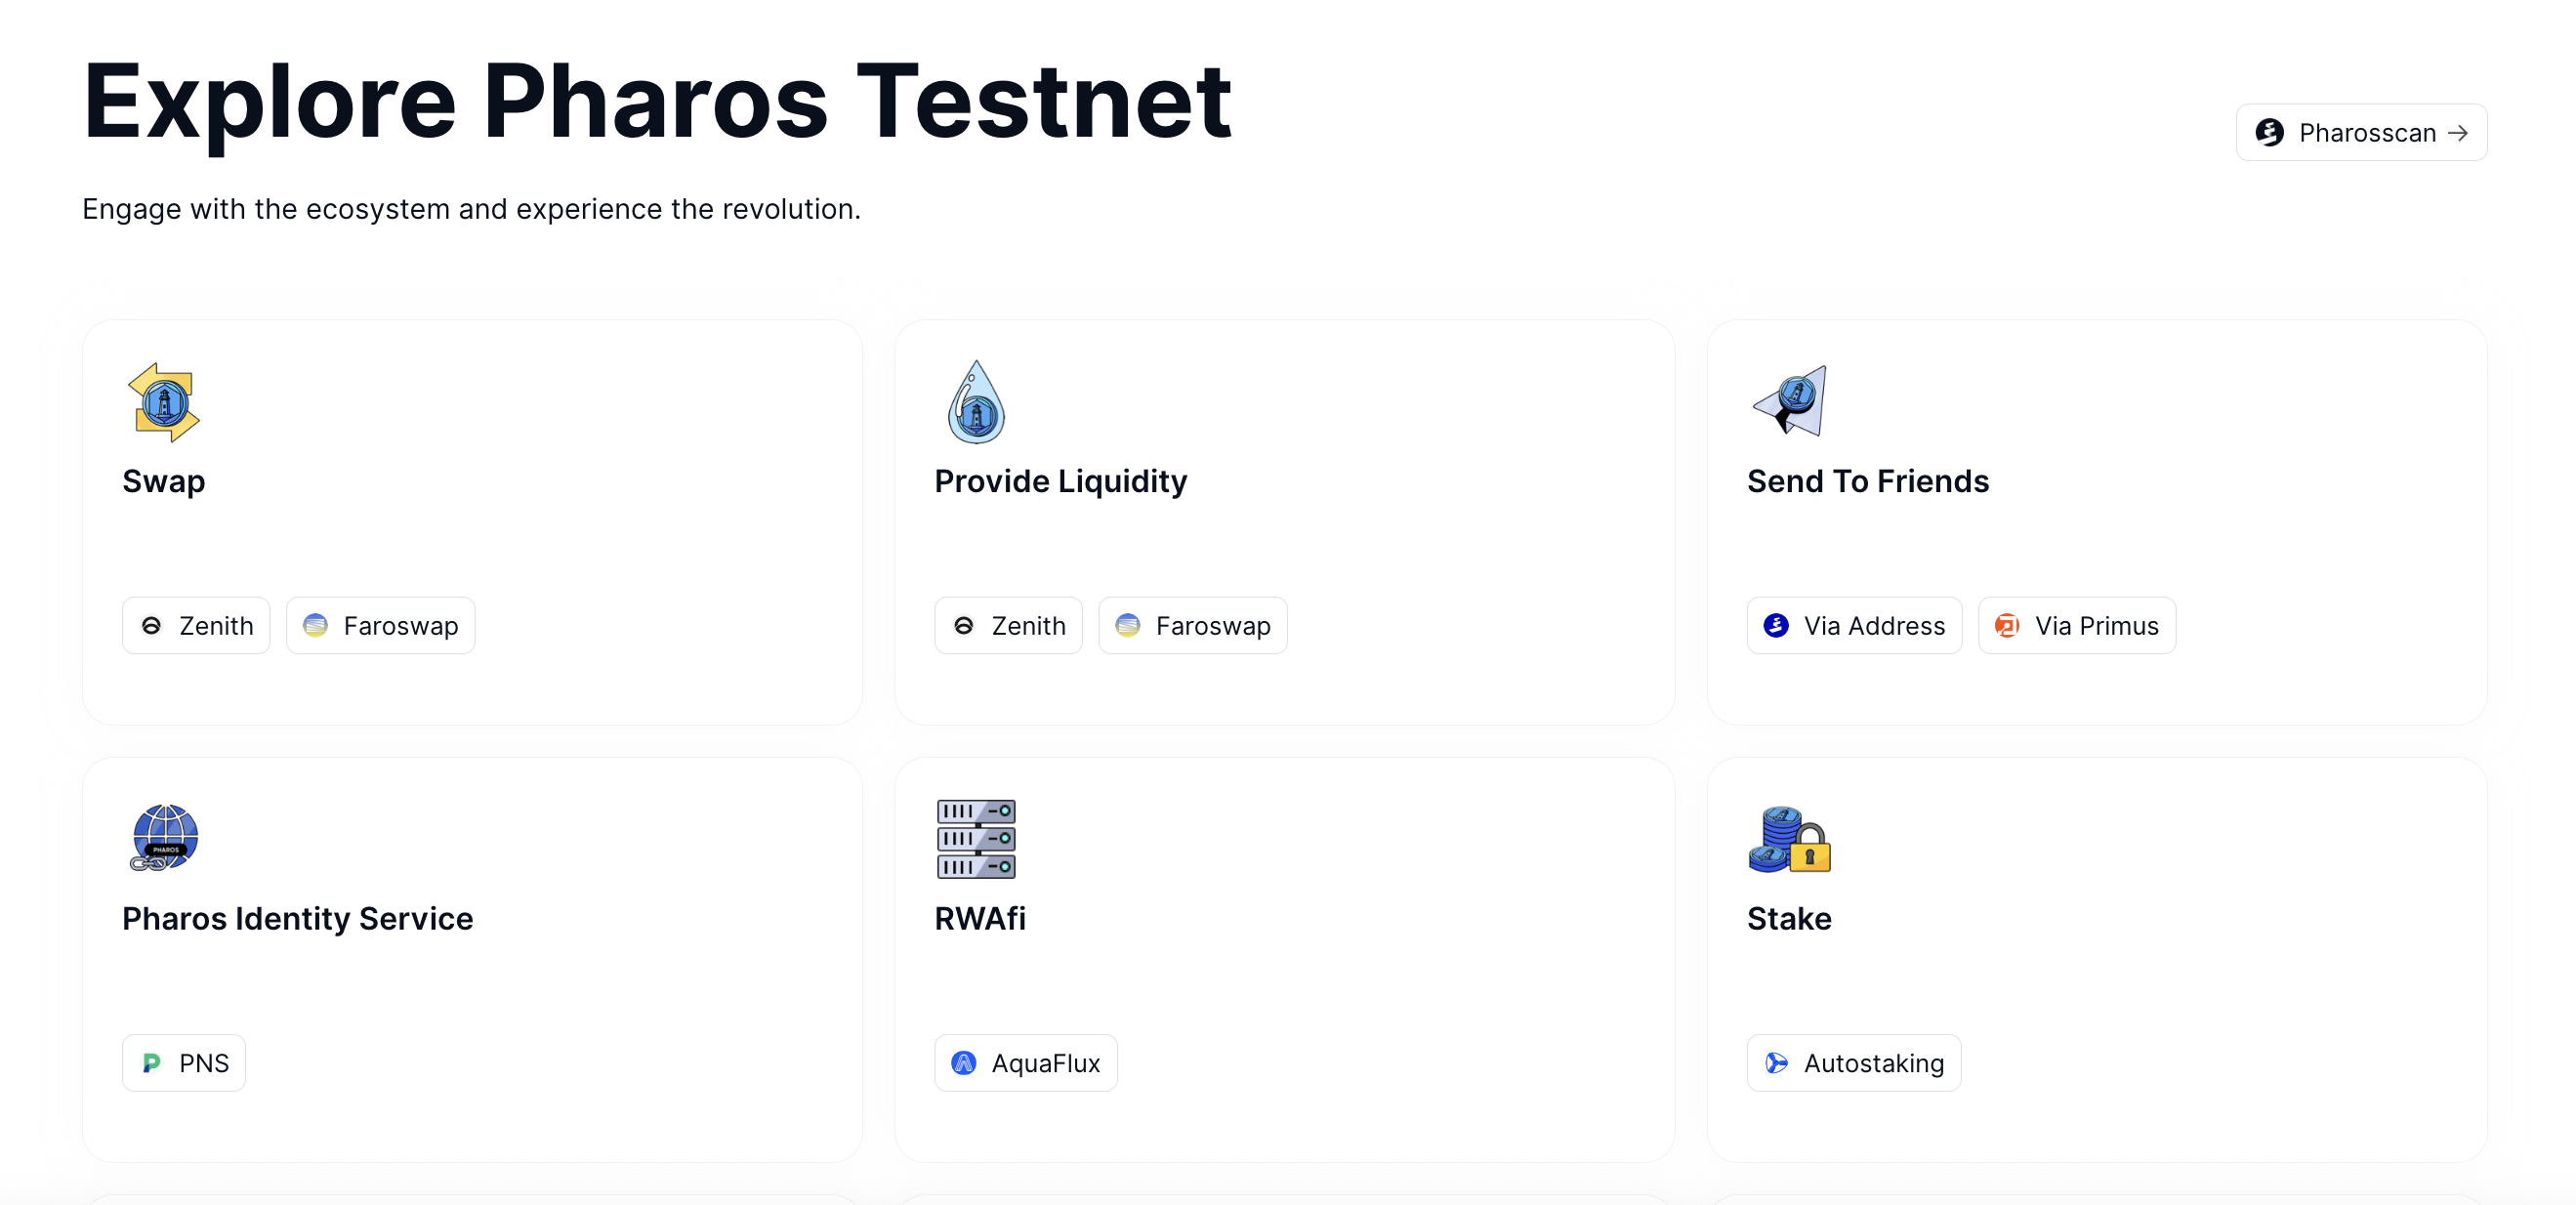
Now head back to testnet.pharosnetwork.xyz and scroll all the way down to the Explore section, here you can find other dapps within the Pharos ecosystem. We already covered the main ones, but try to interact with them as much as possible, including the new ones when they become available.
Step 11
Lastly, if you want to see your progress within Pharos, you can use: pharoshub.xyz to monitor your on-chain statistics.

Bonus Step
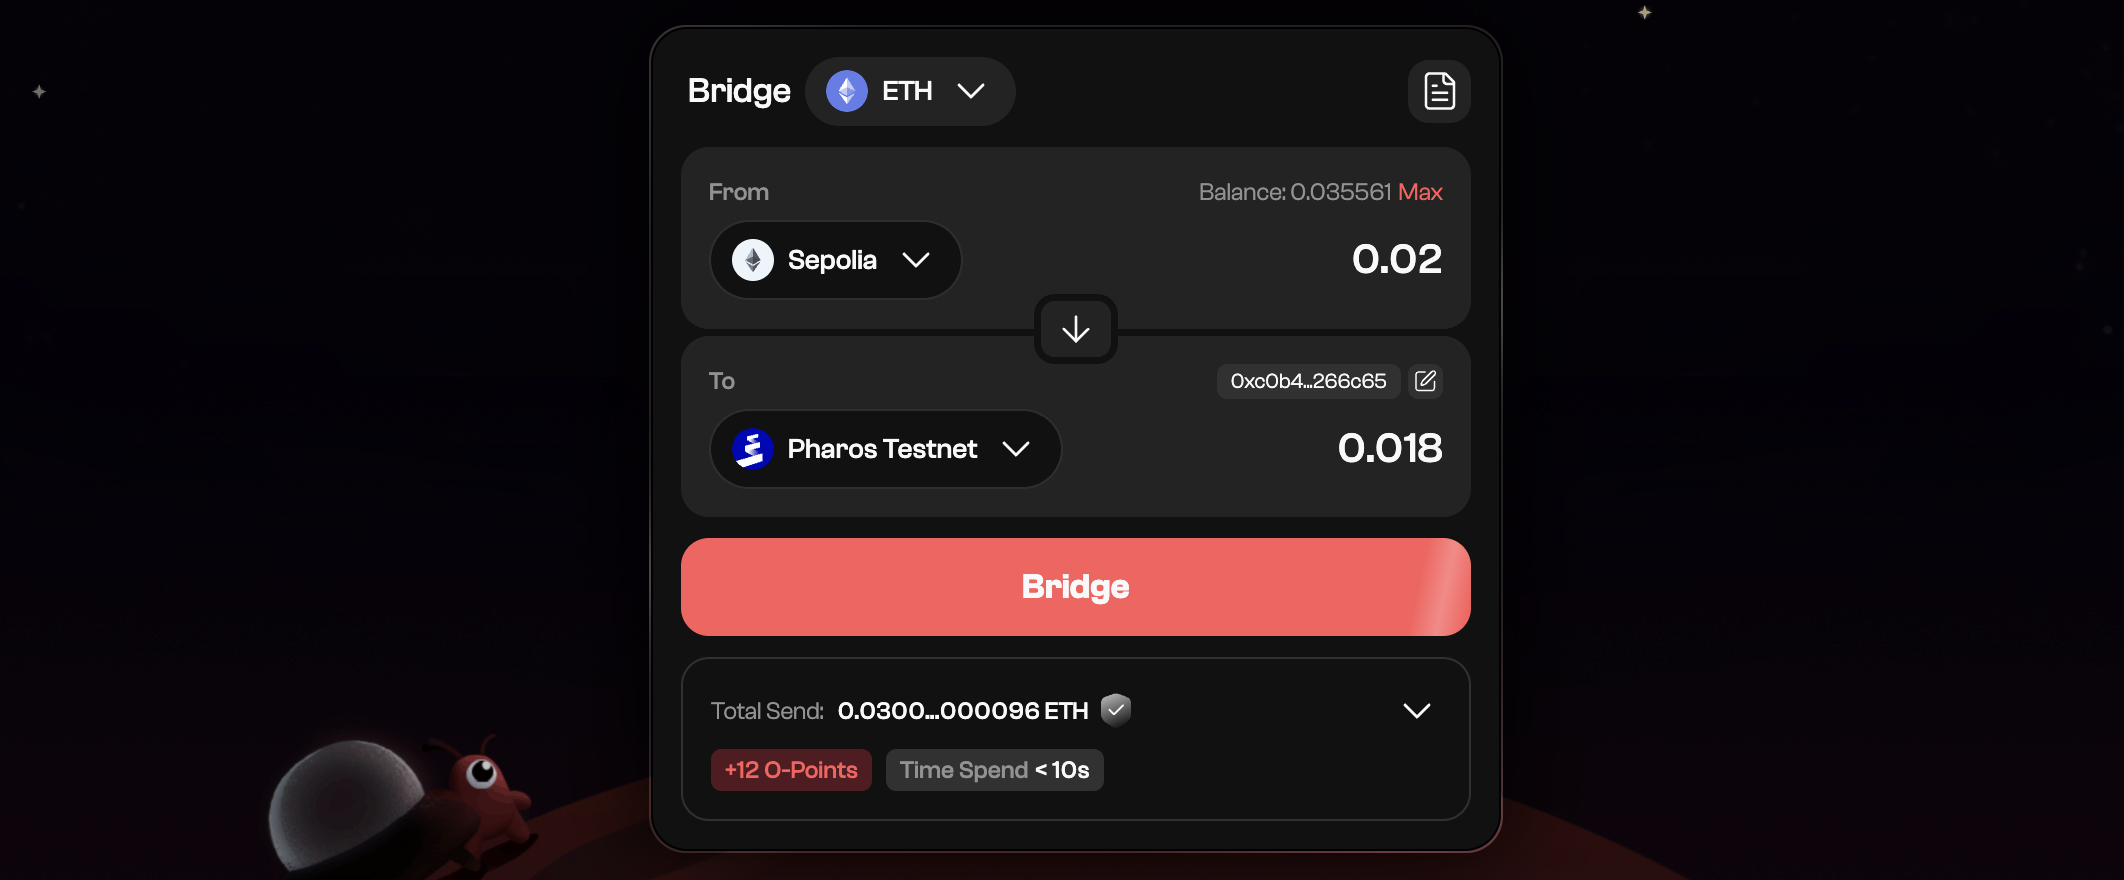
If you have Sepolia ETH, you can use Orbiter Finance to bridge your ETH to Pharos Testnet and vice versa.
Outro
That's all for this guide!
If you found this tutorial helpful and informative, consider sharing it on social media. You can also stay updated on the latest content and discussions by following us on X (formely Twitter): @BitBlogxyz
Disclaimer: This guide is provided strictly for educational purposes and should not be considered financial advice. The content is designed to offer insights into various web3 topics & projects.
We do not recommend putting real money into random projects without conducting plenty of your own research first. It is crucial to make informed decisions based on your own understanding and risk tolerance.
Want to support the platform? 👉 Support Us