

Introduction
For this guide, we're going to explore the Risechain Testnet & the various available dApps.
What is Risechain?
Risechain (RISE) is an Ethereum Layer 2 blockchain designed to deliver near-instant transactions at massive scale without compromising decentralization. With sub-5 millisecond latency and throughput on track to exceed 100,000 transactions per second, RISE redefines blockchain performance to support millions of users simultaneously.
Its architecture mirrors the seamless, interrupt-driven responsiveness of modern web servers, eliminating long-standing adoption barriers and offering developers over 1 GGas/s capacity with millisecond-level execution. By combining speed, scalability, and user-first design, Risechain unlocks a new generation of crypto applications.
Step 1
First, head over to the faucet and claim test tokens, simply paste your wallet address and press Request Token for all of the available tokens. I was able to claim ETH, MOG, wBTC & USDC.

Step 2
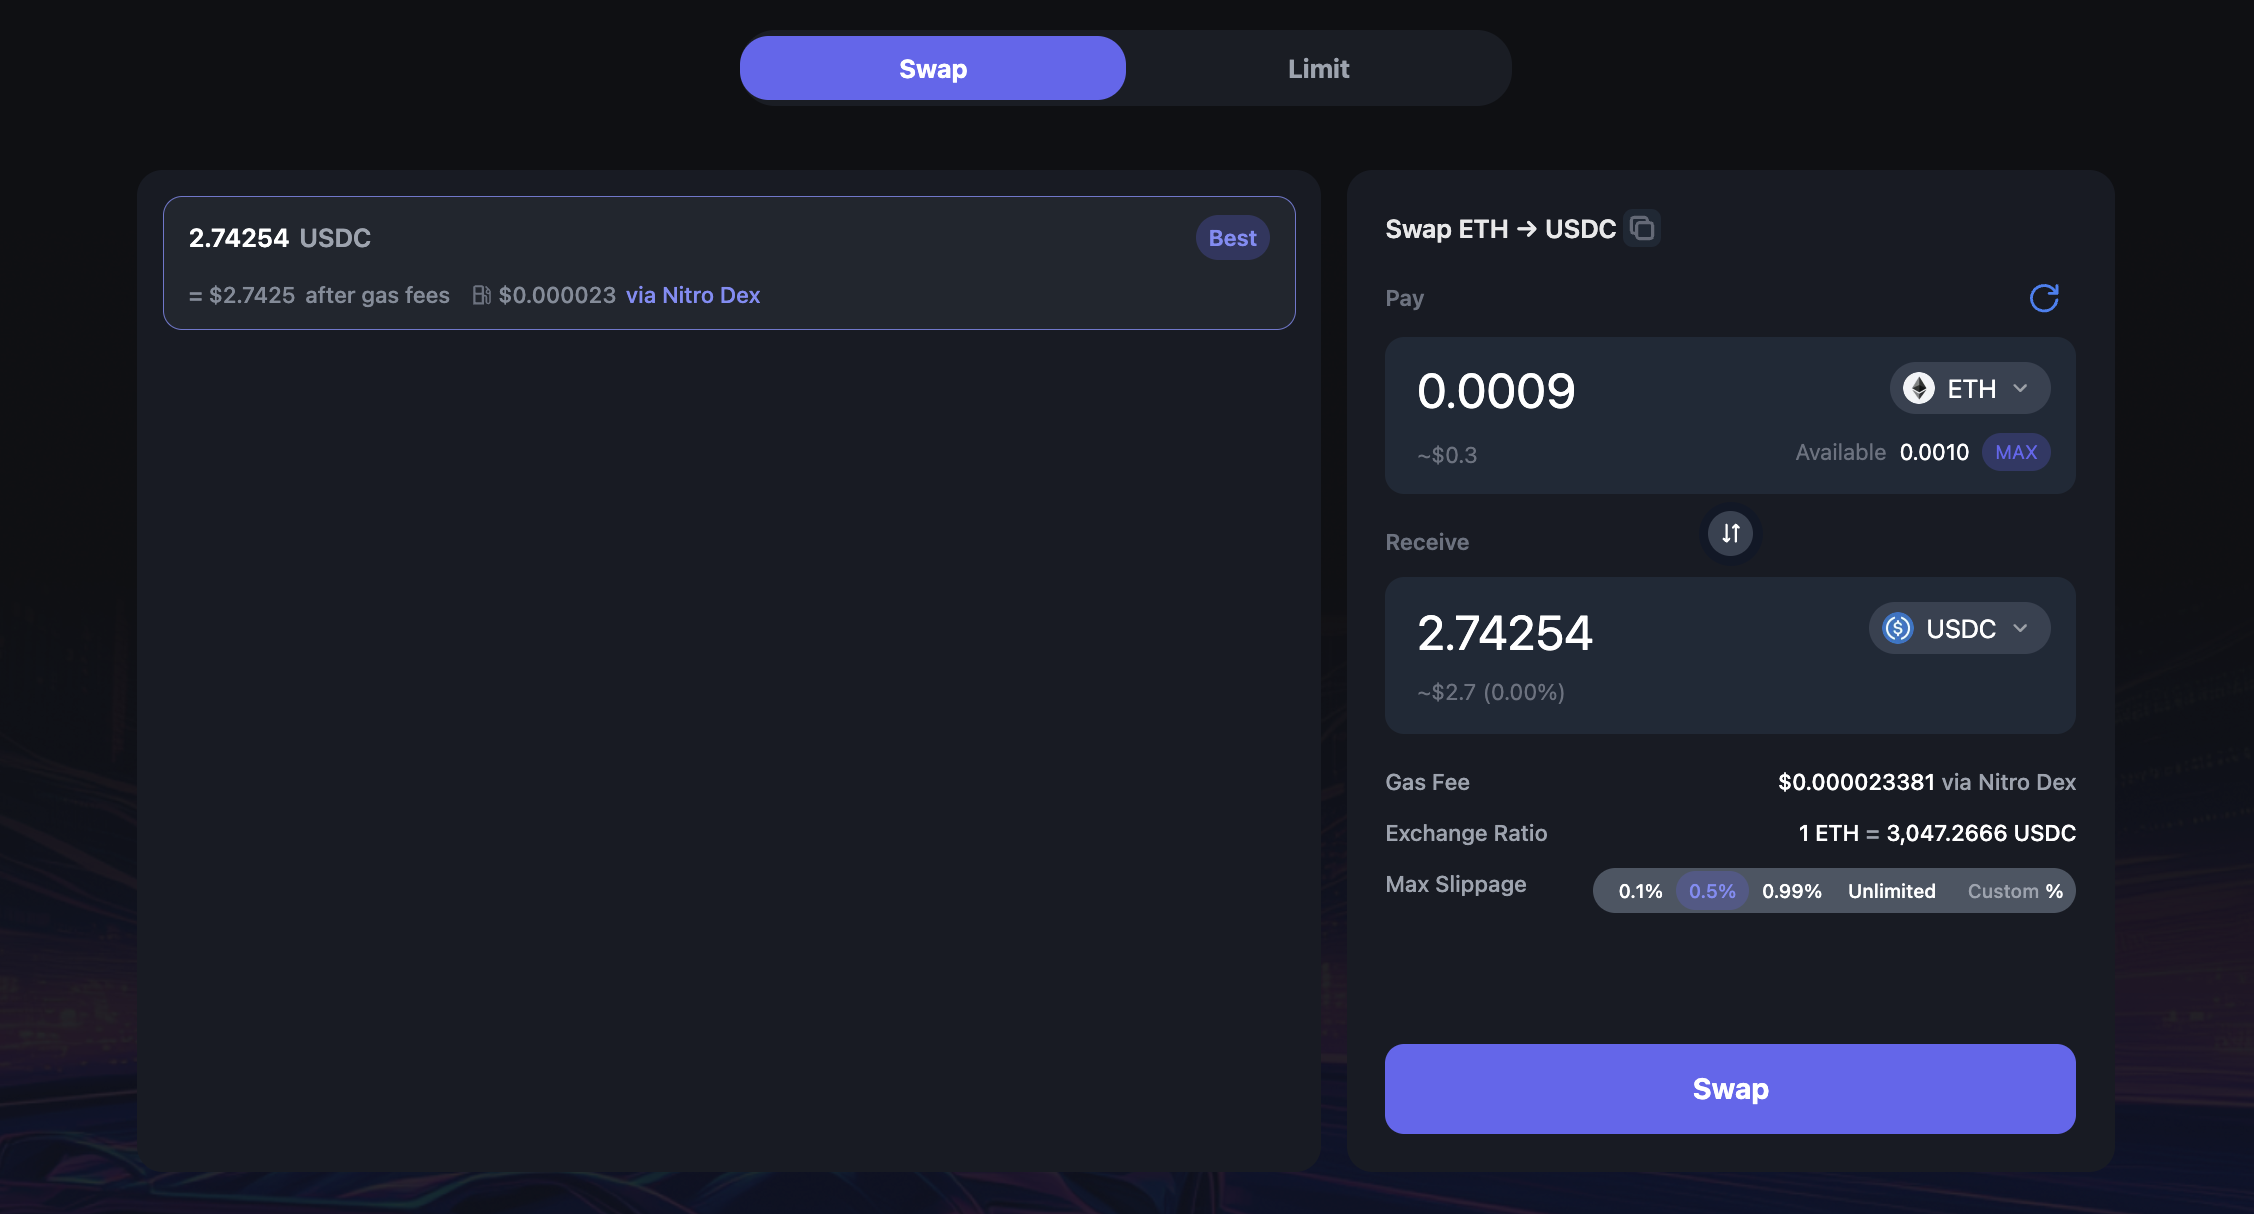
Now let's perform some swaps, head to: nitrodex.xyz, insert any amount of any available token, Approve, Review and Swap.
Step 3
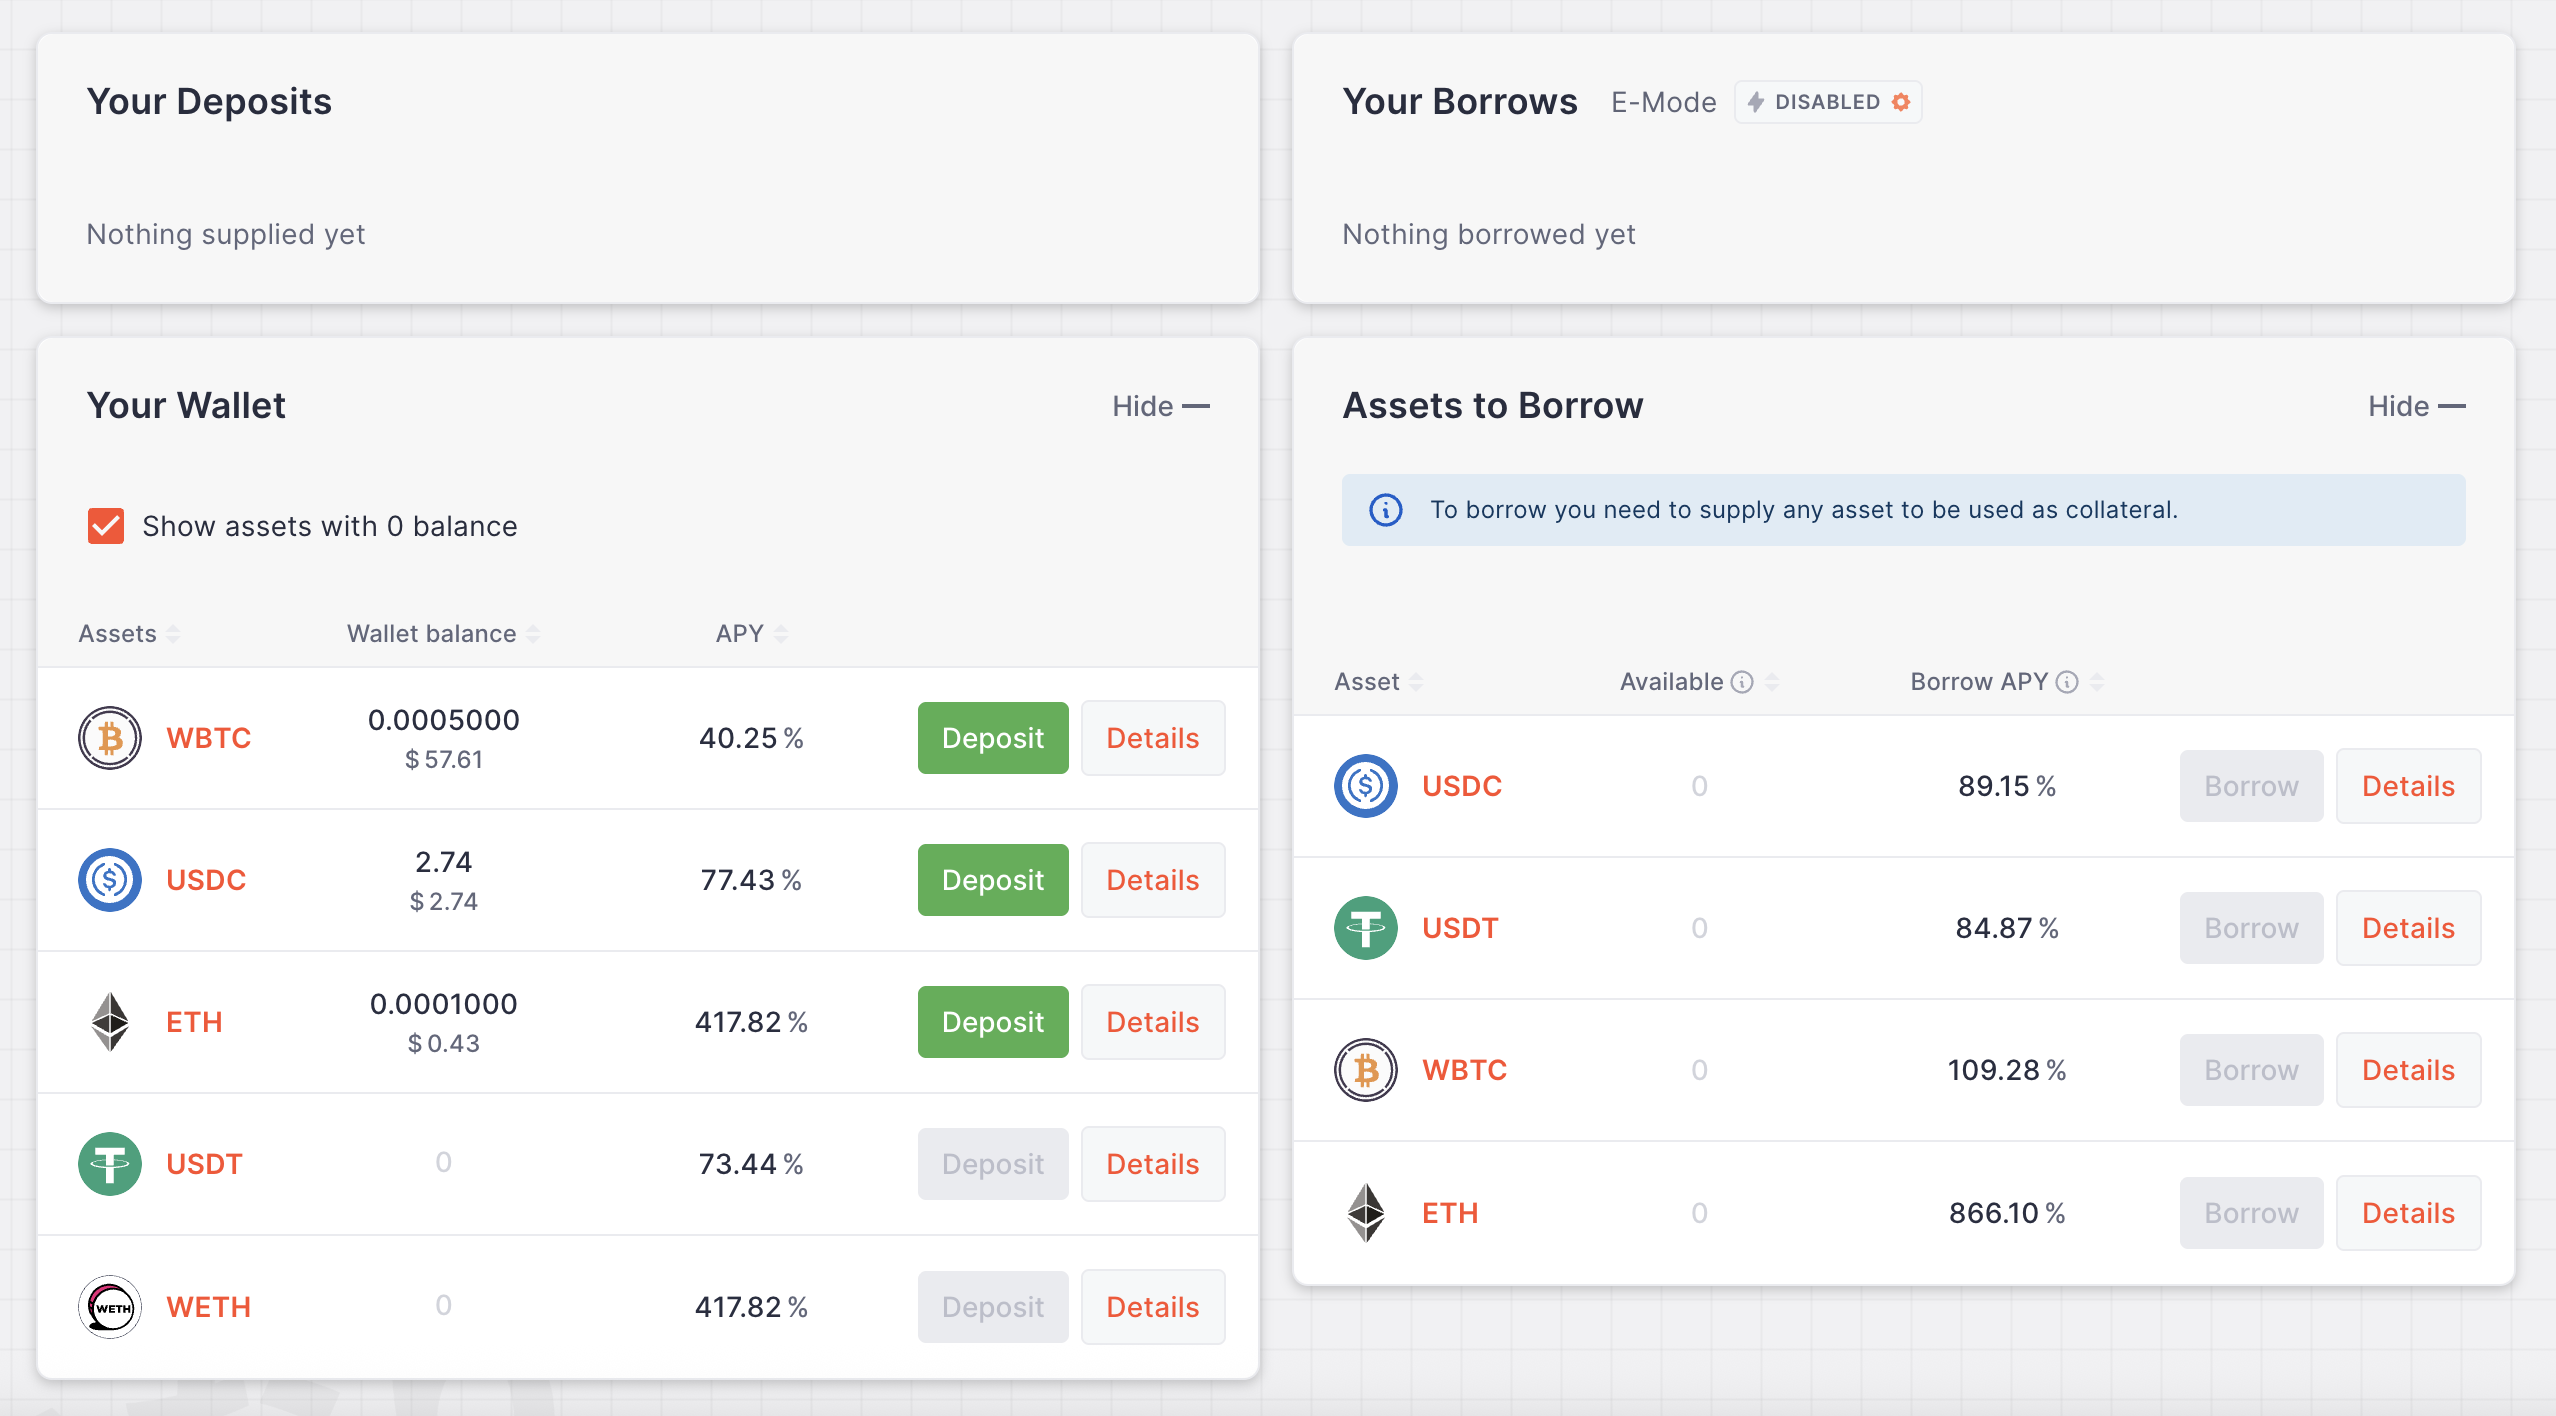
Now let's use our test tokens as collateral to do some borrowing. To do this, go to: inarifi.com & connect your wallet.
Press Deposit on any token (I will use wBTC for this guide).
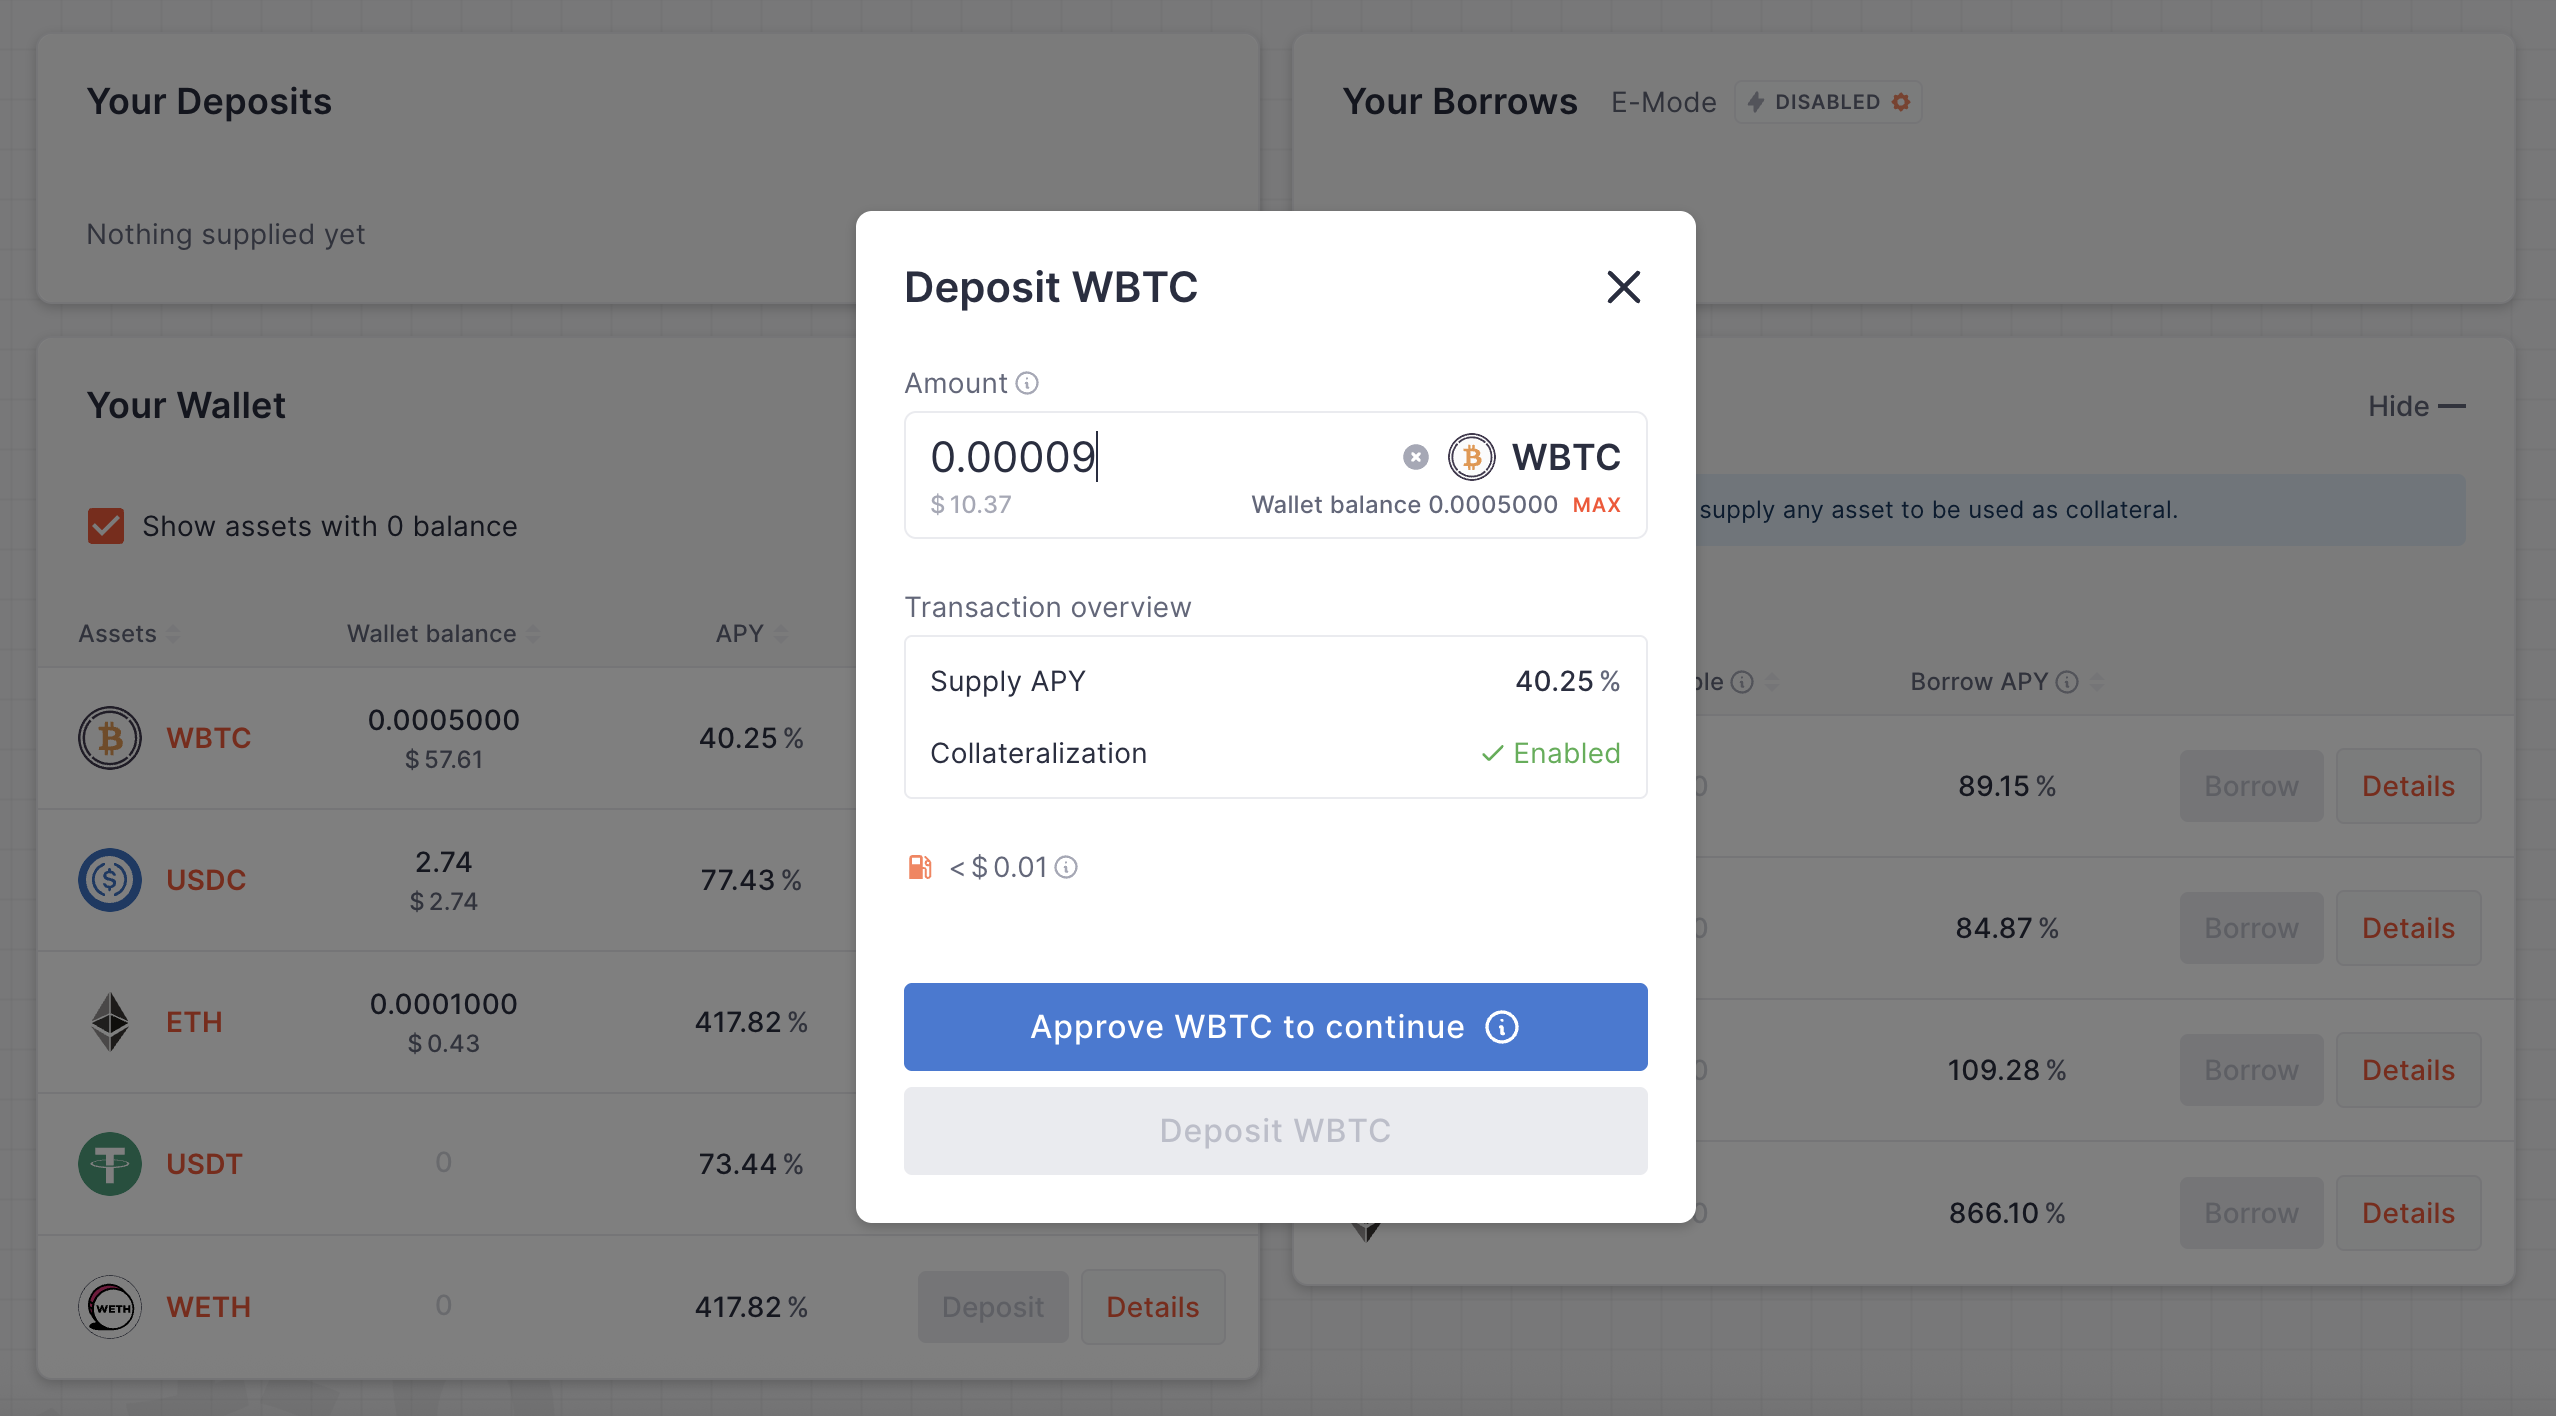
Input any amount, Approve the transaction, then press Deposit WBTC.
Now you should see your deposit on the left, and on the right you'll now see that we can Borrow assets by using our wBTC as collateral.
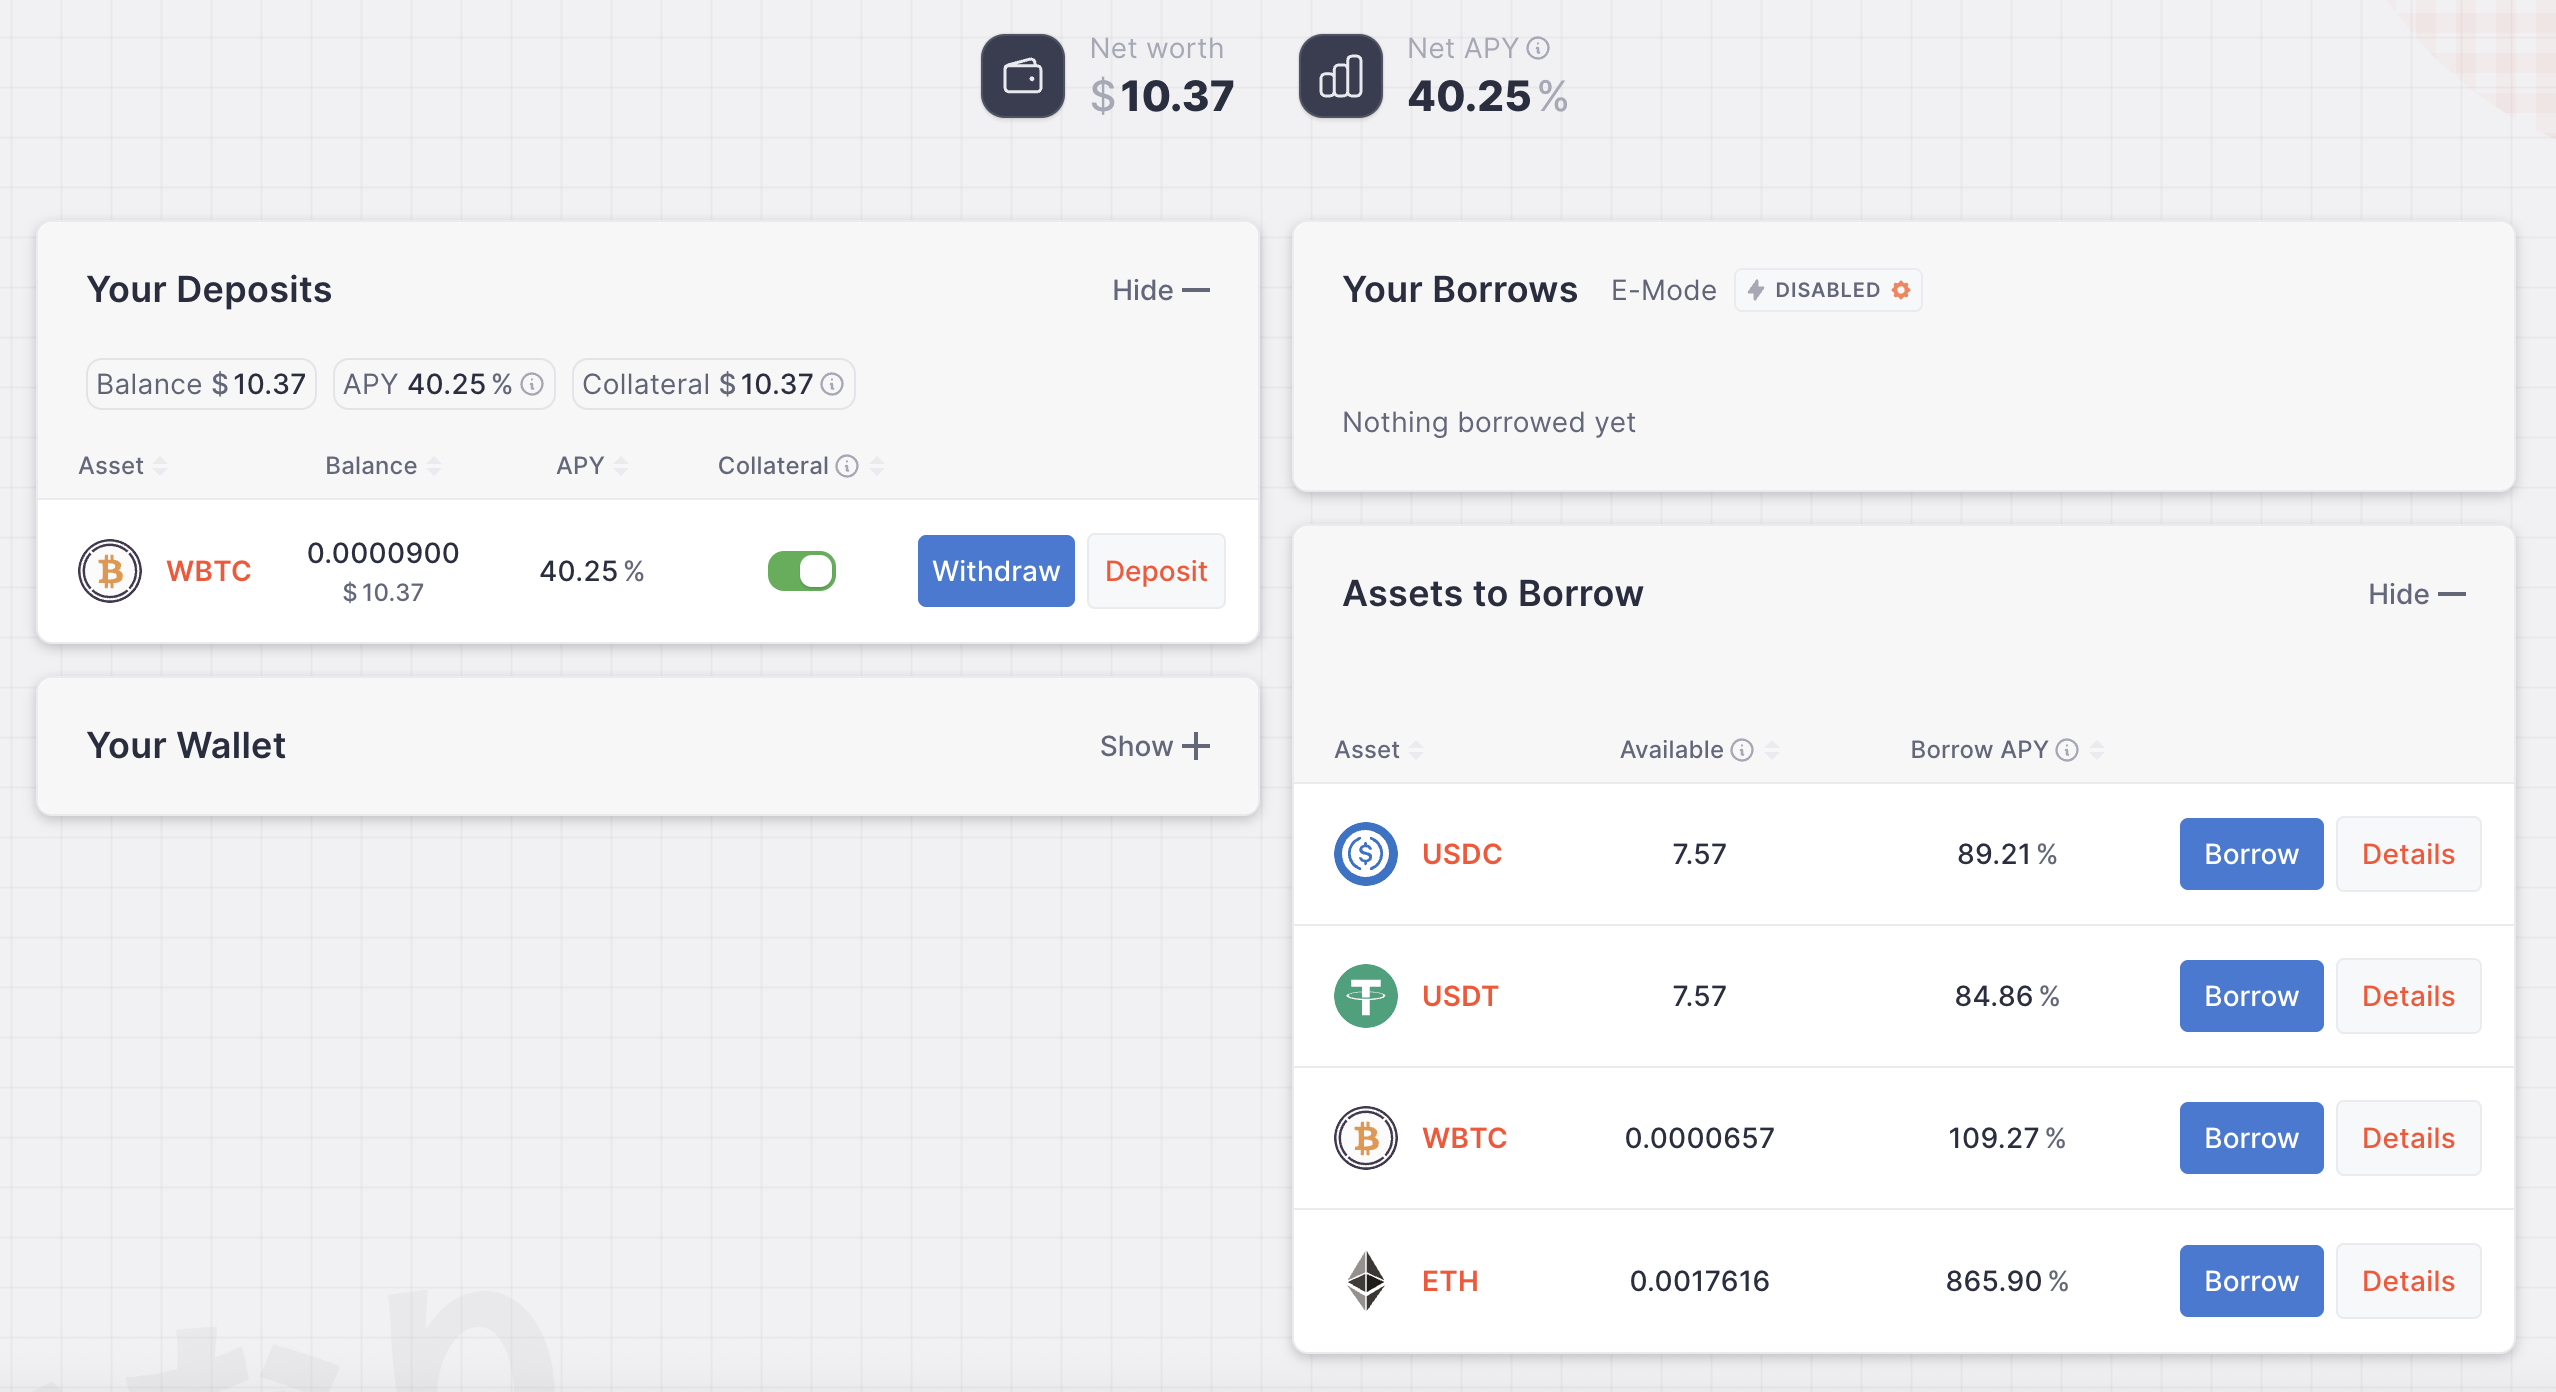
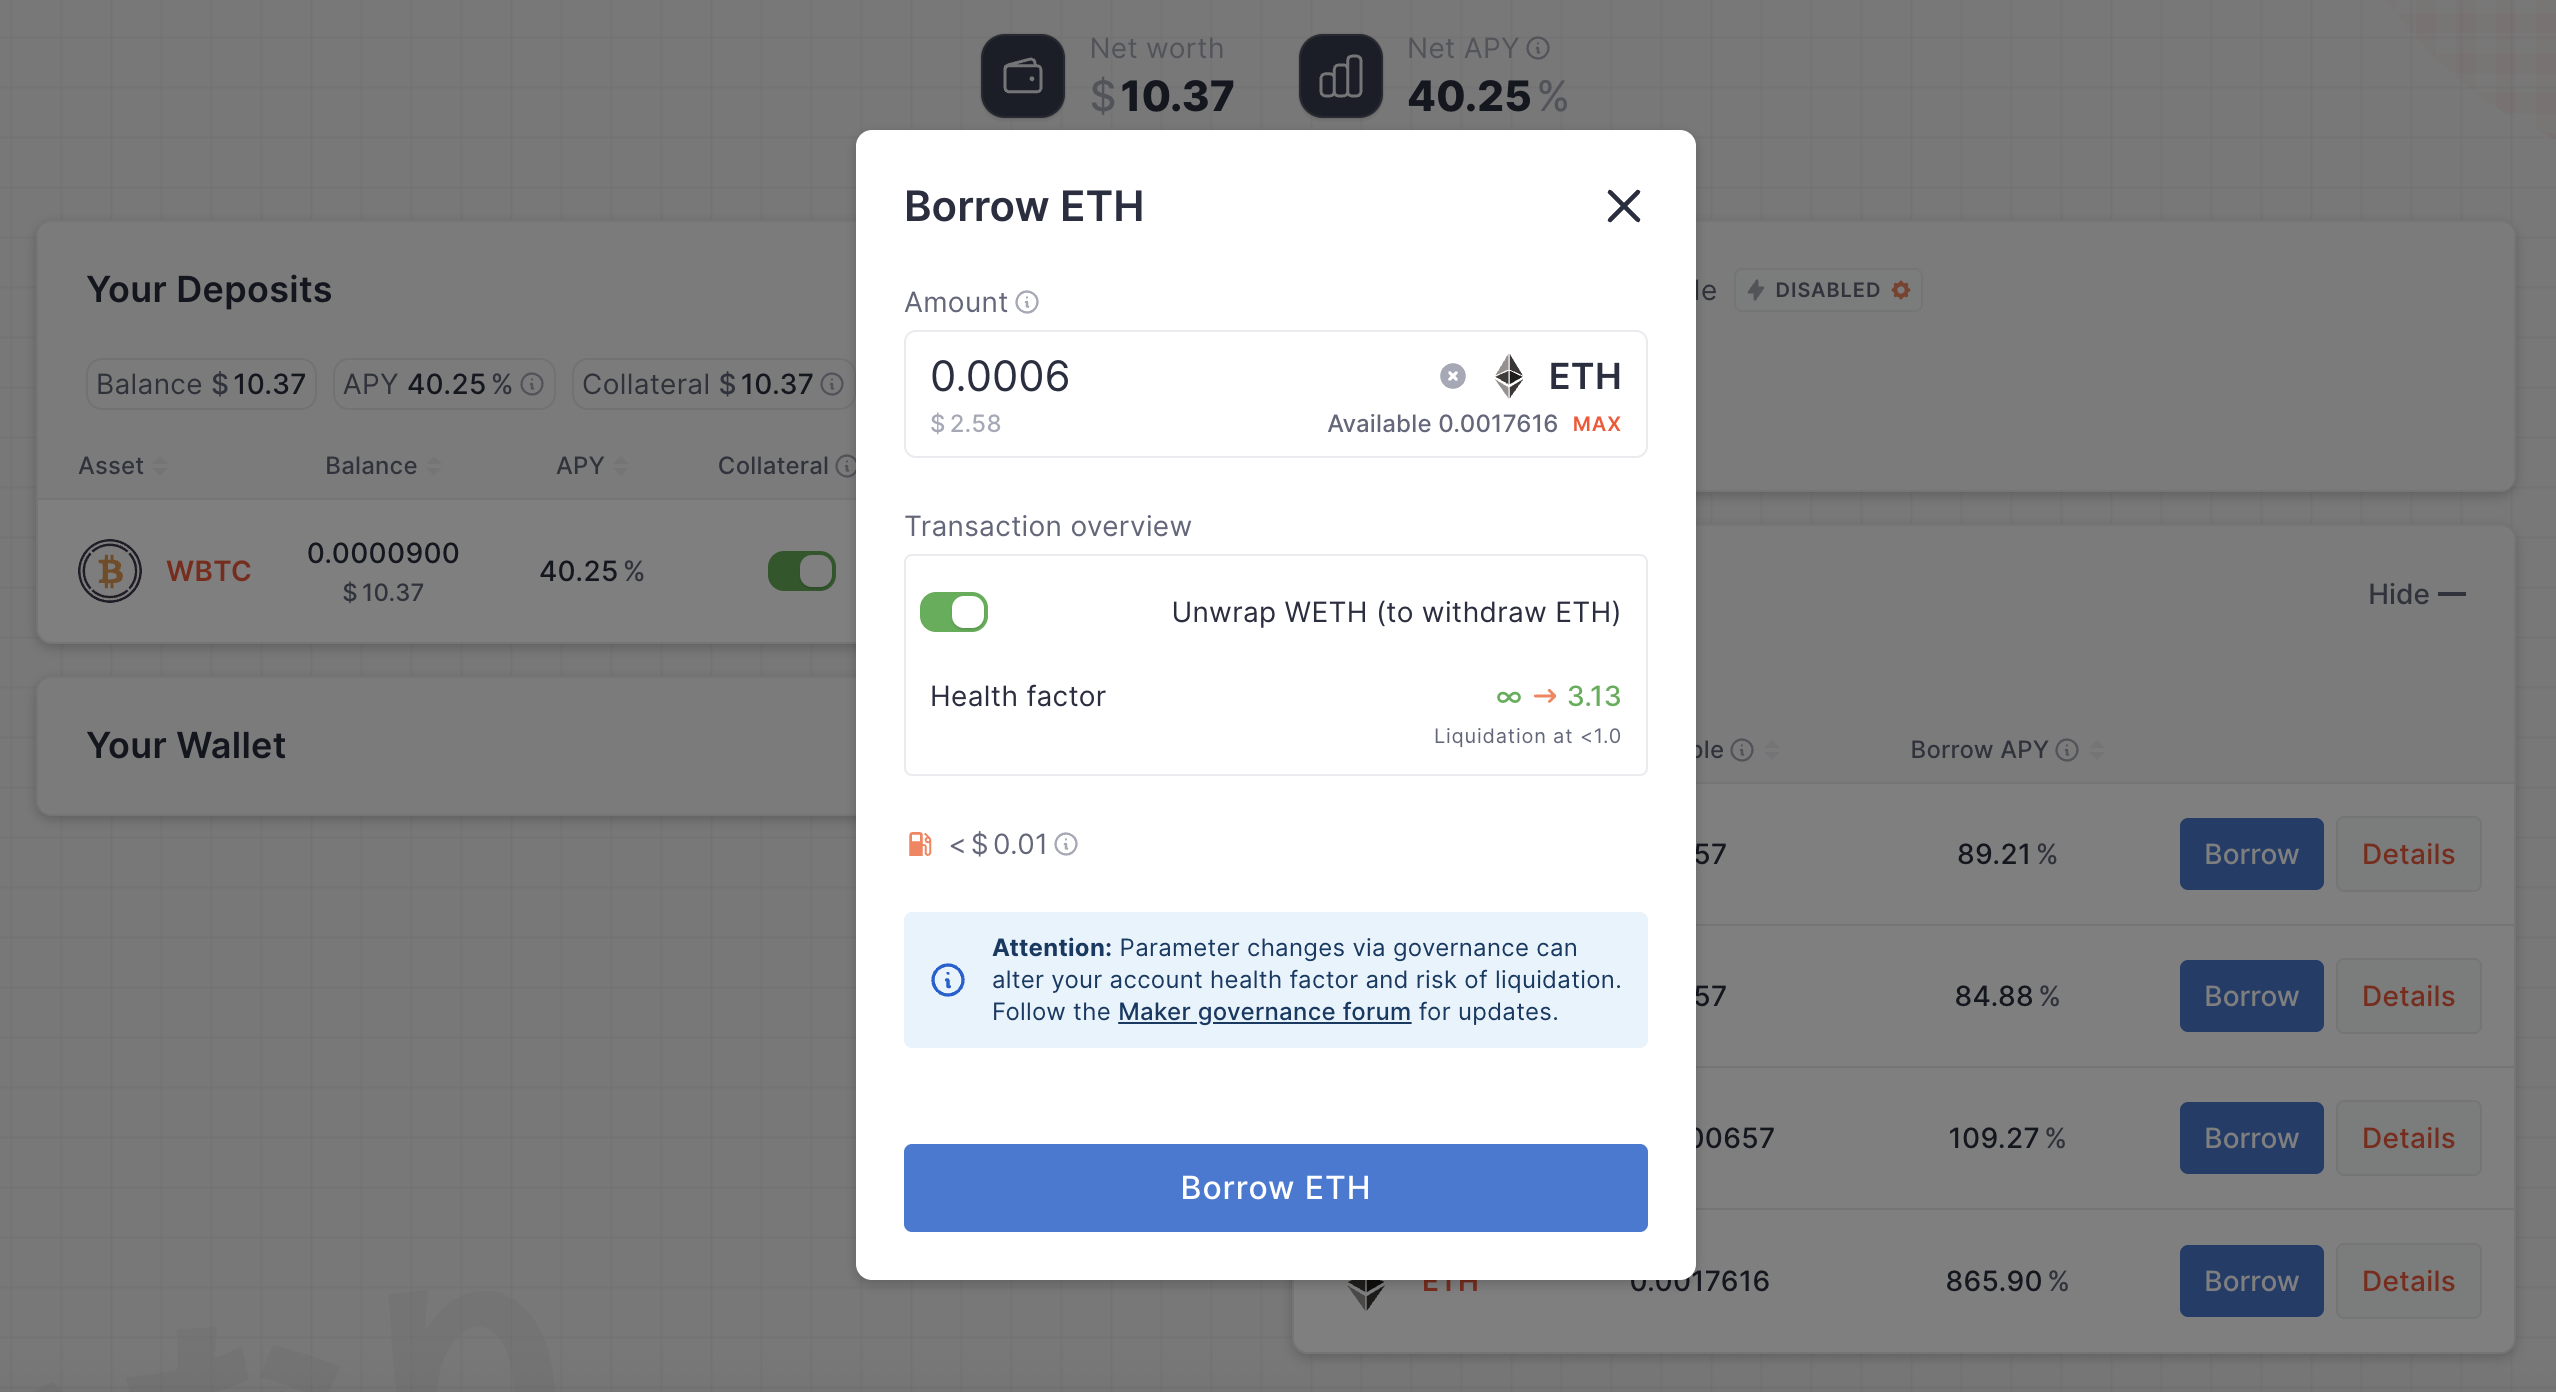
Press Borrow on any asset (I will select ETH for this guide).
Input any available amount, then Approve transaction and press Borrow ETH.
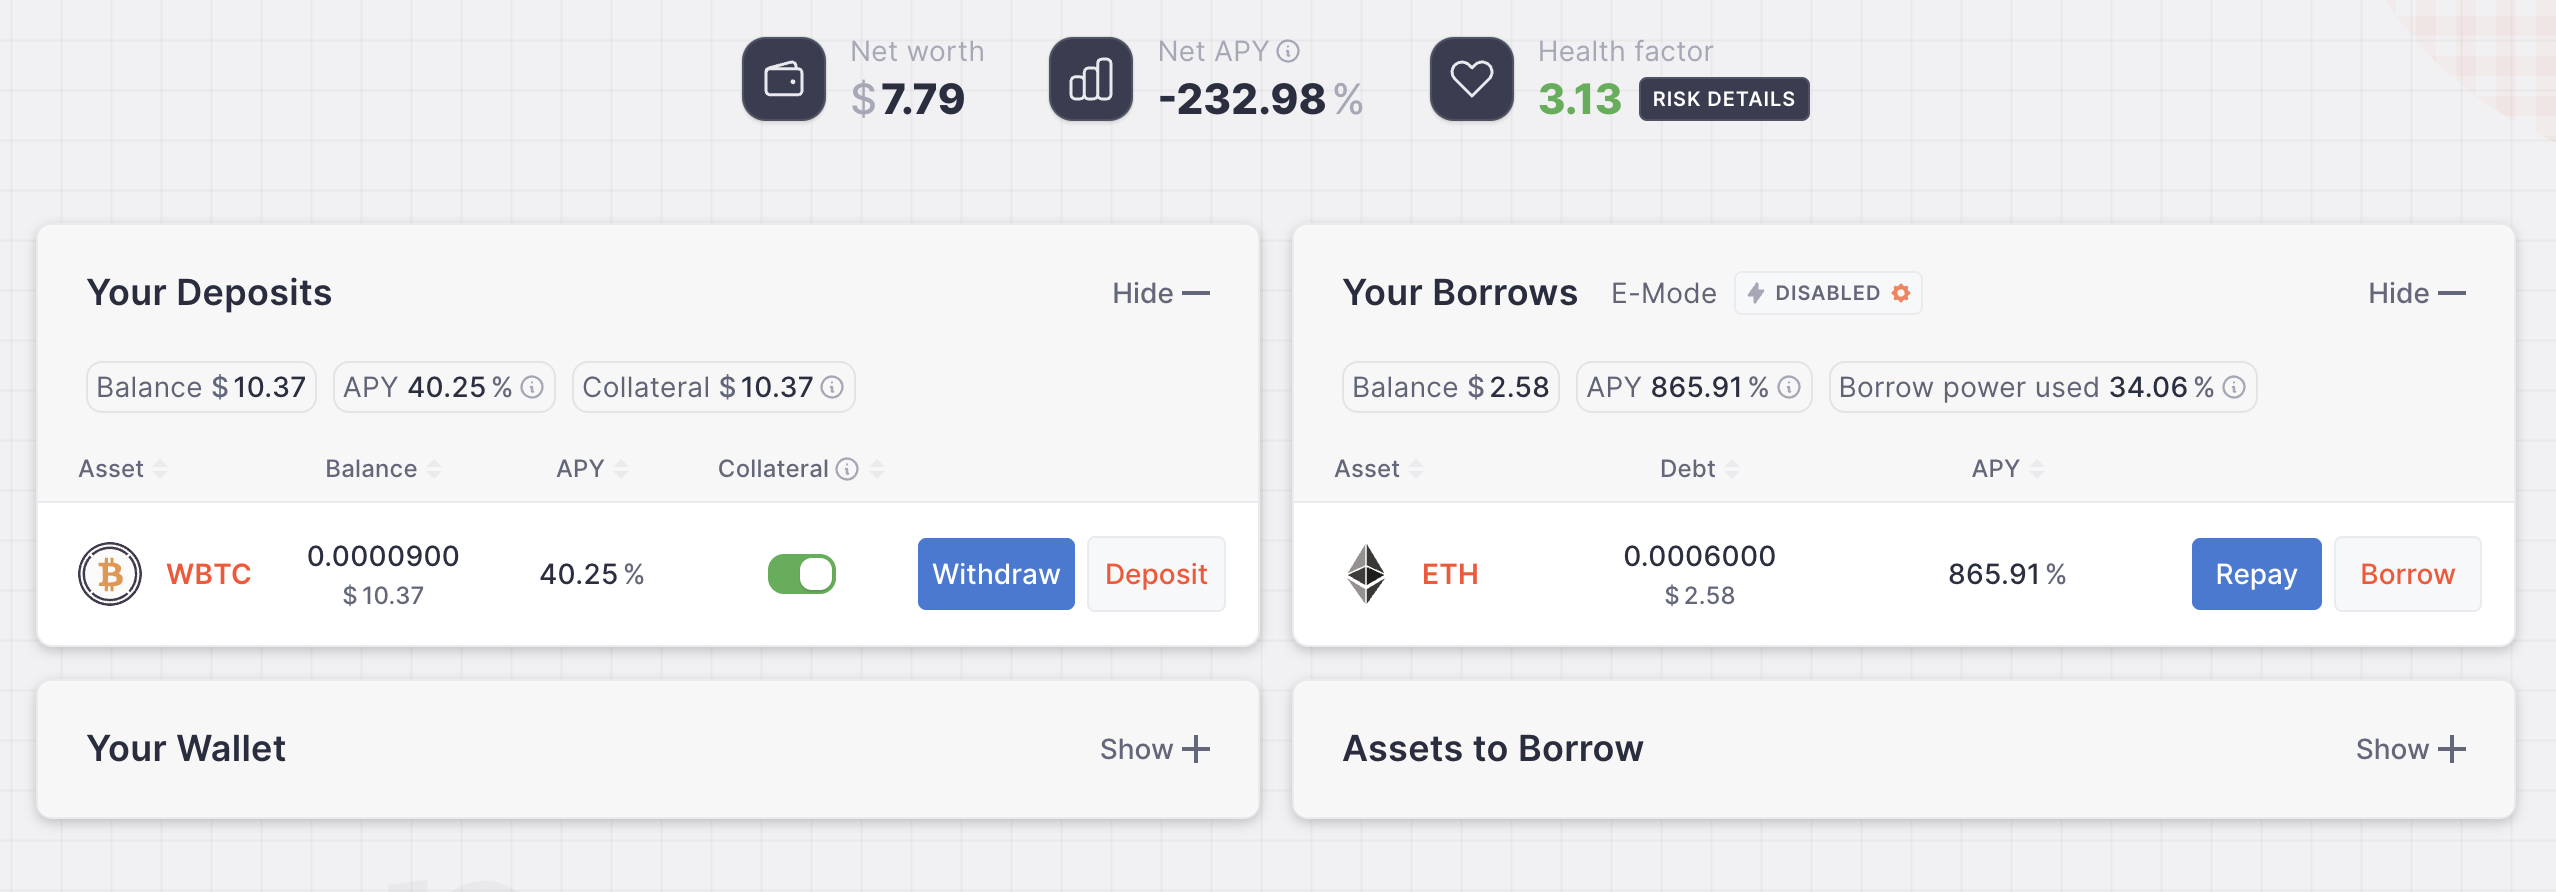
Now you should see your Borrow on the right.
If your Health Factor is a little low you can repay some of the Borrow by pressing Repay.
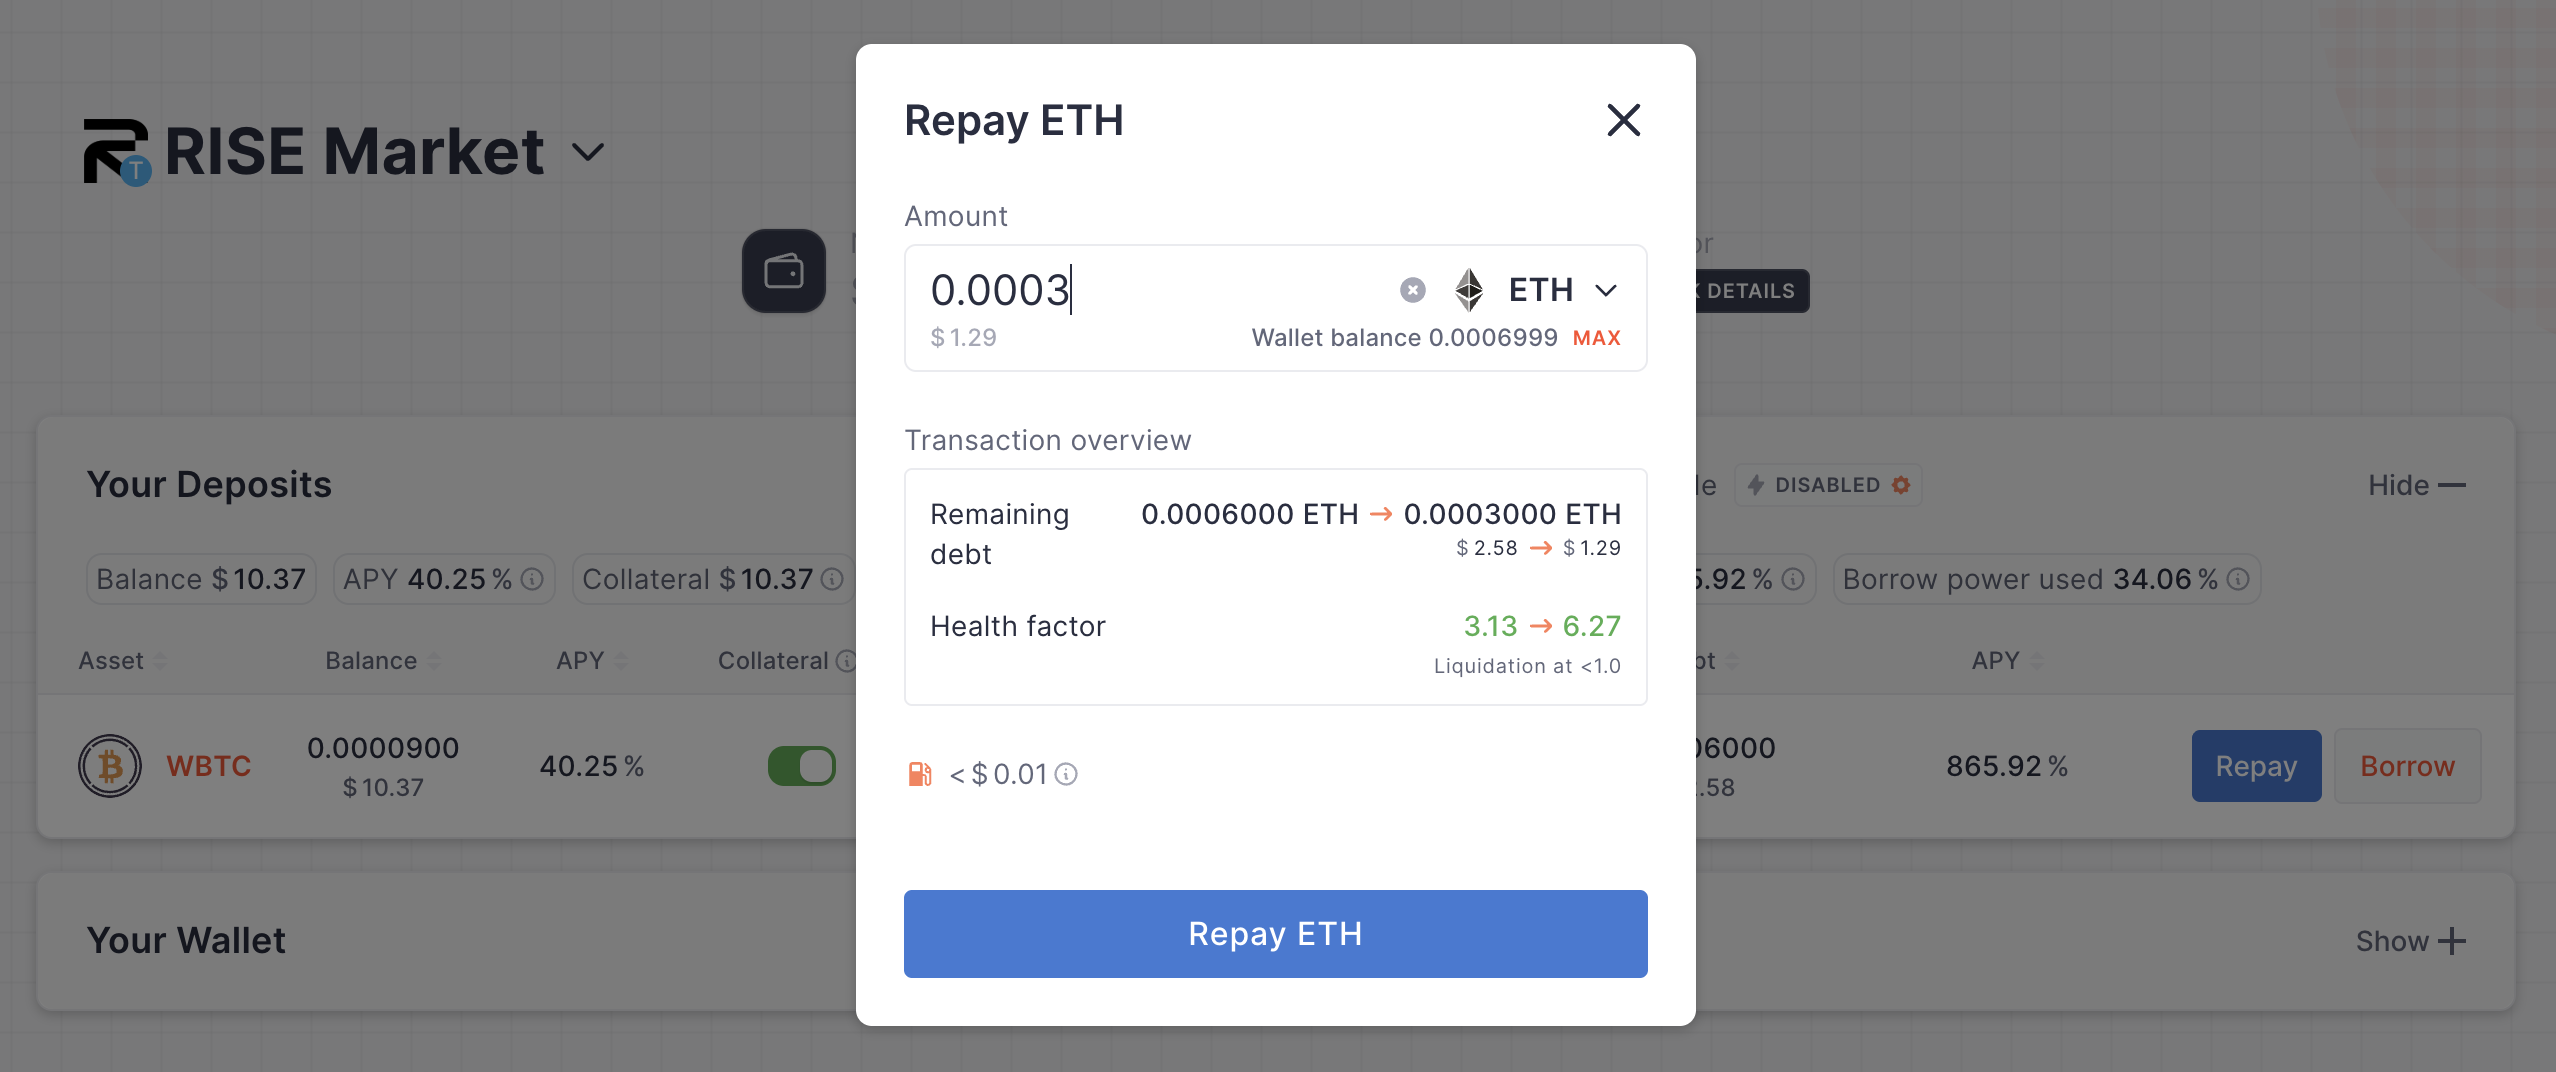
To repay some of your borrow, just insert any amount, Approve transaction and Repay ETH.
Step 4
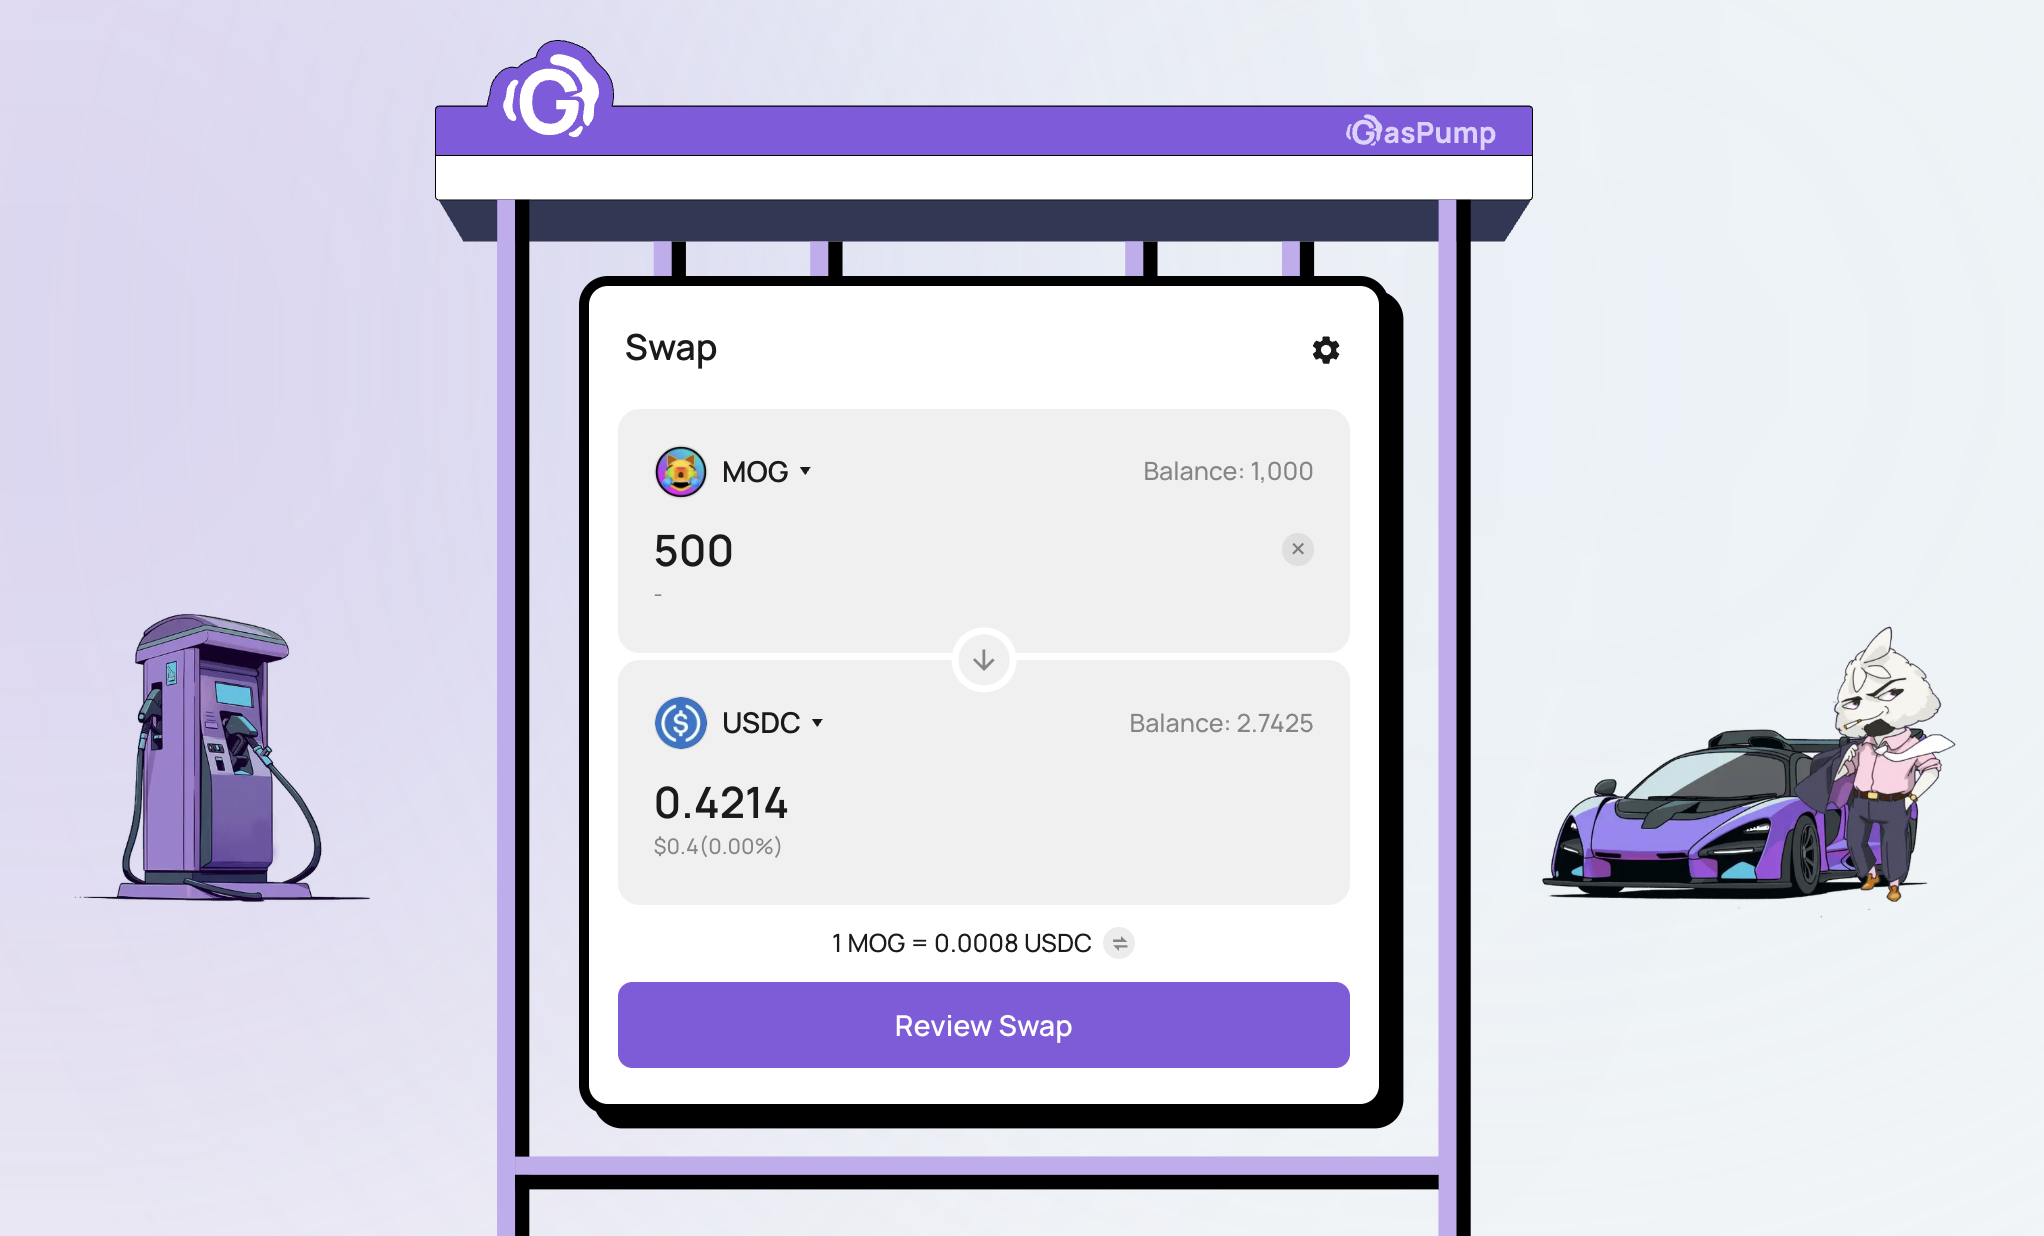
Now let's perform some more swaps, but this time we will use gaspump.network/swap as it has more tokens to choose from.
Just connect your wallet, insert any amount of any available token then Approve transaction, Review Swap & Confirm Swap.
Step 5
Now head back to the portal, here you can find other dApps within the Risechain ecosystem that you can interact with to maximise your on-chain activity.

Step 6
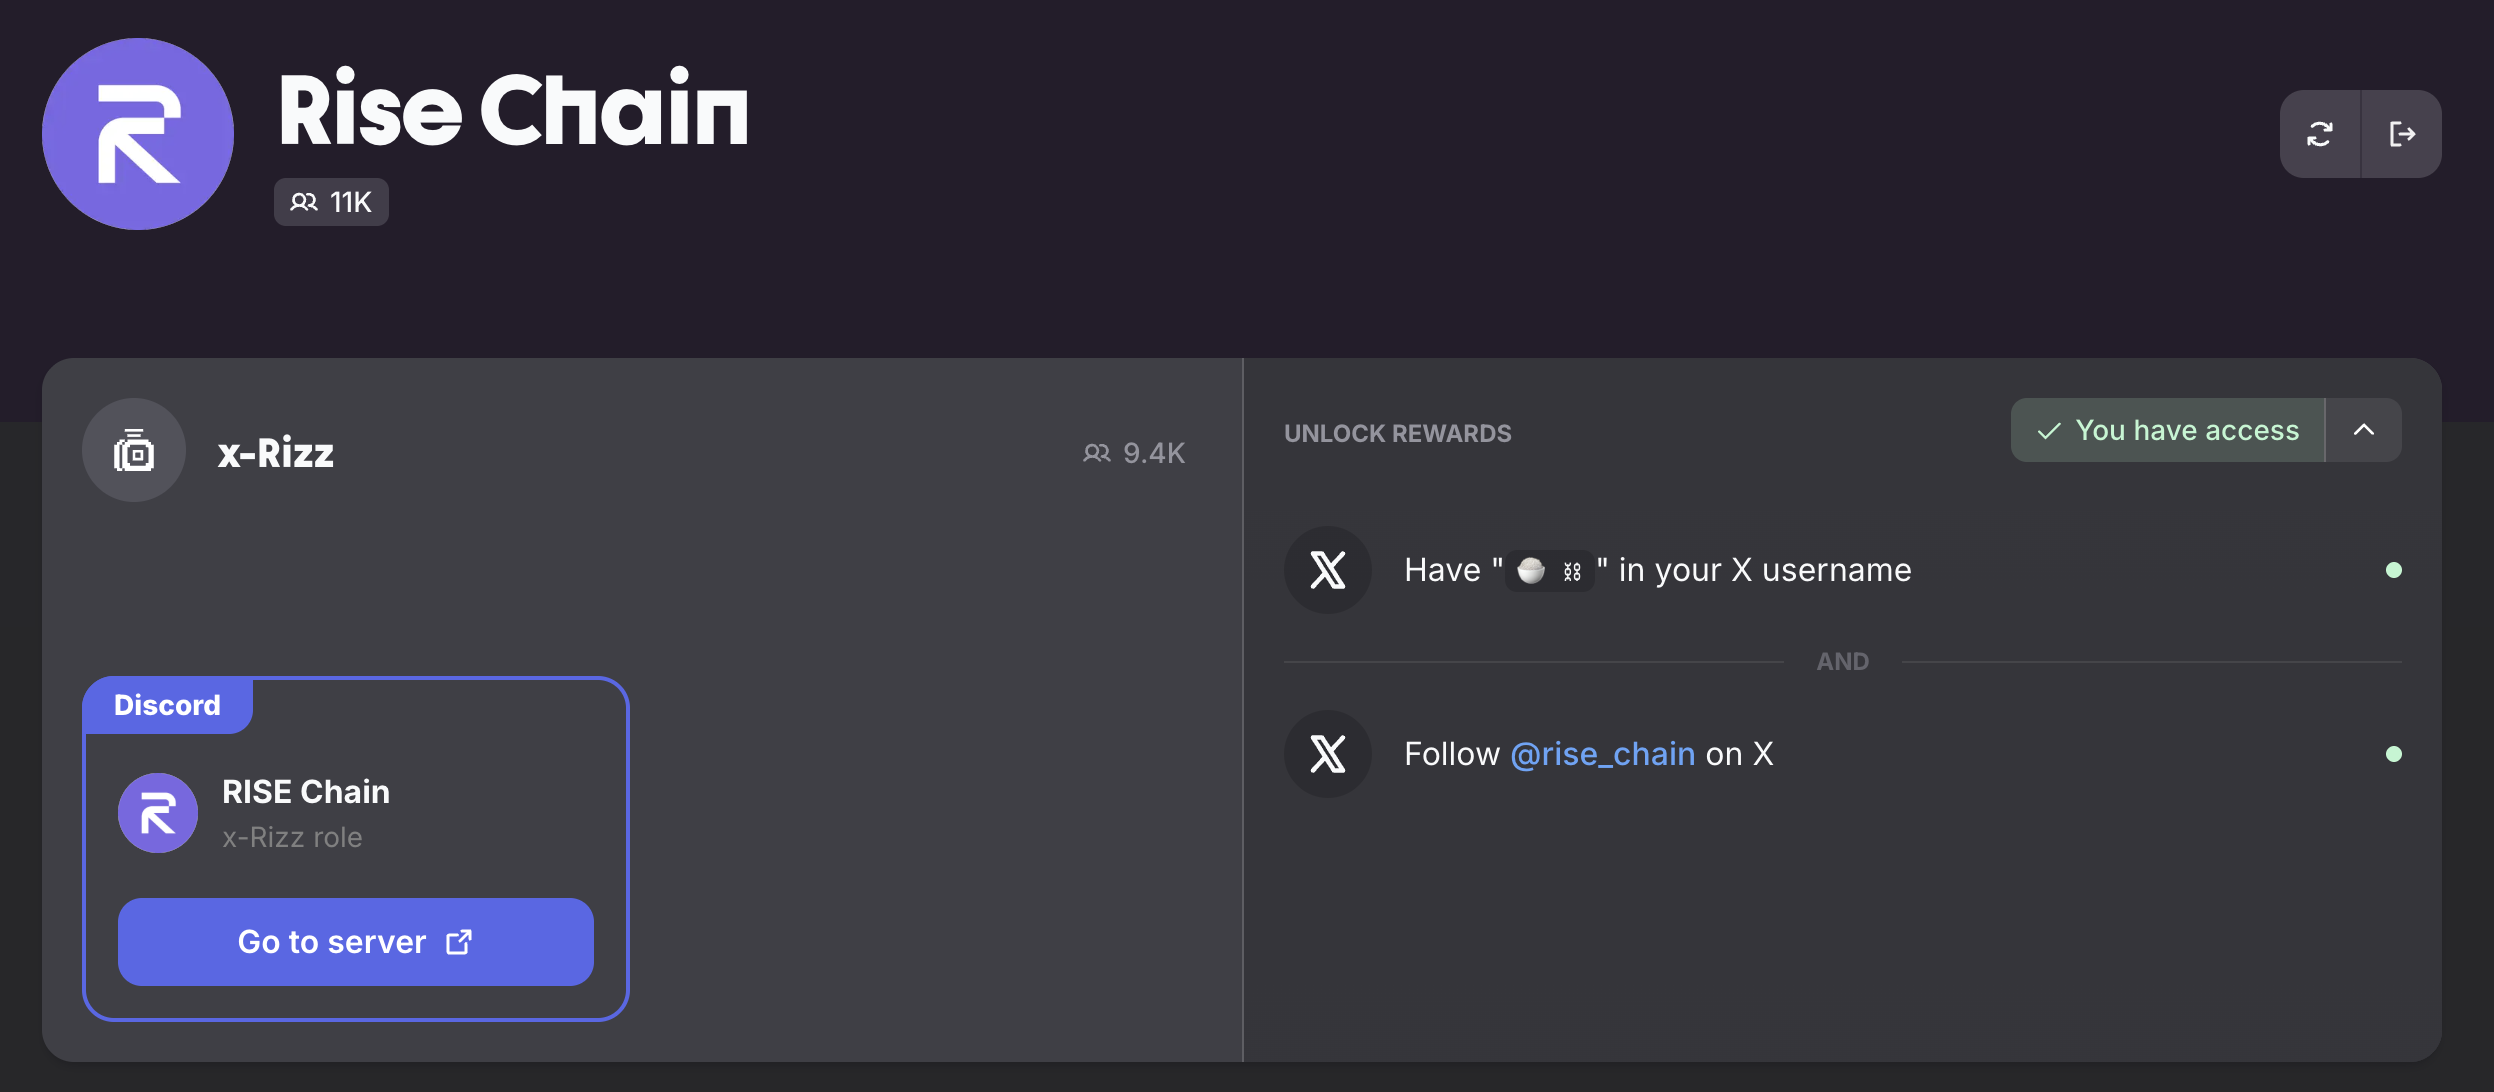
Finally, join the Risechain Guild and connect both your X (formerly Twitter) & Discord accounts.
Then just complete the tasks to earn the following Discord roles:
- x-Rizz
- Eco Enjoyer
Outro
That's all for this guide, come back soon for updates on this project.
If you found this tutorial helpful and informative, consider sharing it on social media. You can also stay updated on the latest content and discussions by following us on X (formely Twitter): @BitBlogxyz
Disclaimer: This guide is provided strictly for educational purposes and should not be considered financial advice. The content is designed to offer insights into various web3 topics & projects.
We do not recommend putting real money into random projects without conducting plenty of your own research first. It is crucial to make informed decisions based on your own understanding and risk tolerance.
Want to support the platform? 👉 Support Us